
Using ALPON as a Security Camera
A Python project for ALPON X5 AI and ALPON X4 that detects humans with a security camera using OpenCV, sends notifications via ntfy.sh, and runs inside a Docker container.
Using ALPON as a Security Camera
Turn your ALPON X5 AI or ALPON X4 into a human-detecting security camera. A Python app uses OpenCV and a Haar-cascade classifier to detect people on a connected camera and sends a push notification through ntfy.sh — all inside a Docker container deployed from the Sixfab Container Registry.
Connect a USB camera to your ALPON X5 AI or ALPON X4, install the Video4Linux utilities, and package a small OpenCV Python app in a Docker container. The app runs a Haar-cascade face detector on the camera feed and posts a ntfy.sh notification whenever a person appears. Deploy the container through ALPON Cloud with Privileged mode enabled so it can access the camera.
Overview
This project detects human presence in real time on a camera feed and sends a “Human detected!” notification through ntfy.sh whenever a person is visible. It uses OpenCV and a Haar-cascade classifier and runs in a Docker container uploaded to the Sixfab Container Registry.
A USB camera is assumed for the default setup, but OpenCV supports a wide range of camera inputs (including RTSP) and the ALPON imposes no restrictions — see the OpenCV camera documentation. The procedure is identical on ALPON X4 and ALPON X5 AI.
Connect the camera to the upper USB port of your ALPON. The application is configured for that port, as defined by the device's USB port mapping.
-
1
Prepare the system
Update the ALPON to the latest software and install the Video4Linux utilities for USB camera support:
bash · update & install v4l-utilssudo apt update && sudo apt upgrade -y sudo apt install v4l-utils -y
List the available cameras to confirm the device is detected:
bash · list camerasv4l2-ctl --list-devices
Example output — the USB camera appears with its
/dev/video*nodes:terminal · v4l2-ctl --list-devicesroot@alpon:~# v4l2-ctl --list-devices bcm2835-codec-decode (platform:bcm2835-codec): /dev/video10 /dev/video11 /dev/video12 rpivid (platform:rpivid): /dev/video19 /dev/media4 USB 2.0 PC Camera: PC Camera (usb-fe9c0000.xhci-1.3): /dev/video0 /dev/video1 /dev/media0
-
2
Add the detection script
Save the following as
main.py. It opens the camera, runs the Haar-cascade detector on each frame, and posts to ntfy.sh when a face is found:python · main.pyimport cv2 import requests # Load the Haar-cascade model haar_cascade = cv2.CascadeClassifier('haarcascade_frontalface_default.xml') # Open the video source cap = cv2.VideoCapture(0) # ntfy.sh settings NTFY_URL = "https://ntfy.sh/YOUR_TOPIC_NAME" HUMAN_DETECTED_MSG = "Human detected!" CAMERA_ERROR_MSG = "Camera error." # Check if the camera opened successfully if not cap.isOpened(): requests.post(NTFY_URL, data=CAMERA_ERROR_MSG) print(CAMERA_ERROR_MSG) exit(1) while True: ret, frame = cap.read() if not ret: break # Convert to grayscale for detection gray = cv2.cvtColor(frame, cv2.COLOR_BGR2GRAY) faces_rect = haar_cascade.detectMultiScale(gray, 1.1, 9) if len(faces_rect) > 0: requests.post(NTFY_URL, data=HUMAN_DETECTED_MSG) print(HUMAN_DETECTED_MSG) cap.release()
Subscribe to your notificationsChange
NTFY_URLto your own ntfy.sh topic, for examplehttps://ntfy.sh/human-detection. Open that URL in a browser to subscribe automatically, and you'll receive the alerts there. -
3
Download the Haar-cascade model
Download
haarcascade_frontalface_default.xmlfrom the OpenCV repository and place it in your project directory:- Open the haarcascade_frontalface_default.xml file on GitHub.
- Click Download raw file.
- Move the file into your project directory, next to
main.py.
-
4
Containerize the app
Package the application with this Dockerfile:
Dockerfile# Base image FROM python:3.9-slim RUN apt-get update && apt-get install -y \ libgl1-mesa-glx \ libglib2.0-0 \ libsm6 \ libxrender1 \ libxext6 # Copy project files into the container COPY . /app WORKDIR /app # Install required Python libraries RUN pip install opencv-python requests # Run the application CMD ["python3", "main.py"]
-
5
Build and upload to the registry
Build the container for
arm64:bash · builddocker buildx build --platform linux/arm64 -t security_cam:latest ./
Then upload it: open the Sixfab Container Registry, click + Add Container, and follow the prompts.
-
6
Deploy with camera access, then verify
In the Applications tab of your asset, click + Deploy and:
- Enter a container name.
- Select the image and tag you uploaded to the Sixfab Container Registry.
- Enable Privileged mode so the container can access the camera.
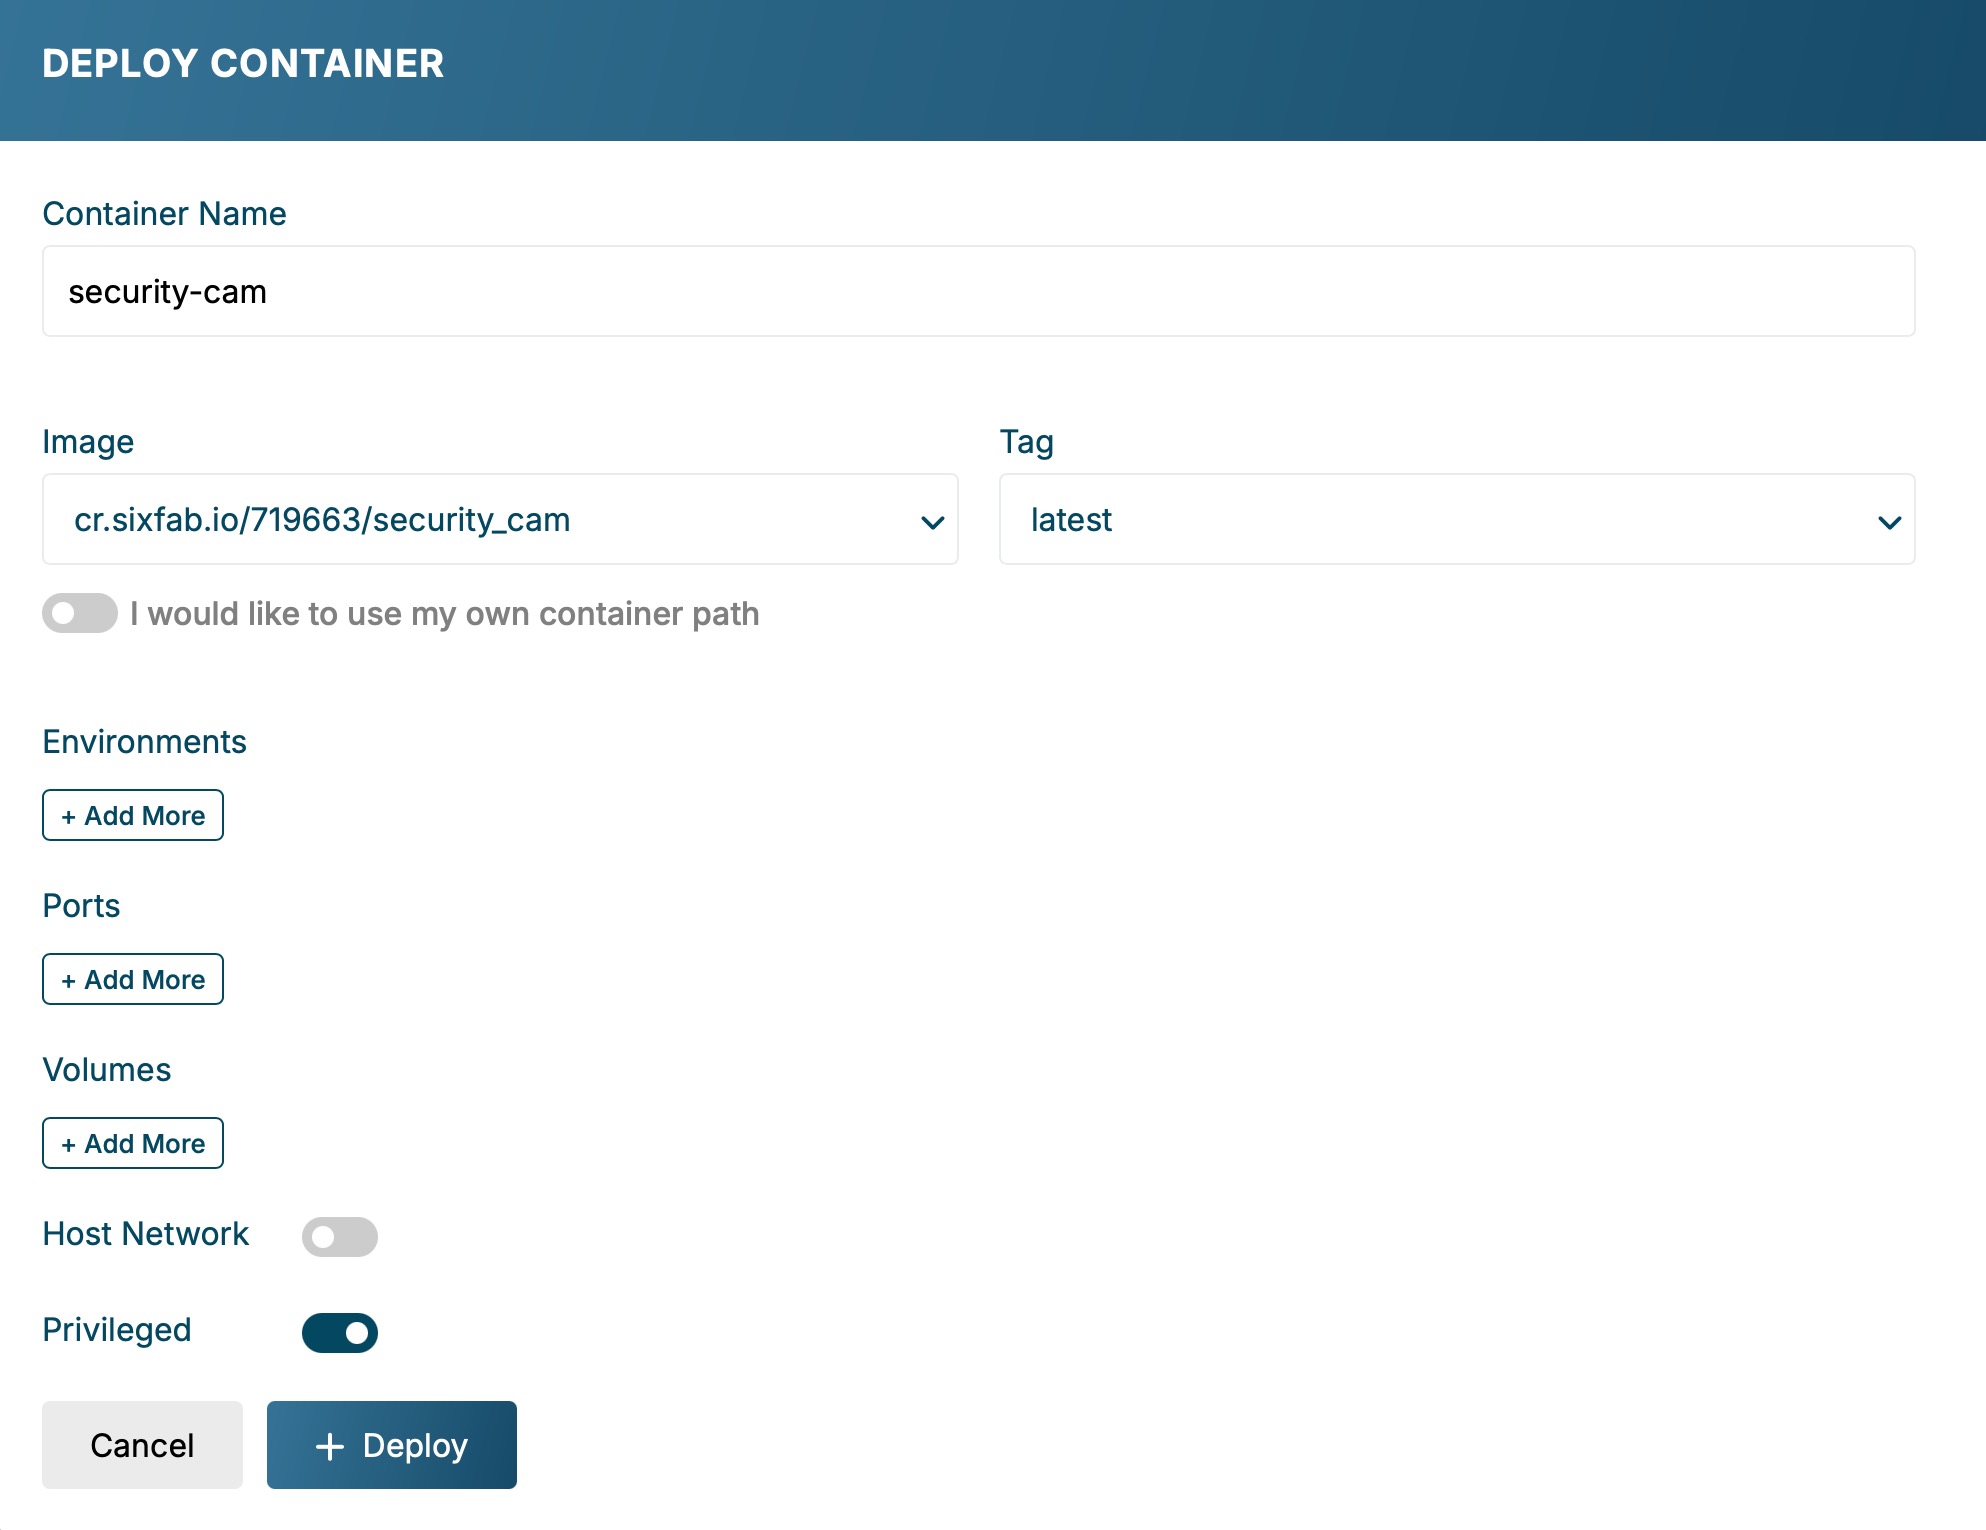
Deploy the container with Privileged mode enabled for camera access. Once deployed, notifications are delivered to your ntfy.sh topic whenever a human is detected. The screenshot below confirms a “Human detected!” notification was sent successfully:
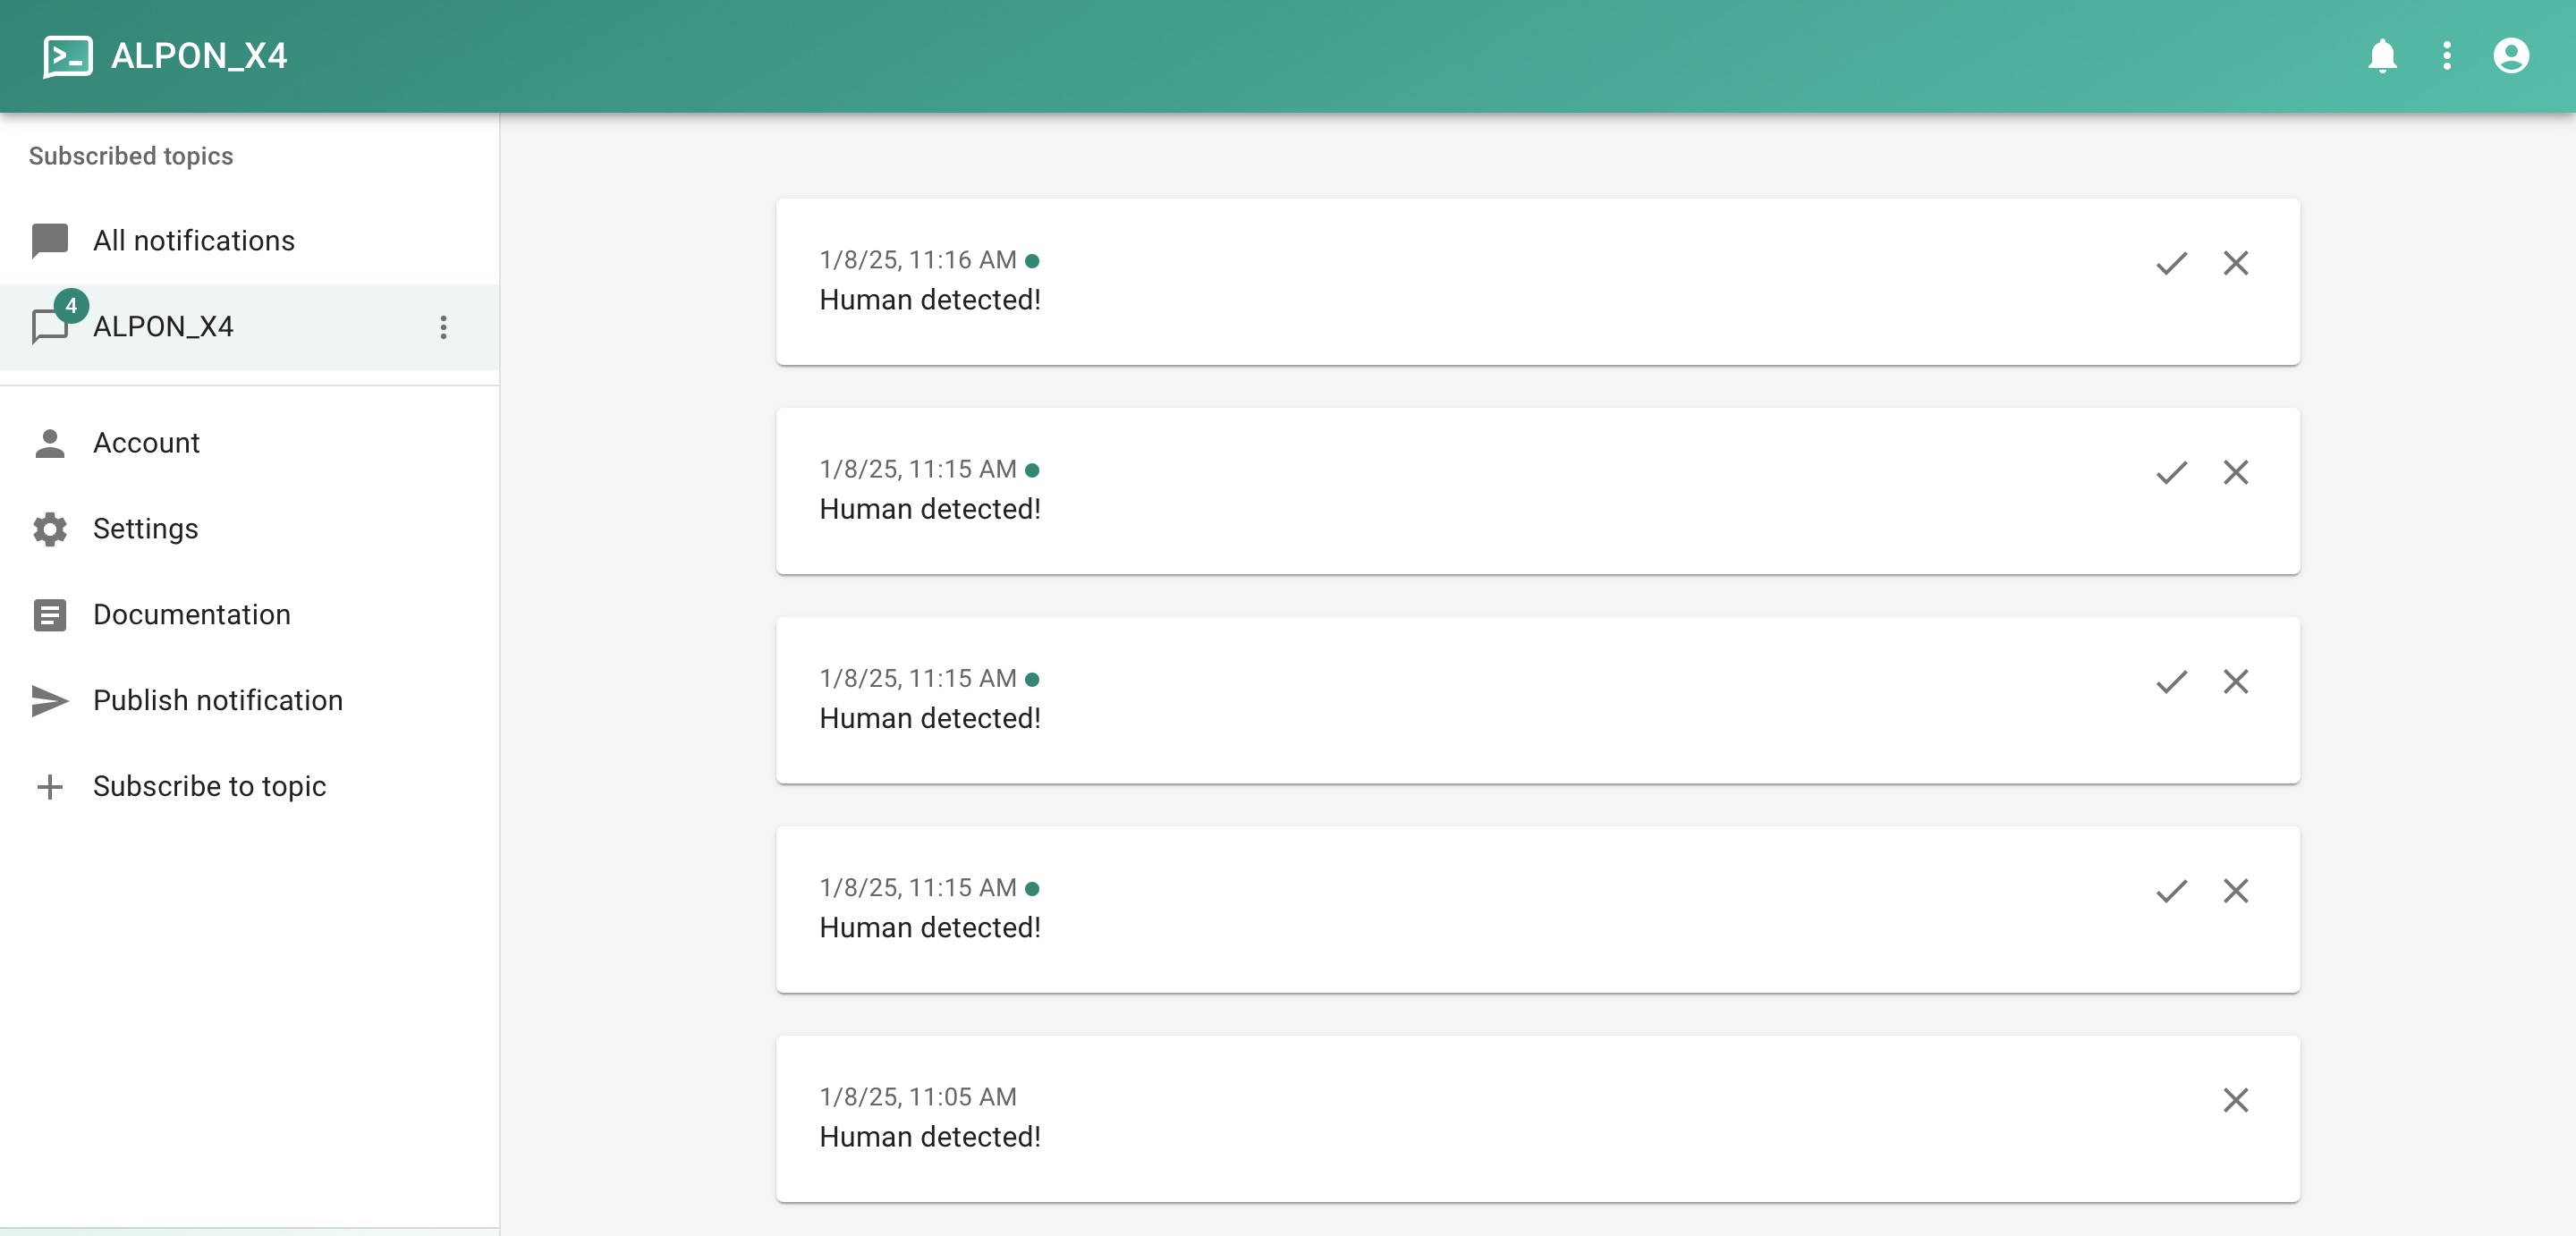
A “Human detected!” notification received via ntfy.sh. Customizing the messagesChange
HUMAN_DETECTED_MSGin the script to customize the notification text sent when a human is detected.
Troubleshooting
Error The camera does not open
Fix
Confirm the camera driver is installed and detected (v4l2-ctl --list-devices), the camera is
on the upper USB port, and the container was deployed with Privileged mode enabled.
Error Haar-cascade model not found
Fix
Ensure haarcascade_frontalface_default.xml is in the project directory so it gets copied into
the image, next to main.py.
Software ntfy.sh notifications are not sent
Fix
Check the device's internet connection and confirm the NTFY_URL in the script is correct.
Production image policy: Replace floating
:latestreferences with a reviewed immutable tag or digest, then record the selected version for rollback.
Updated 5 days ago