
Preparing the Config File of PicoLTE SDK
Let's learn how to configure your configuration file when integrating it into your applications!
A configuration file can be used to increase the maintainability of your code. Each application module is designed to work with its configuration file. A configuration file is named as config.json and stores necessary connection parameters which are designed for you to easily connect to the applications.
Create Configuration File
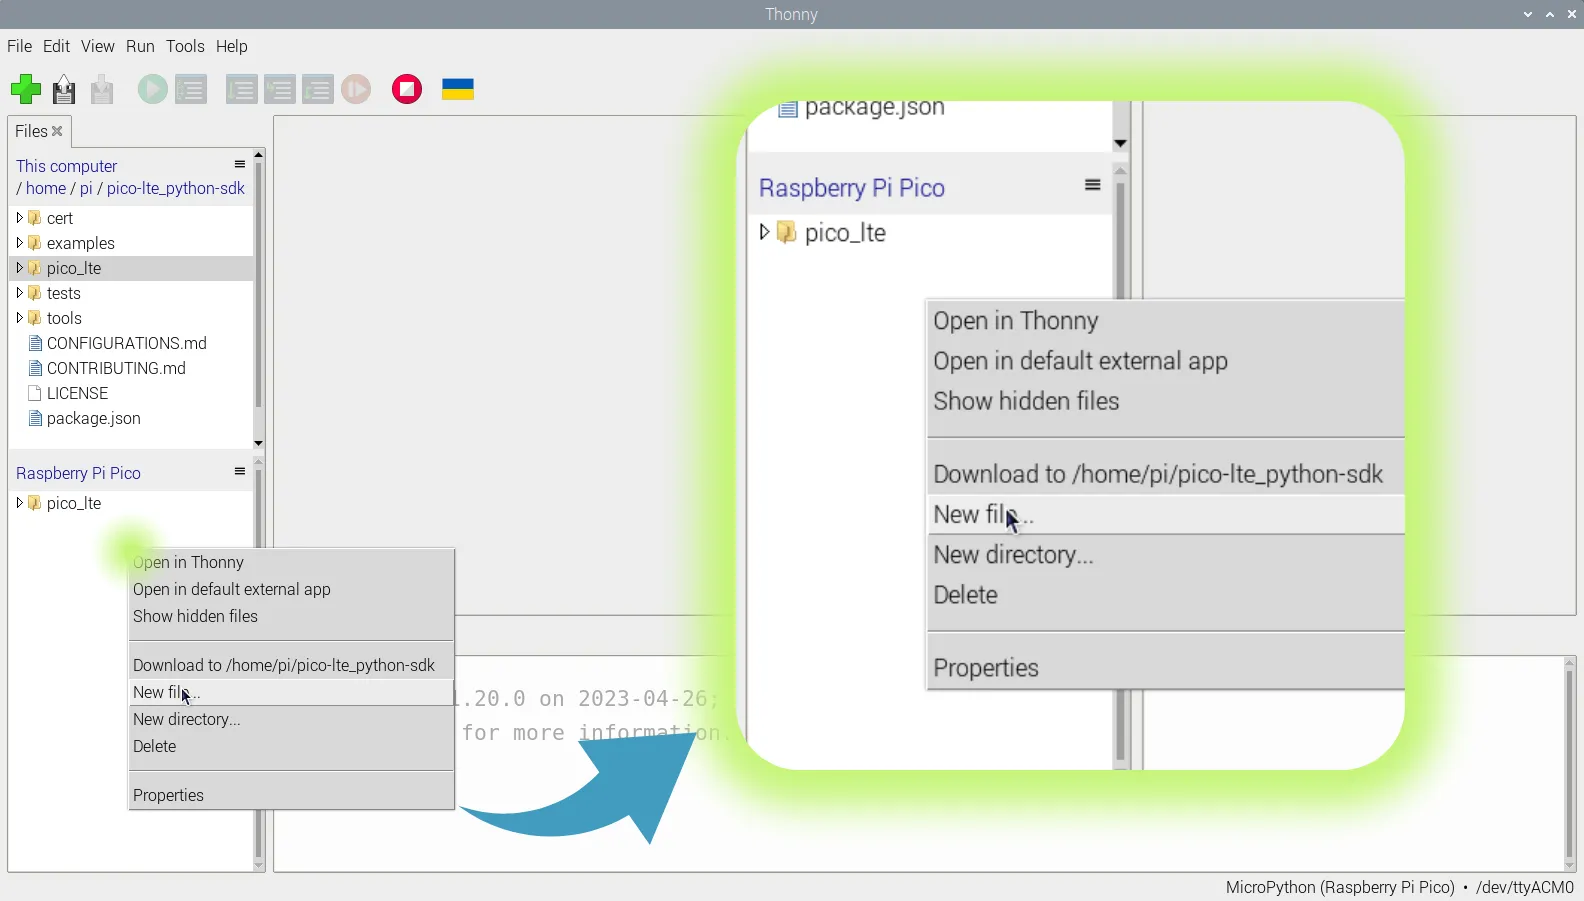
Create config.json file on the root path of the Pico LTE.
You can create the file by right-clicking on an empty space in the Raspberry Pi Pico area.
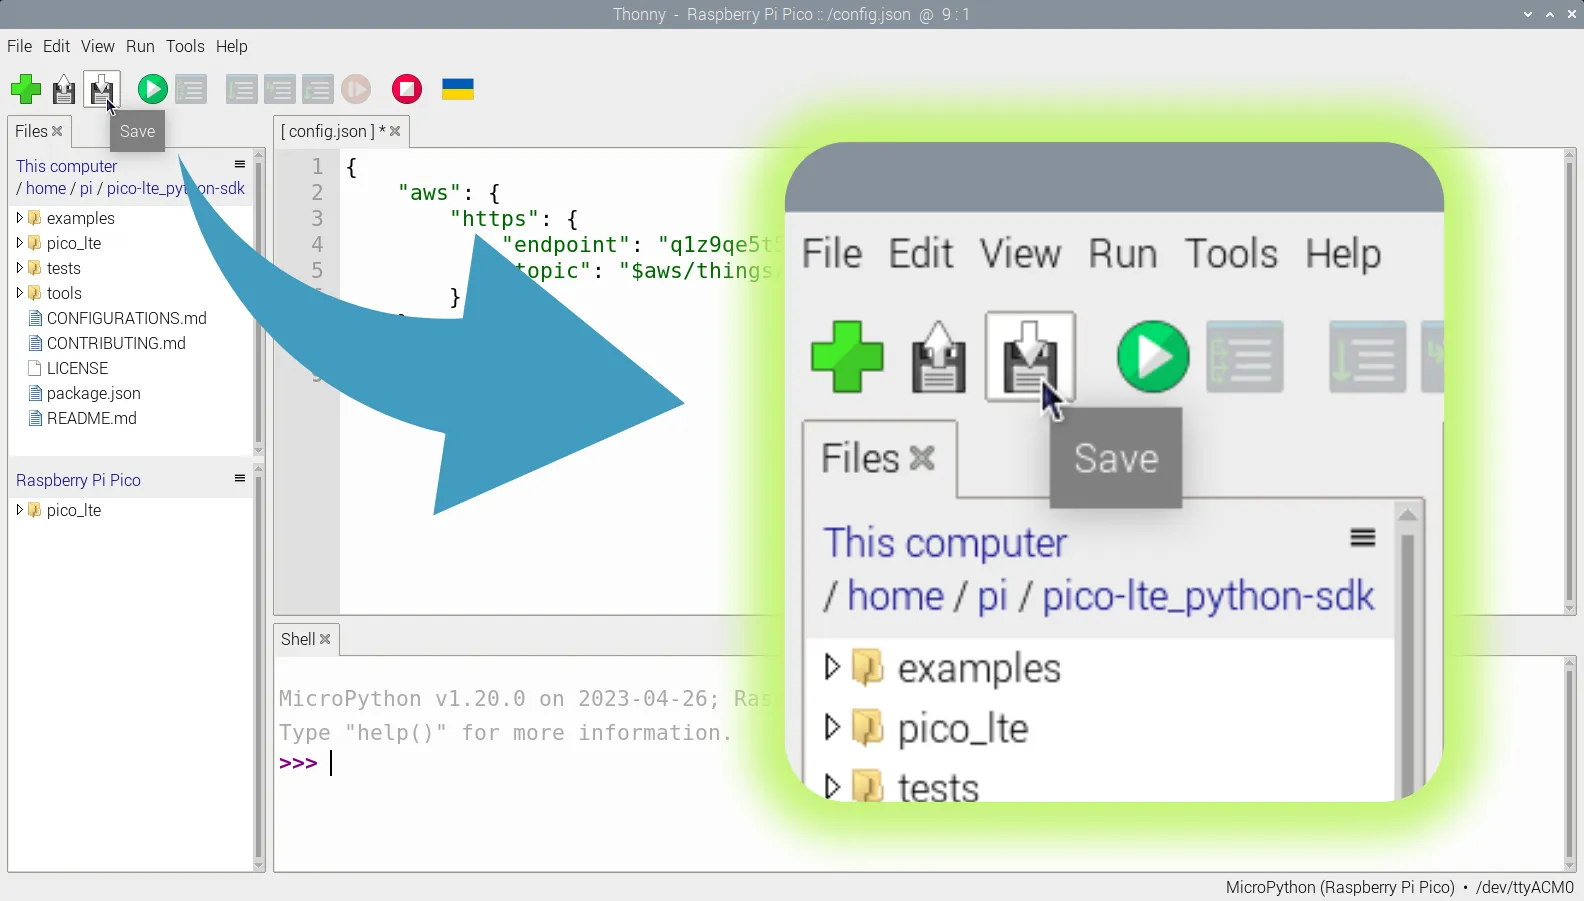
Do not forget to click the Save(Command + S) button after providing the file name.
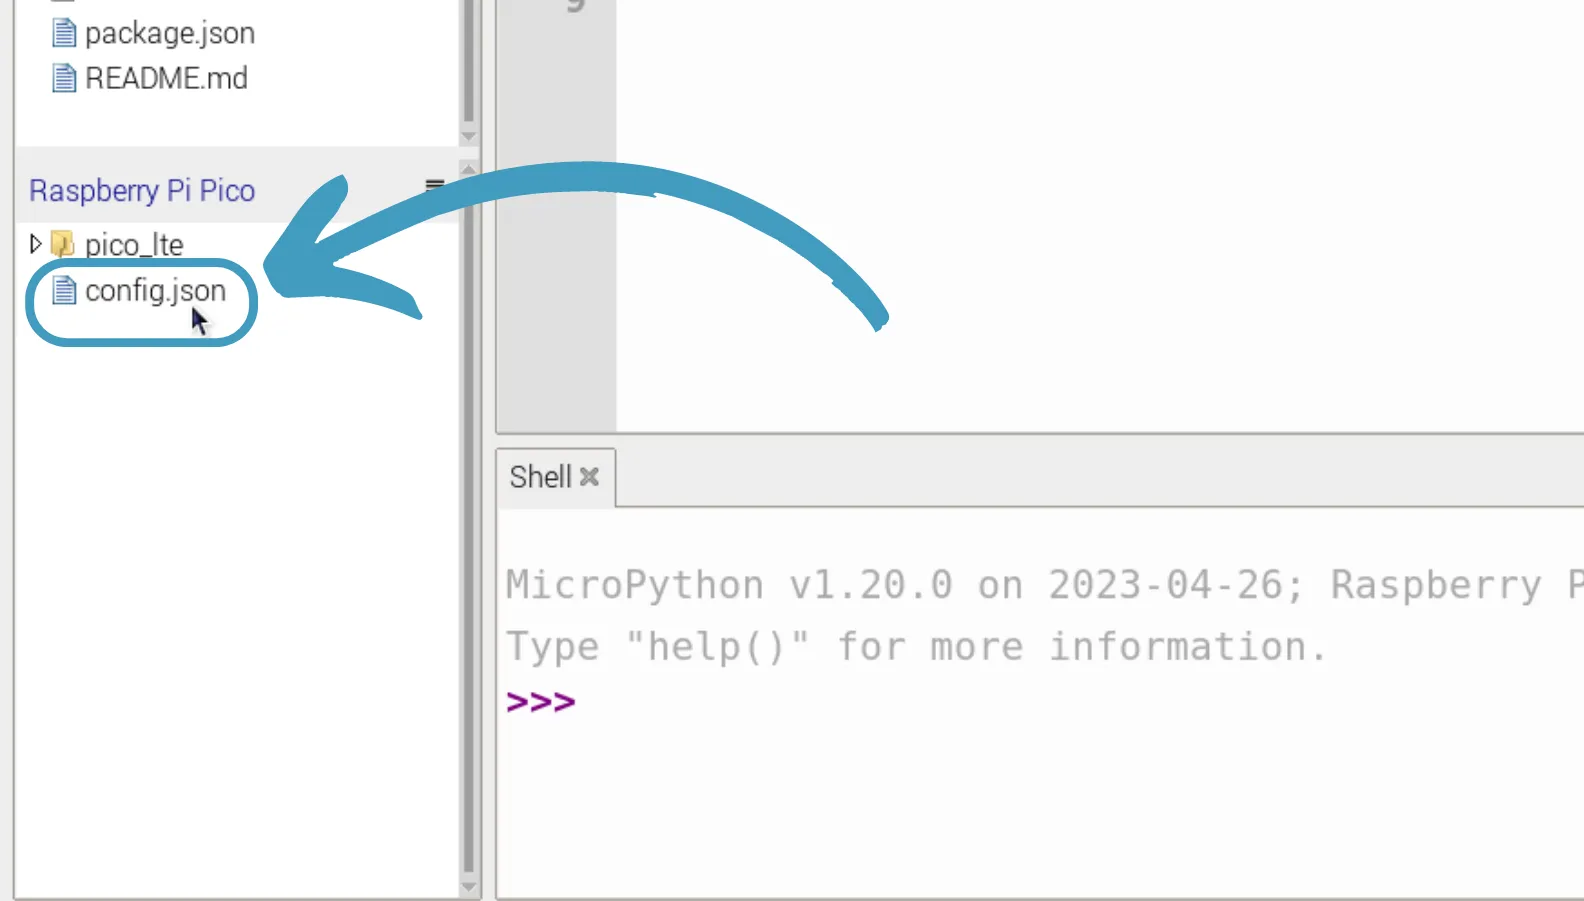
You should see the config.json file in the Pico LTE root directory.
In this file, you can find example configuration files for each application module and their mandatory and optional parameters. This file must be placed in the root directory of the Pico LTE device's file system.
Applications
In this section, we're going to give you better understanding about how to create a config.json file for specific application modules.
❗️ Warning
Please enter your configuration information without square brackets.
Amazon Web Services IoT Core Configurations
You can select MQTTS or HTTPS protocol and delete the other attribute.
{
    "aws": {
        "mqtts": {
            "host": "[YOUR_AWSIOT_ENDPOINT]",
            "port": "[YOUR_AWSIOT_MQTT_PORT]",
            "pub_topic": "[YOUR_MQTT_TOPIC]",
            "sub_topics": [
                "[YOUR_MQTT_TOPIC/1]",
                "[YOUR_MQTT_TOPIC/2]"
            ]
        },

        "https": {
            "endpoint": "[YOUR_AWS_IOT_ENDPOINT]",
            "topic": "[YOUR_DEVICE_TOPIC]"
        }
    }
}
Microsoft Azure IoT Hub Configurations
Within this level of configurations, you can use Azure IoT Hub directly.
{
    "azure": {
        "hub_name": "[YOUR_IOT_HUB_NAME]",
        "device_id": "[YOUR_DEVICE_ID]"
    }
}
For more detailed configuration, you may want to use extra MQTTS parameters. Each attribute in MQTTS is optional.
{
    "azure": {
        "hub_name": "[YOUR_IOT_HUB_NAME]",
        "device_id": "[YOUR_DEVICE_ID]",
        "mqtts": {
            "host":"[YOUR_MQTT_HOST]",
            "port":"[YOUR_MQTT_PORT]",
            "pub_topic":"[YOUR_MQTT_PUB_TOPIC]",
            "sub_topics":[
                ["[YOUR_MQTT_TOPIC/1]",[QOS]],
                ["[YOUR_MQTT_TOPIC/2]",[QOS]]
            ],
            "username":"[YOUR_MQTT_USERNAME]",
            "password":"[YOUR_MQTT_PASSWORD]"
        }
    }
}
Slack Configurations
To connect Slack, only need is a WebHook URL, there is no more detailed attributes.
{
    "slack":{
        "webhook_url": "[INCOMING_WEBHOOK_URL]"
    }
}
Telegram Configurations
Within this level of configurations, you can use Telegram directly.
{
    "telegram": {
        "token": "[YOUR_BOT_TOKEN_ID]",
        "chat_id": "[YOUR_GROUP_CHAT_ID]"
    }
}
In case of future server URL changes in Telegram side, you may want to add server attribute as shown below.
{
    "telegram": {
        "server": "[TELEGRAM_BOT_API_ENDPOINT]",
        "token": "[YOUR_BOT_TOKEN_ID]",
        "chat_id": "[YOUR_GROUP_CHAT_ID]"
    }
}
ThingSpeak Configurations
Within this level of configurations, you can use ThingSpeak directly. Subscription and publish operations are made directly to all channel fields.
{
    "thingspeak": {
        "channel_id": "[YOUR_CHANNEL_ID]",
        "mqtts": {
            "client_id": "[DEVICE_MQTT_CLIENT_ID]",
            "username": "[DEVICE_MQTT_USERNAME]",
            "password": "[DEVICE_MQTT_PASSWORD]"
        }
    }
}
For better control on which fields to subscribe or publish, you may want to add extra attributes. Also, please note that host and port address can be change by its own attributes.
{
    "thingspeak": {
        "channel_id": "[YOUR_CHANNEL_ID]",
        "mqtts": {
            "host": "[THINGSPEAK_HOST_ADDRESS]",
            "port": "[THINGSPEAK_PORT_ADDRESS]",
            "client_id": "[DEVICE_MQTT_CLIENT_ID]",
            "username": "[DEVICE_MQTT_USERNAME]",
            "password": "[DEVICE_MQTT_PASSWORD]",
            "sub_topics": [
                ["[YOUR_MQTT_TOPIC]", [QOS]]
            ],
            "pub_topic": "[YOUR_MQTT_TOPIC]"
        }
    }
}
Modules
Some use-cases can be implemented by using modules when there is no spesific application for that use-case. In this situtations, the developers can built their own solutions with using HTTPS and MQTTS modules.
HTTPS Configurations
{
    "https": {
        "server": "[HTTP_SERVER]",
        "username": "[YOUR_HTTP_USERNAME]",
        "password": "[YOUR_HTTP_PASSWORD]"
    }
}
MQTTS Configurations
{
    "mqtts": {
        "host": "[YOUR_MQTT_HOST]",
        "port": "[YOUR_MQTT_PORT]",
        "pub_topic": "[YOUR_MQTT_PUB_TOPIC]",
        "sub_topics": [
            ["[YOUR_MQTT_TOPIC/1]",[QOS]],
            ["[YOUR_MQTT_TOPIC/2]",[QOS]]
        ],
        "username": "[YOUR_MQTT_USERNAME]",
        "password": "[YOUR_MQTT_PASSWORD]"
}
Configuration Files for Your Own Application Module
The most important feature that we've developed in Pico LTE SDK is the ability to create new applications for your specific services. Please refer to CONTRIBUTING.md guidelines.
You need to follow the standards that we used to create application configuration parameters.
This is the general structure of a config.json file:
{
   "your_own_app": {
       [application_specific_attributes],
       // If the connection made with MQTTS:
       "mqtts": {
           "host": "",
           "port": "",
           "pub_topic": "",
           "sub_topics": [
               ["", [QOS]],
               ["", [QOS]]
           ],
           "username": "",
           "password": ""
       },
       // If the connection made with HTTPS:
       "https": {
           "server": "",
           "username": "",
           "password": ""
       }
   }
}
In case of redundant parameter in MQTTS or HTTPS, you can remove it from the structure.
Updated 8 months ago