Send Message to Slack Channel
Slack is a cloud-based business chat platform that links users to the data they require. Also, Slack changes how businesses communicate by uniting employees to work as a single cohesive team. The Slack API offers a user interface for retrieving information and making changes in a Slack workplace.
The Pico LTE device provides all the components needed to send messages to the Slack channel.
Before starting this Pico LTE tutorial, the Pico LTE SDK installation and configuration steps must be completed. Below are the system requirements for this tutorial. If you haven't followed the SDK installation steps, please refer to the page below before proceeding with the tutorial. The details of these steps will not be covered in this tutorial.
System Requirements
| Hardware Requirements | Software Requirements |
|---|---|
| • Sixfab Pico LTE • Micro USB cable |
• Thonny IDE |
If you have completed all the requirements, you are ready to send a message to Slack with the Pico LTE device. Let's get started!
Preparing Coding Environment
- Download the Pico LTE SDK repository to your local machine. If you have already downloaded it, skip this step.
- Open script "examples → slack → send_message.py from the repository via Thonny IDE.
- If you haven't, create a config.json file in the root directory of Pico LTE device.
Create a Slack Workspace
Log in to Slack with your email address from the link. Then, click the “Create a New Workspace” button or continue with other workspaces you have created.
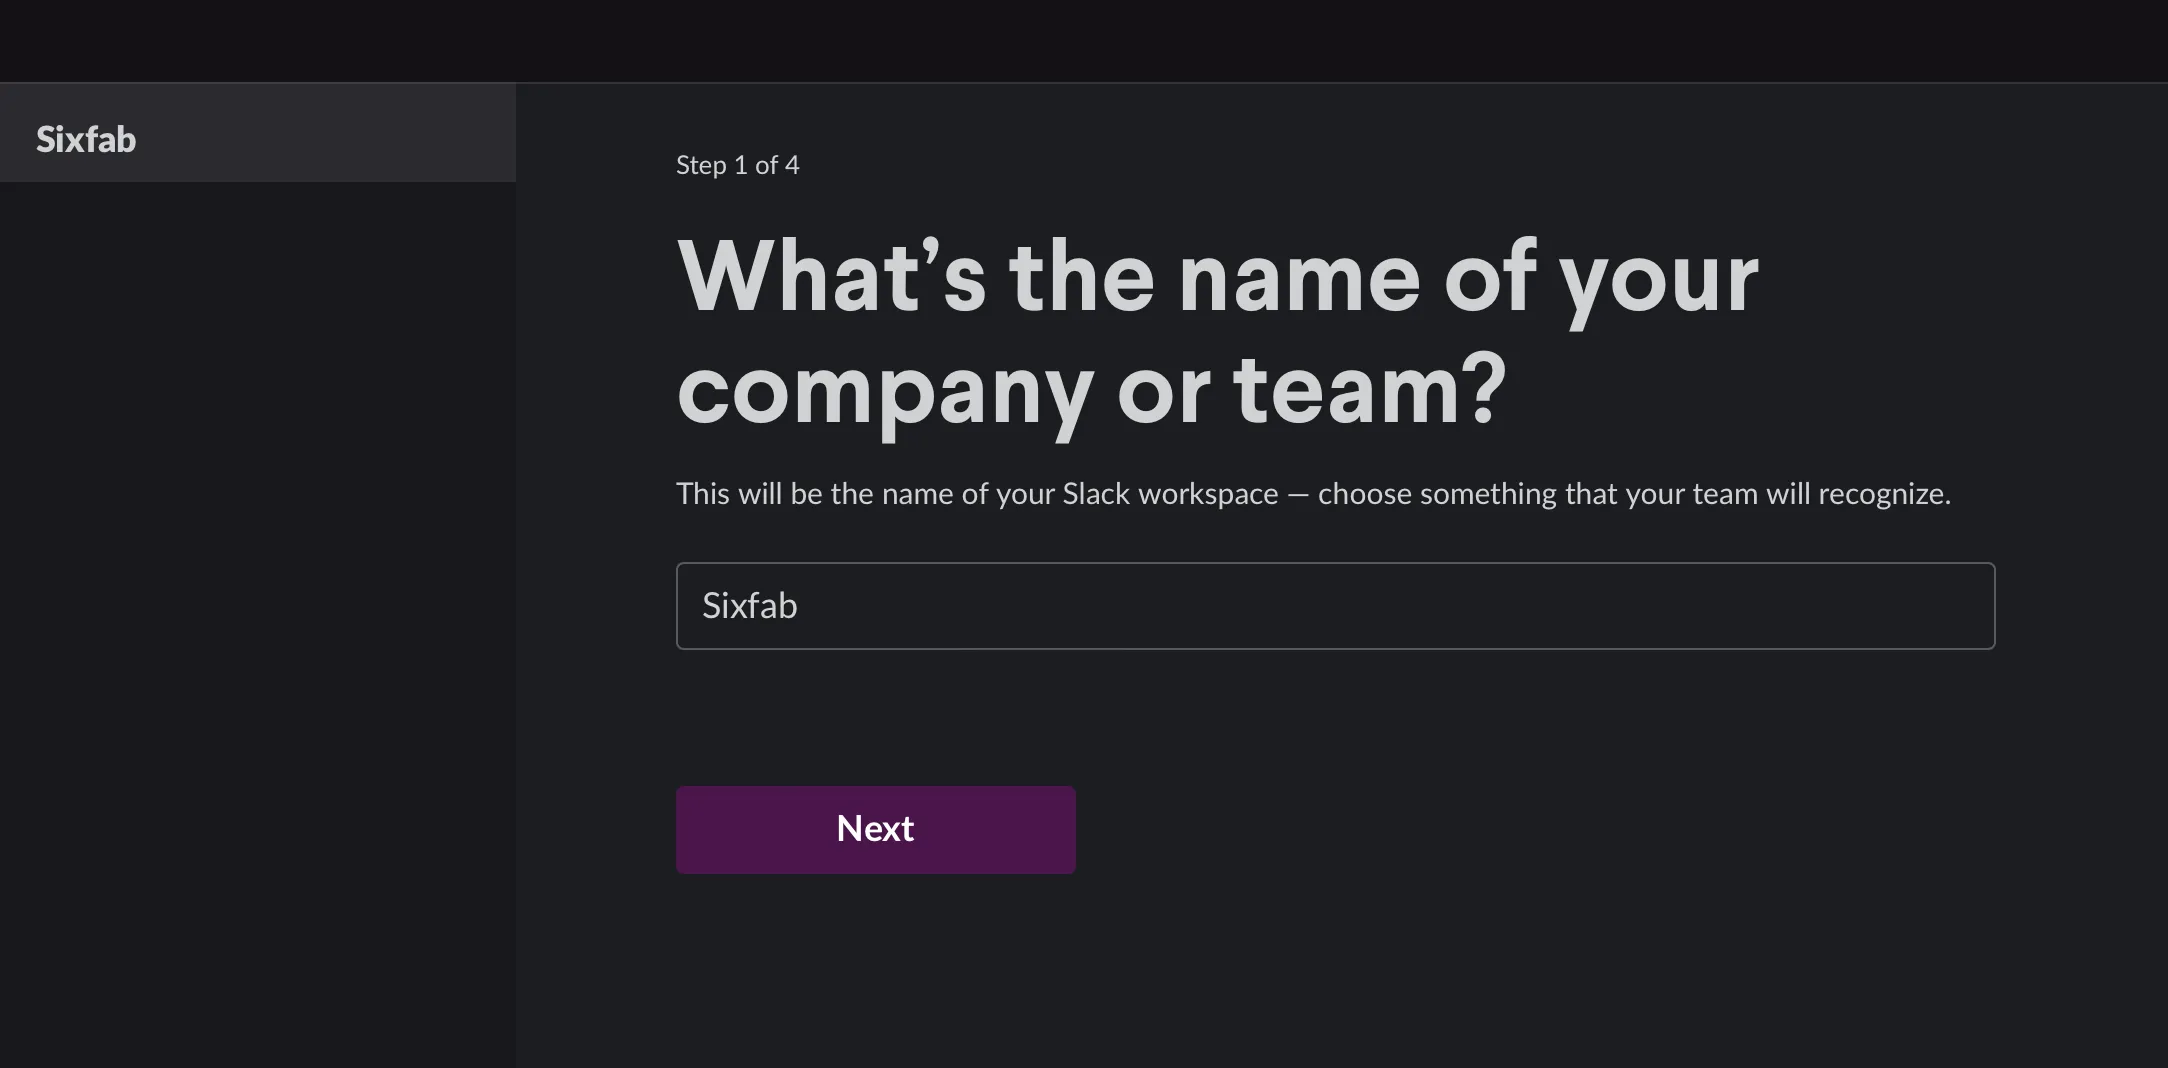
Continue the first step of the four-step process by entering your company or team name (ex. Sixfab).
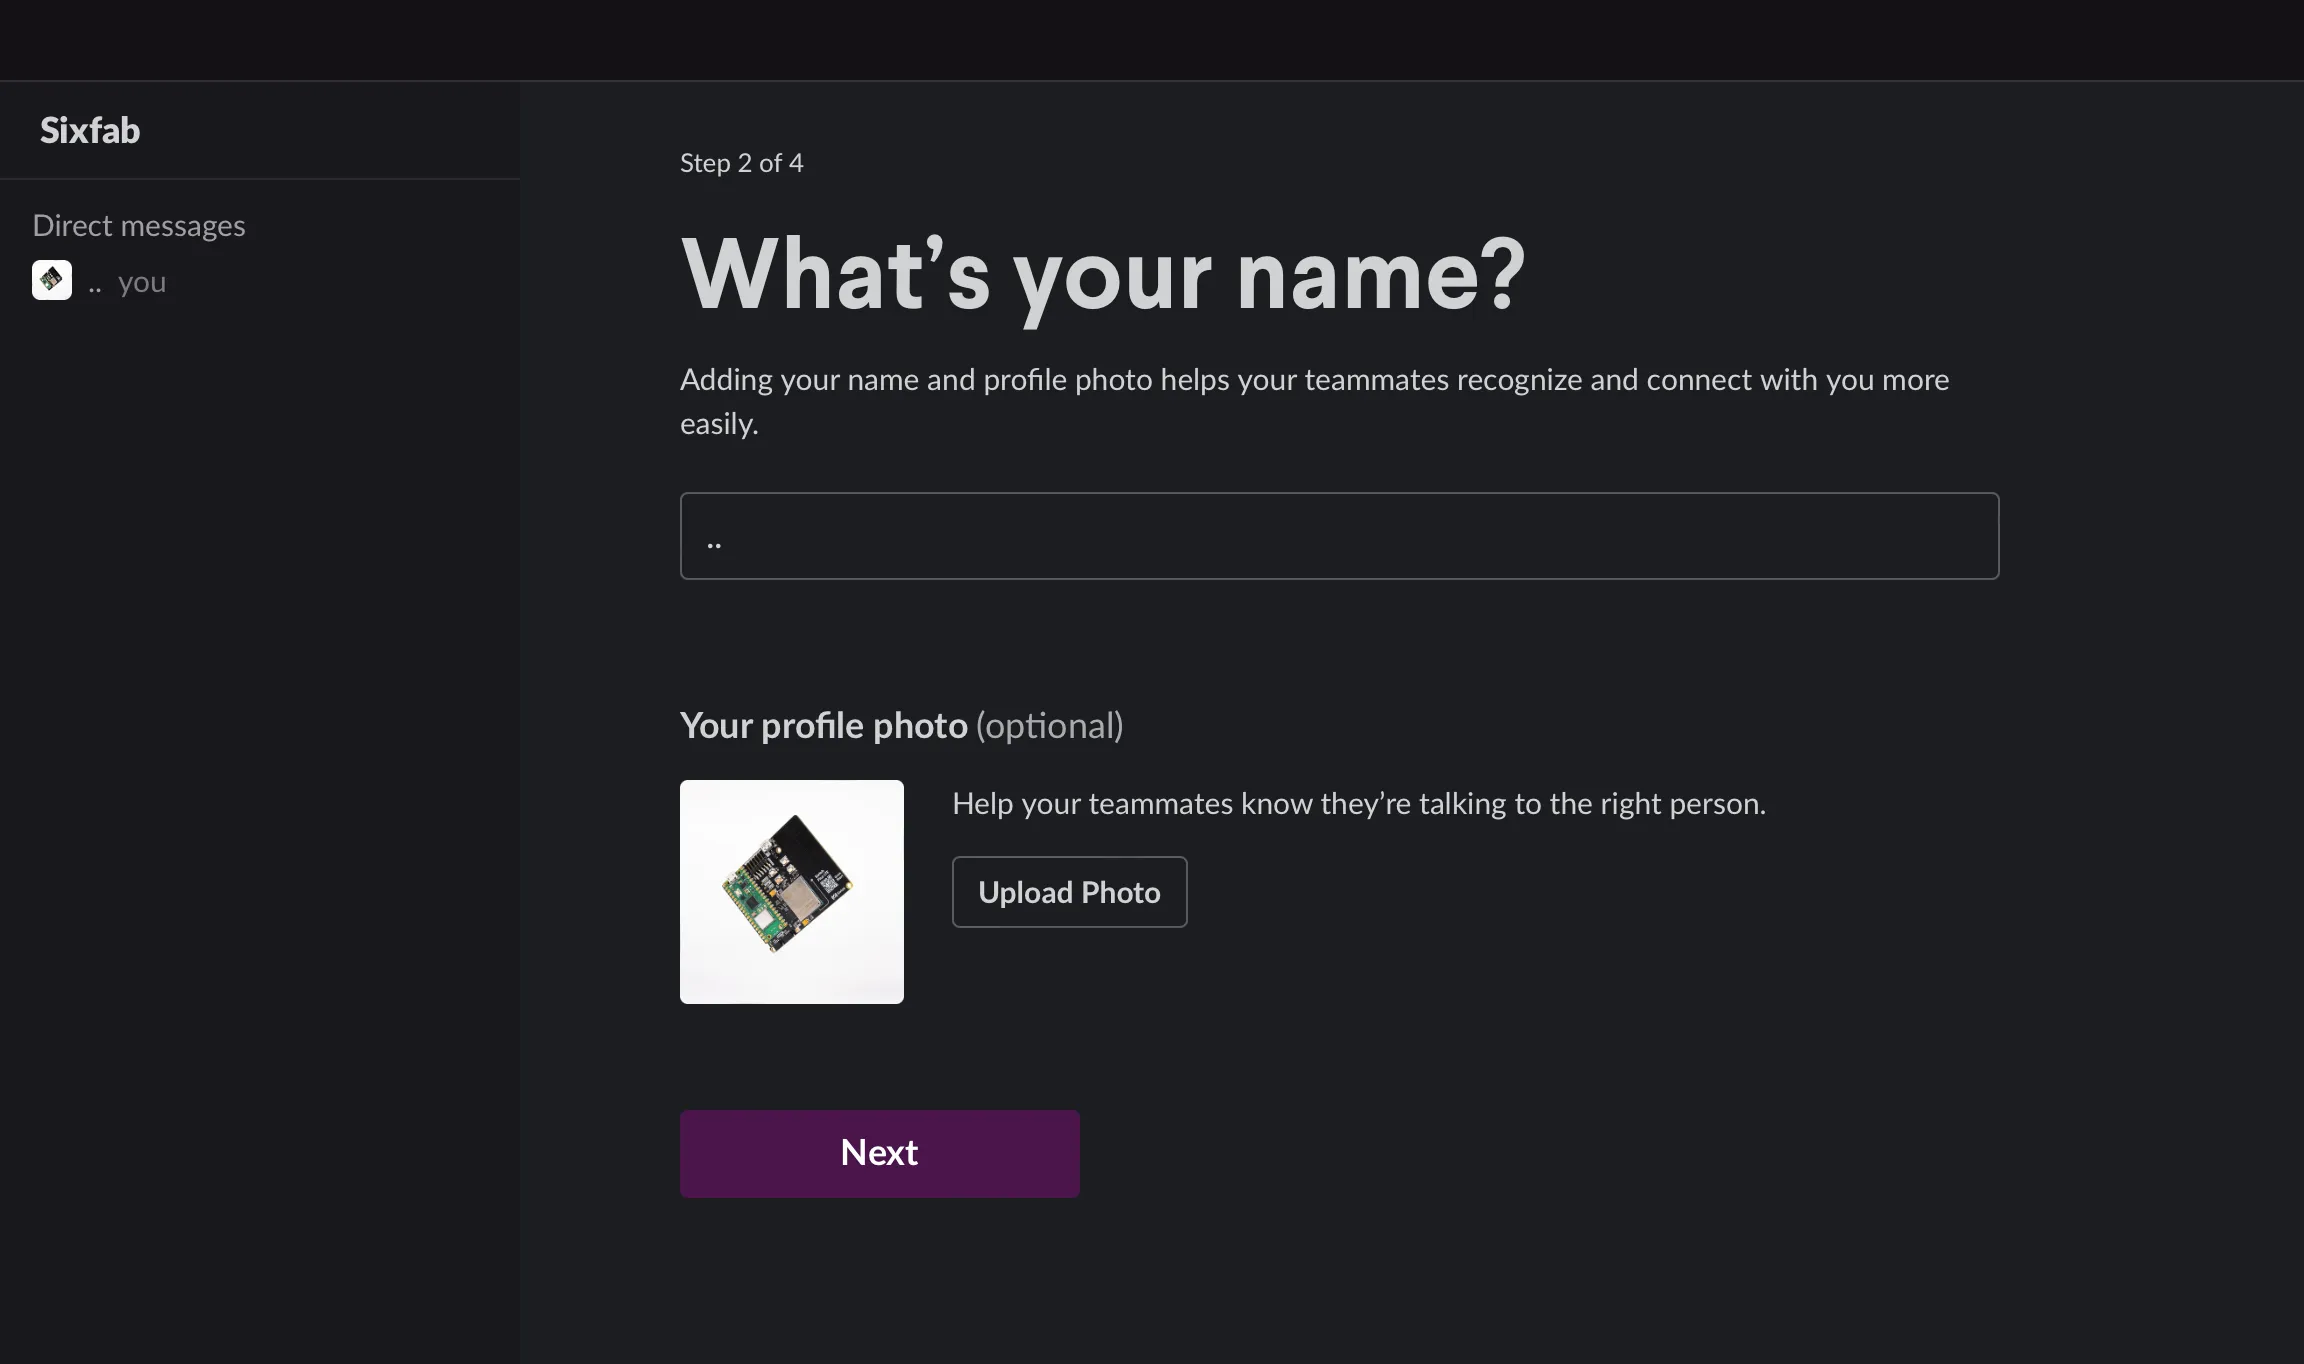
Adding your name and profile photo.
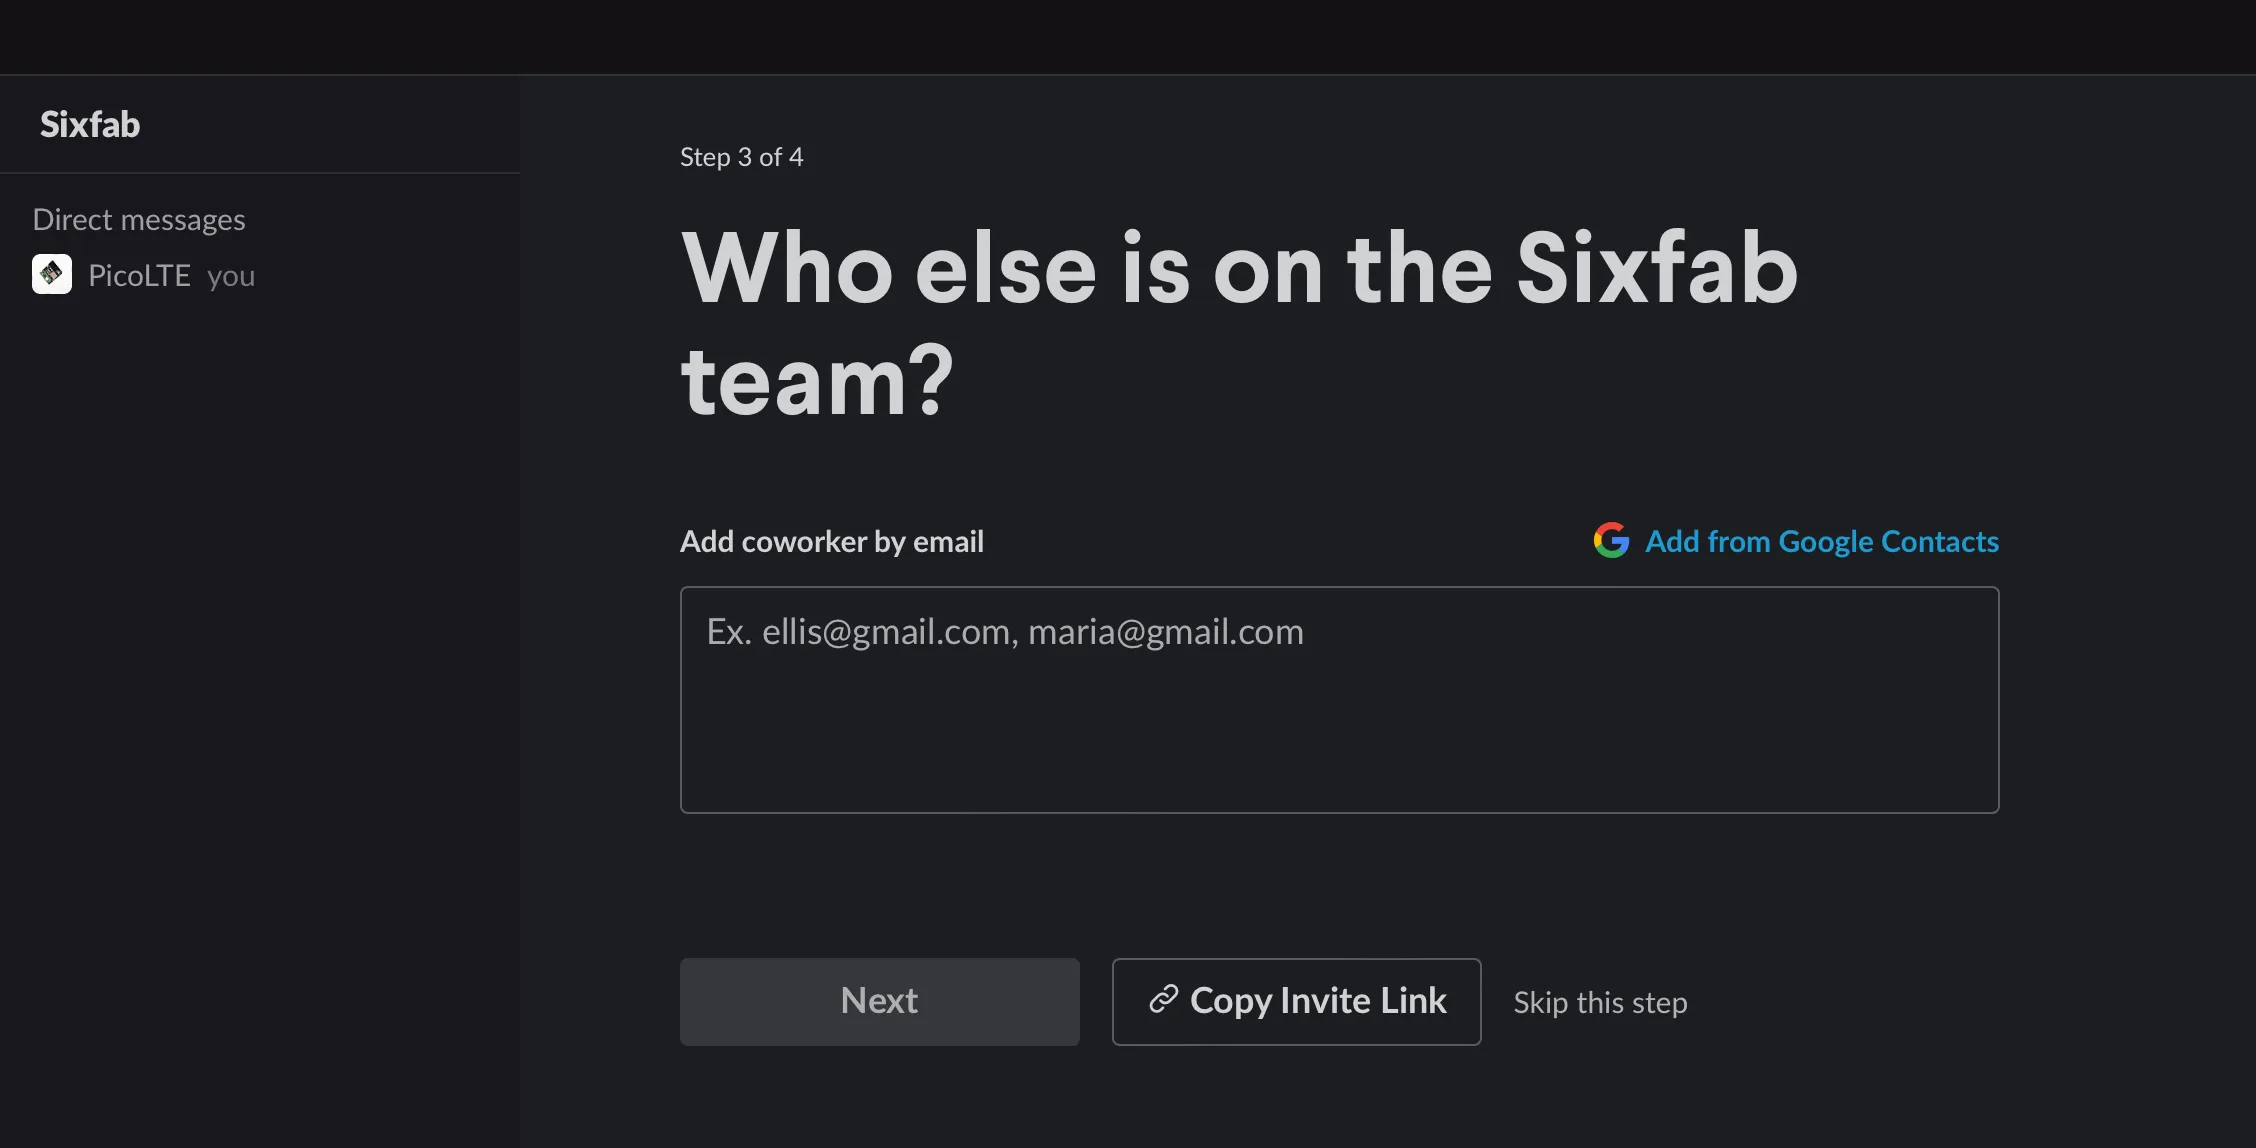
Add coworker by email or skip this step.
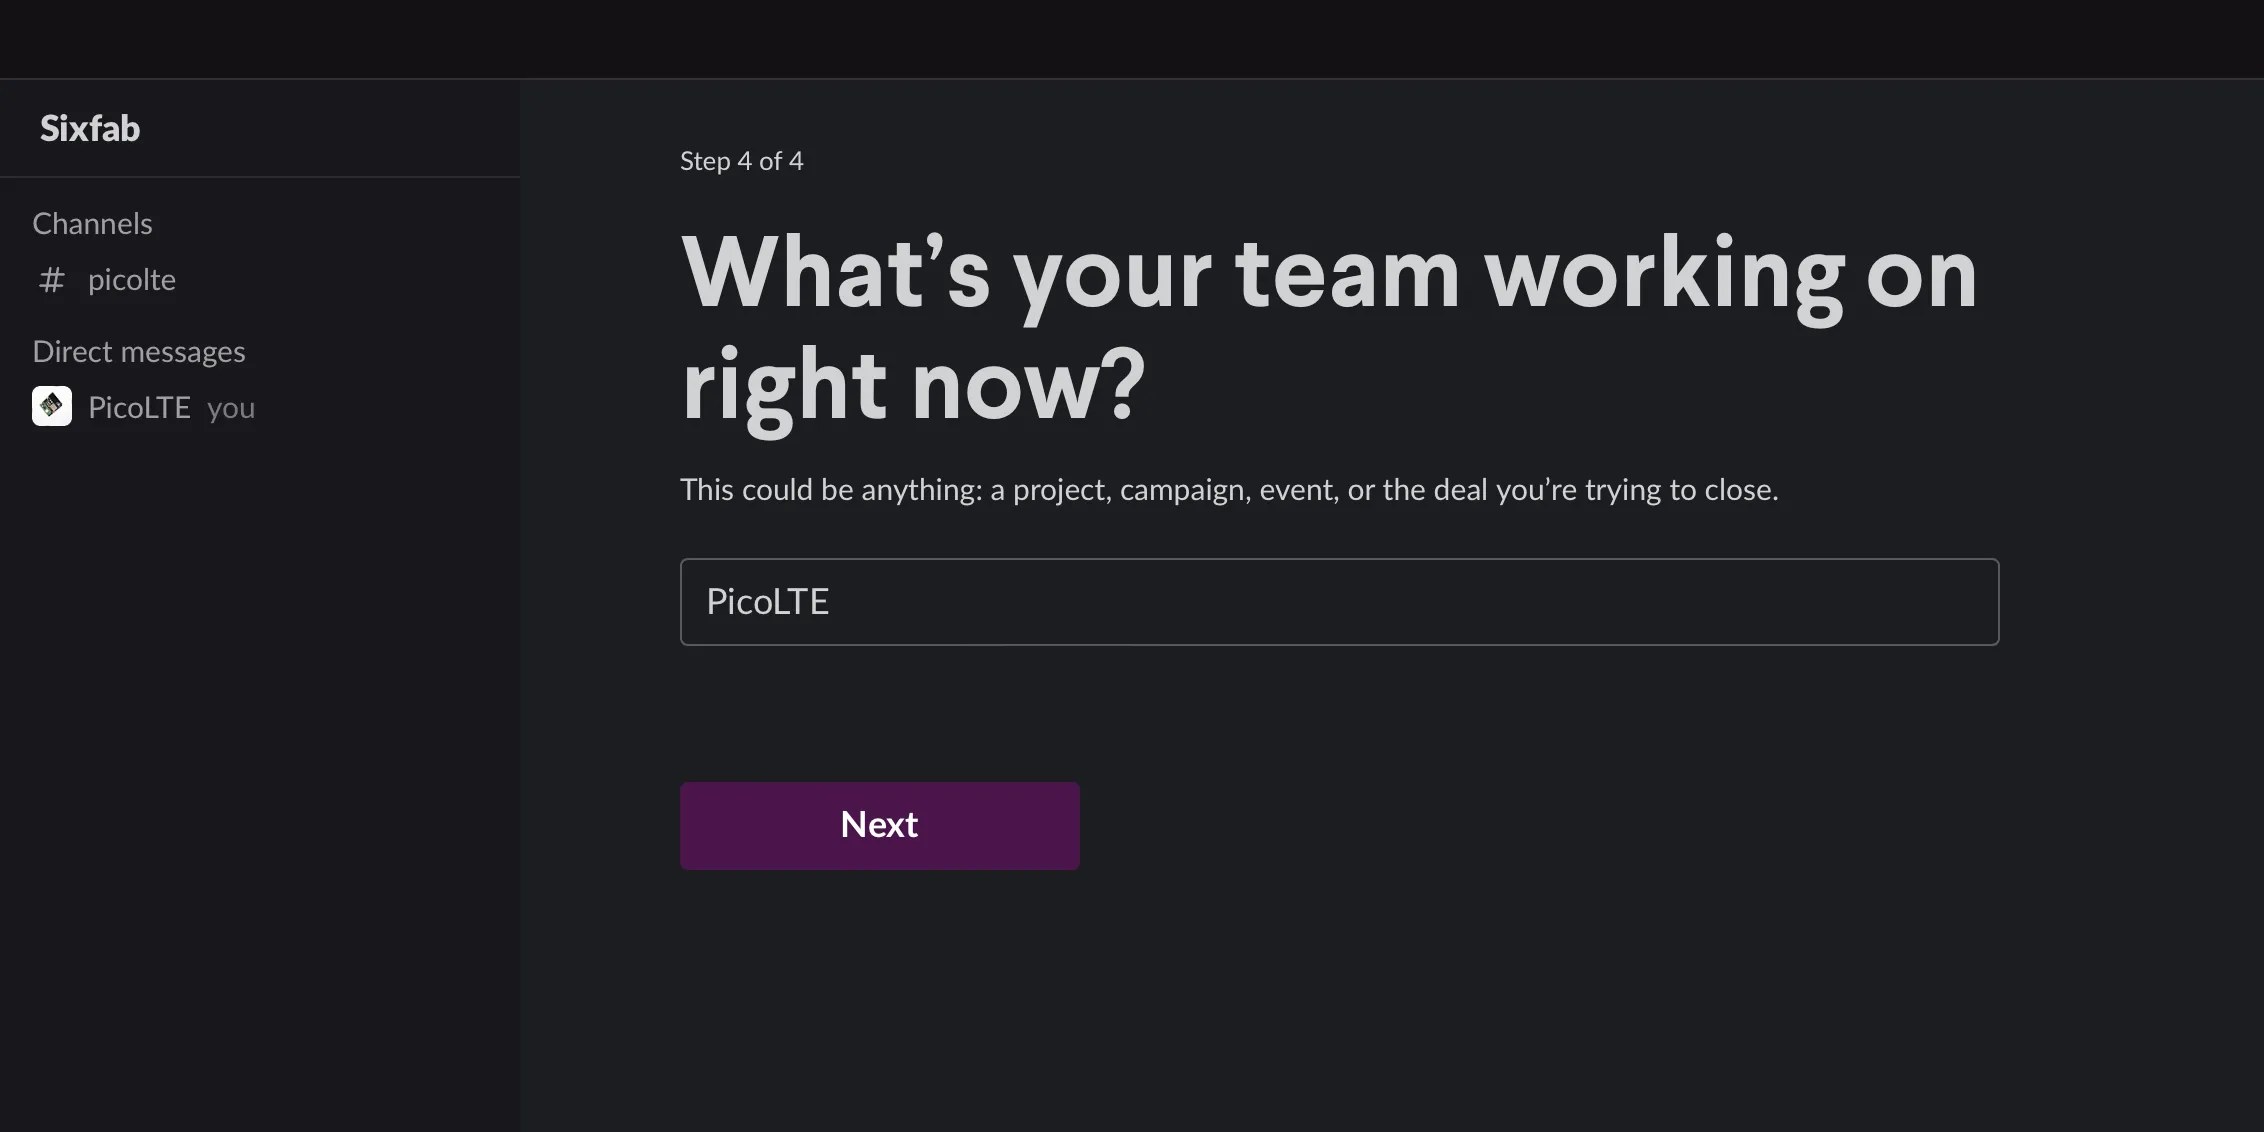
Type the team you are currently working on.
Workspace has been successfully created!
Create an App
After creating the Workspace, the app that will send the message needs to be created. For this, go to the link in a separate tab. Click "Your apps" to view and use apps. Then, click "Create an app" to create a new app for sending messages.
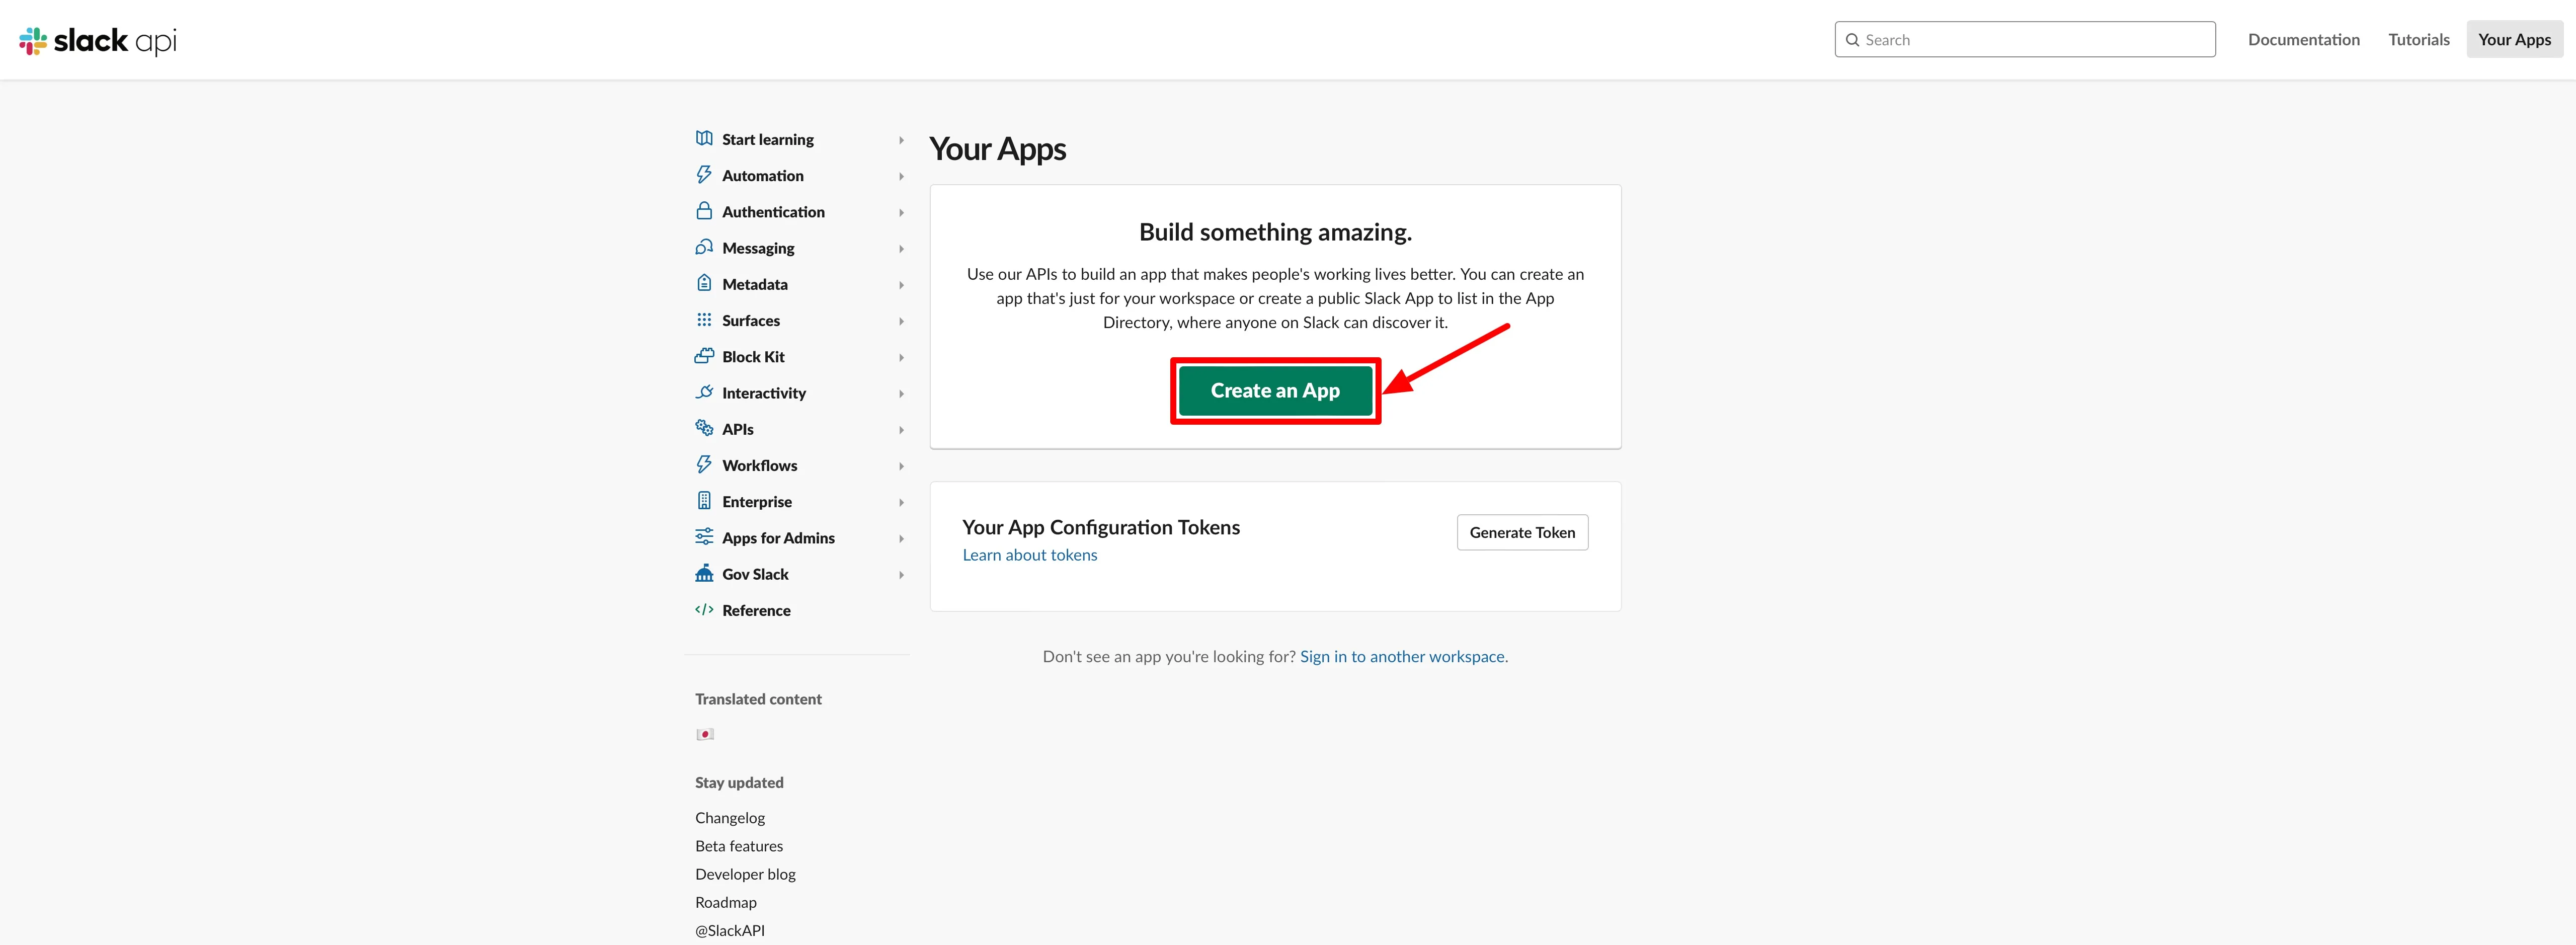
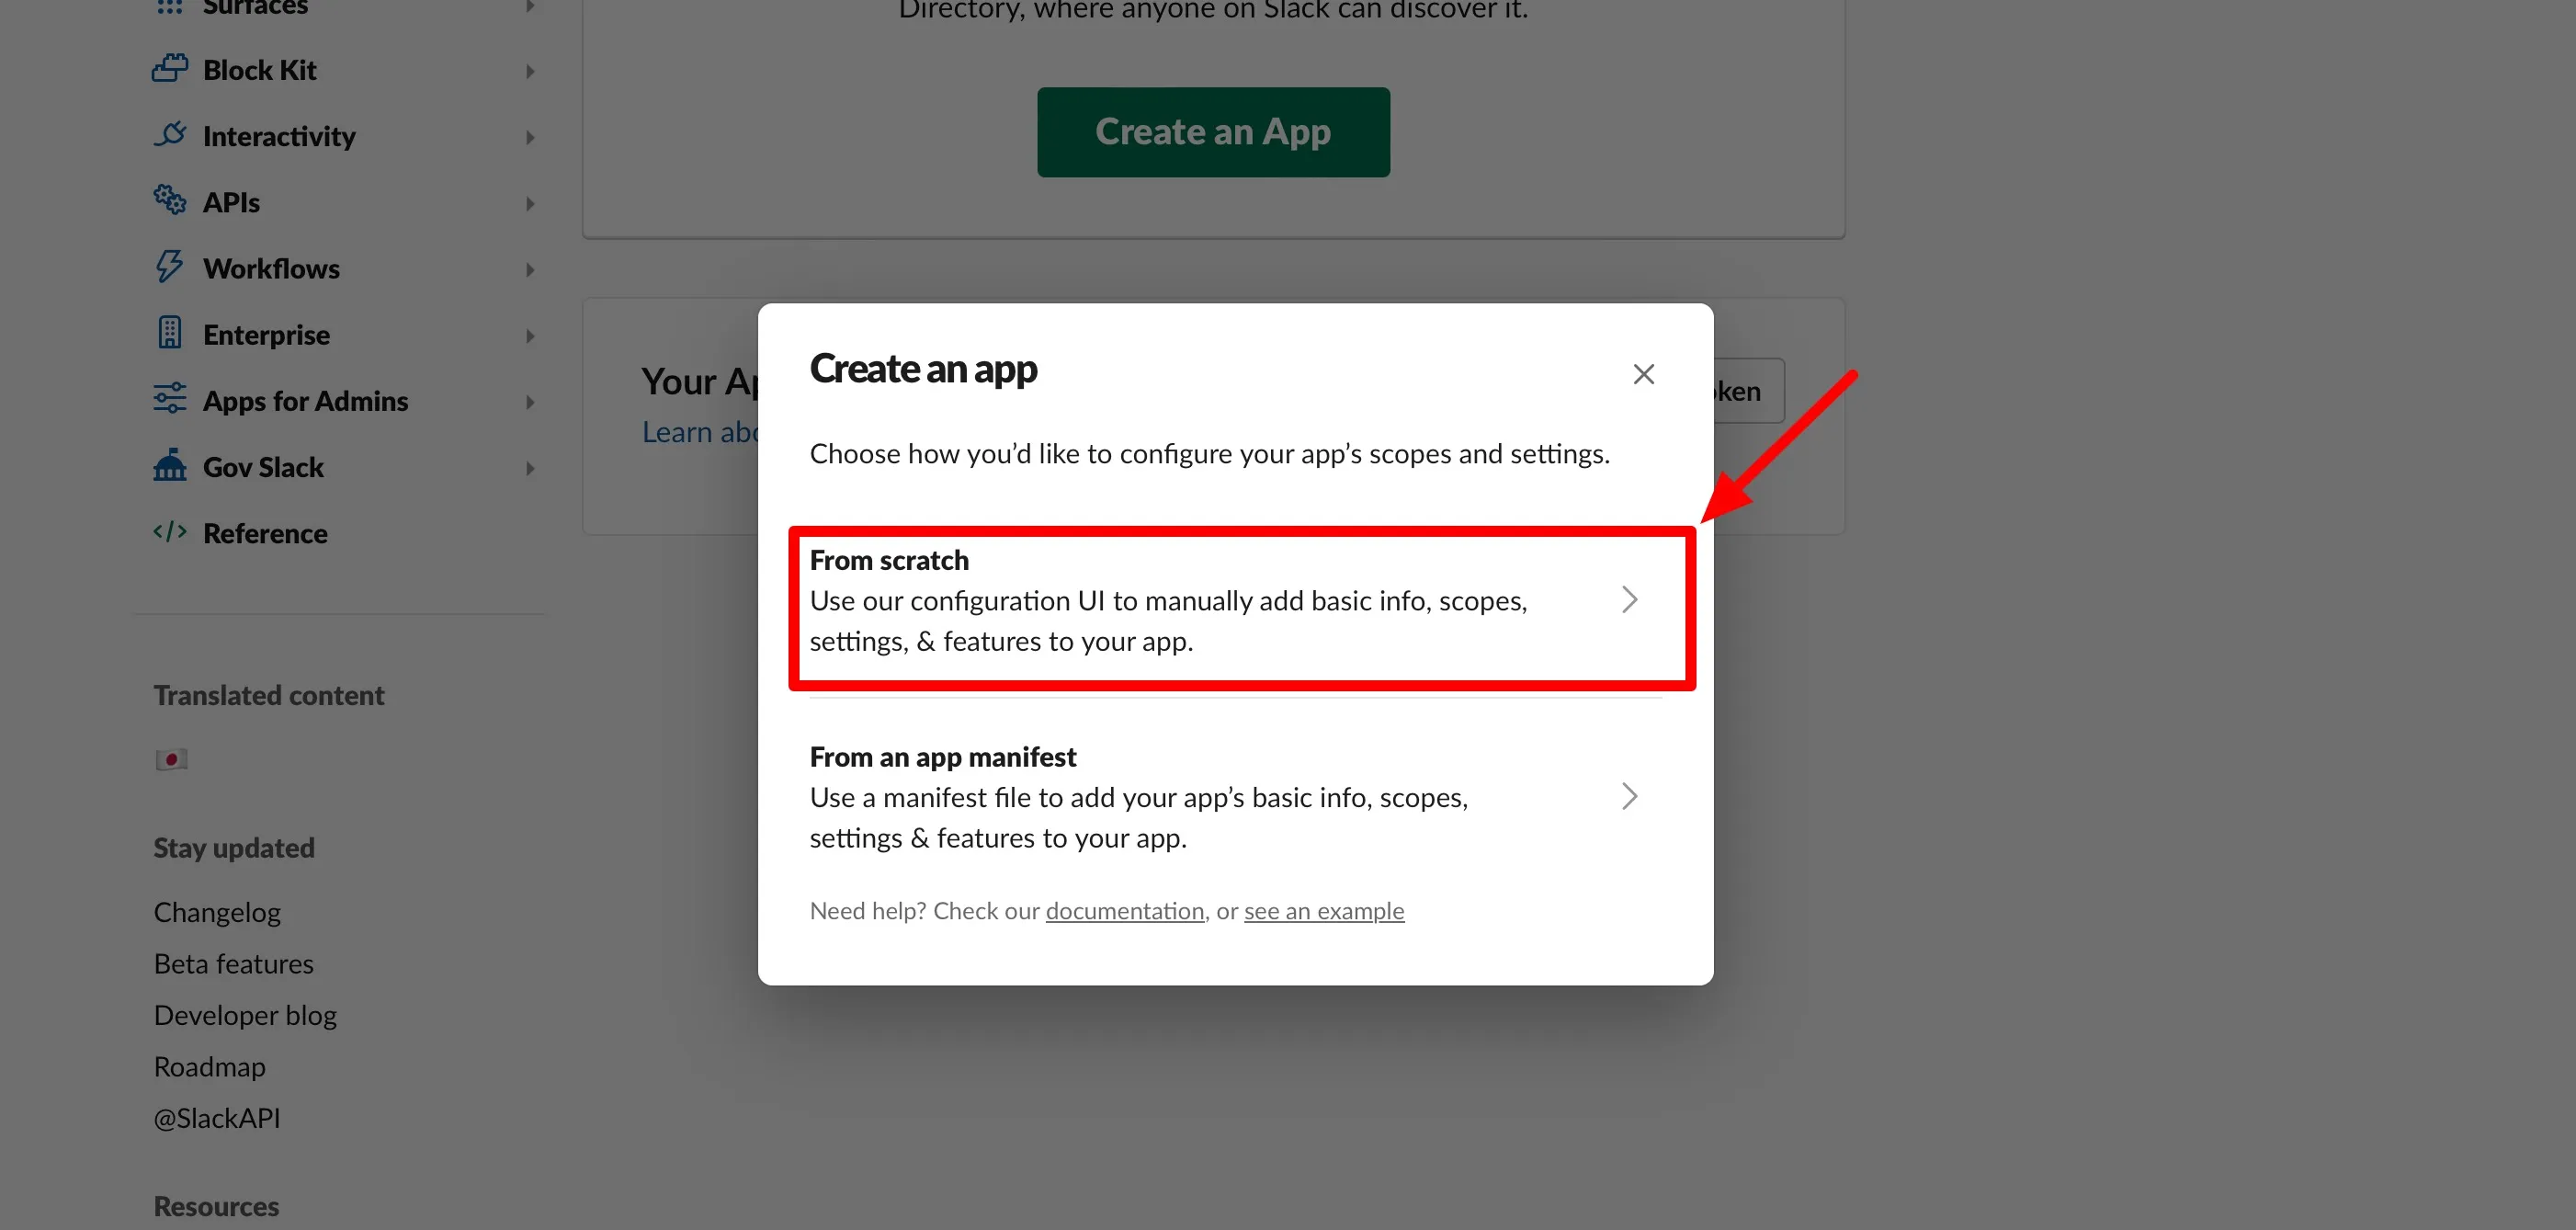
If you continue by Creating an App, select the "From scratch" option.
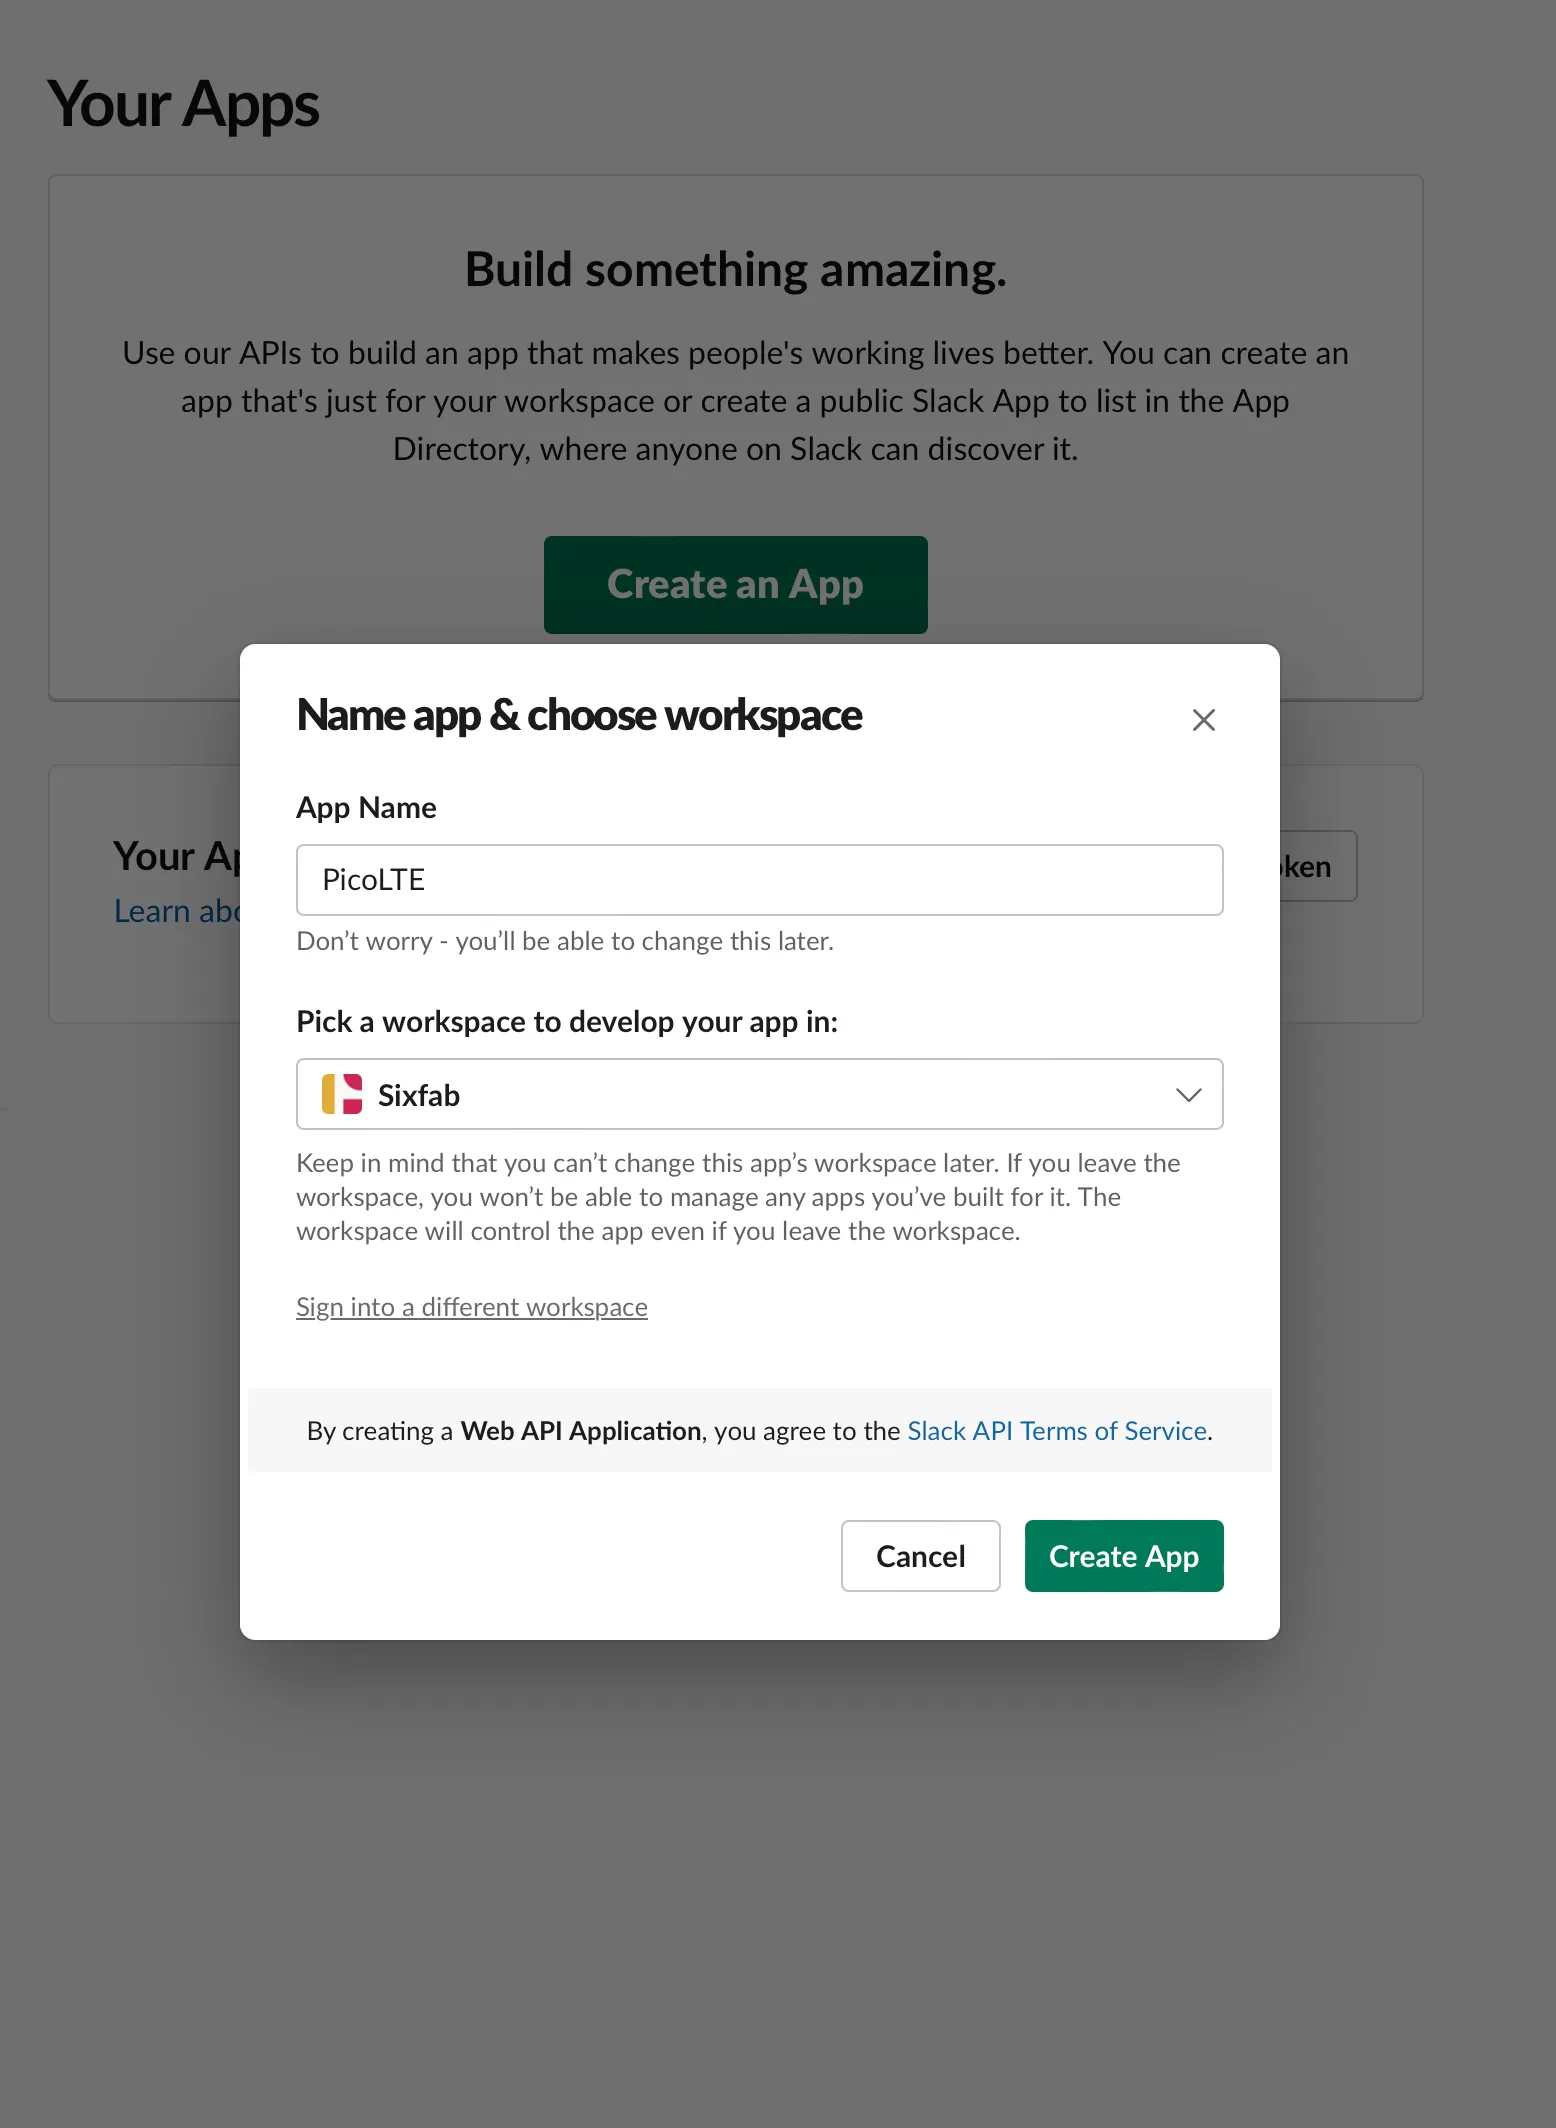
Then enter the name of your App (ex. PicoLTE) and select the workspace to work in. You can choose the workspace you created in the previous step or a workspace you created earlier.
Add Webhook Feature
On the screen that appears for editing the app, go to Incoming Webhooks from the Features section. You need to activate this feature.
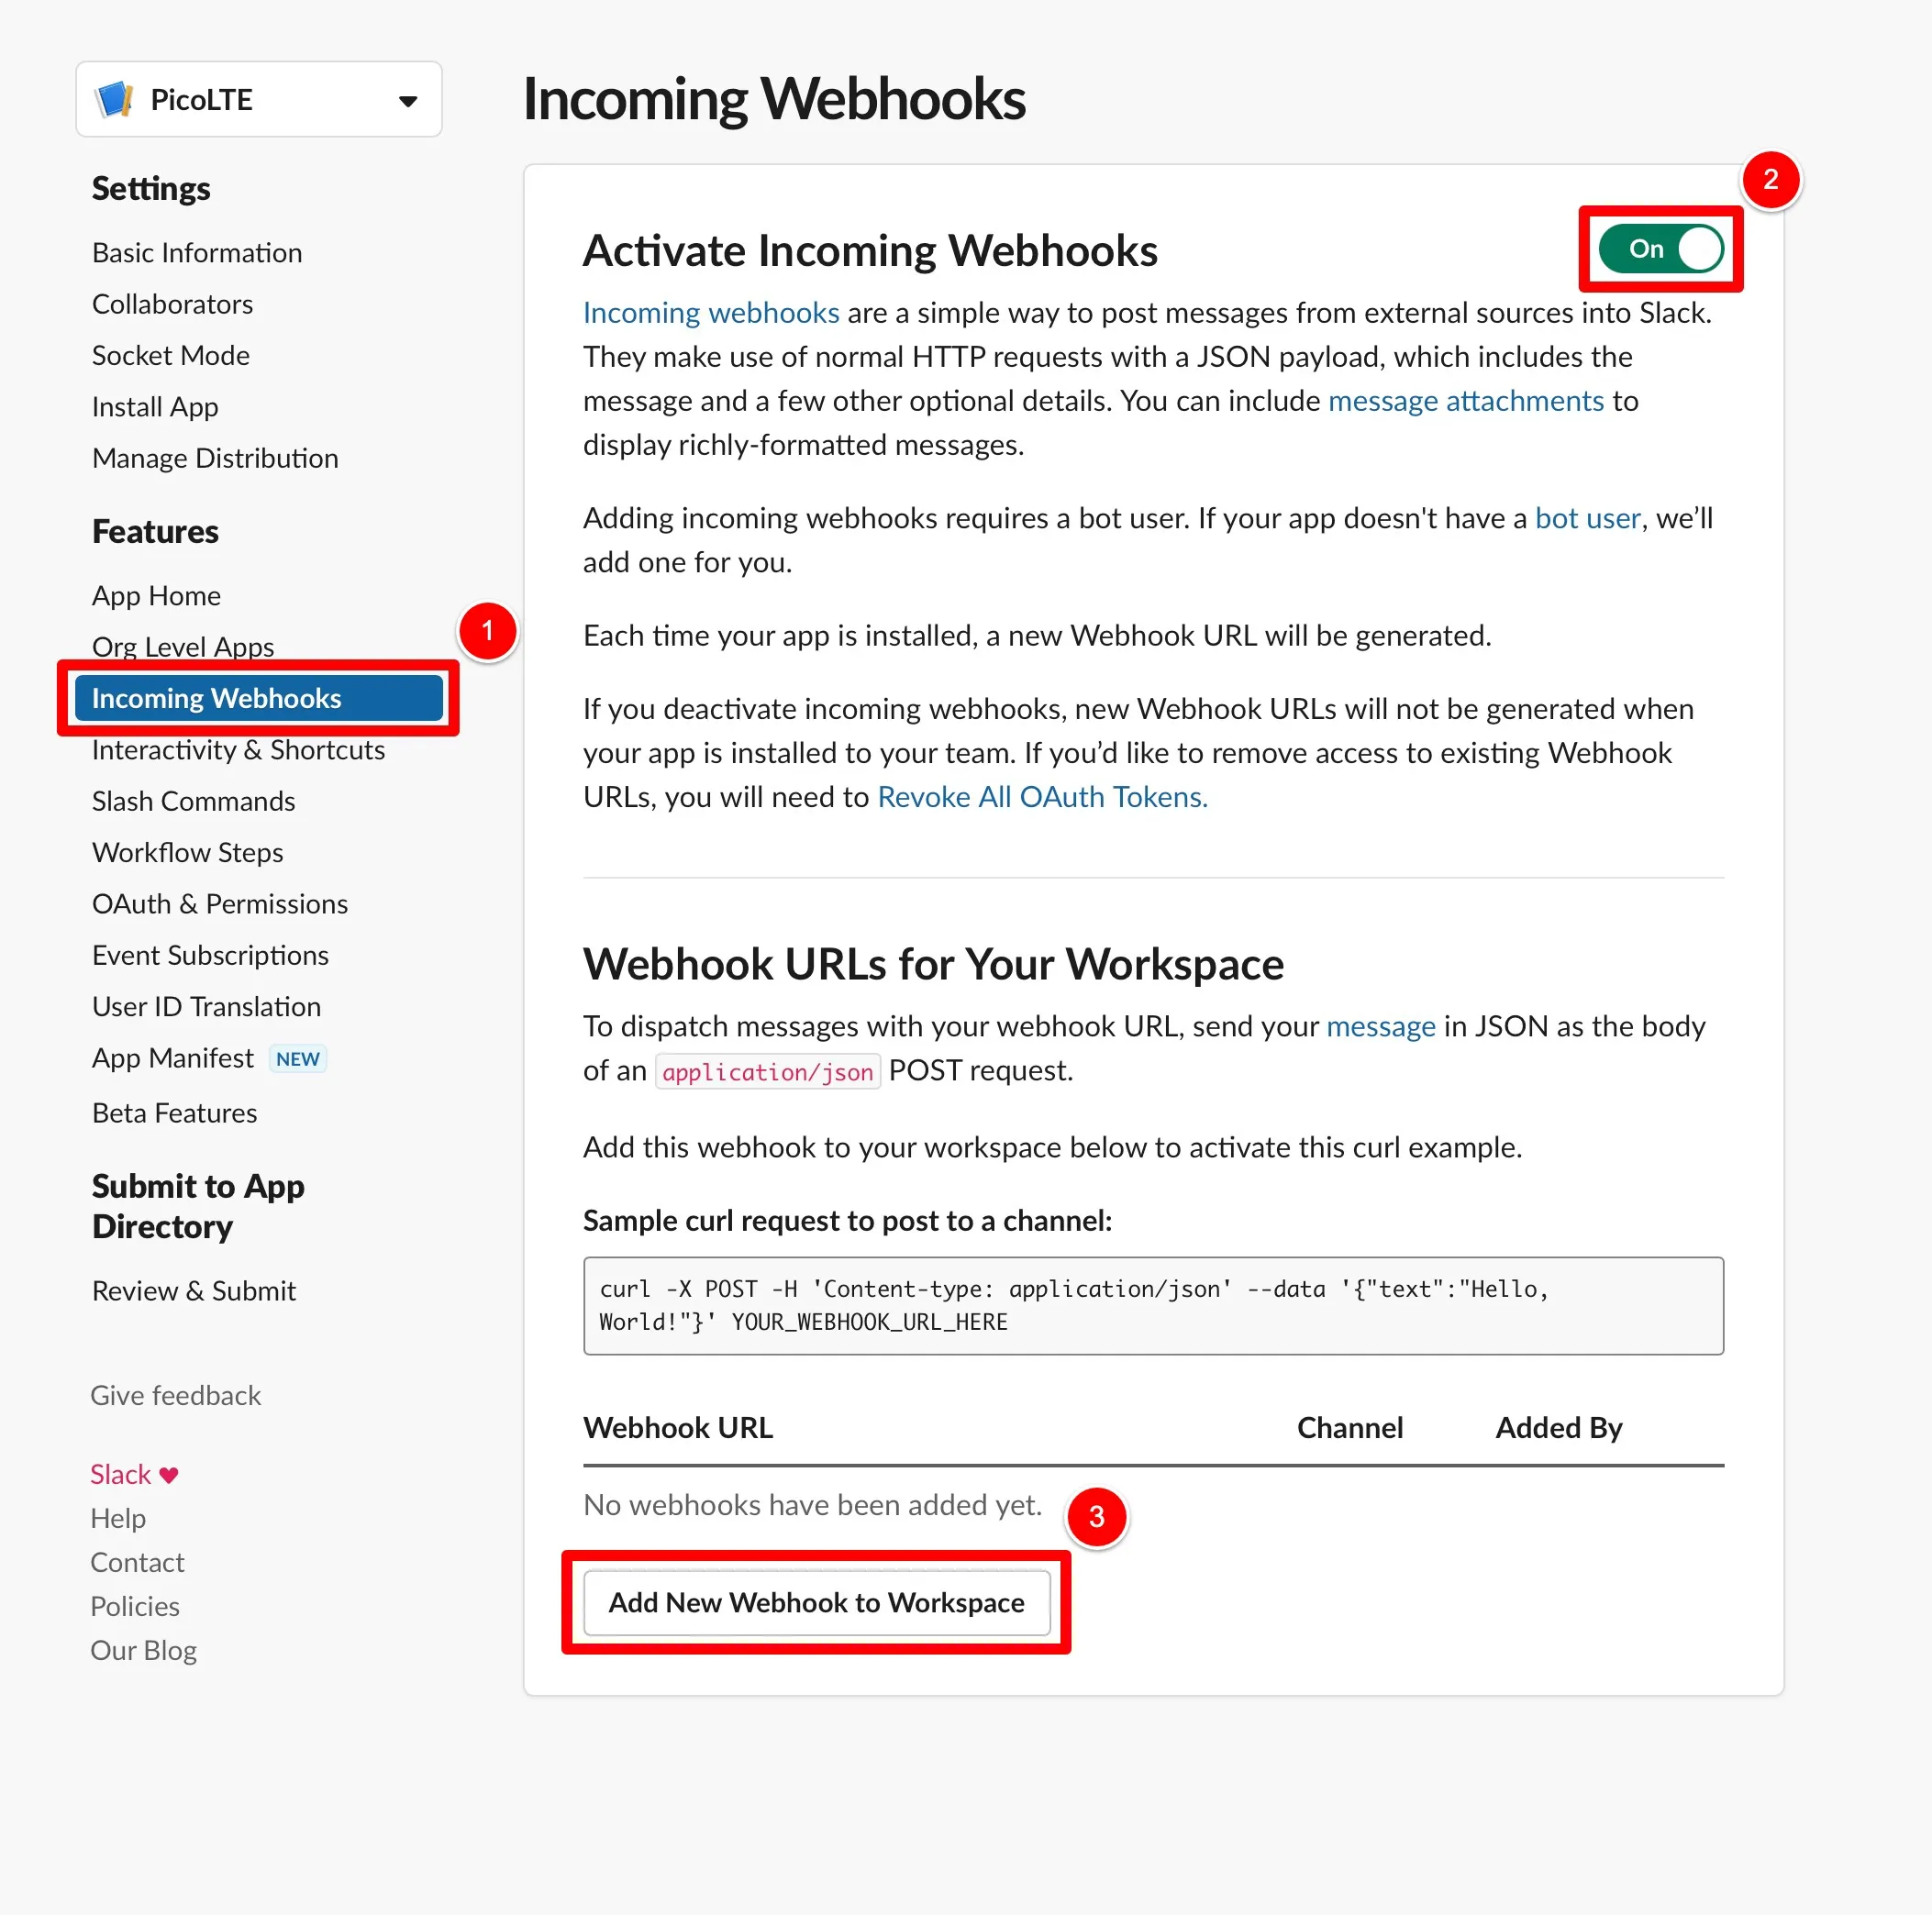
Click "Add New Webhook to Workspace" after activation. Then select the channel to which the App will be added, that is, to which you want to send a message.
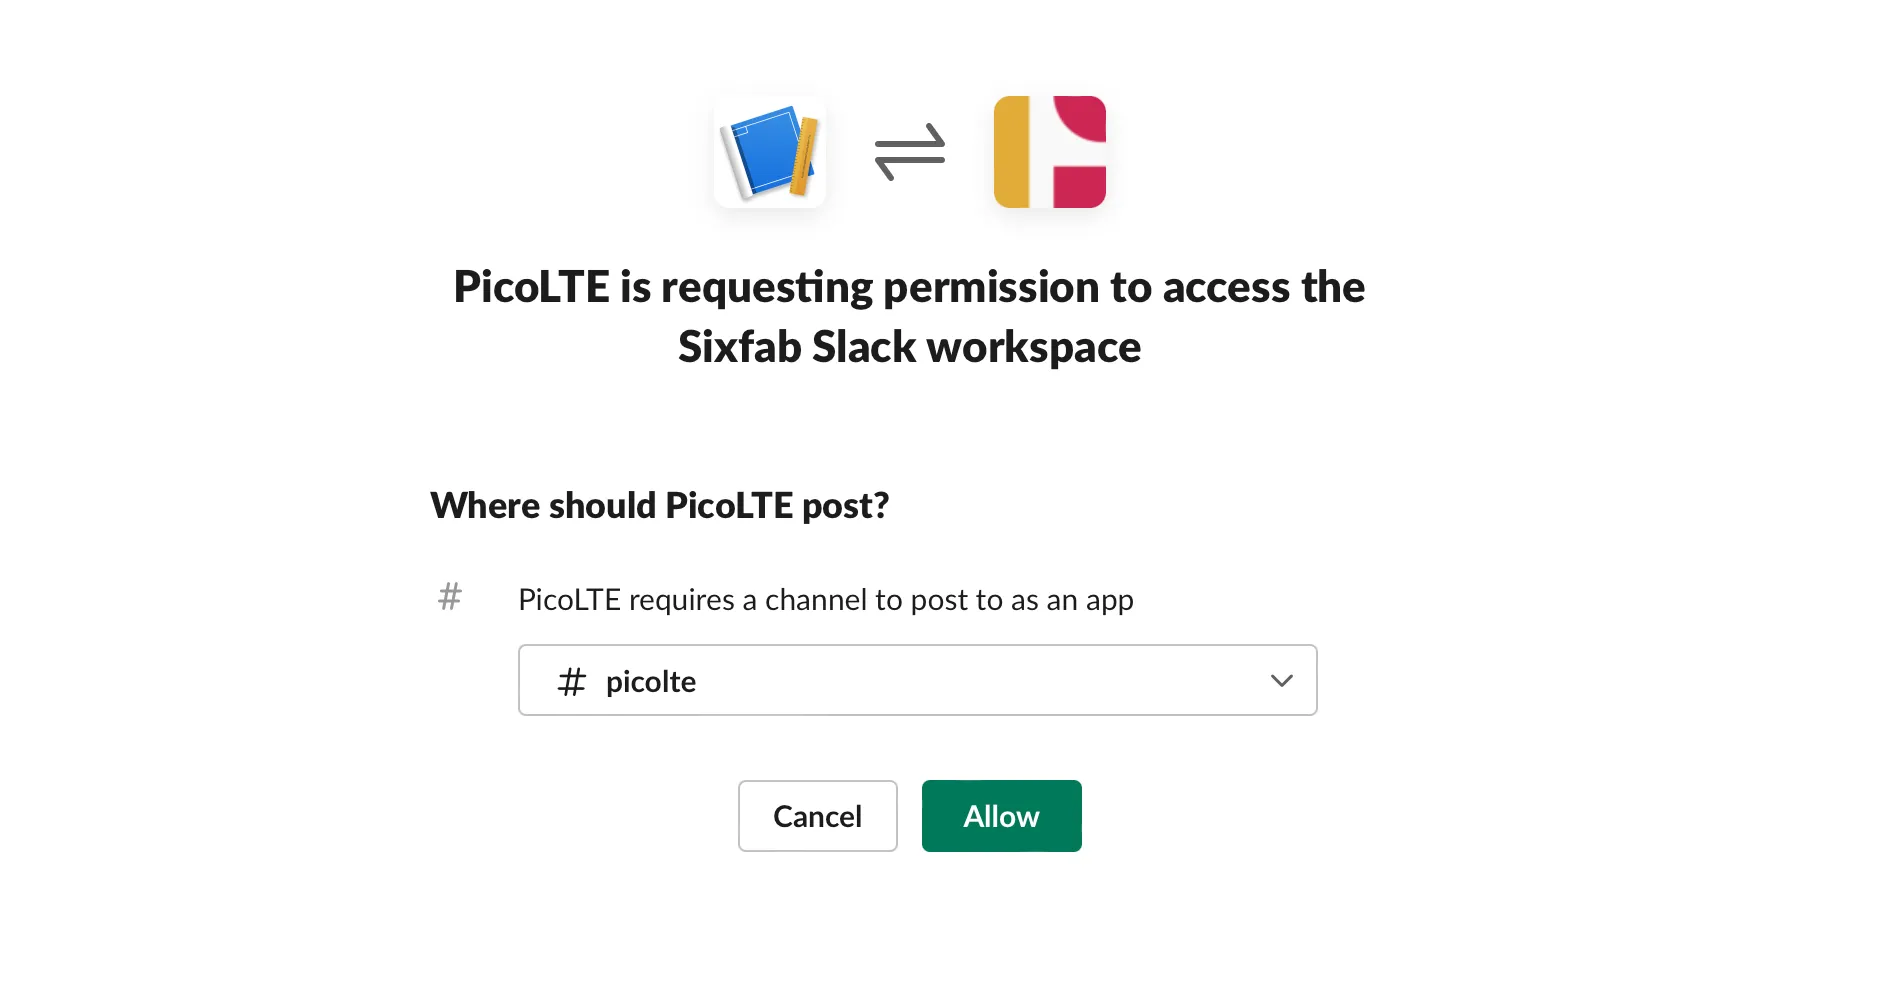
If the actions are successful, you will have obtained a Webhook URL and will also be viewing your App in the channel you added.

Your Webhook URL that'll look something like this:
https://hooks.slack.com/services/T00000000/B00000000/XXXXXXXXXXXXXXXXXXXXXXXXThat URL is your new Incoming Webhook, one that's specific to a single user, and a single channel.
Test the Code Example
Copy the following code block into the config.js file and copy the Weebhook URL and replace it with INCOMING_WEBHOOK_URL. Then save it to your Pico LTE device.
{
    "slack":{
        "webhook_url": "INCOMING_WEBHOOK_URL"
    }
}
Run the "send_message.py" script that you opened in Thonny.
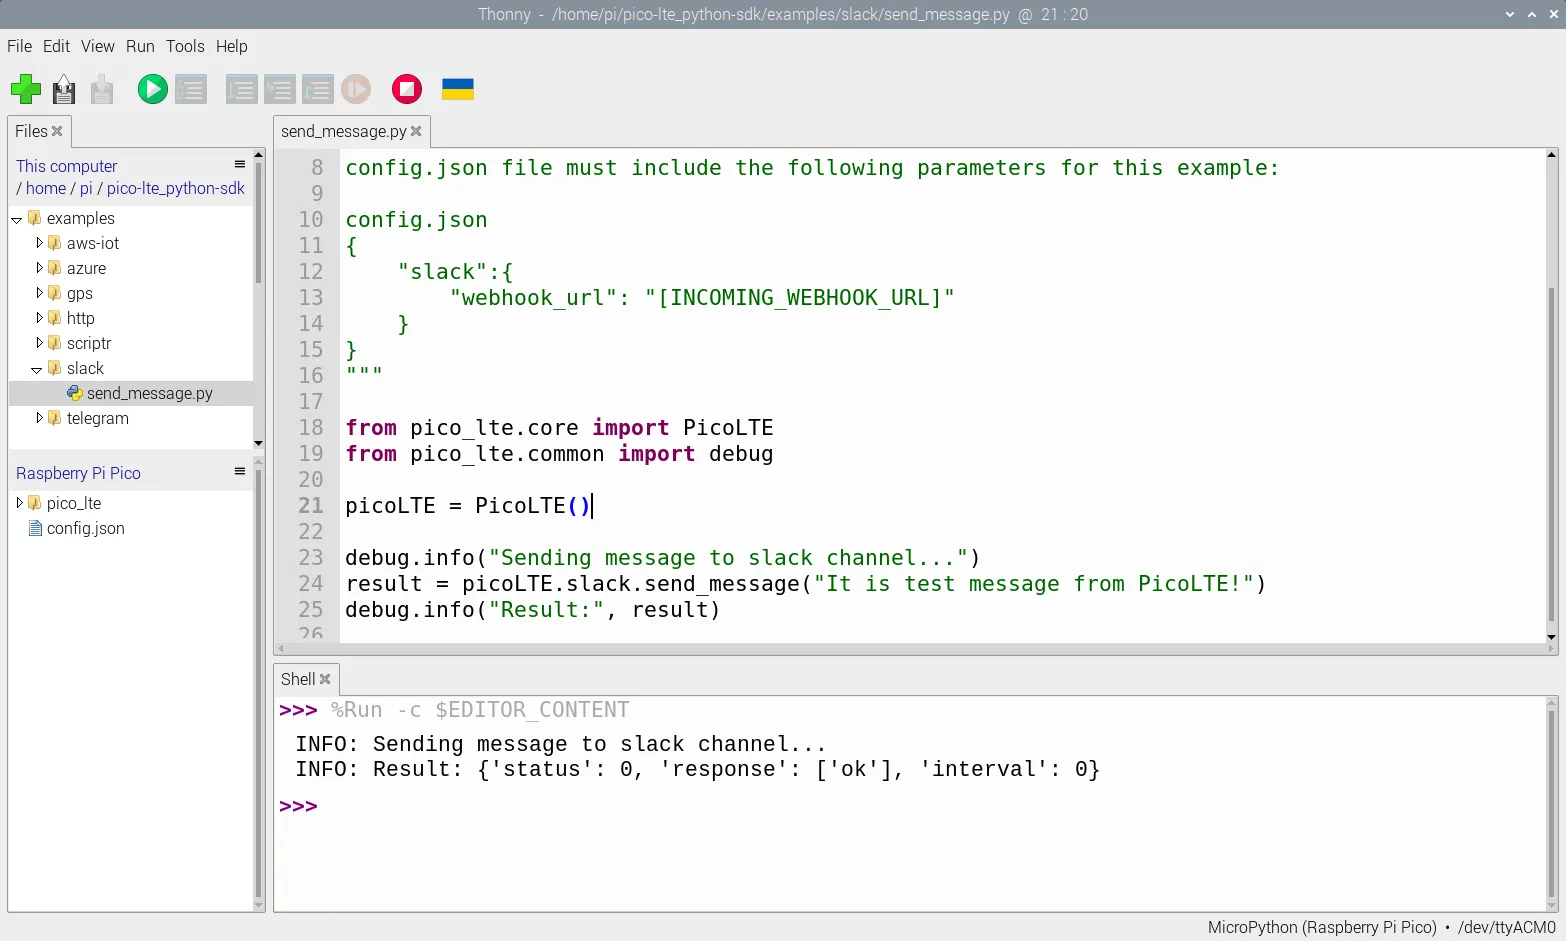
When you run the code, the message you want to send will be successfully transmitted. The output you get in the code should look like this:
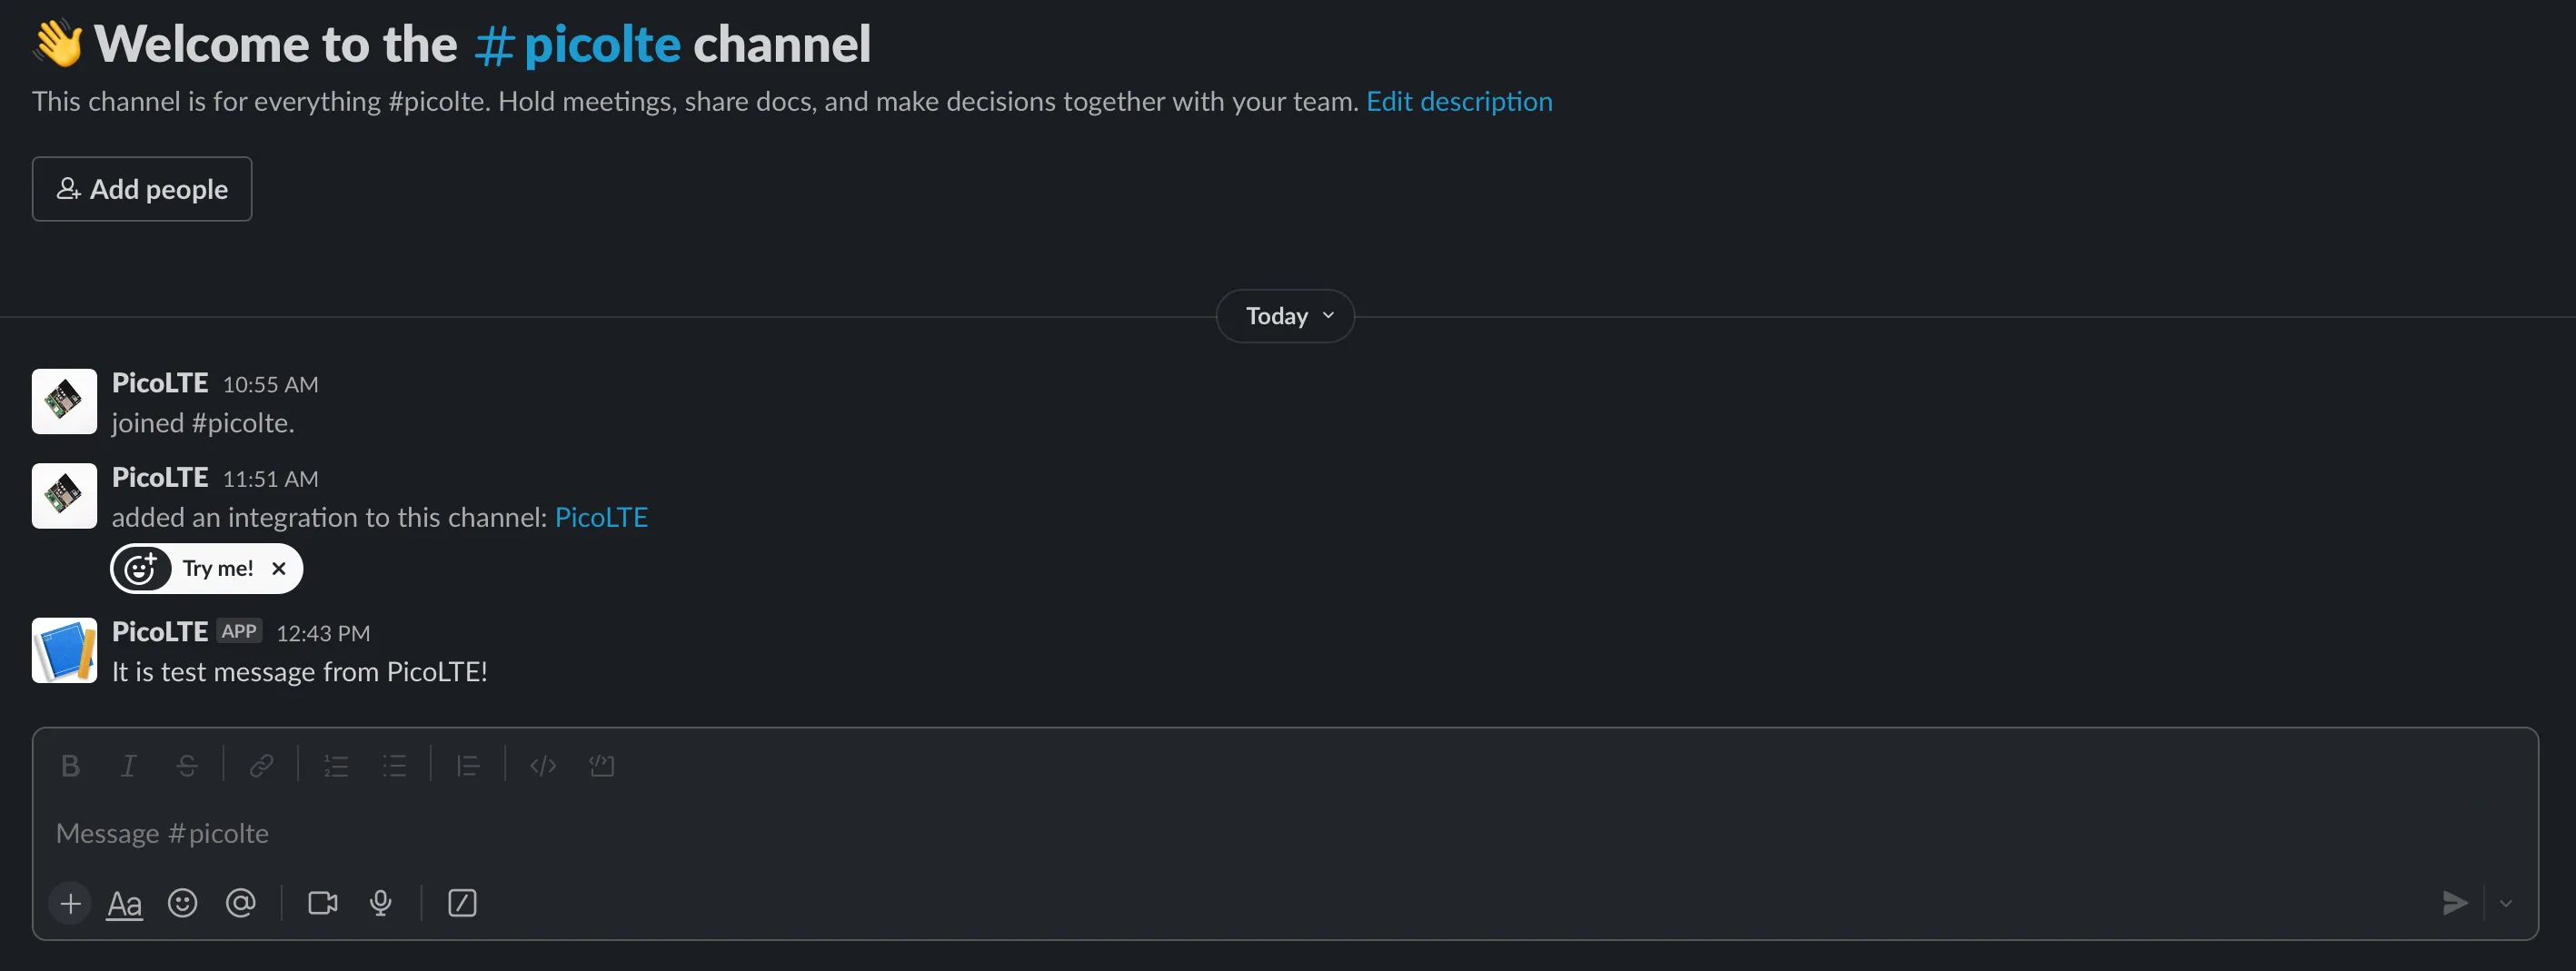
If the message is sent, it will be forwarded to the channel as shown in the image:
Updated 3 months ago
