Getting Started
This section provides a step-by-step guide to hardware assembly, SIM activation and establishing a cellular connection with the NVIDIA Jetson Nano 4G/LTE Cellular Modem Kit.
The NVIDIA Jetson Nano 4G/LTE Cellular Modem Kit provides all the components needed to establish an internet connection on the NVIDIA Jetson Nano using either the QMI or ECM interface.
Note: A USB Bridge for Jetson Orin Nano is also available in our store and is required to use the kit with a Jetson Orin Nano.
Initial setup consists of completing the hardware installation followed by configuration using the QMI or ECM method. Each procedure is described in detail in the tutorials provided below.
System Requirements
To get started with the NVIDIA Jetson Nano 4G/LTE Cellular Modem Kit, the following requirements should be verified first.
| Hardware Requirements | Software Requirements |
|---|---|
| NVIDIA Jetson Nano | Jetson Nano Linux JP451 or higher |
Step 1: Assembly
1. Attach the mini PCIe module to the HAT
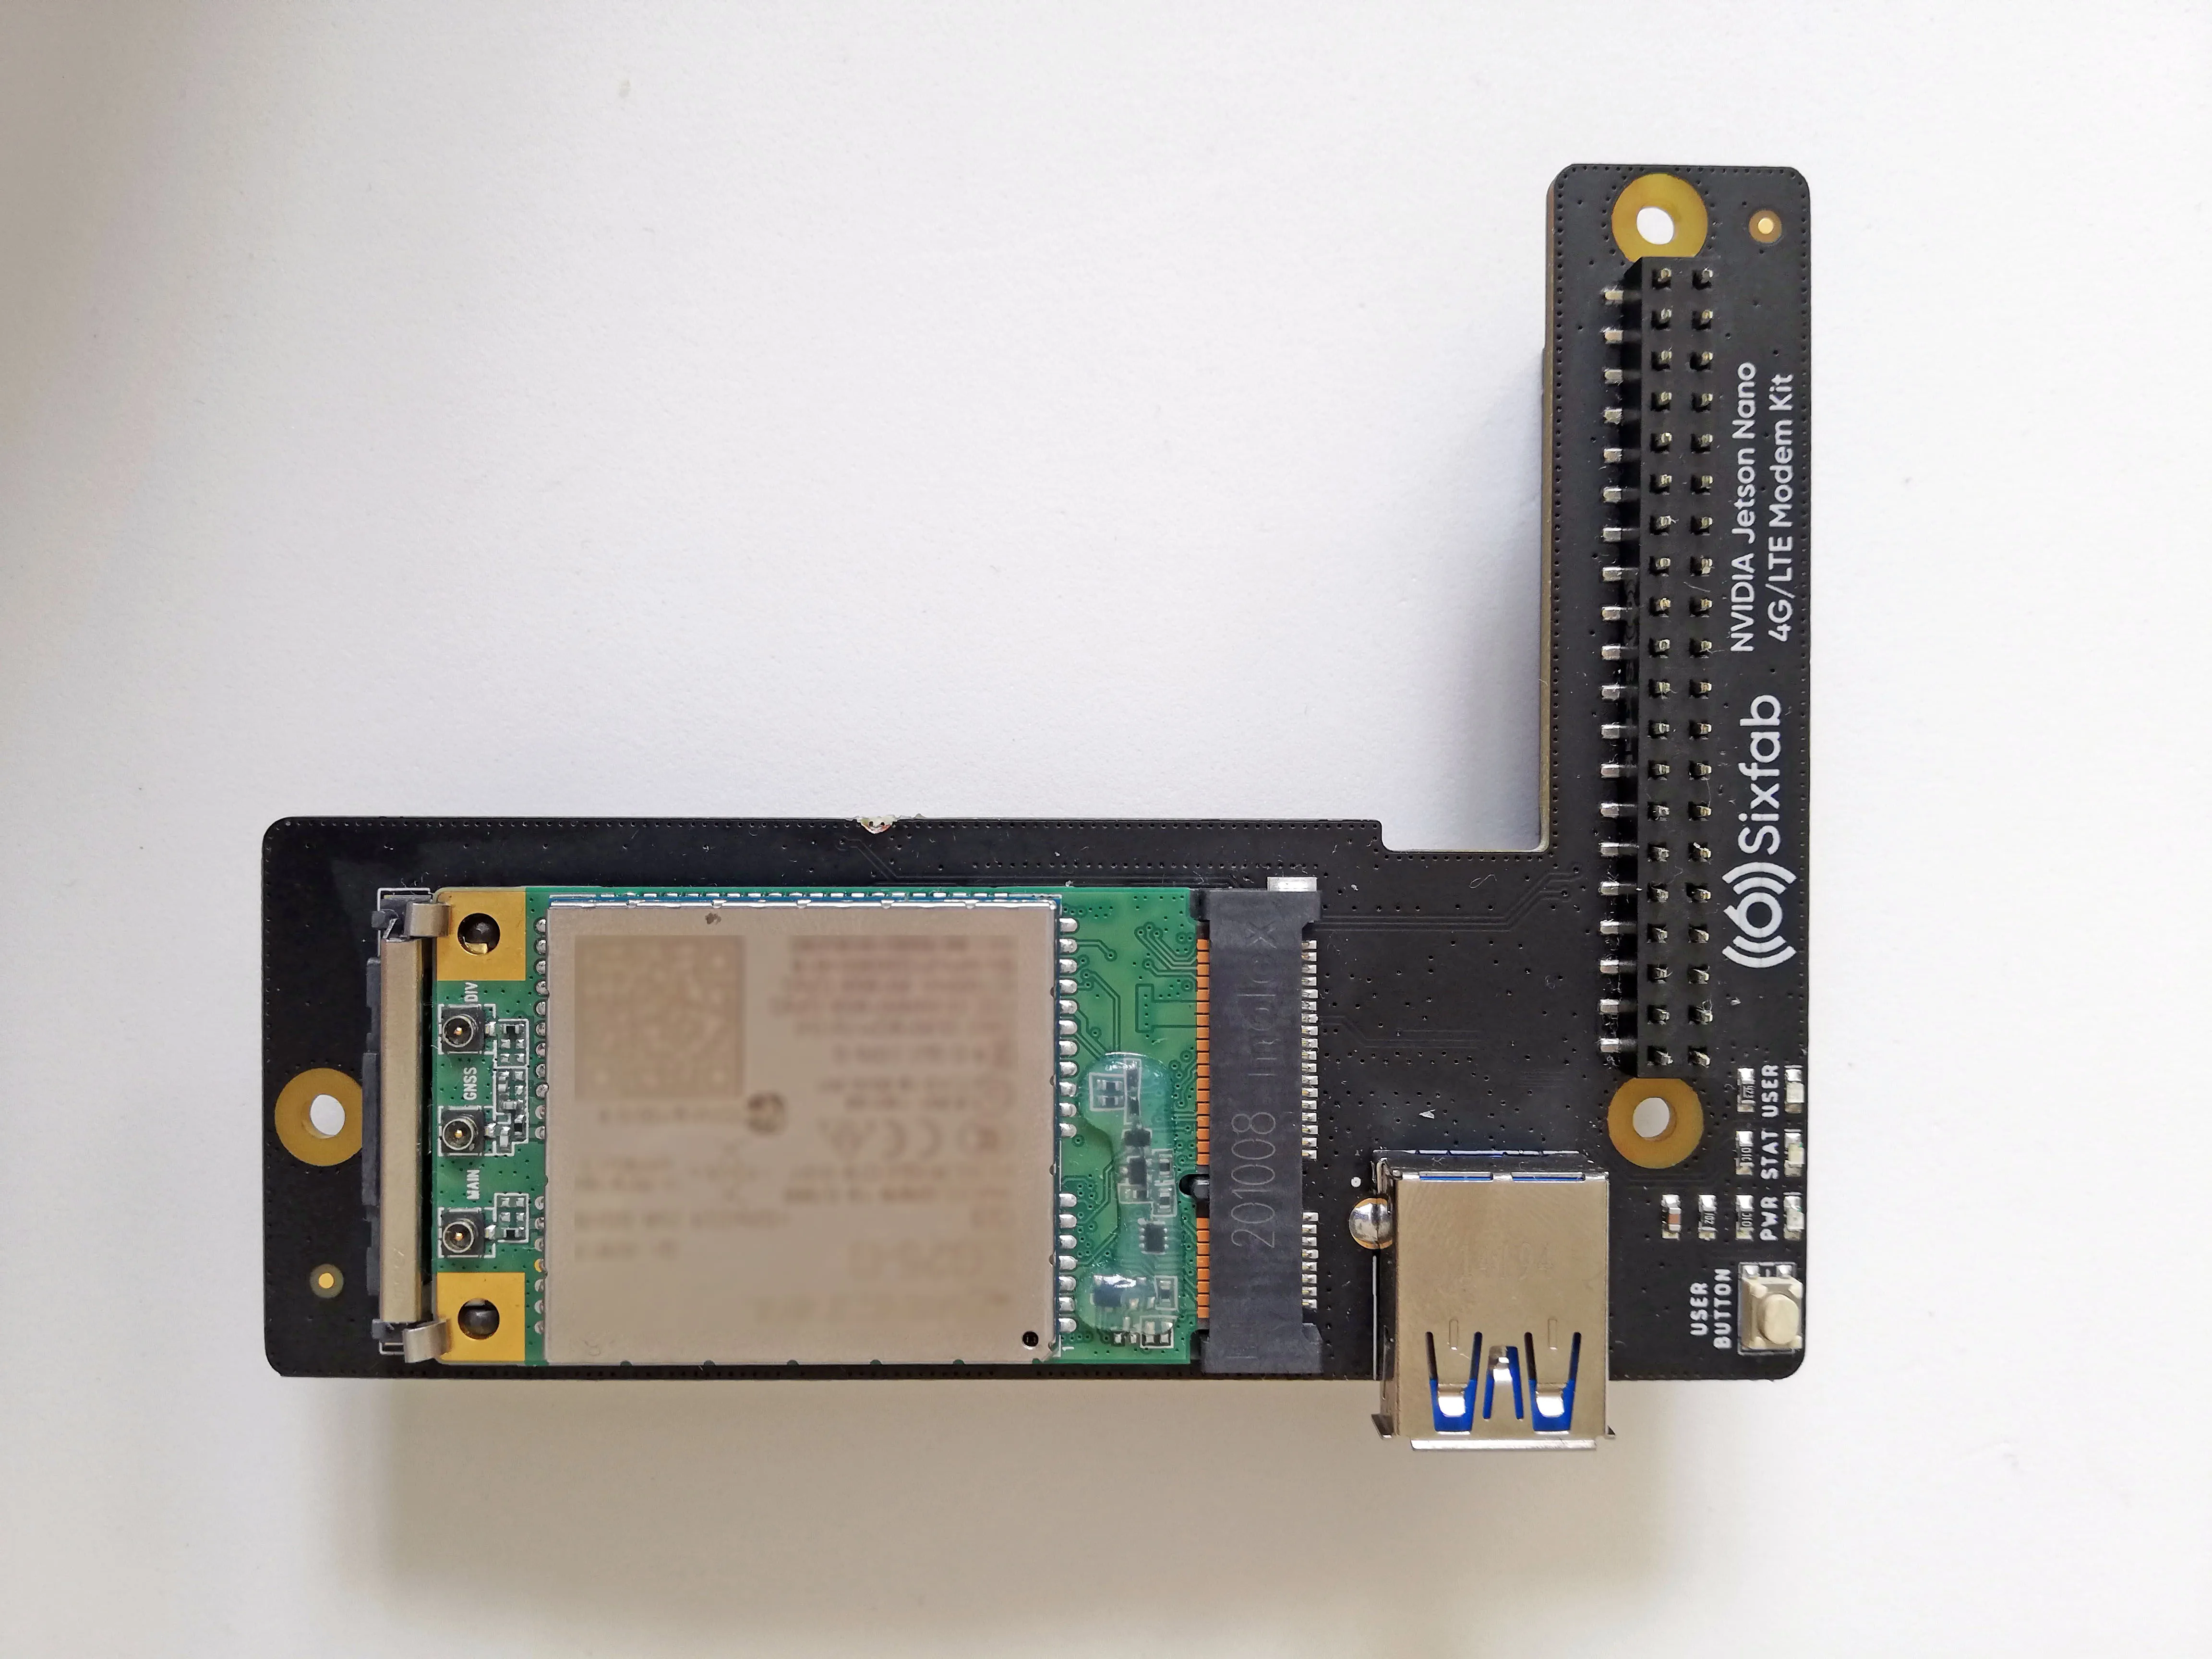
2. Attach the antenna to the mini PCIe module
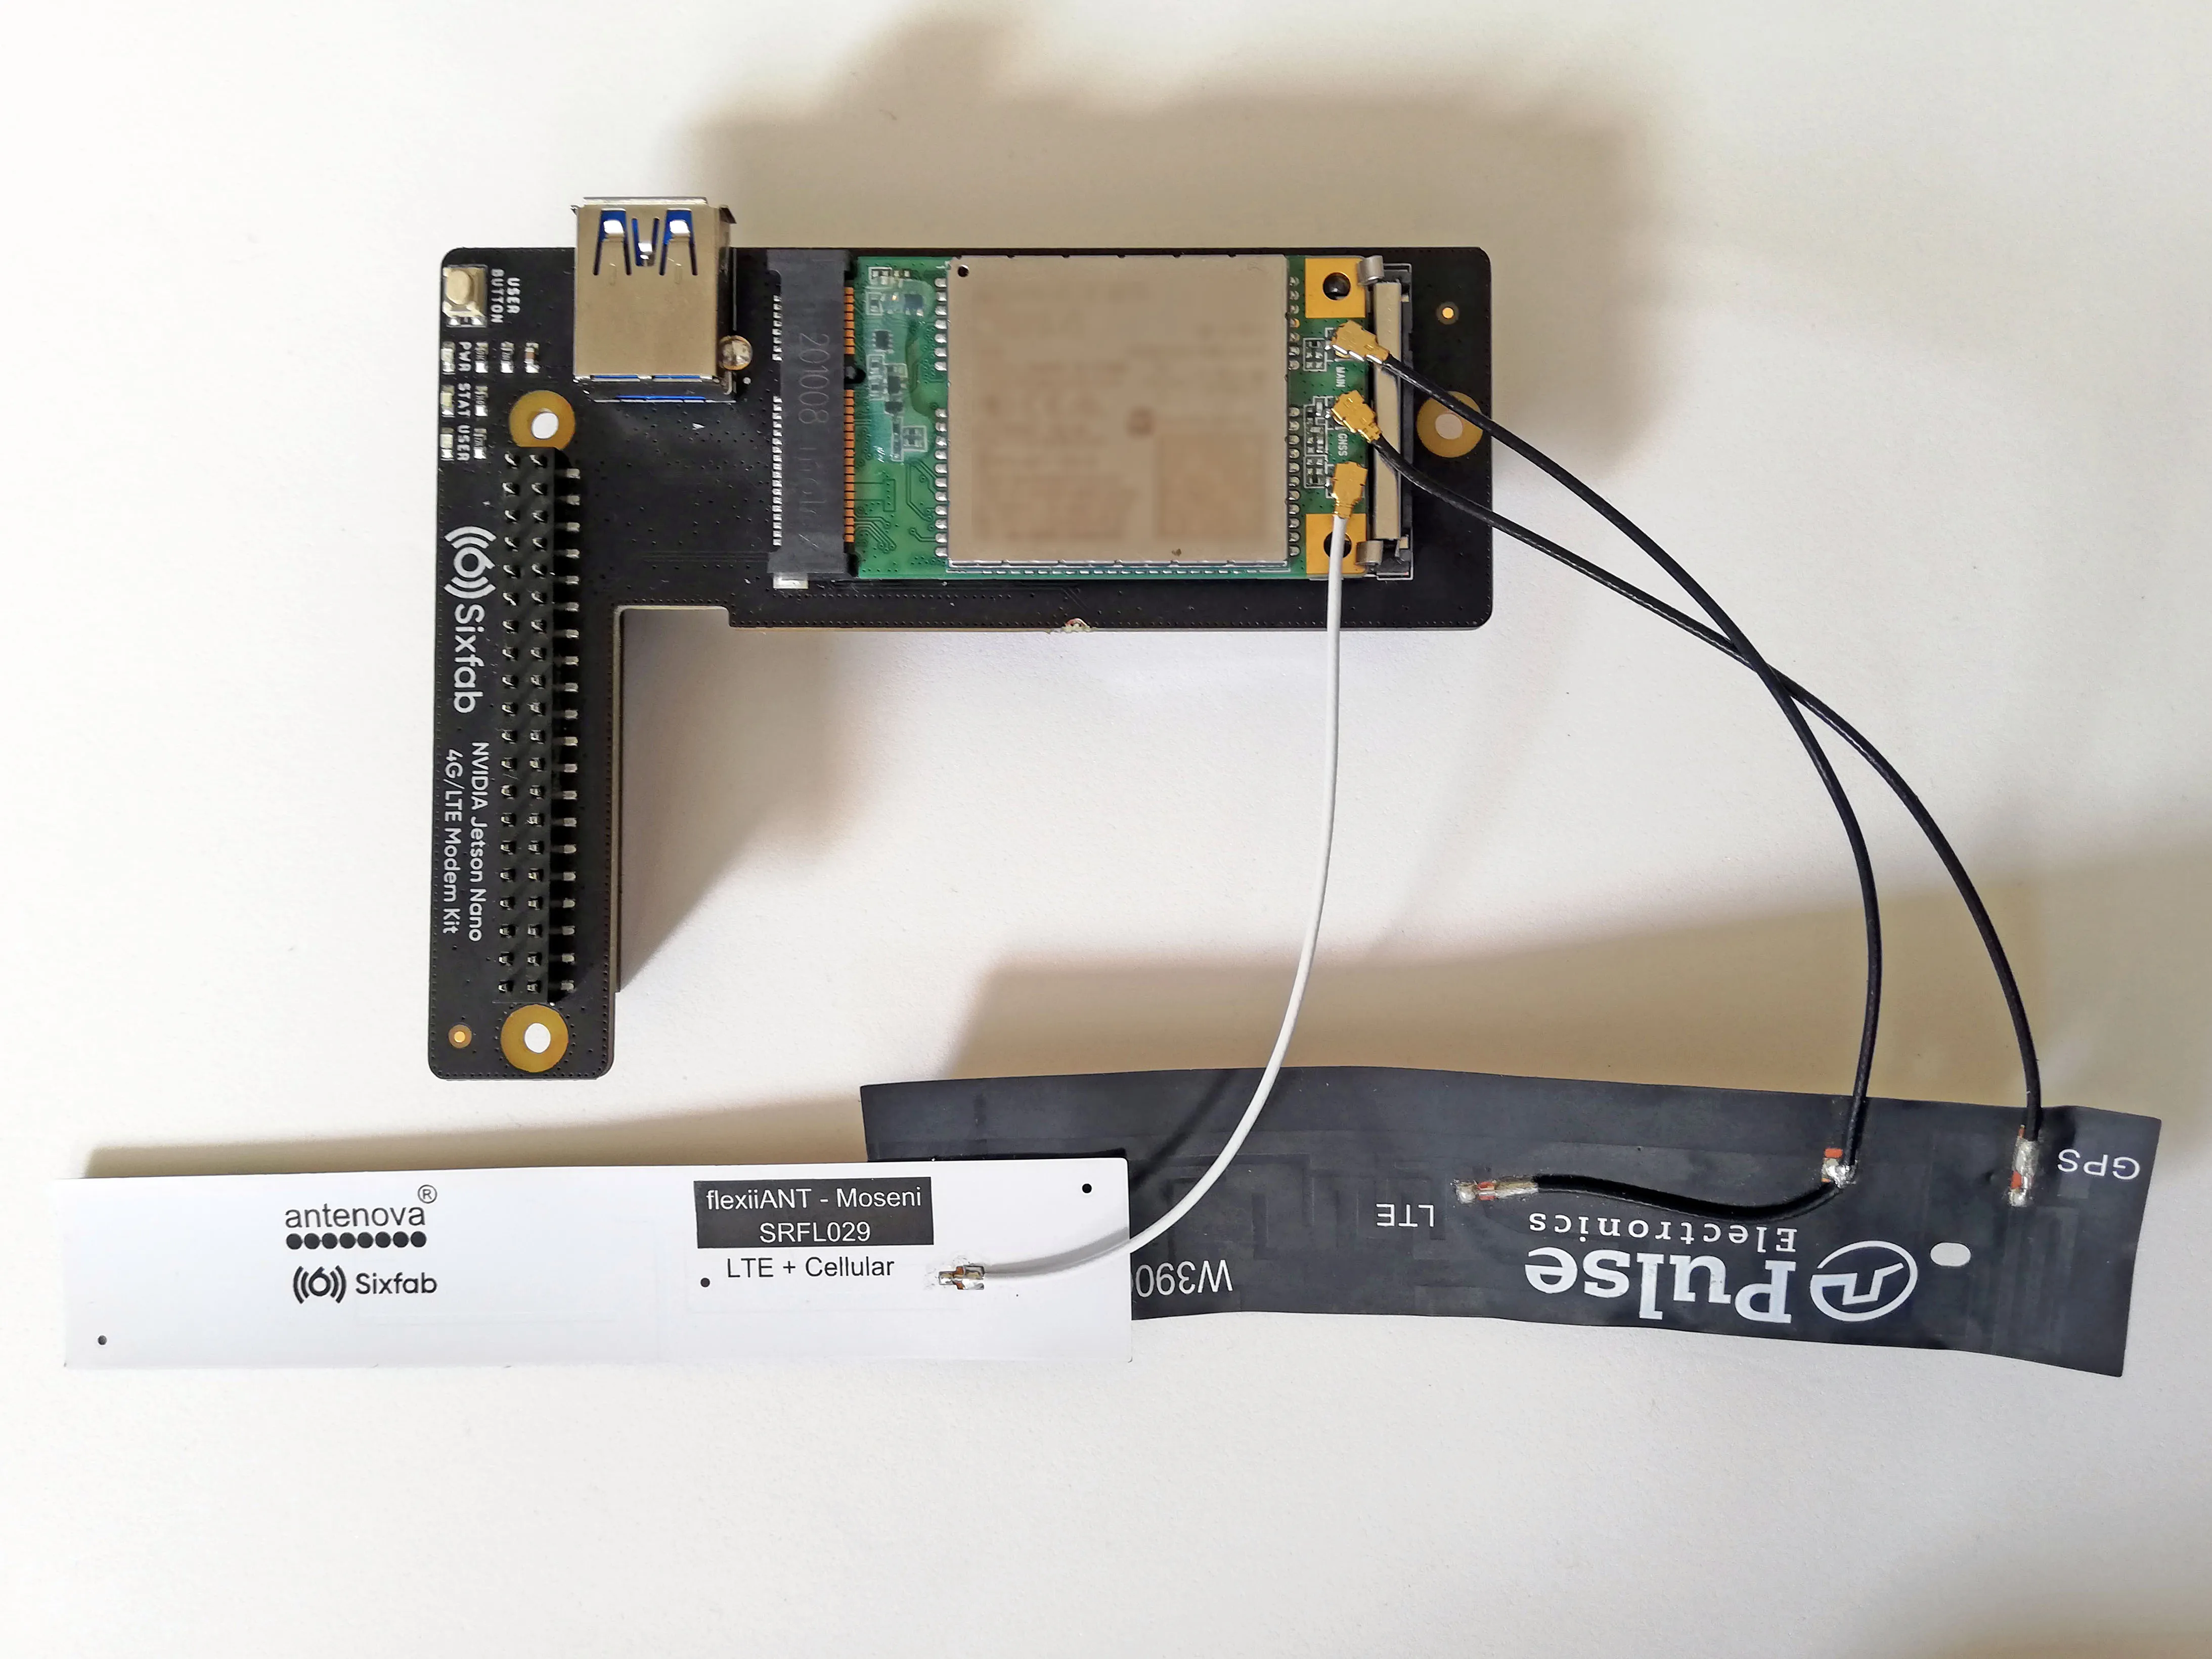
Ensure the right antenna is connected to the appropriate port. The LTE full-band PCB antenna or the LTE connector of the LTE/GNSS dual antenna should be connected to the main antenna or diversity antenna interface, while the GPS antenna lead should be connected to the GNSS antenna interface.
3. Attach header and Sixfab SIM
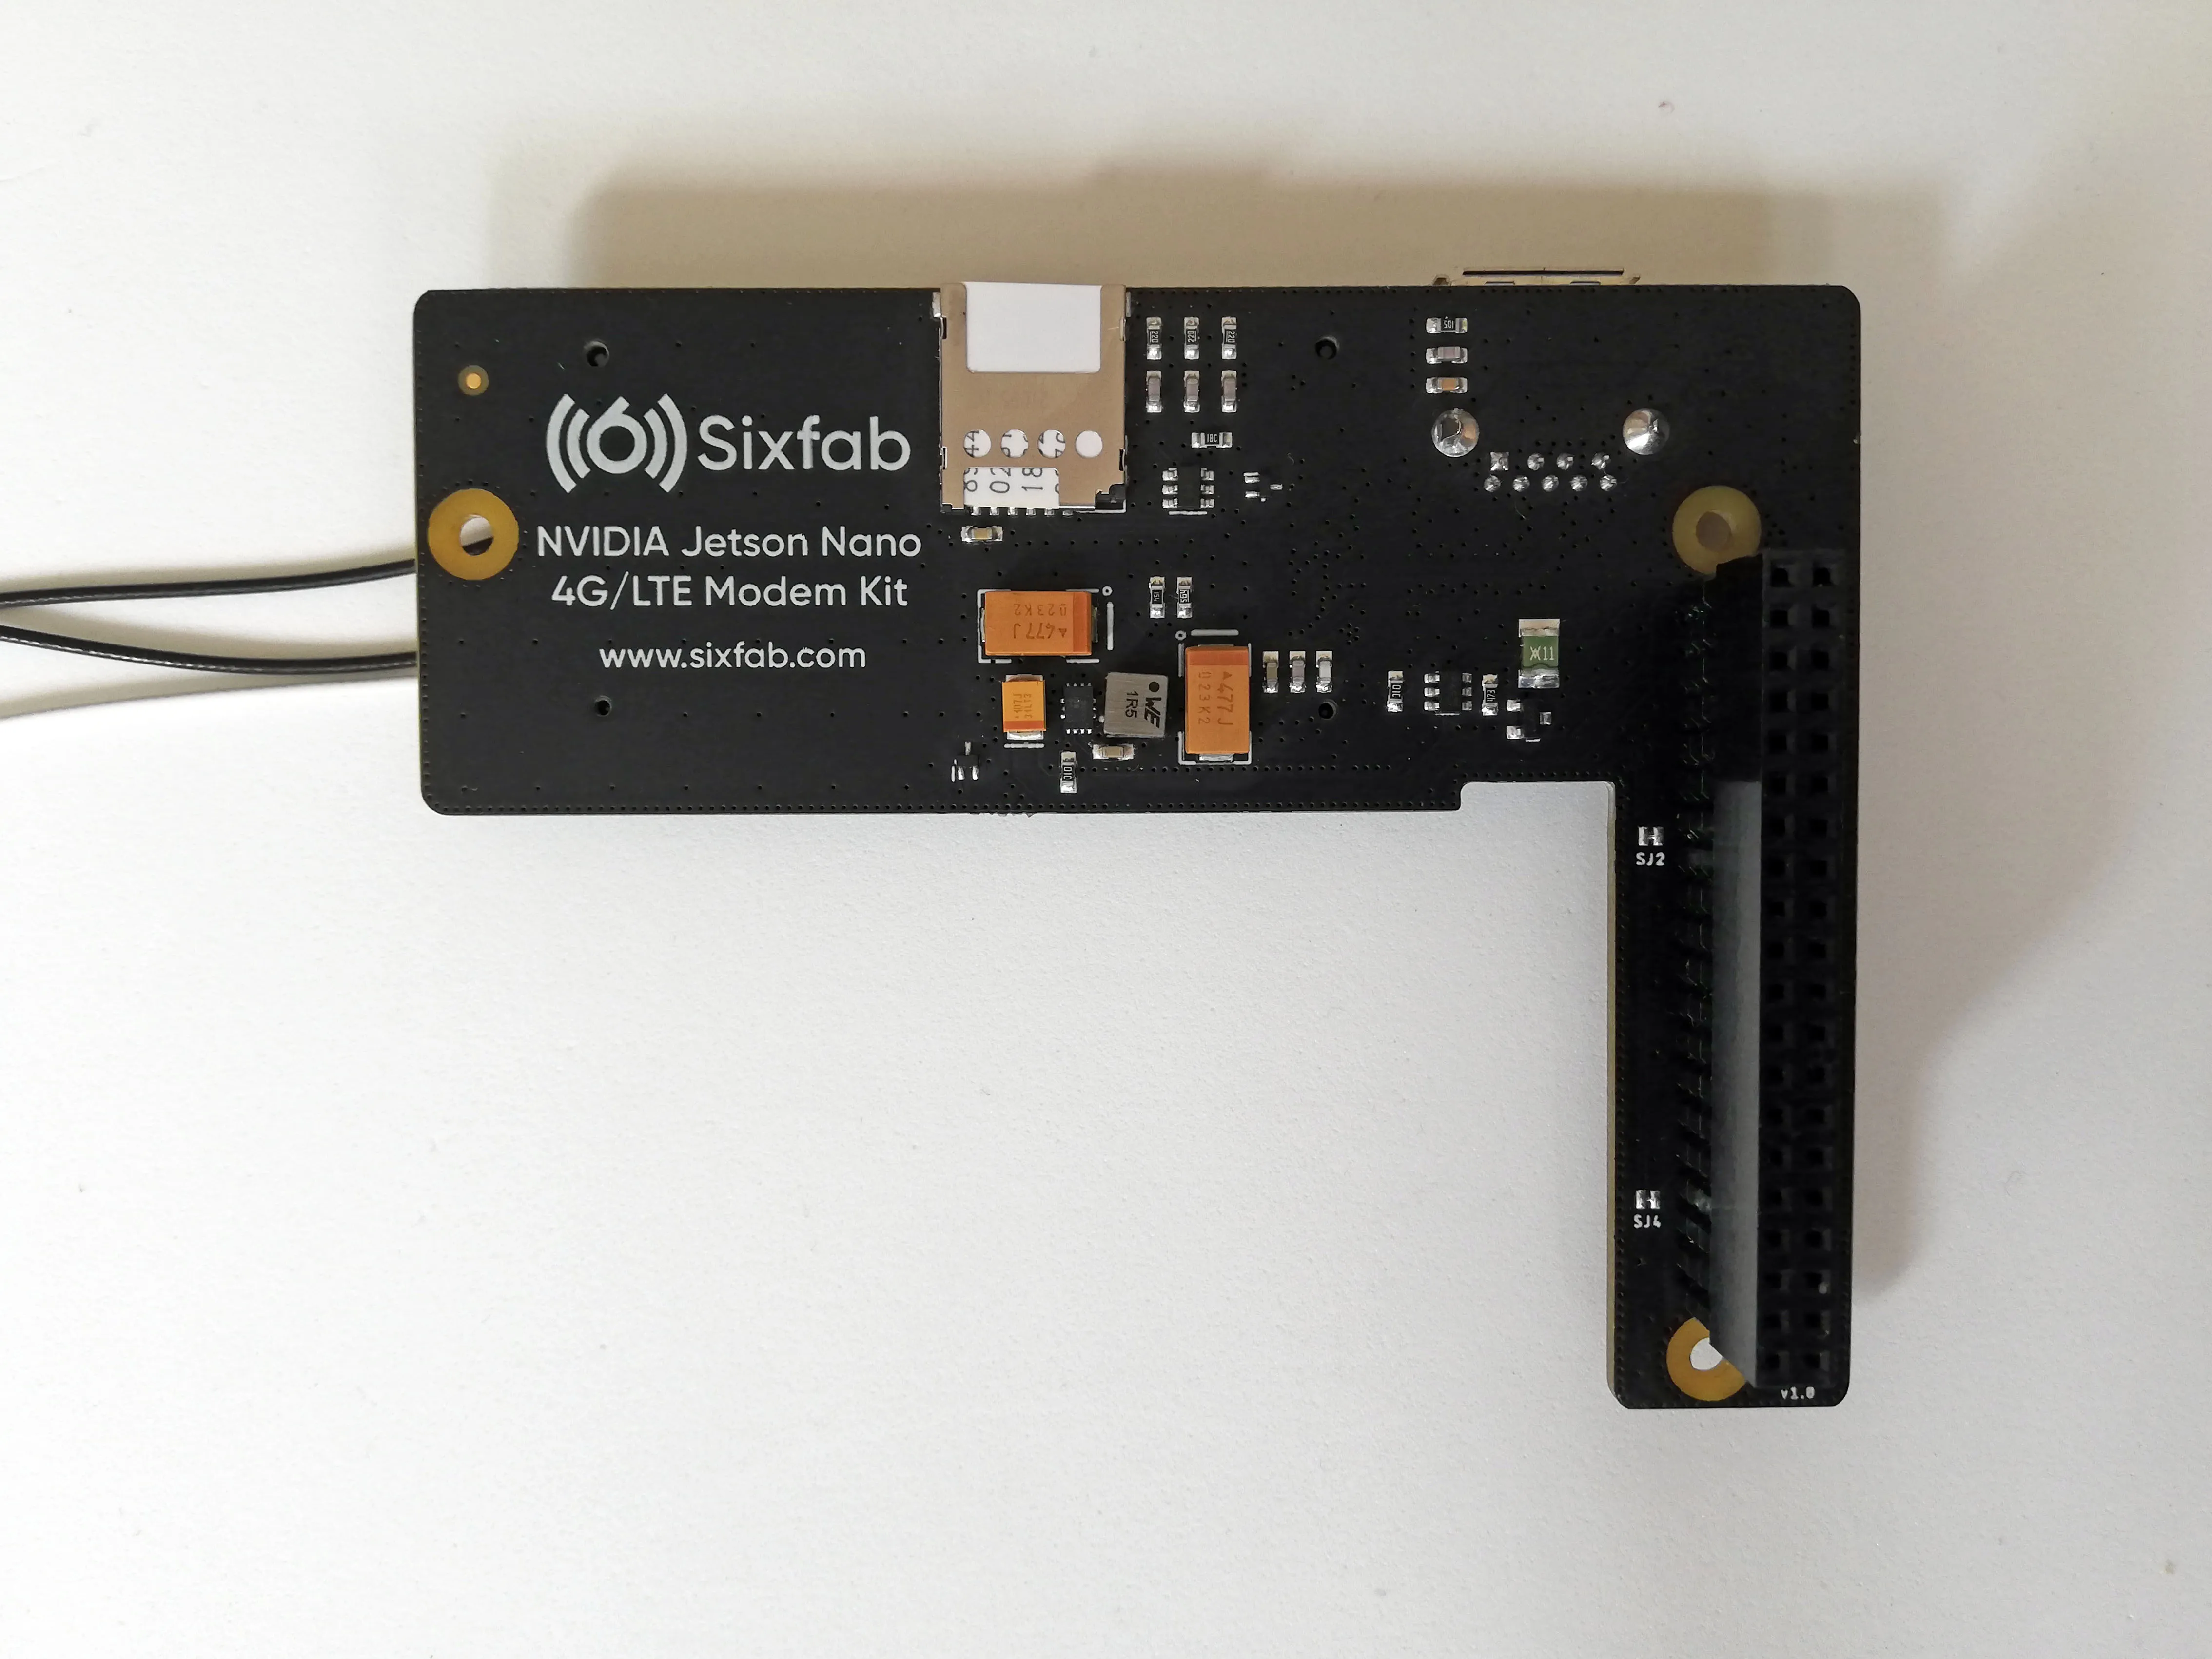
4. Attach it to the NVIDIA Jetson Nano
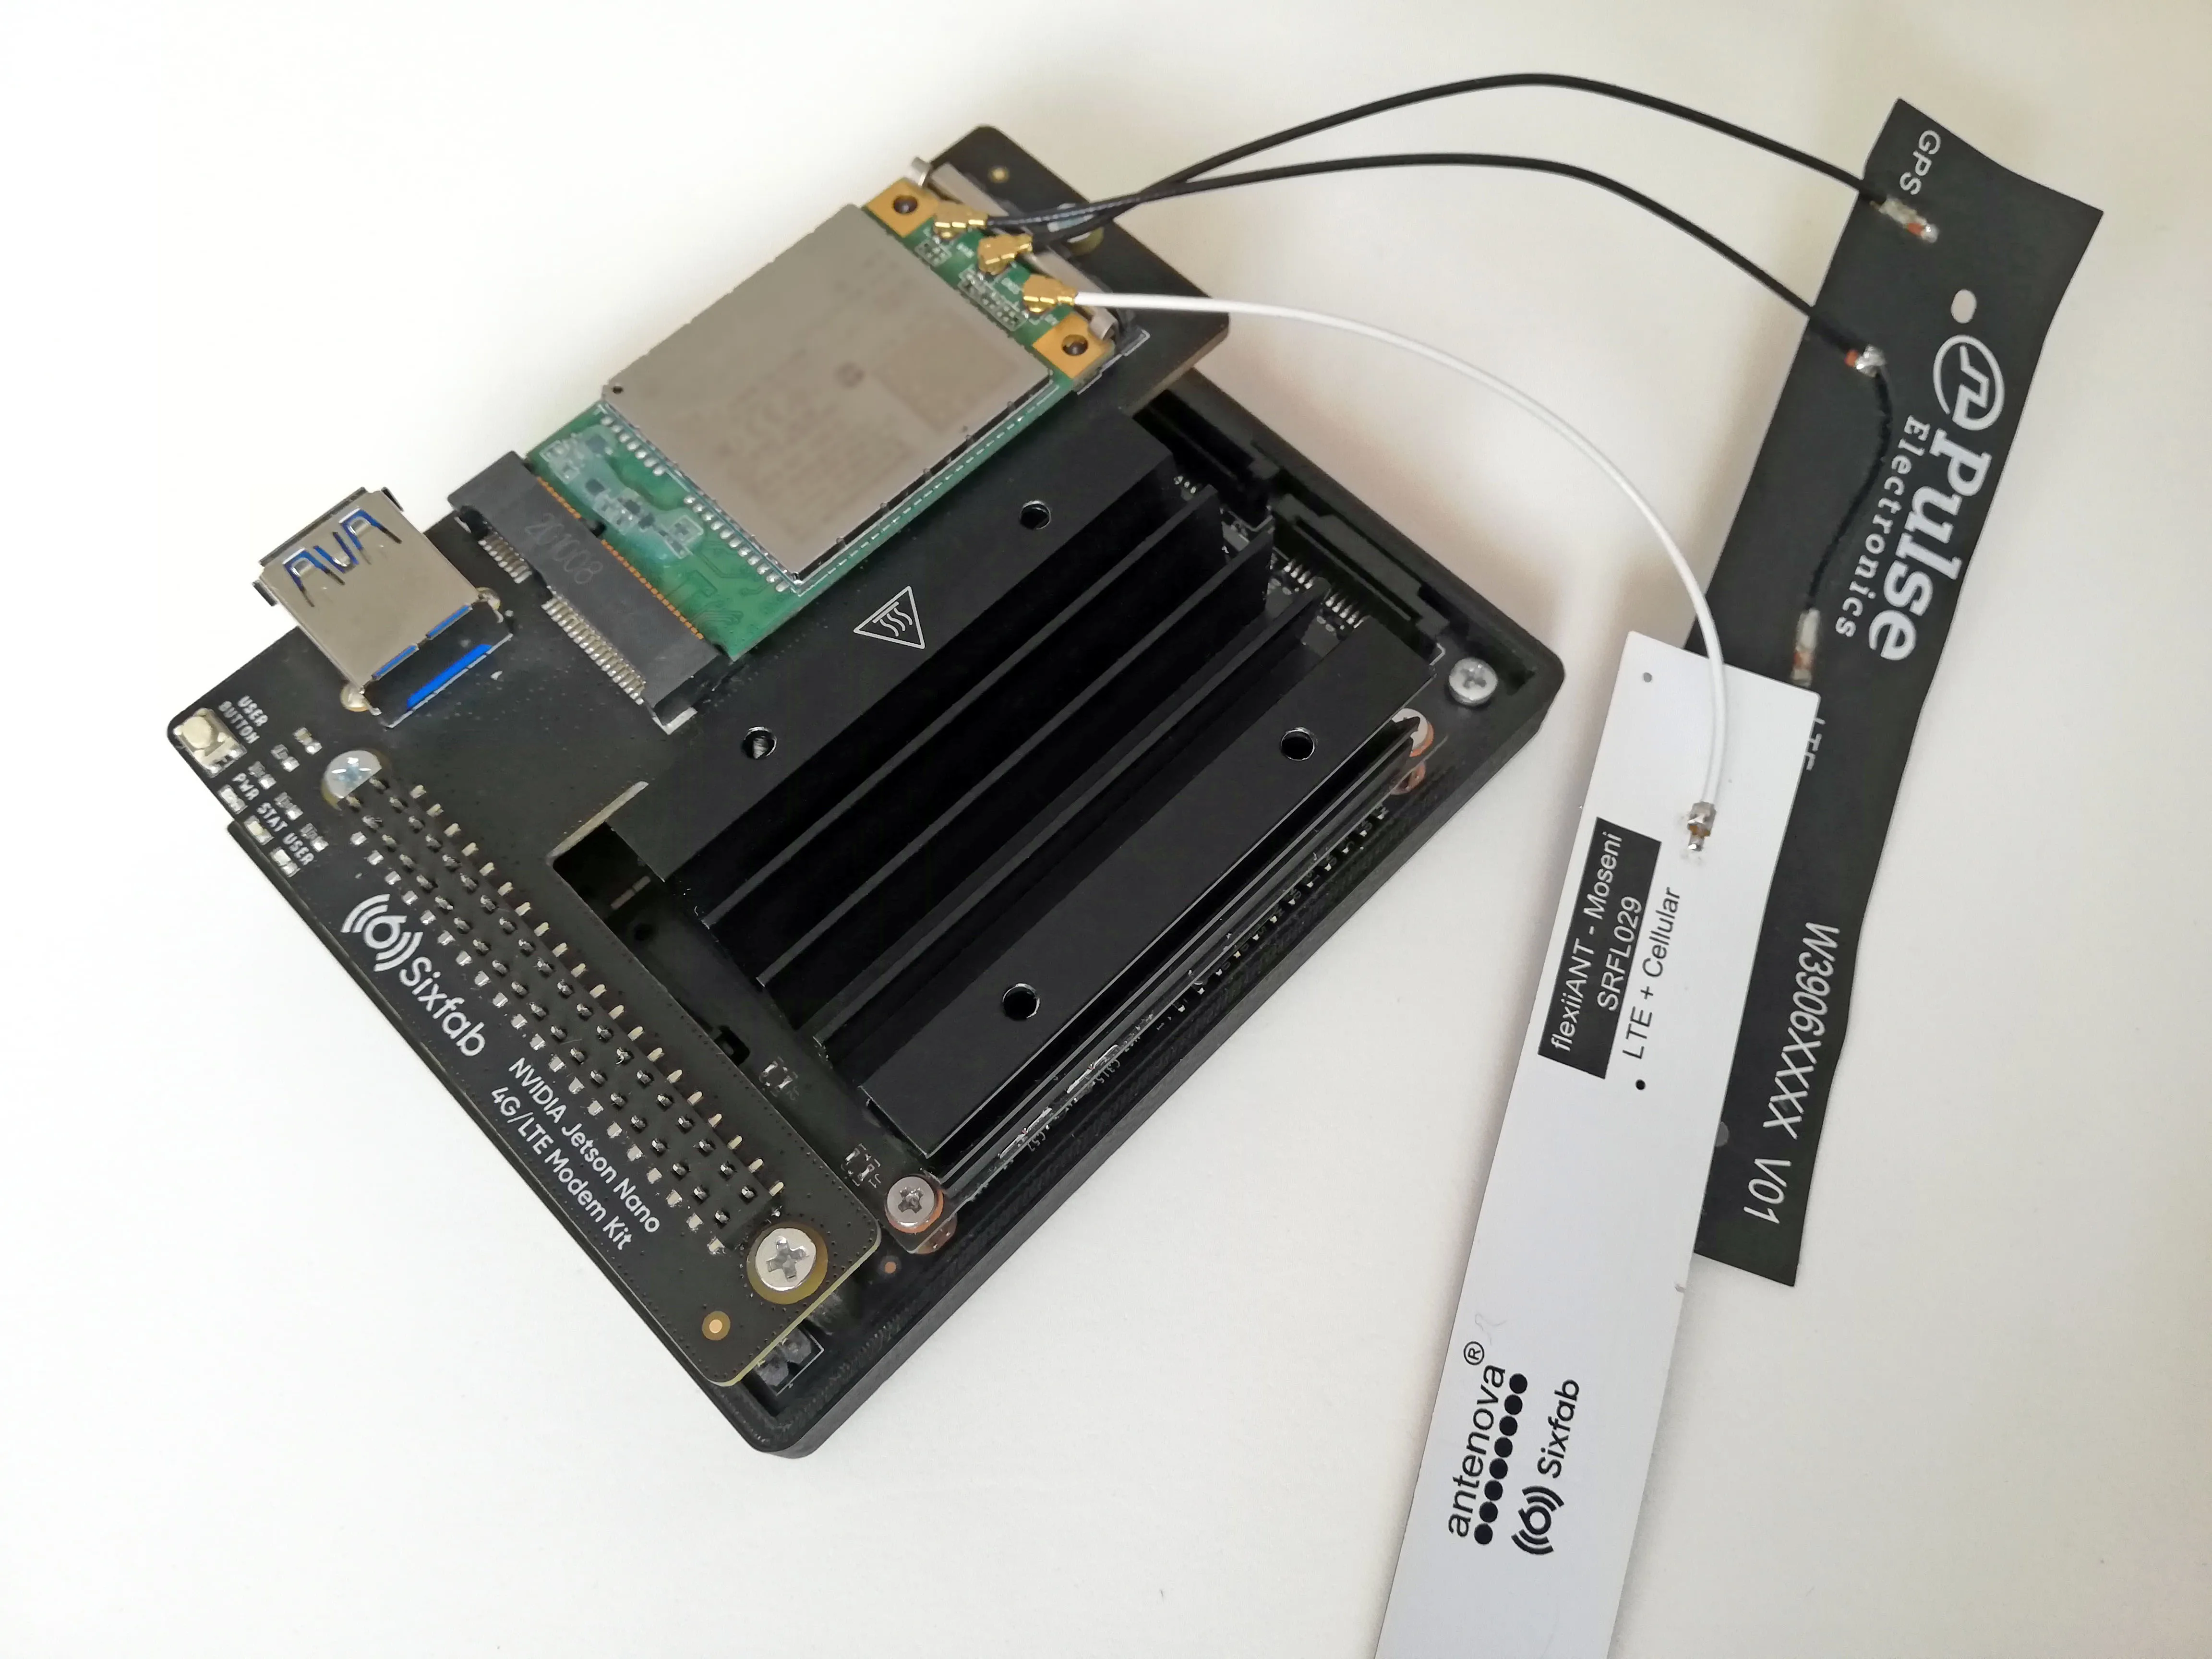
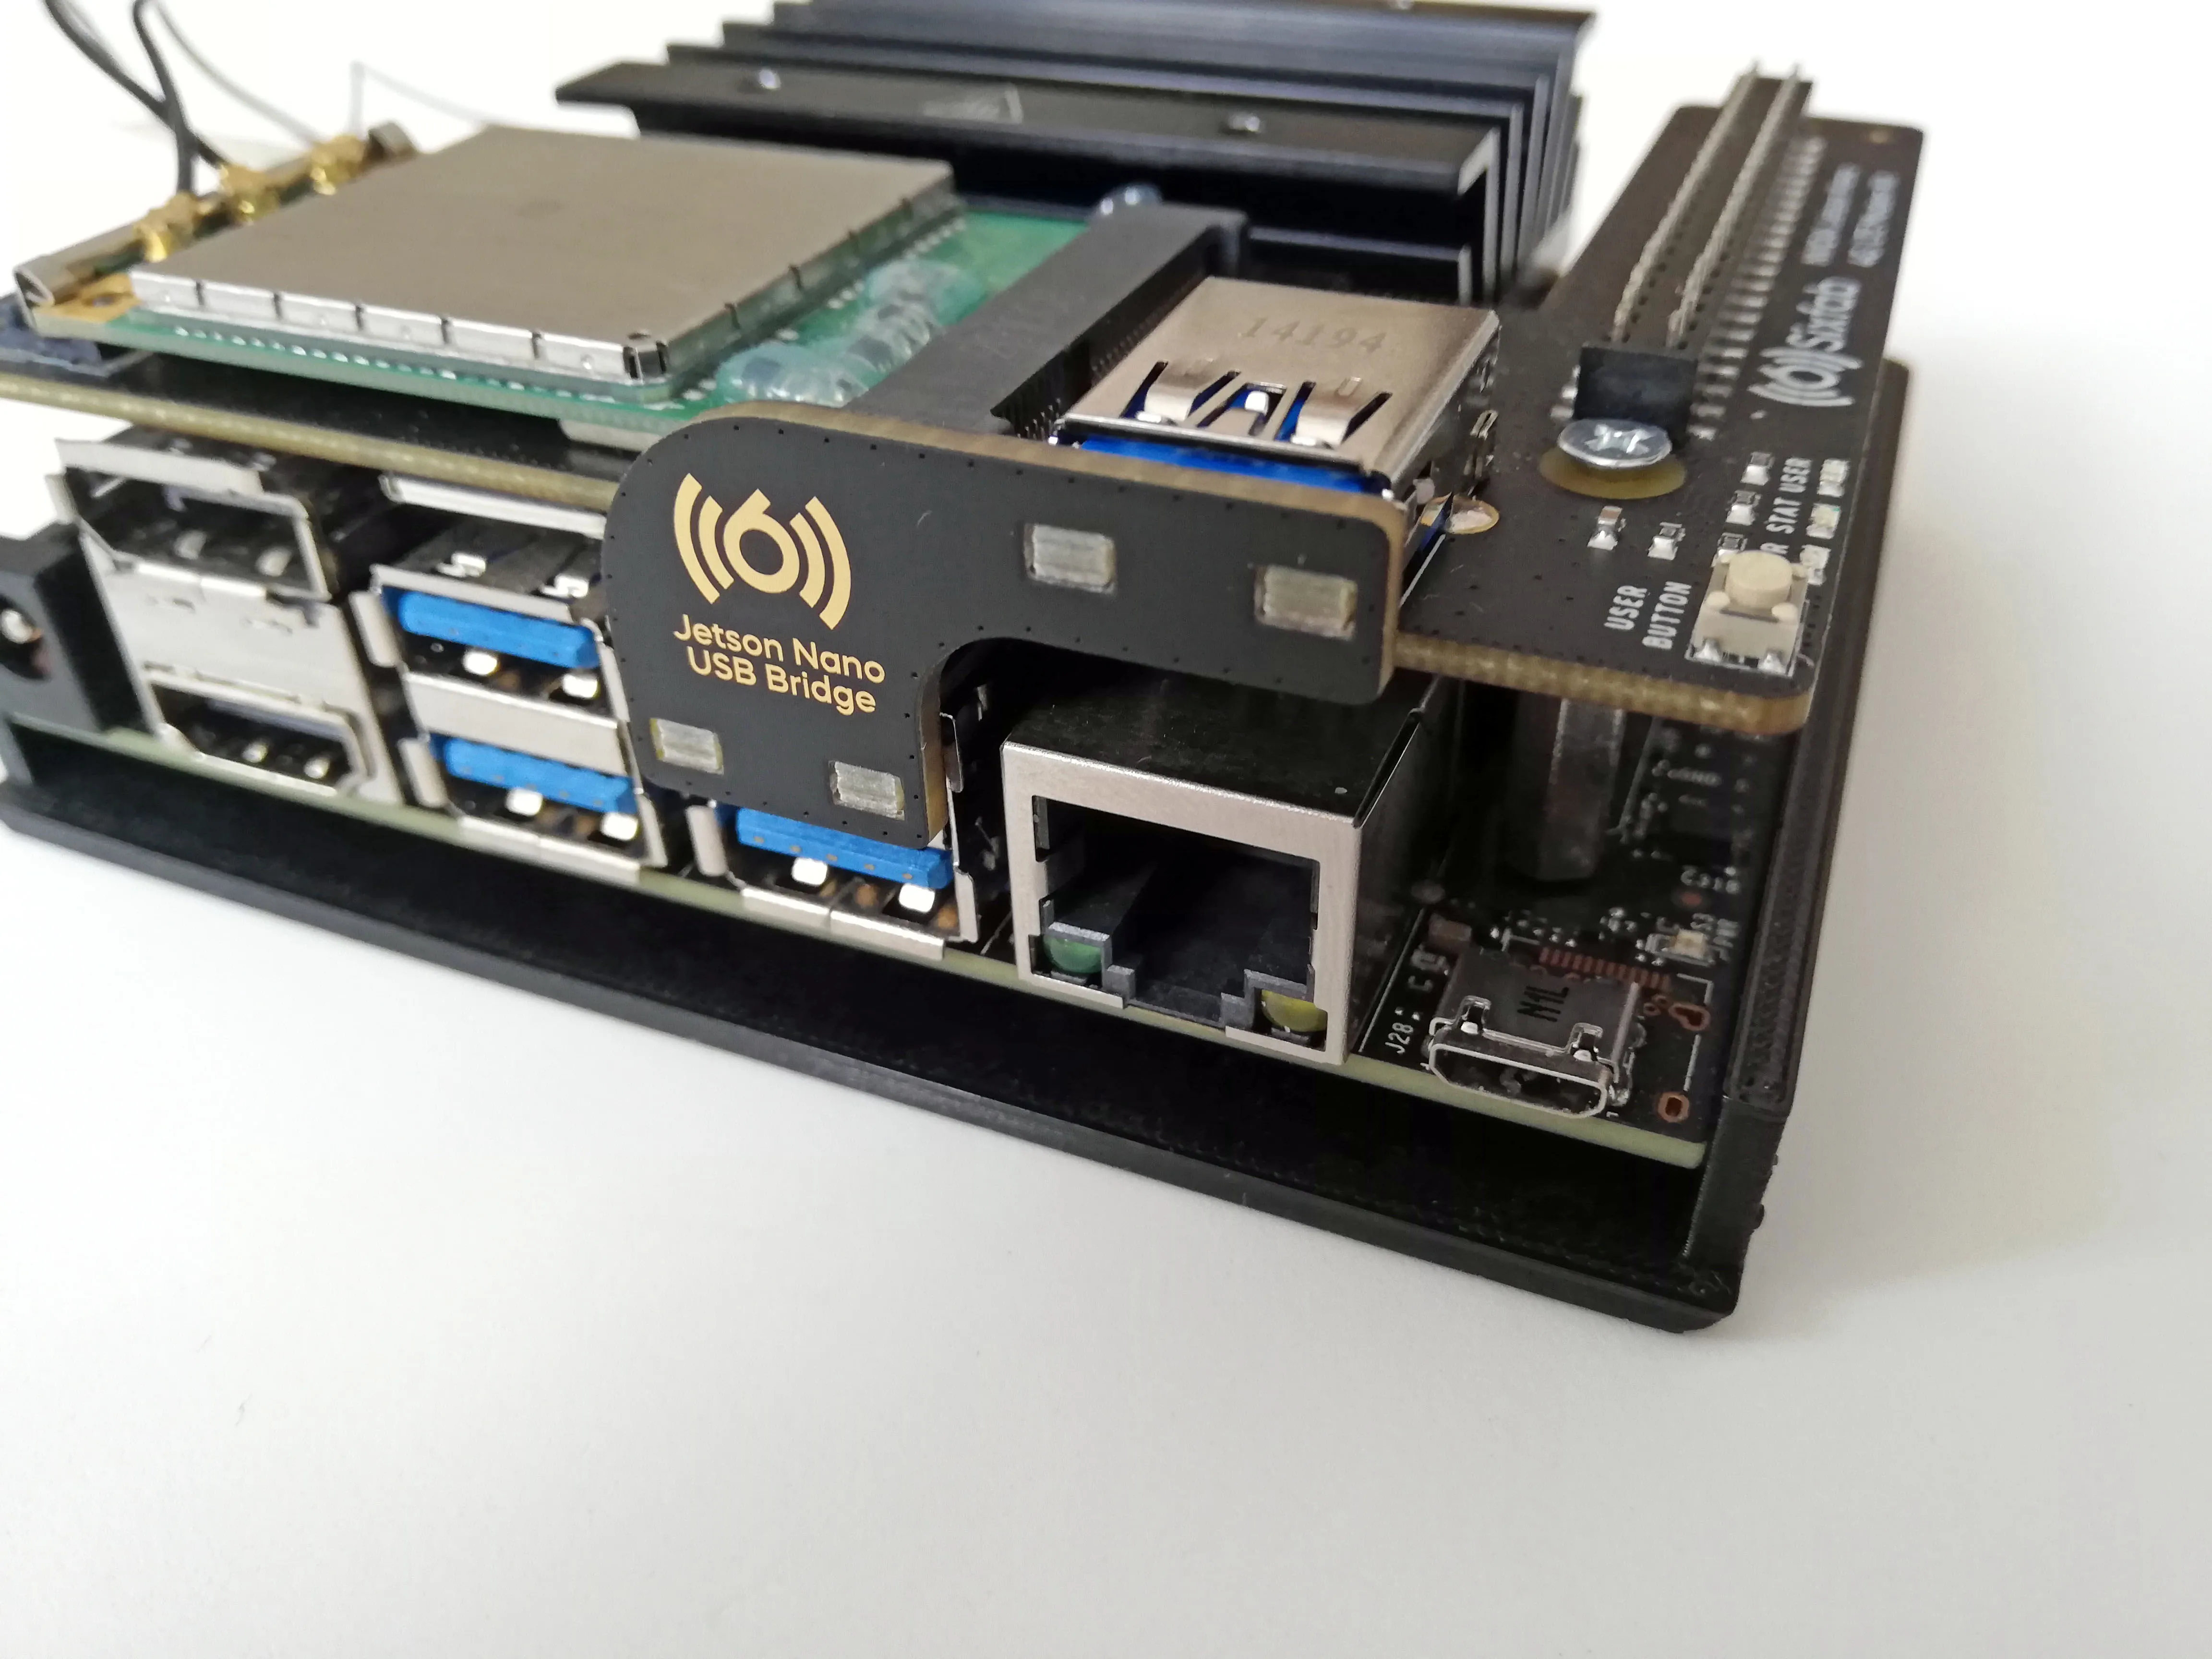
5. Plug the USB bridge
Plug the USB bridge to the HAT.
Step 2: Sixfab SIM Activation
This step is applicable only when the Sixfab SIM card is used. If a third-party SIM card is used, this step should be skipped.
To register and activate the Sixfab SIM card, the steps described in the tutorial linked here.
Step 3: Cellular Internet Connection
This section describes the available methods for establishing a cellular internet connection on single-board computers such as NVIDIA Jetson Nano using cellular modules.
Depending on the hardware, chipset and deployment requirements, any of the methods below can be used. All approaches provide cellular internet connectivity but differ in configuration complexity, performance characteristics and level of control. The appropriate method can be selected based on project needs.
3.1 Cellular Internet Connection in ECM Mode
ECM (Ethernet Control Model) is one of the simplest methods for enabling a cellular internet connection. In this mode, the cellular module presents itself as a standard USB Ethernet device.
ECM is natively supported by the Linux kernel and does not require additional driver installation. Once connected, the operating system automatically detects the module as a network interface, making this method suitable for rapid and straightforward deployments.
Documentation: Cellular Internet Connection in ECM Mode
3.2 Setting up a data connection over QMI interface using libqmi
Cellular modules that are based on the Qualcomm chipsets support the QMI interface. The libqmi can be used to establish QMI interface for mini PCIe modules such as Quectel EG25-G in the Sixfab 4G/LTE Cellular Modem Kit for NVIDIA Jetson Nano DevKit.
Cellular modules based on Qualcomm chipsets support the QMI (Qualcomm MSM Interface). The libqmi can be used to establish QMI interface for mini PCIe modules such as Quectel EG25-G in the Sixfab 4G/LTE Cellular Modem Kit for NVIDIA Jetson Nano DevKit.
Compared to ECM, this approach requires additional setup but offers greater control over modem behavior and network parameters.
Documentation: Setting up a data connection over QMI interface using libqmi
Remote Access for NVIDIA Jetson Nano
Once NVIDIA Jetson Nano is connected to the internet, It can access and manage it remotely without physical access. This is especially useful for headless setups or devices connected via cellular networks.
Available Remote Access Options
Updated 5 days ago
