Getting Started
This section leads you through the hardware setup of the Sixfab Power Management & UPS HAT v2.
Keeping this pocket-sized computer Raspberry Pi alive all the time is mandatory for most of the projects. Having them on the edge always needs to be self-powered and recoverable when things went wrong with the electricity.
Sixfab Power Management & UPS HAT is designed to prevent any data loss during power outage. The UPS HAT will not let your operating system freeze or resets while switching the source between the battery and main supply.
This section explains how you can get your HAT up ready working with your Raspberry Pi. In order to get a device connected please follow the following steps.
Hardware Prerequisites
We will need the following parts to setup our hardware
-
Compatible Raspberry Pi Model
- Sixfab Power Management & UPS HAT
-
Protected single-cell 3.7V rechargeable Li-ion battery
-
Raspberry Pi USB-C Power Supply
Hardware Setup
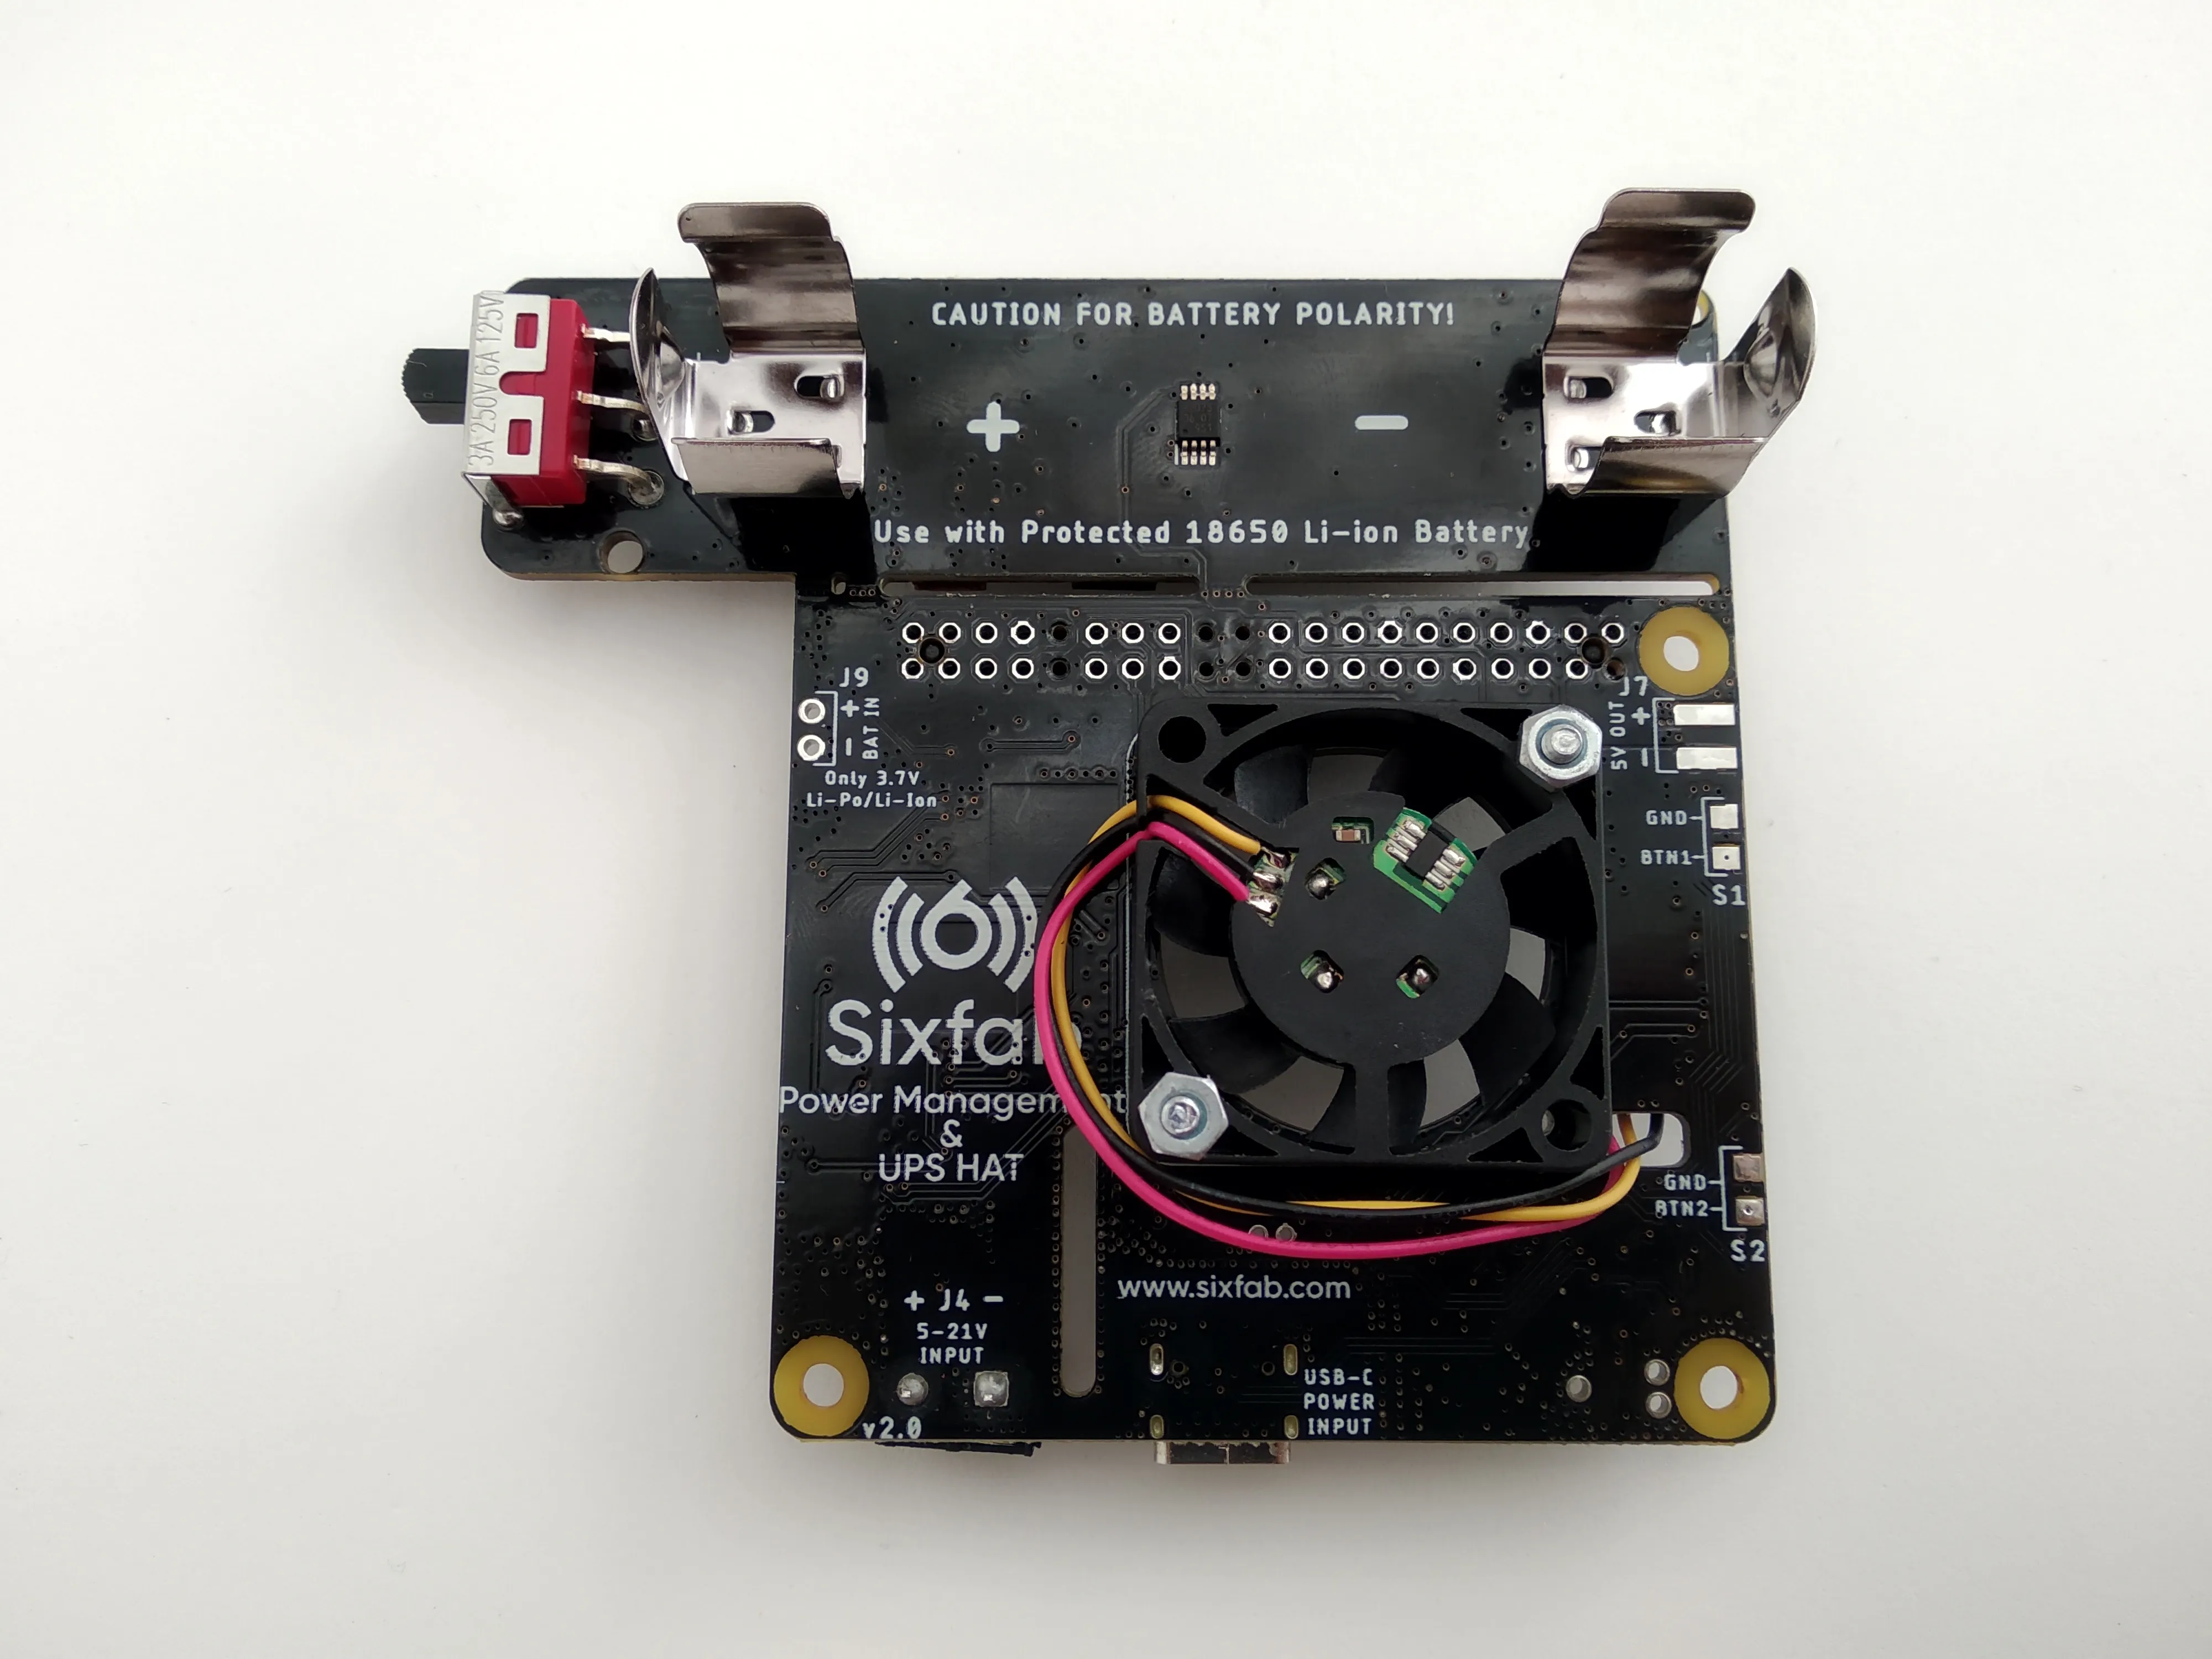
1. Attach the cooling fan to the HAT.
The Red, Yellow, Black wires of the fan goes to the +, P, - of the J6 connector respectively.
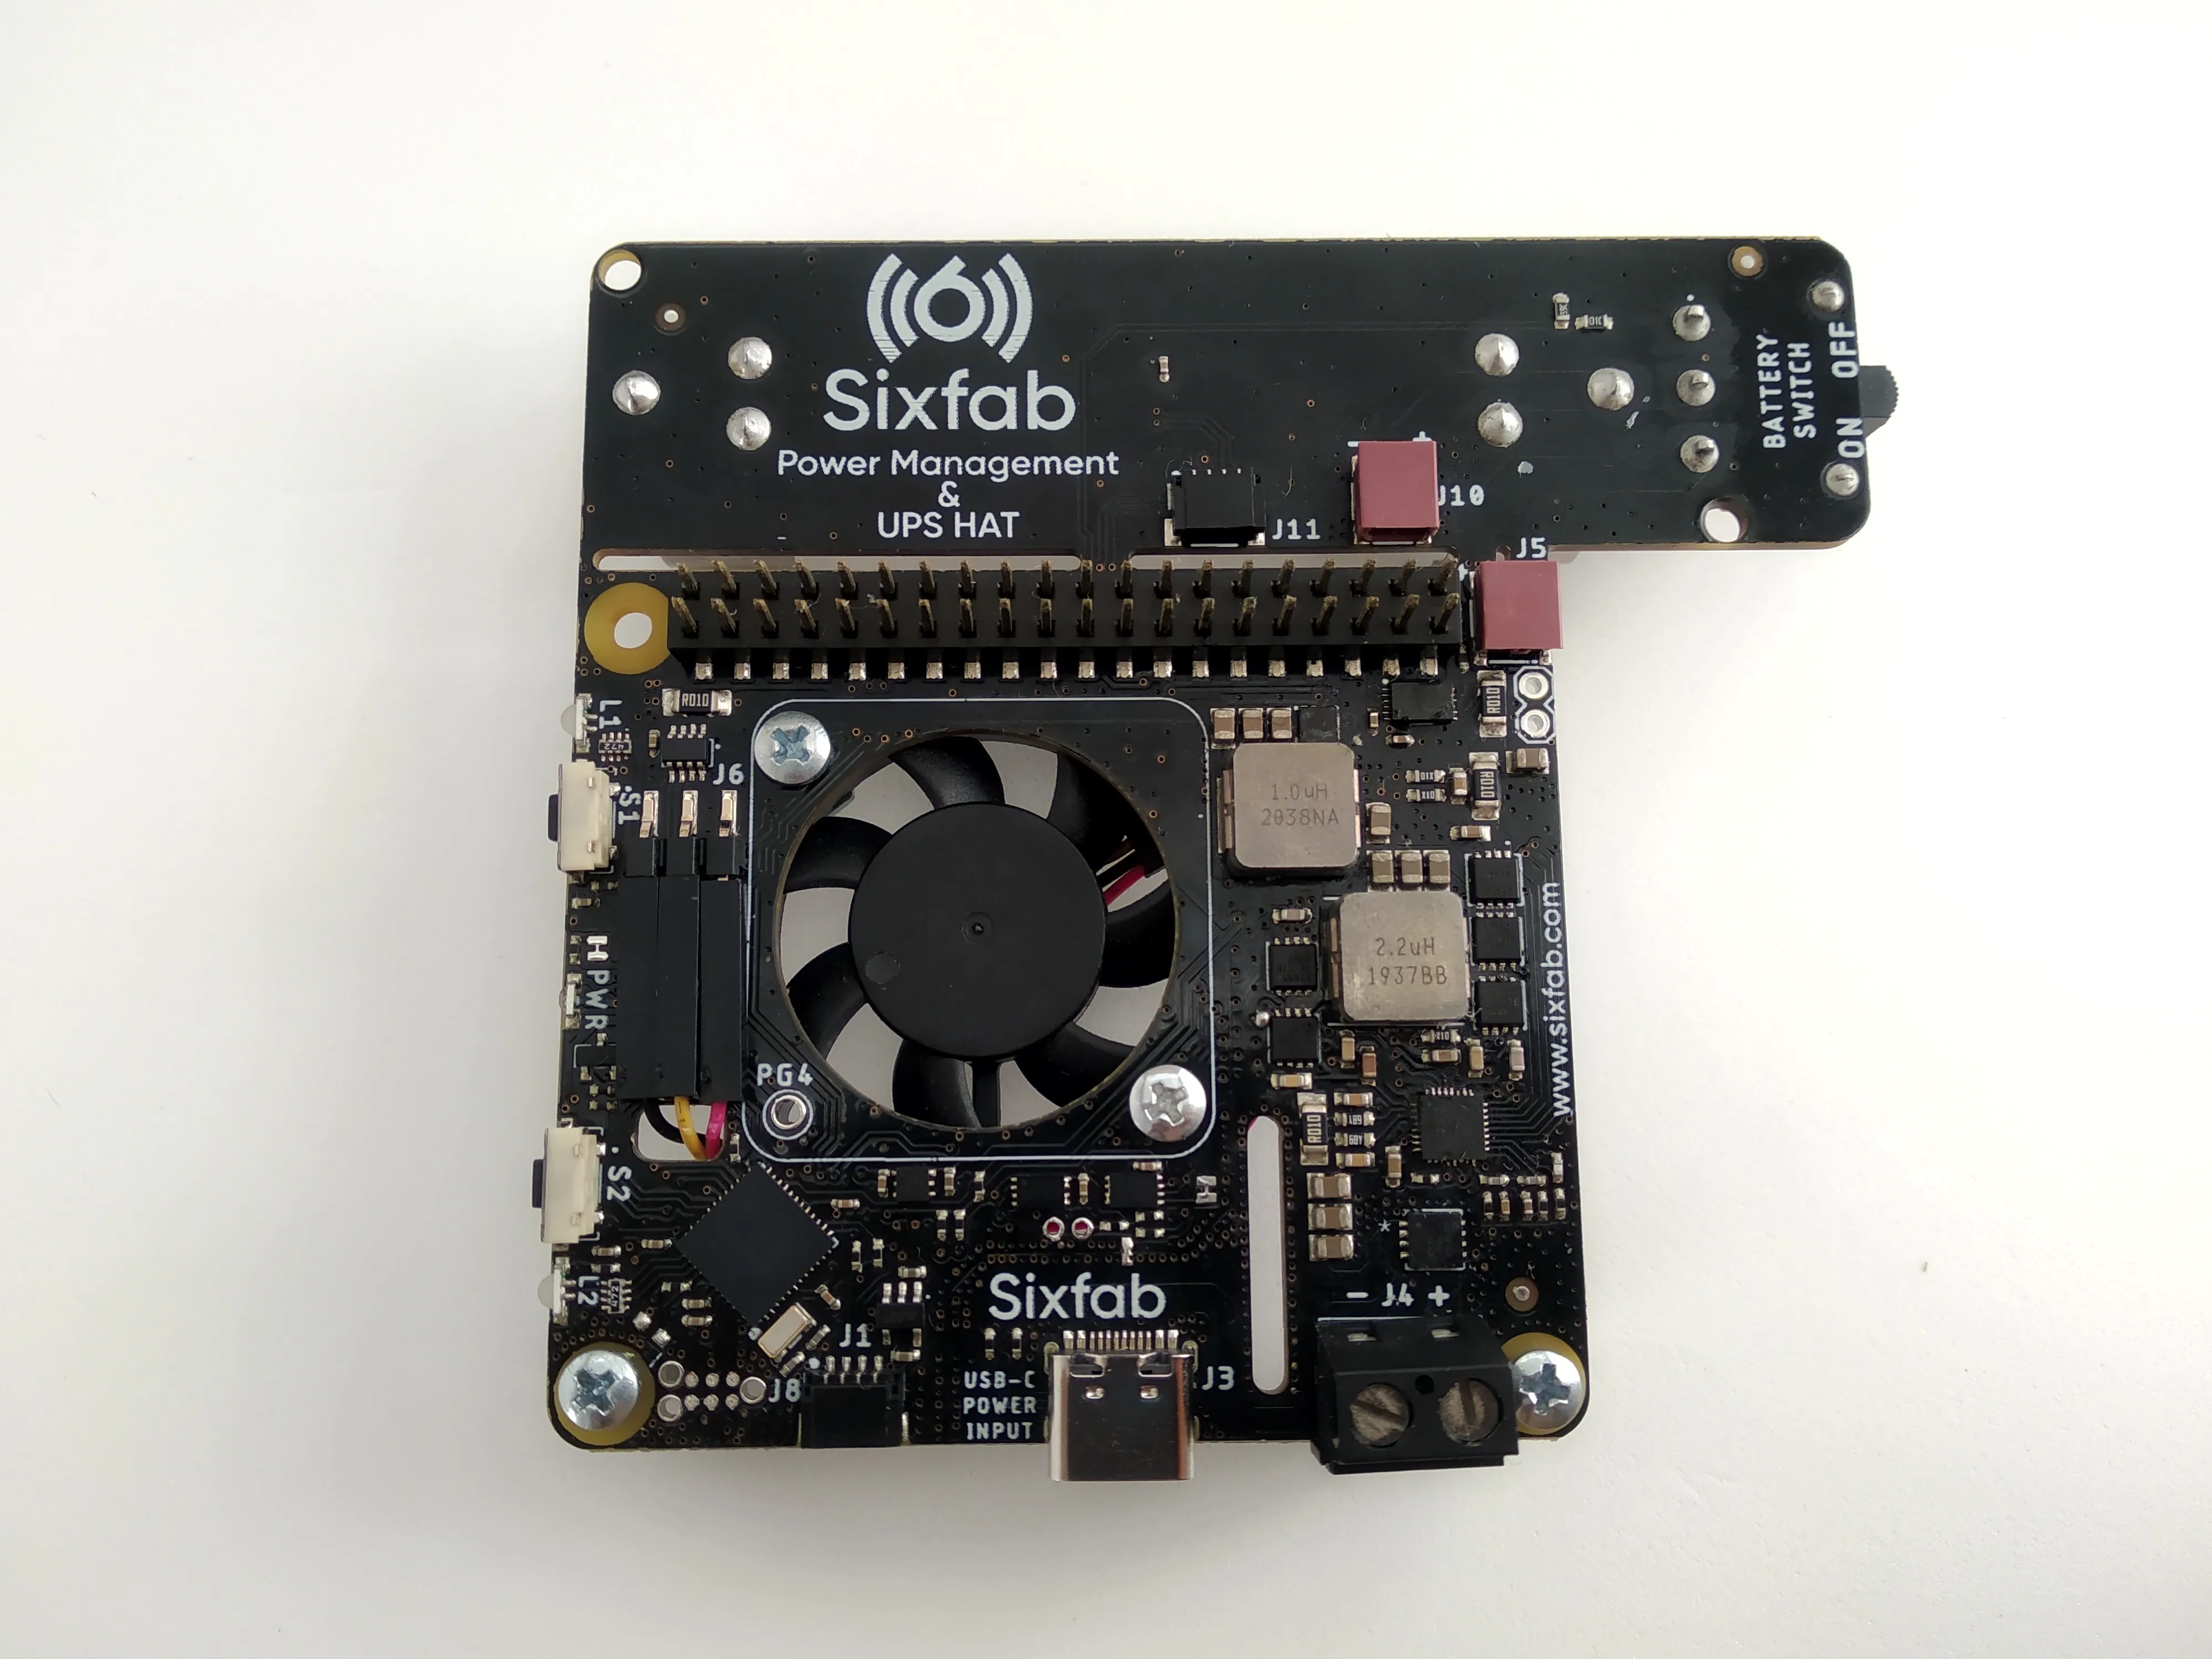
2. Attach 40 pin header to the HAT that comes with the HAT.
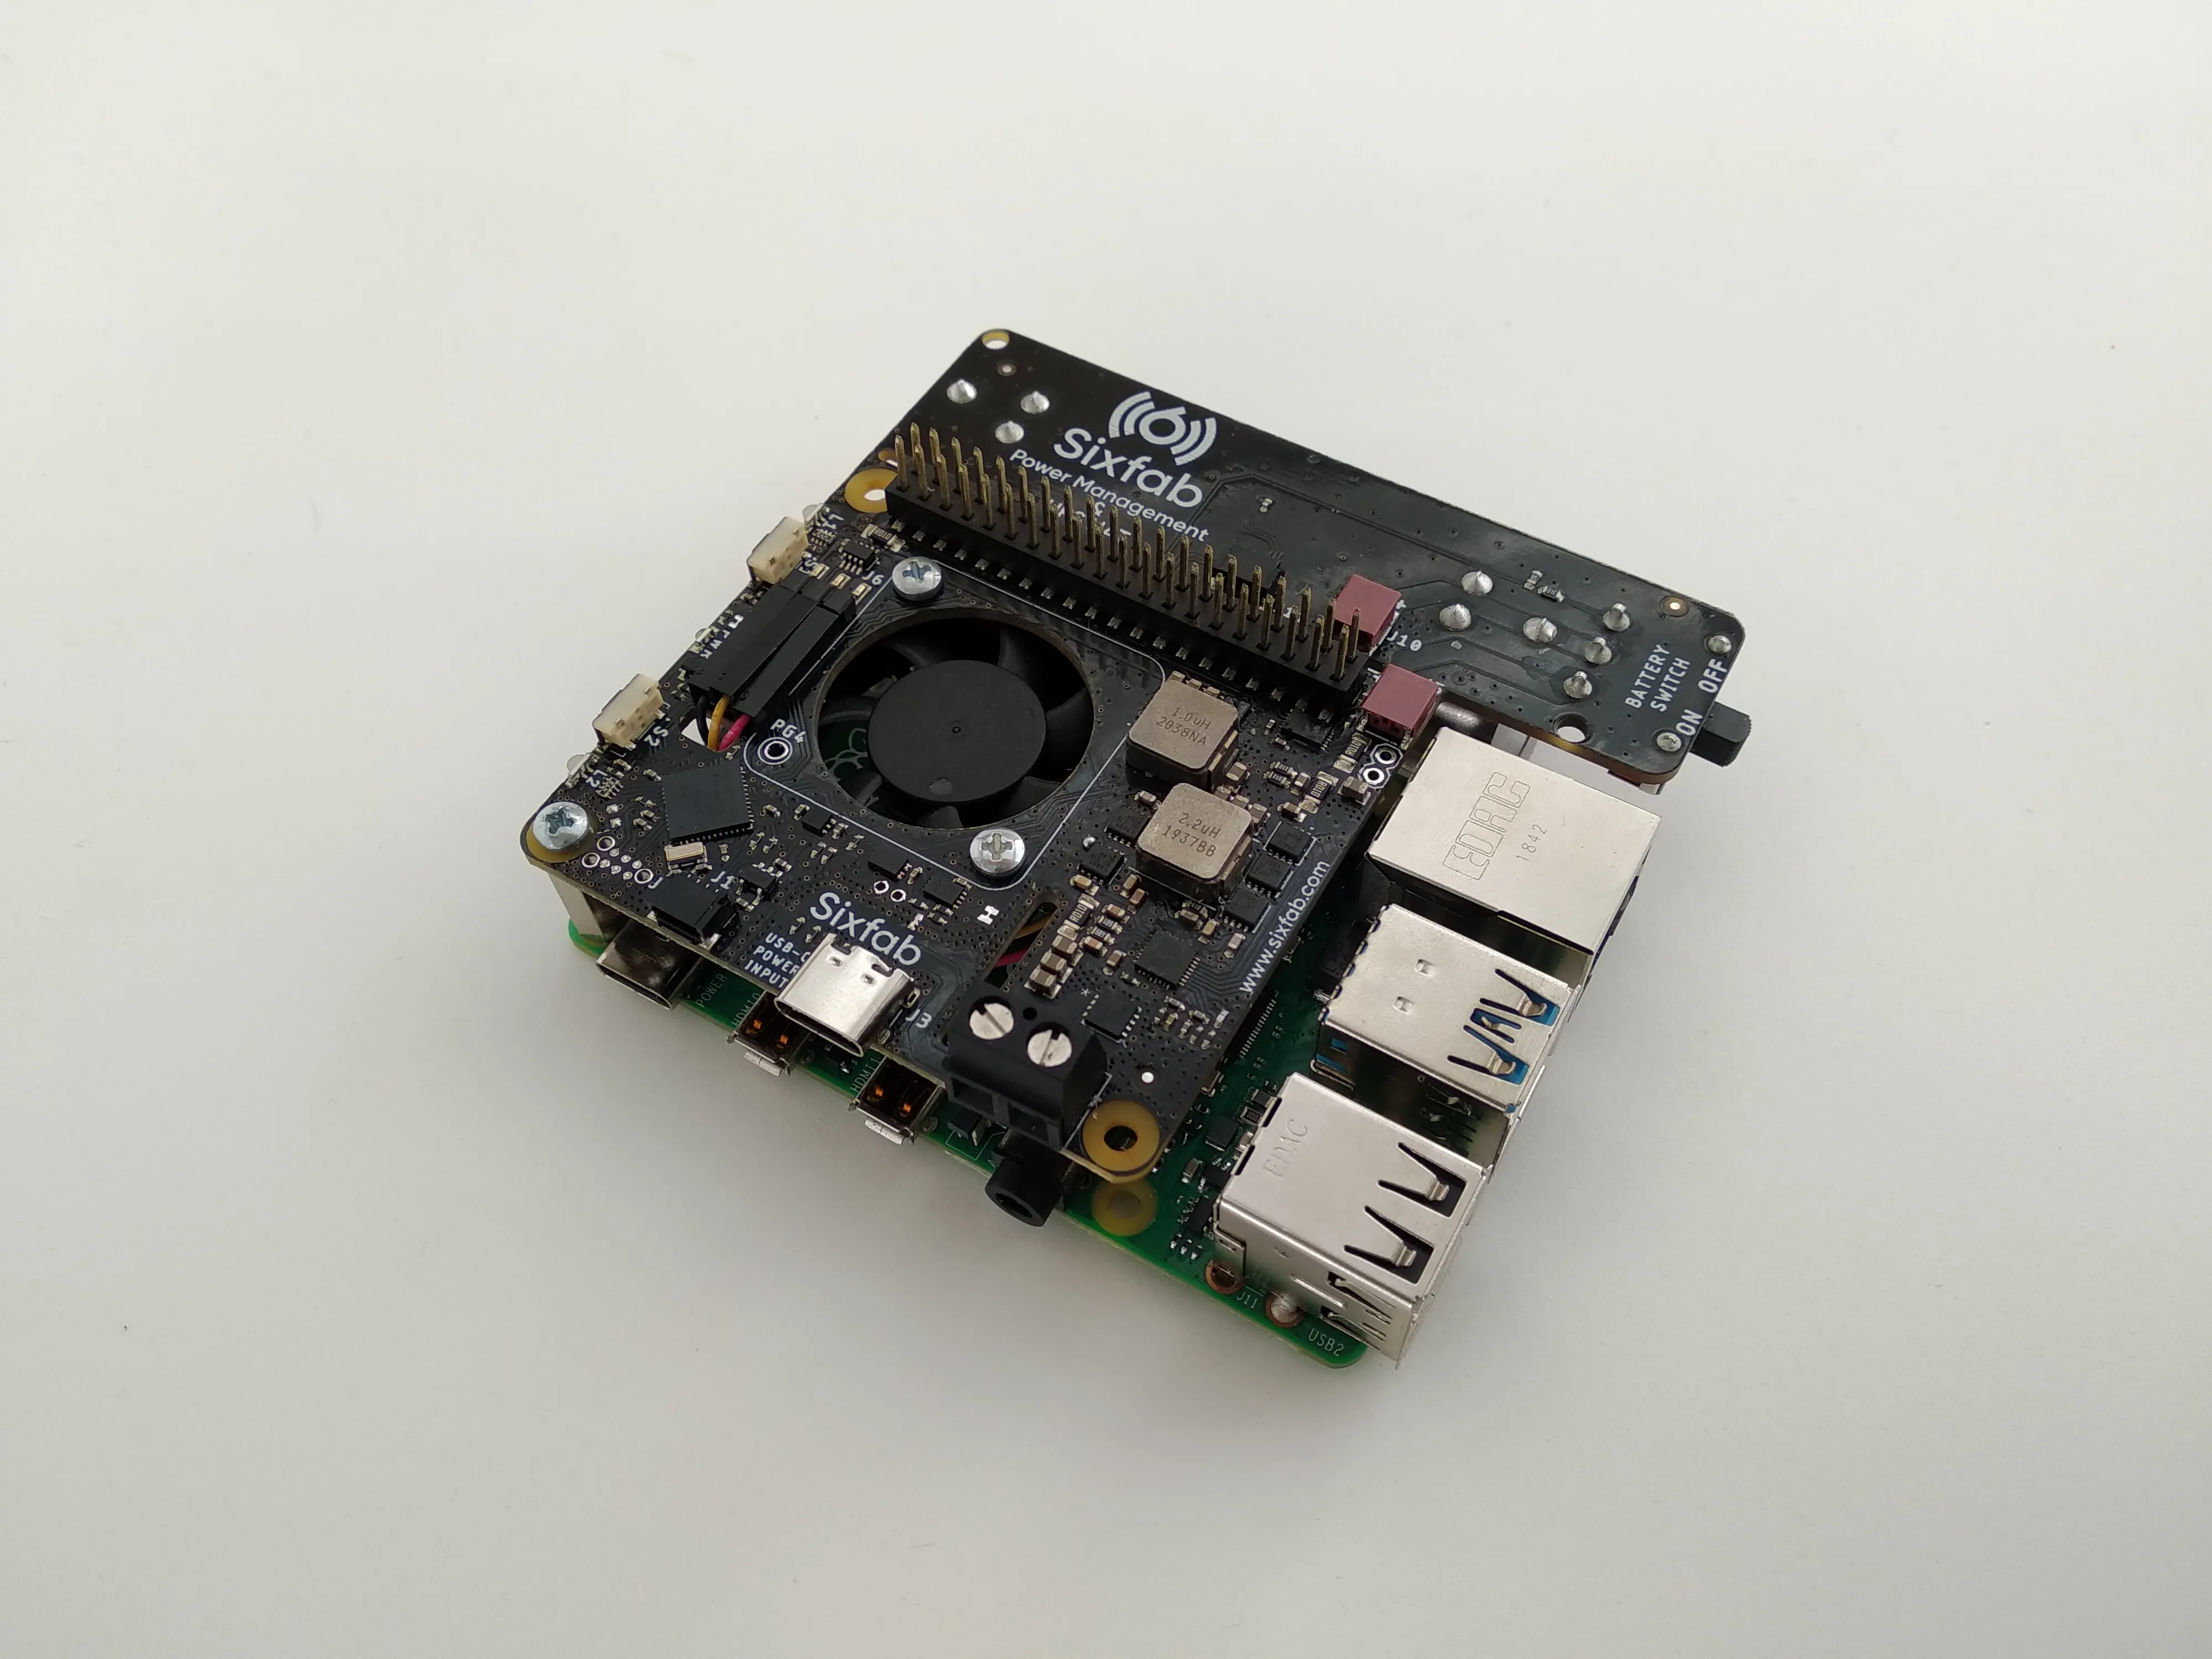
3. Attach the HAT to the Raspberry Pi.
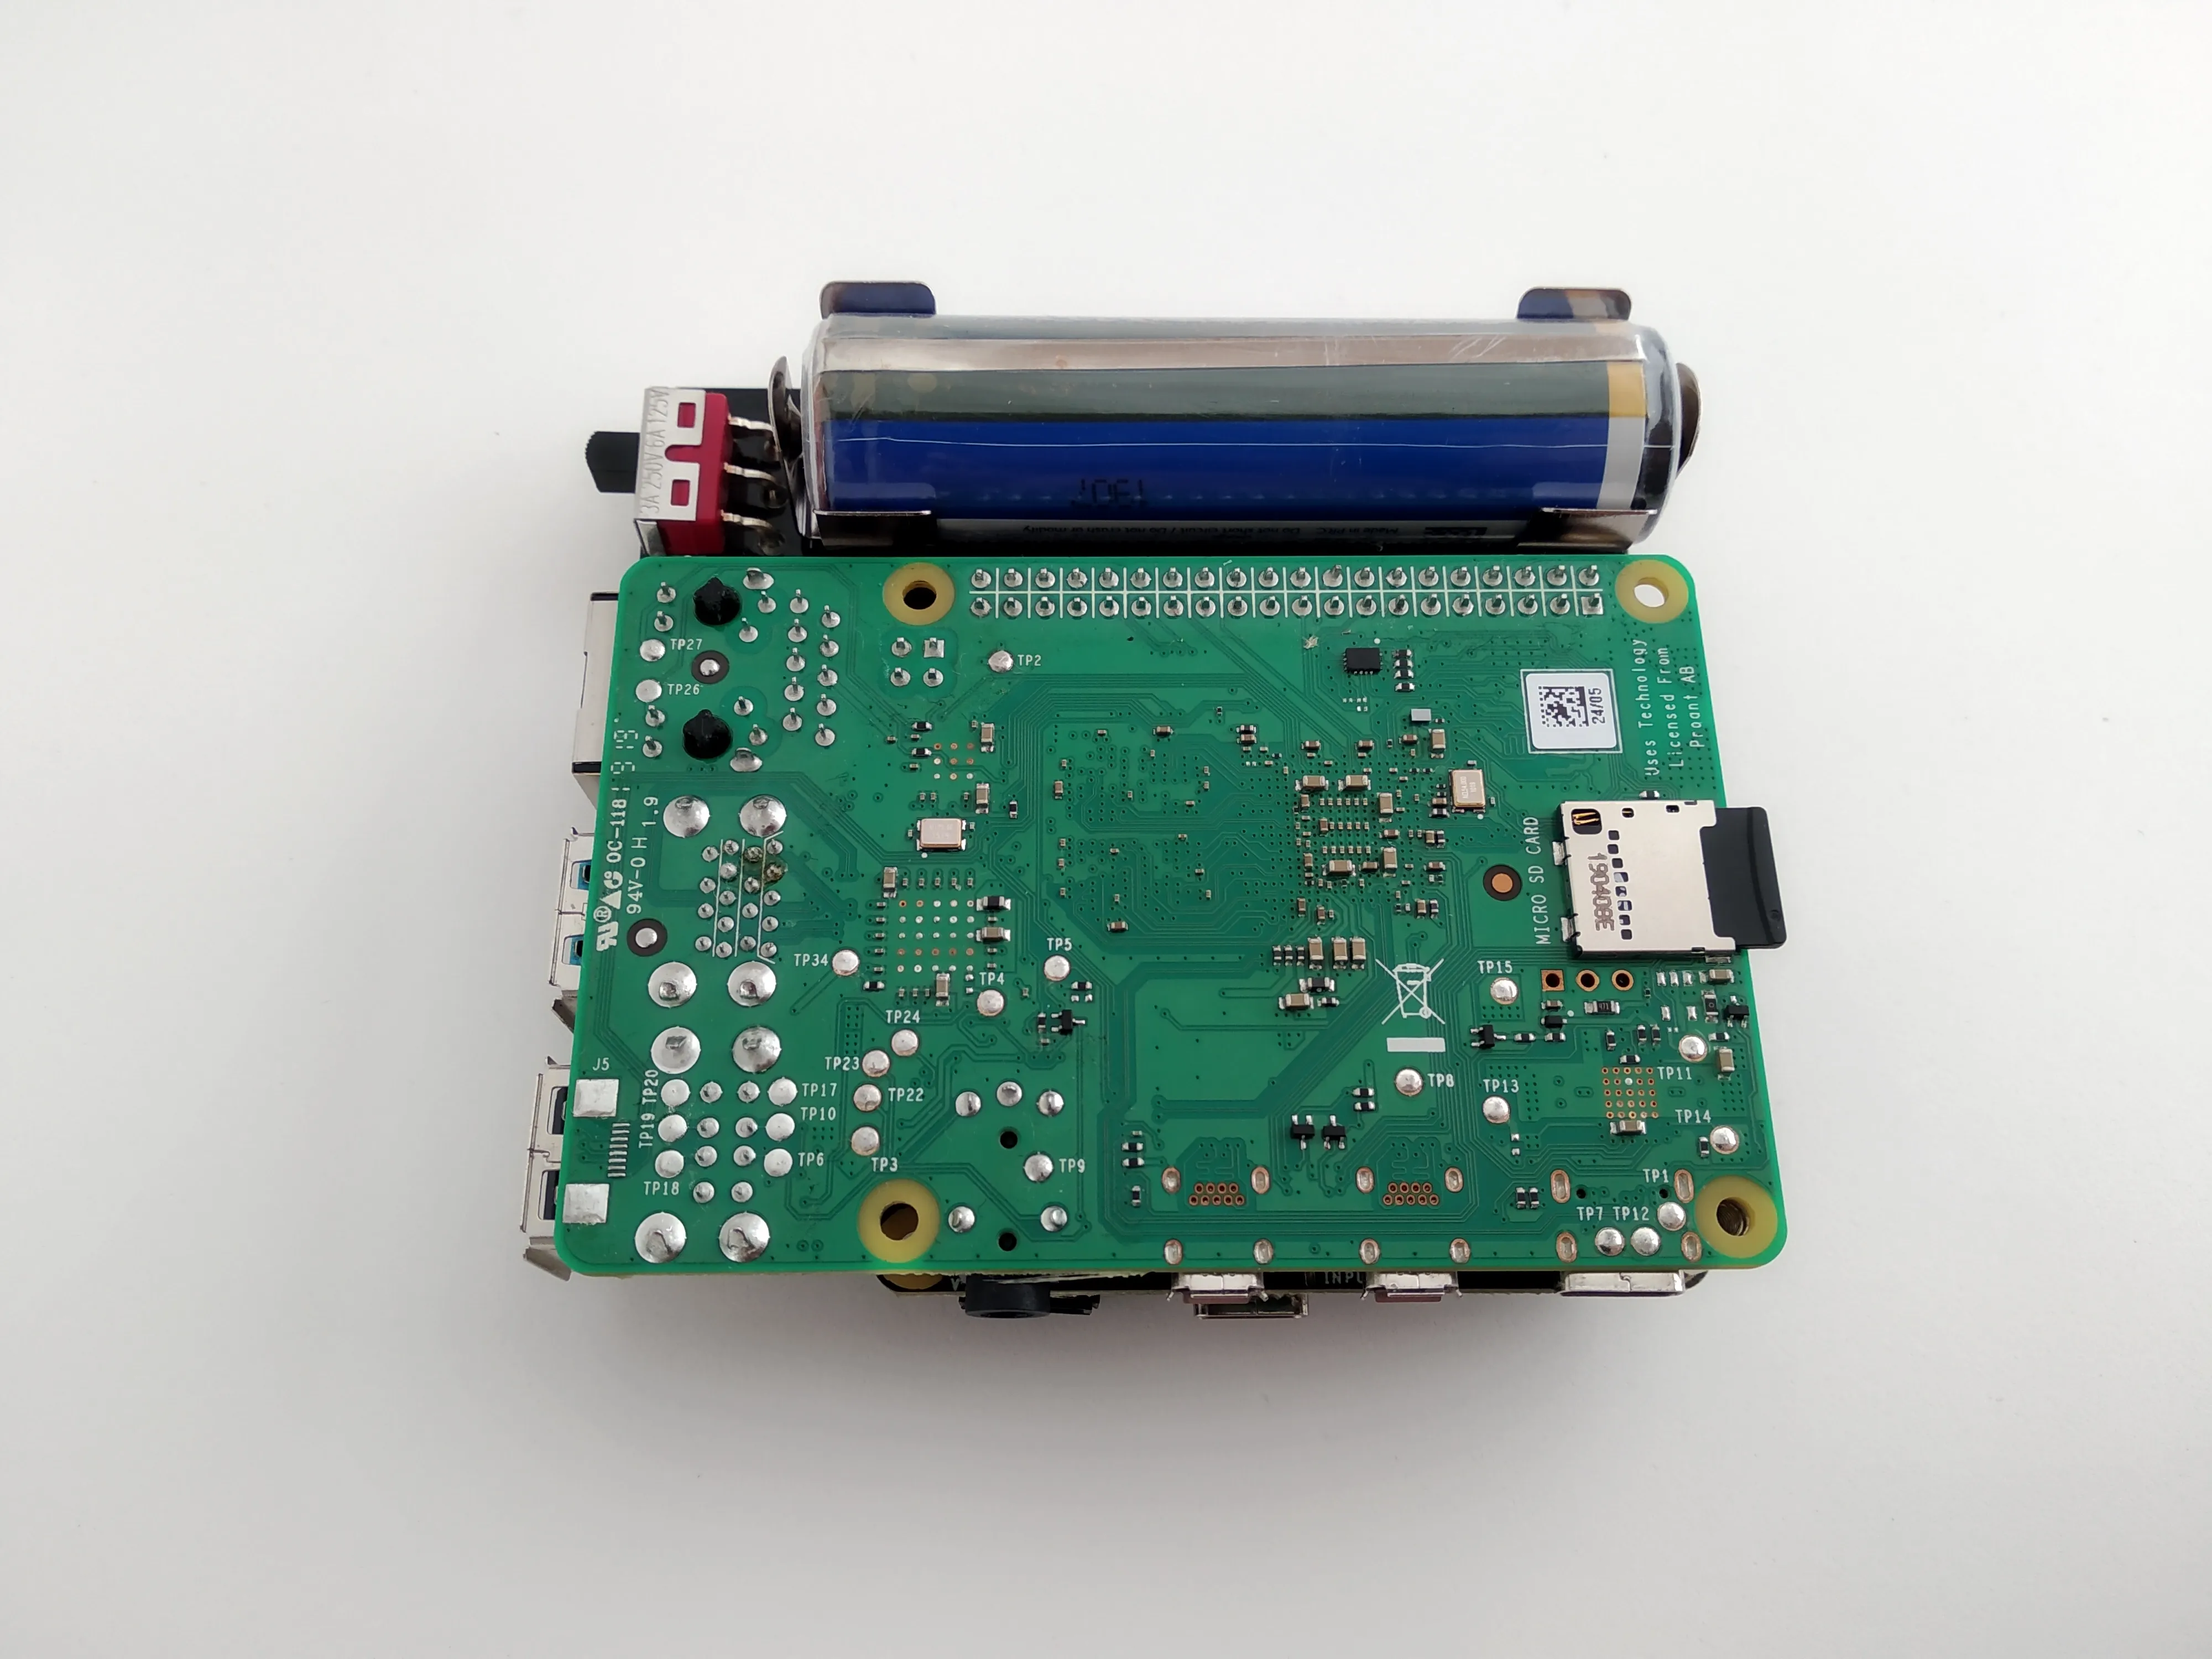
4. Insert the protected 18650 battery into the battery holder.
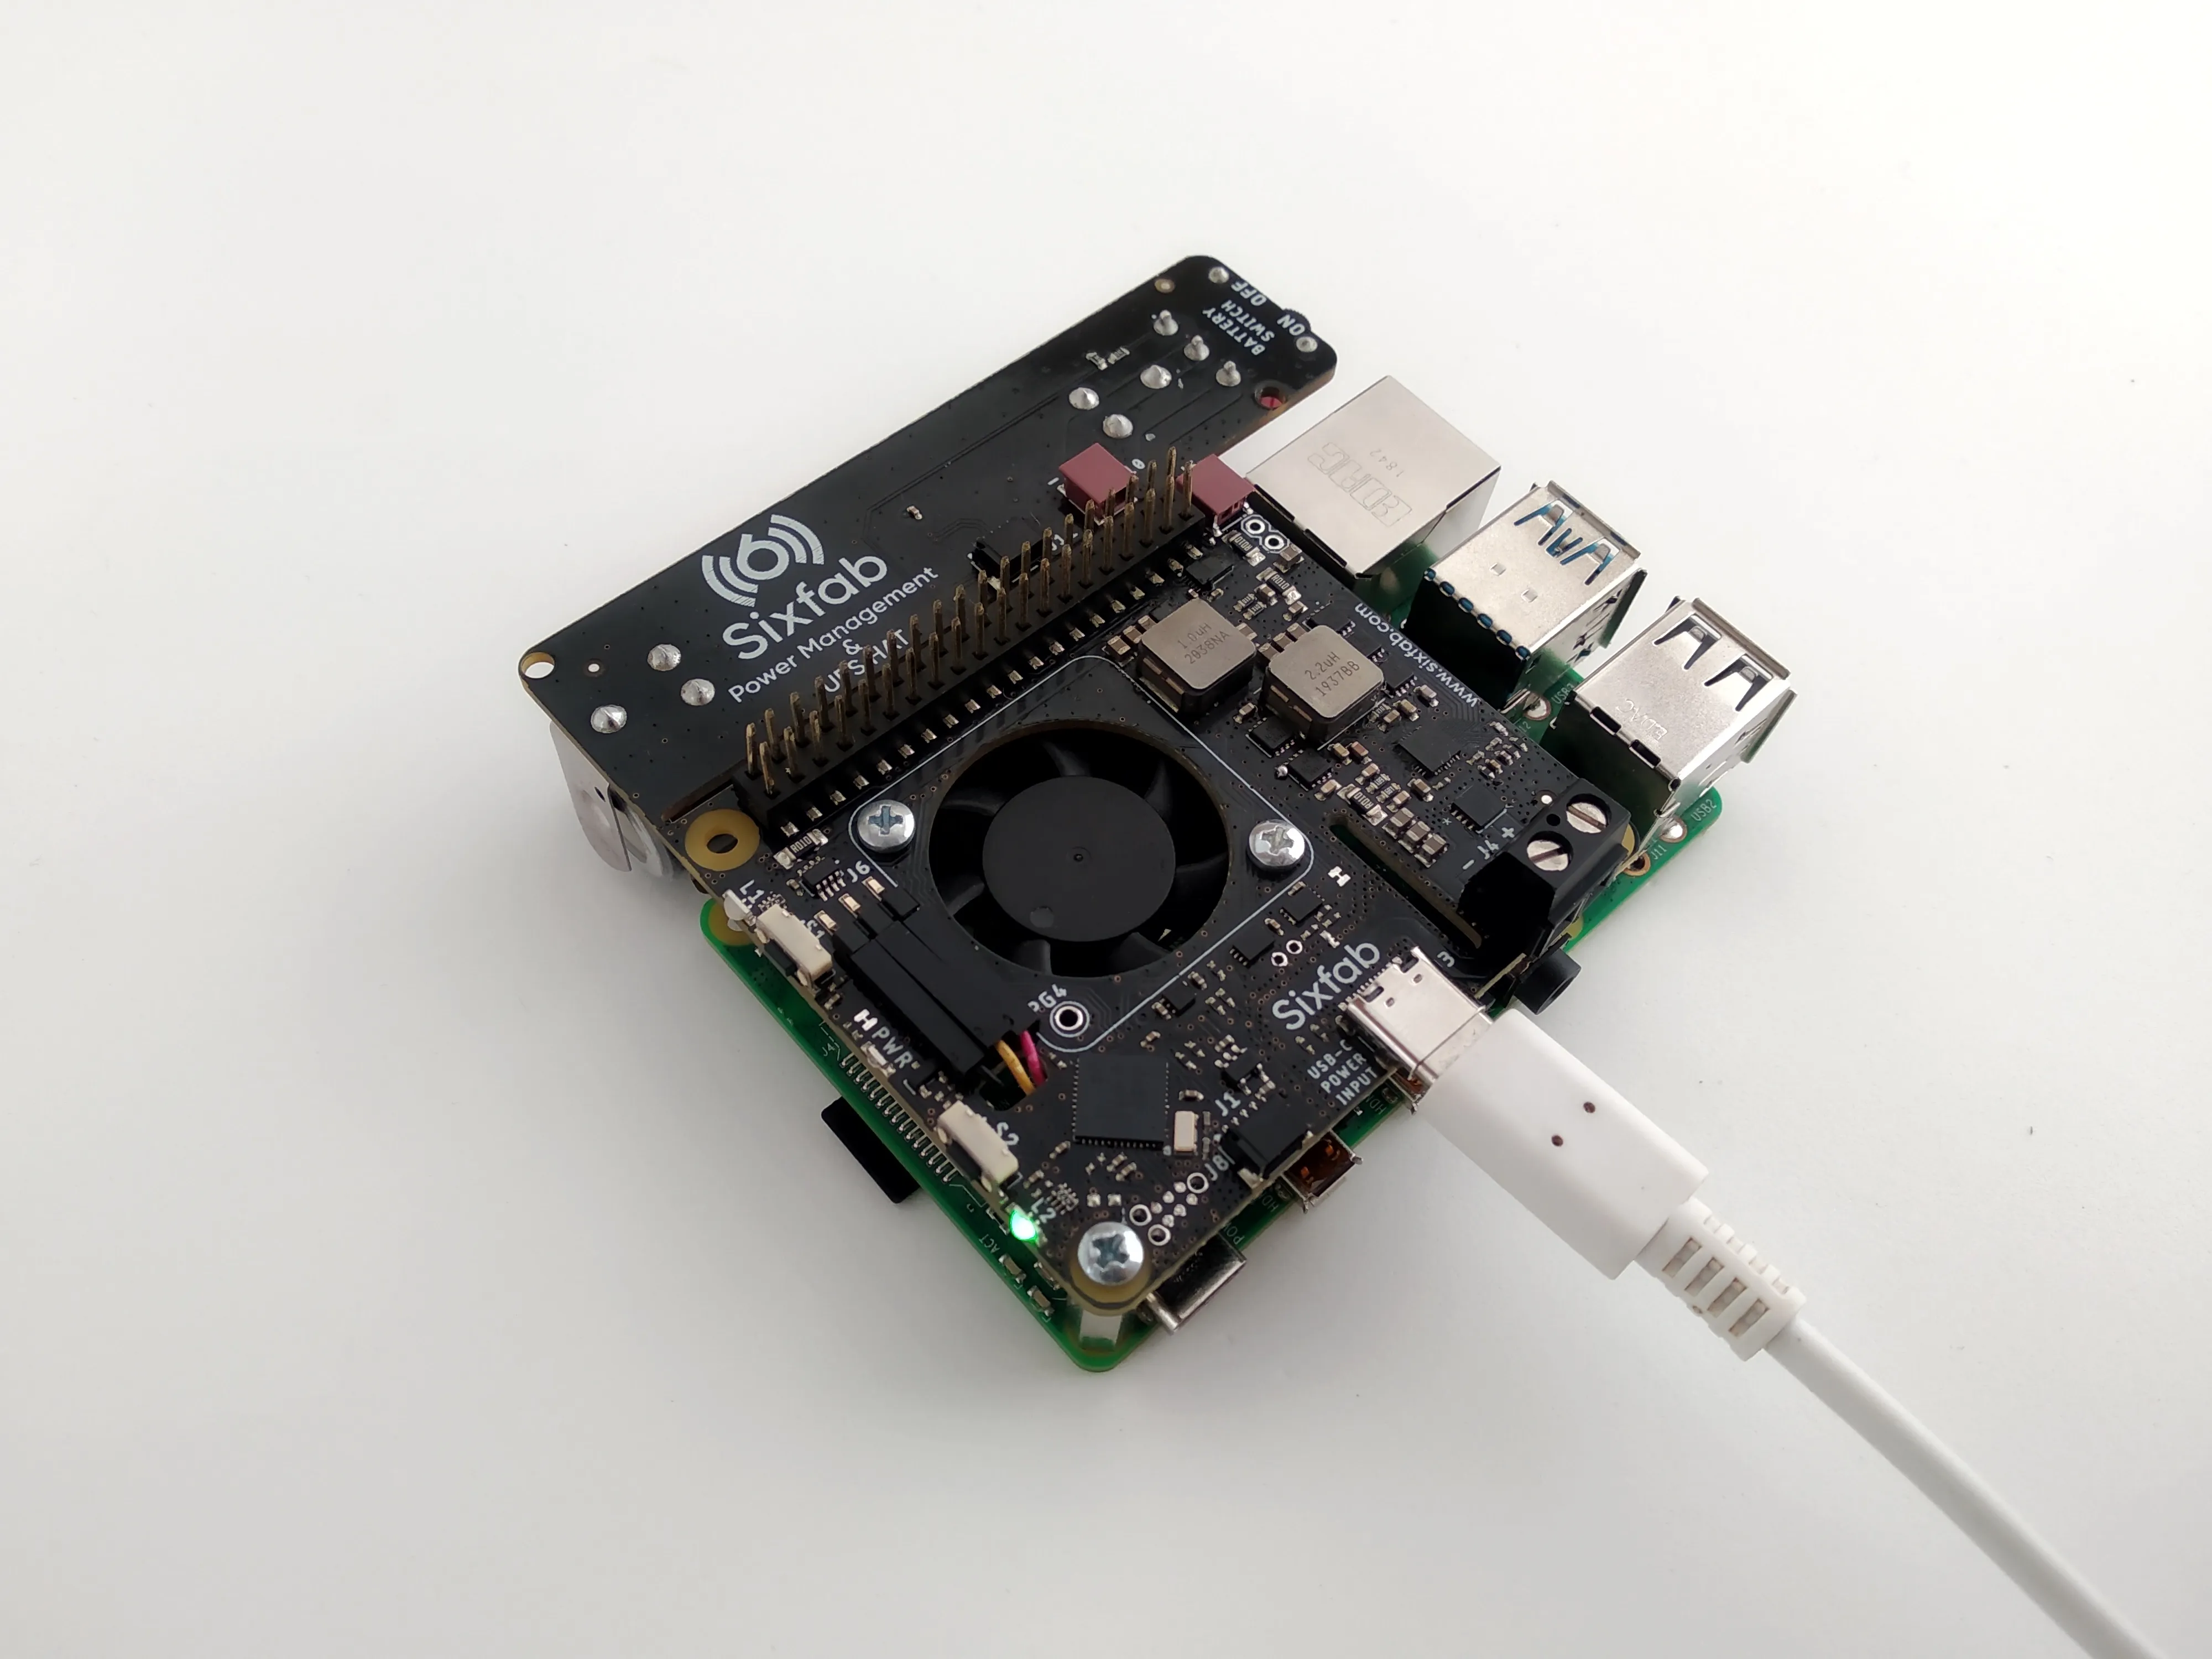
5. Connect power to the UPS HAT.
Use the power input of the UPS HAT to power your system. For power input options check the technical details.
❗️ Warning
Do not power both the Raspberry Pi and Power HAT. Only supply power to the Power HAT.
Updated 3 months ago
