Send Message to Telegram Channel
Telegram is a globally accessible freemium, cross-platform, cloud-based instant messaging (IM) service. The service also provides optional end-to-end encrypted chats and video calling, VoIP, file sharing and several other features.
The Pico LTE device provides all the components needed to send messages to the Telegram channel.
Before starting this Pico LTE tutorial, the Pico LTE SDK installation and configuration steps must be completed. Below are the system requirements for this tutorial. If you haven't followed the SDK installation steps, please refer to the page below before proceeding with the tutorial. The details of these steps will not be covered in this tutorial.
System Requirements
| Hardware Requirements | Software Requirements |
|---|---|
| • Sixfab Pico LTE • Micro USB cable |
• Thonny IDE |
If you have completed all the requirements, you are ready to send a message to Telegram with the Pico LTE device. Let's get started!
Preparing Coding Environment
- Download the Pico LTE SDK repository to your local machine. If you have already downloaded it, skip this step.
- Open script "examples → telegram → send_message.py from the repository via Thonny IDE.
- If you haven't, create a config.json file in the root directory of Pico LTE device.
Telegram Bot Configuration
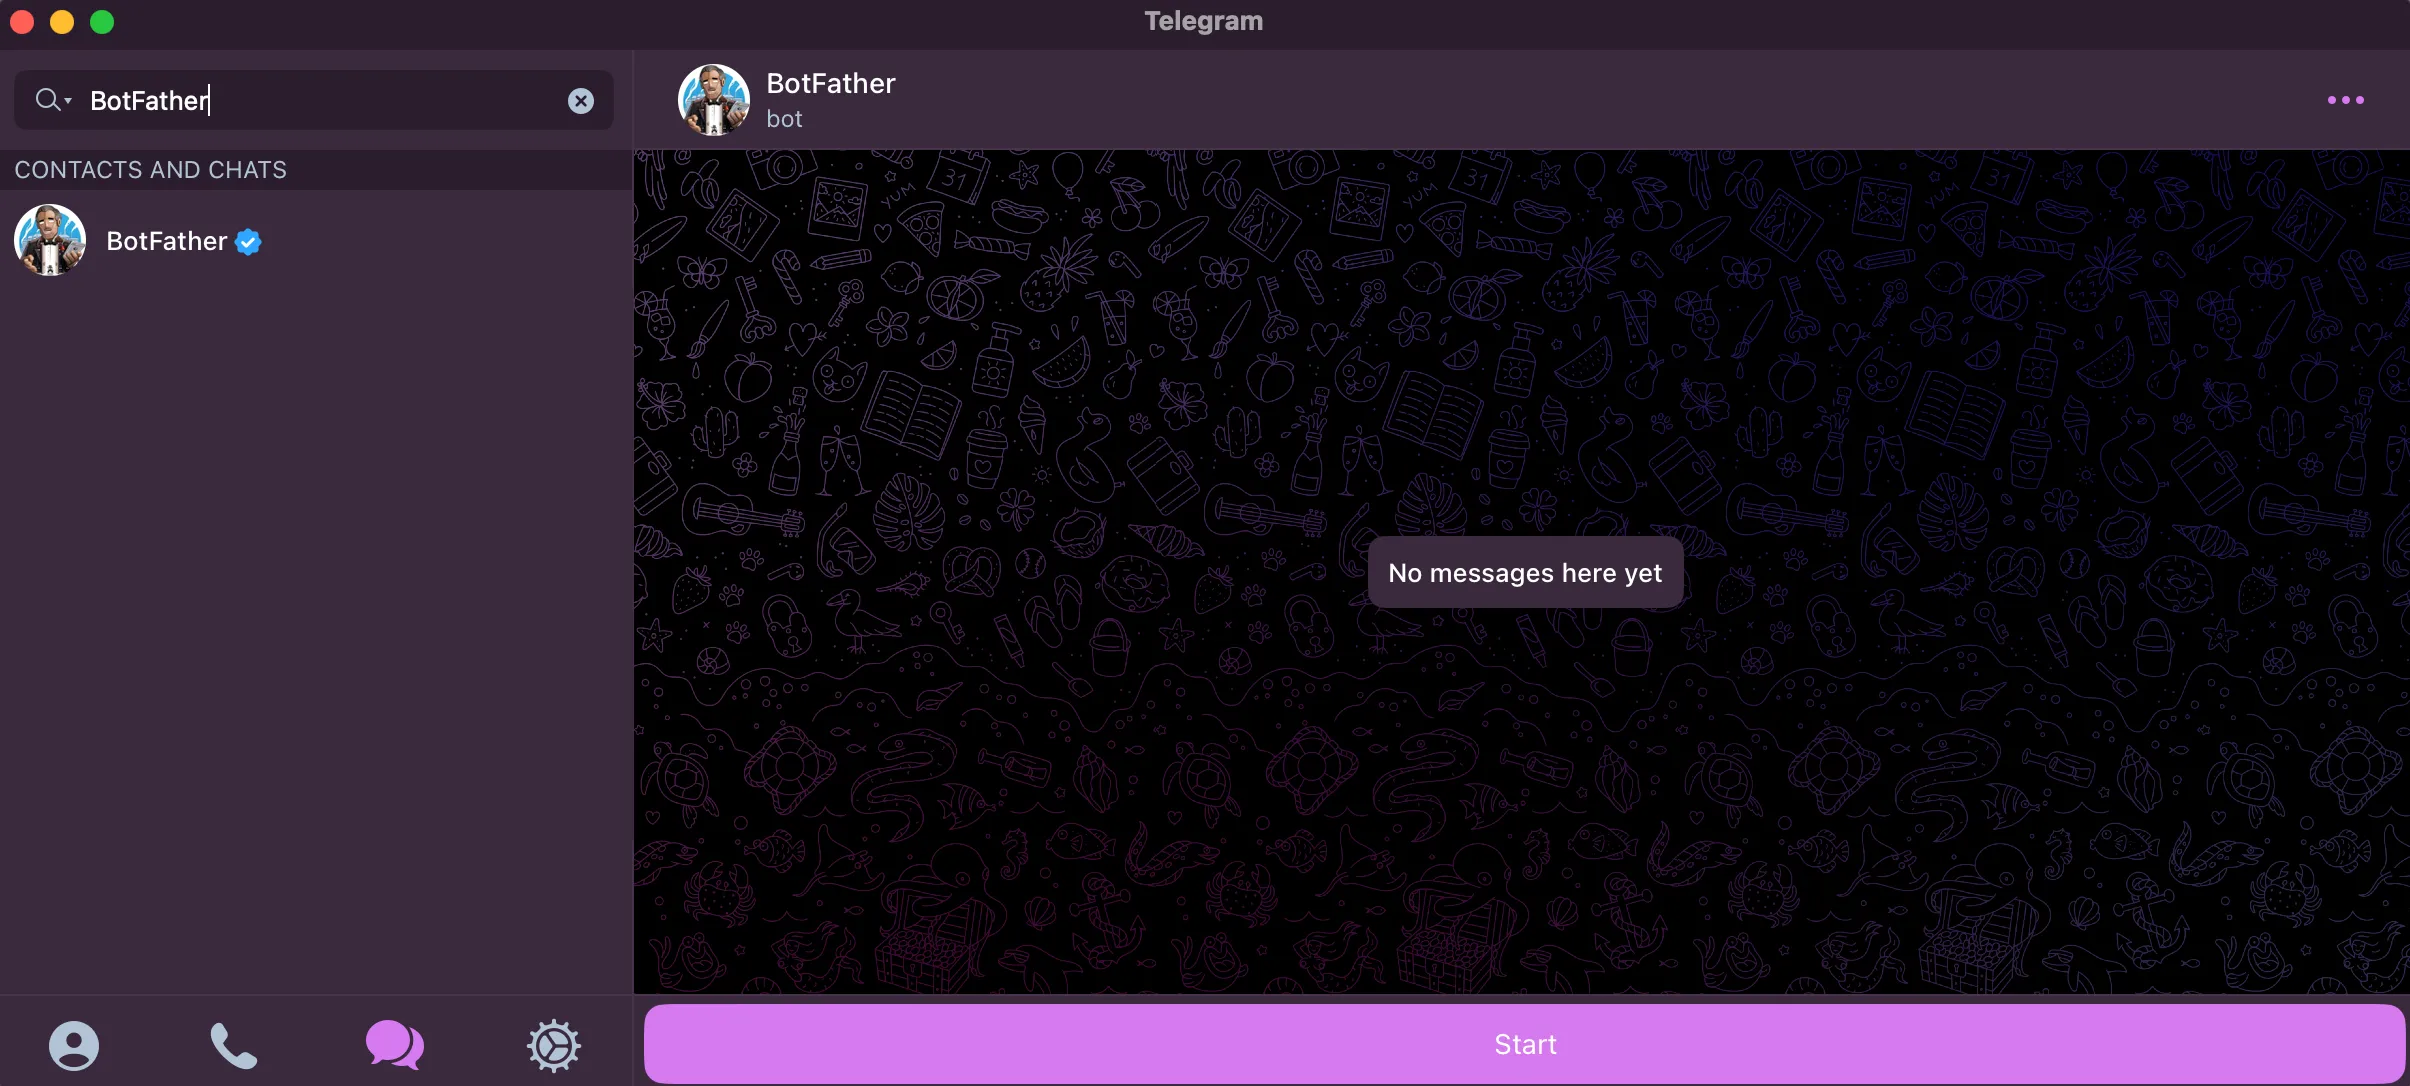
- Search "BotFather" in Telegram's search bar. Start conversation with BotFather. Type "/start" to see all available commands.
- Use "/newbot" command to create a new bot in Telegram.
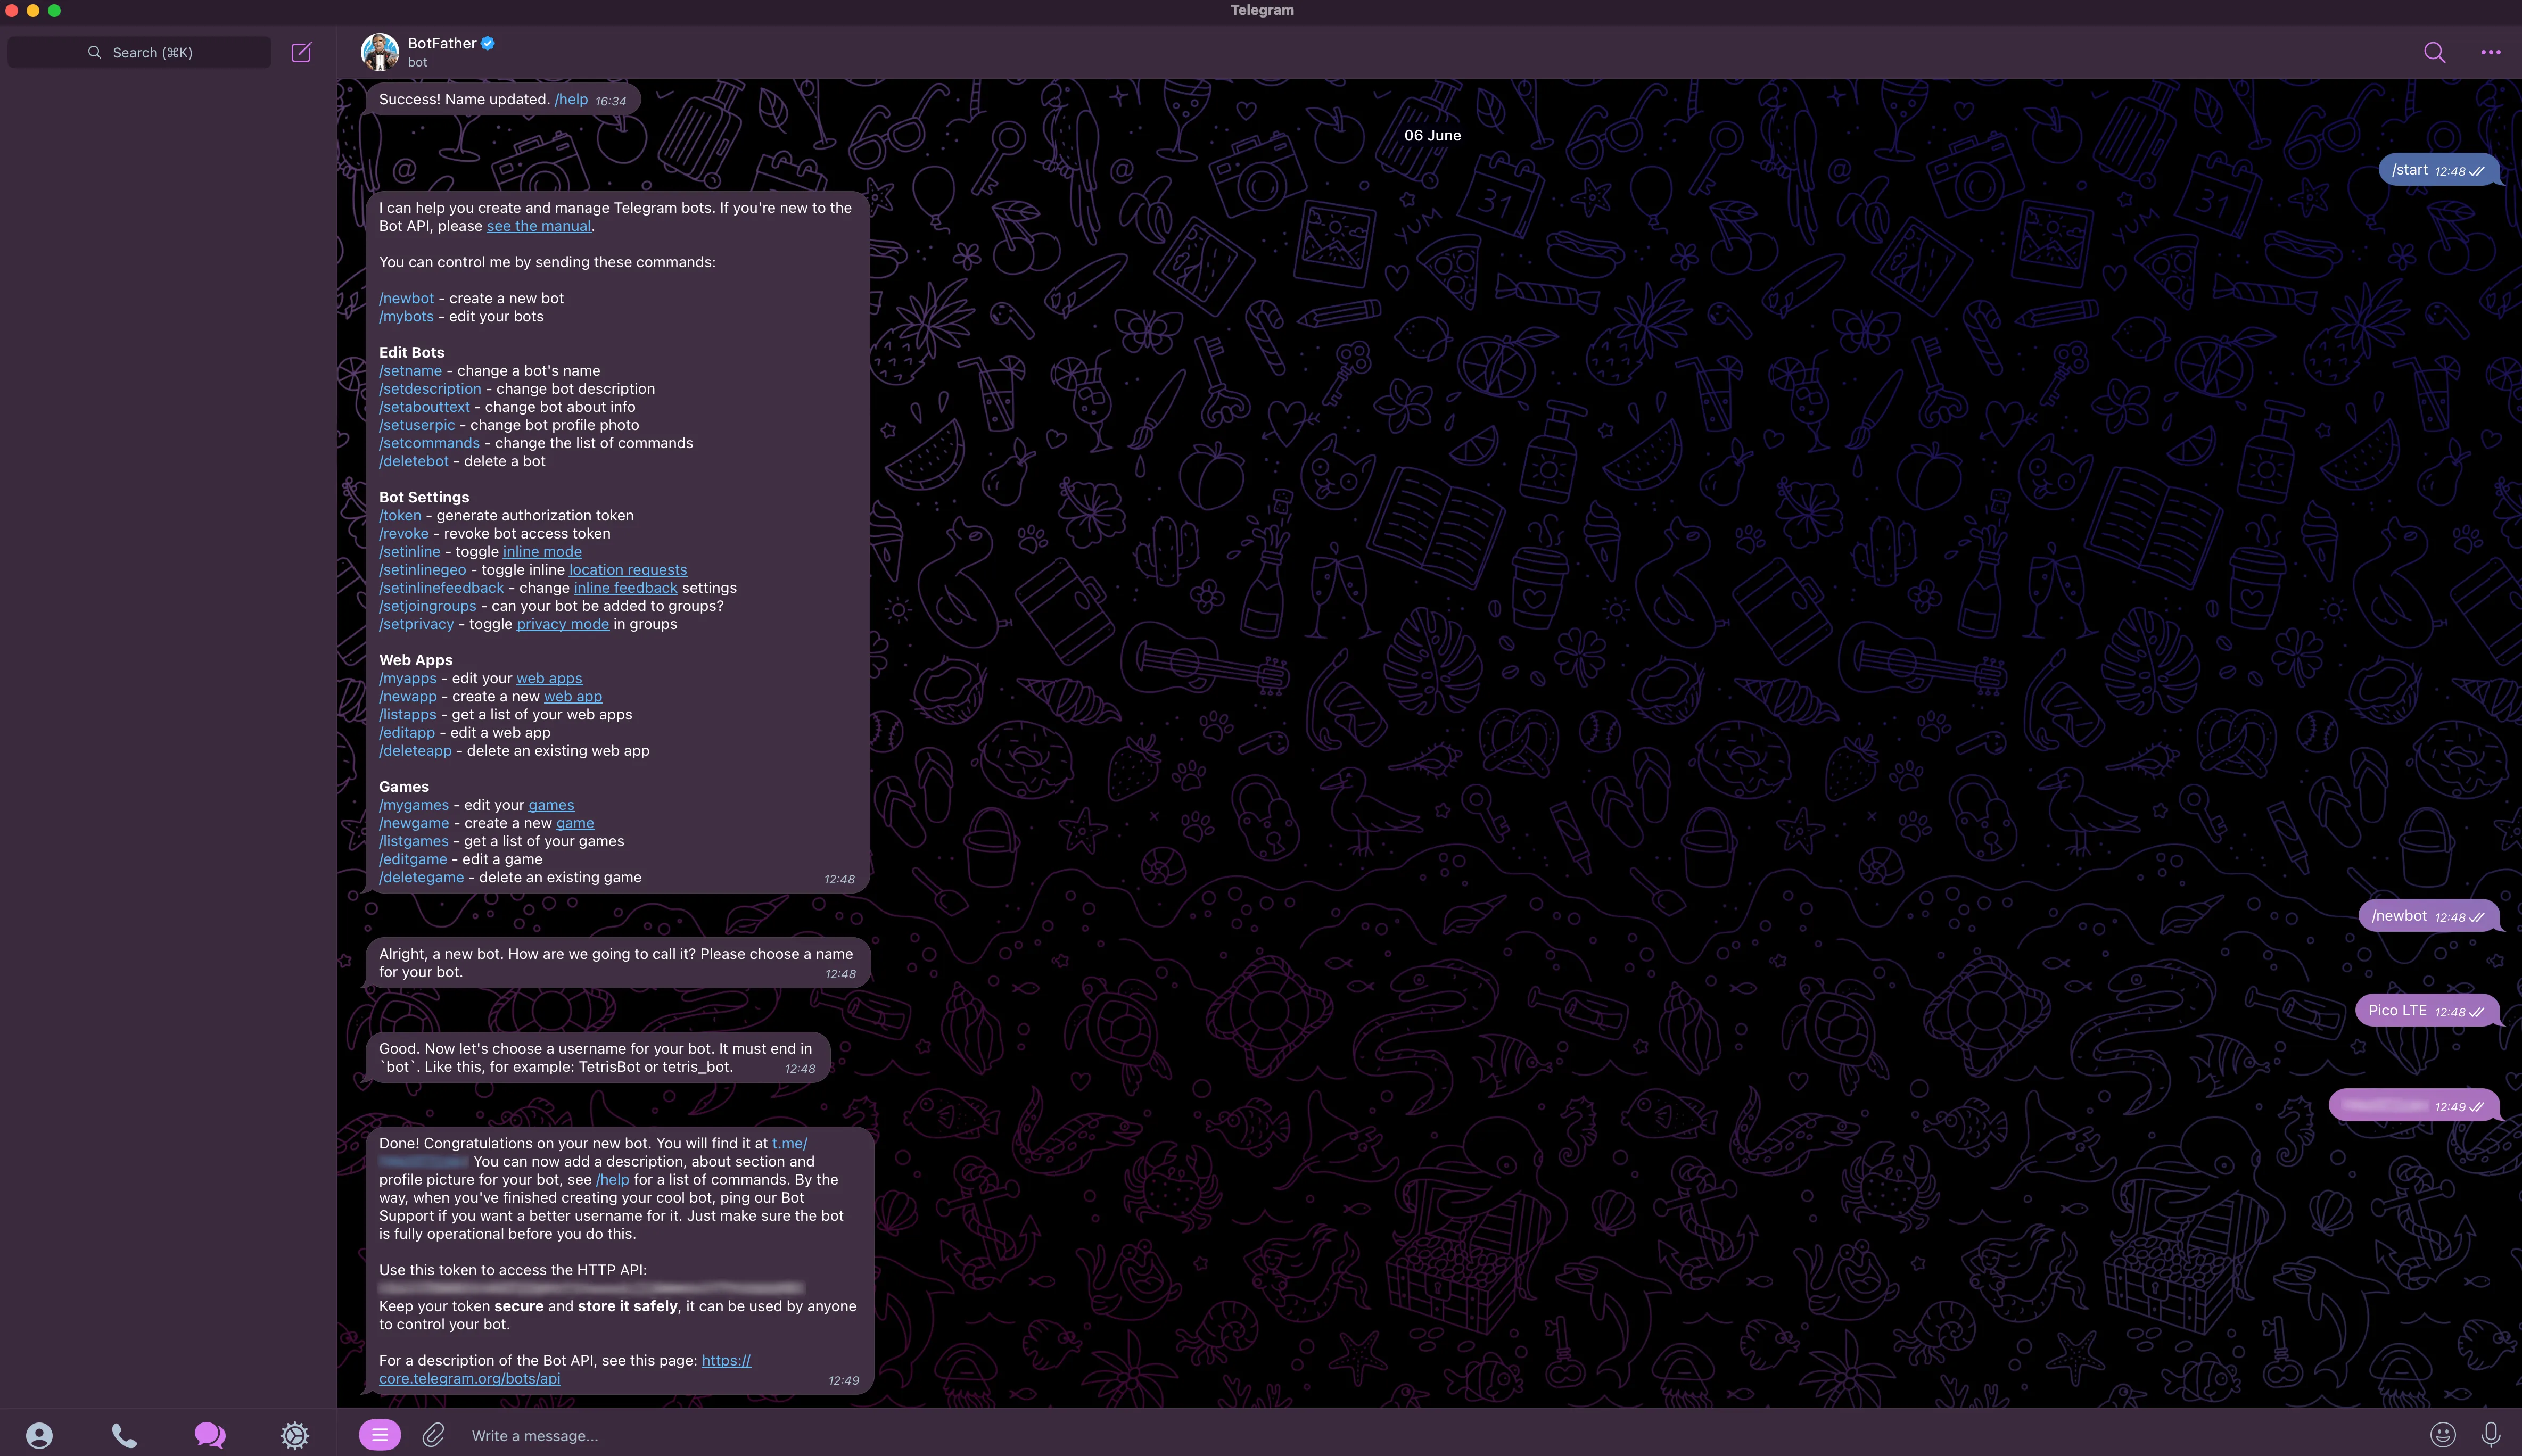
- After creating a new bot, continue with typing your bot's name into conversation.
- Give a username for your bot. (Warning: Bot's "name" and "username" are different. You will use the "username" in the next steps.)
- You will given a token automatically for accessing HTTP API. (Your token will look something like this: "1234567890:XXX9WhkY694zP856M4xNLcr9pXX-xxxxxxx")
Warning: Keep your token secure and store it safely!
Telegram Setup
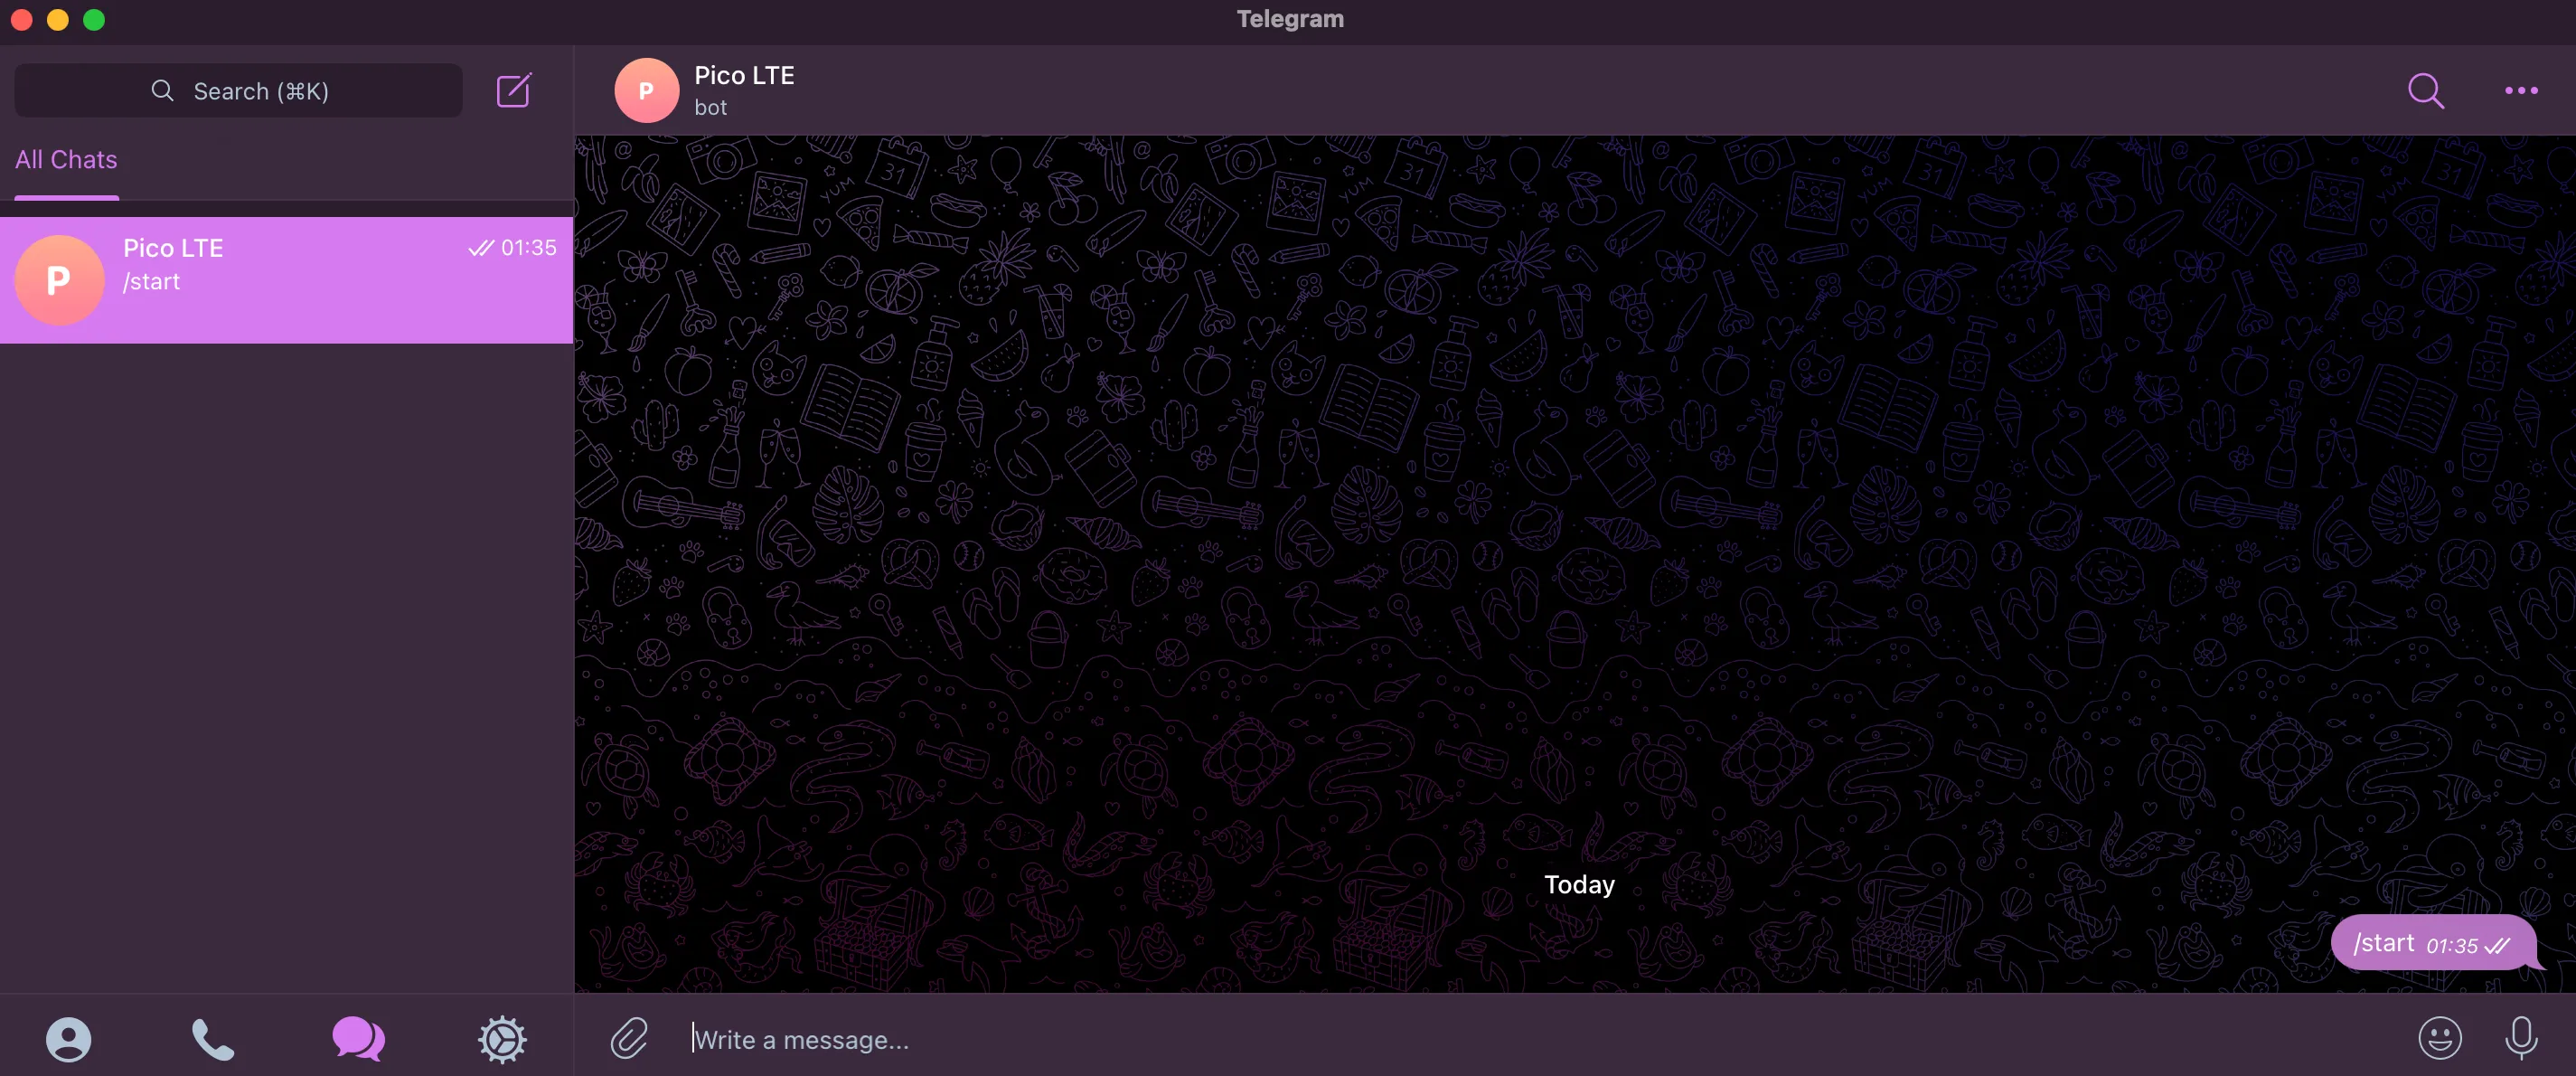
- Open Telegram and send the '/start' command to the created Bot to send/receive messages to/from it.
- Go to the "https://api.telegram.org/botYOUR_ACCESS_TOKEN/getUpdates" URL address in your browser with the HTTP API Token you generated.
- On the opened page, you will see a JSON data similar to the following.
{
  "ok": true,
  "result": [
    {
      "update_id": 679821252,
      "message": {
        "message_id": 15,
        "from": {
          "id": 70*******,
          "is_bot": false,
          "first_name": "YOUR_NAME",
          "username": "YOUR_USERNAME",
          "language_code": "en"
        },
        "chat": {
          "id": 70*******,    ⬅ CHAT_ID
          "first_name": "*",
          "username": "*",
          "type": "private"
        },
        "date": 1686954941,
        "text": "/start",
        "entities": [
          {
            "offset": 0,
            "length": 6,
            "type": "bot_command"
          }
        ]
      }
    }
  ]
}
Your 'CHAT_ID' value is indicated in the shown location within this data.
If the 'CHAT_ID' value is not visible, please refer to the troubleshooting section.
Test the Code Example
Copy the following code block into the config.js file and enter your HTTP API Token and chat_id. Then save it to your Pico LTE device.
{
    "telegram": {
        "token": "YOUR_BOT_TOKEN_ID",
        "chat_id": "YOUR_GROUP_CHAT_ID"
    }
}
Run the "send_message.py" script that you opened in Thonny IDE.
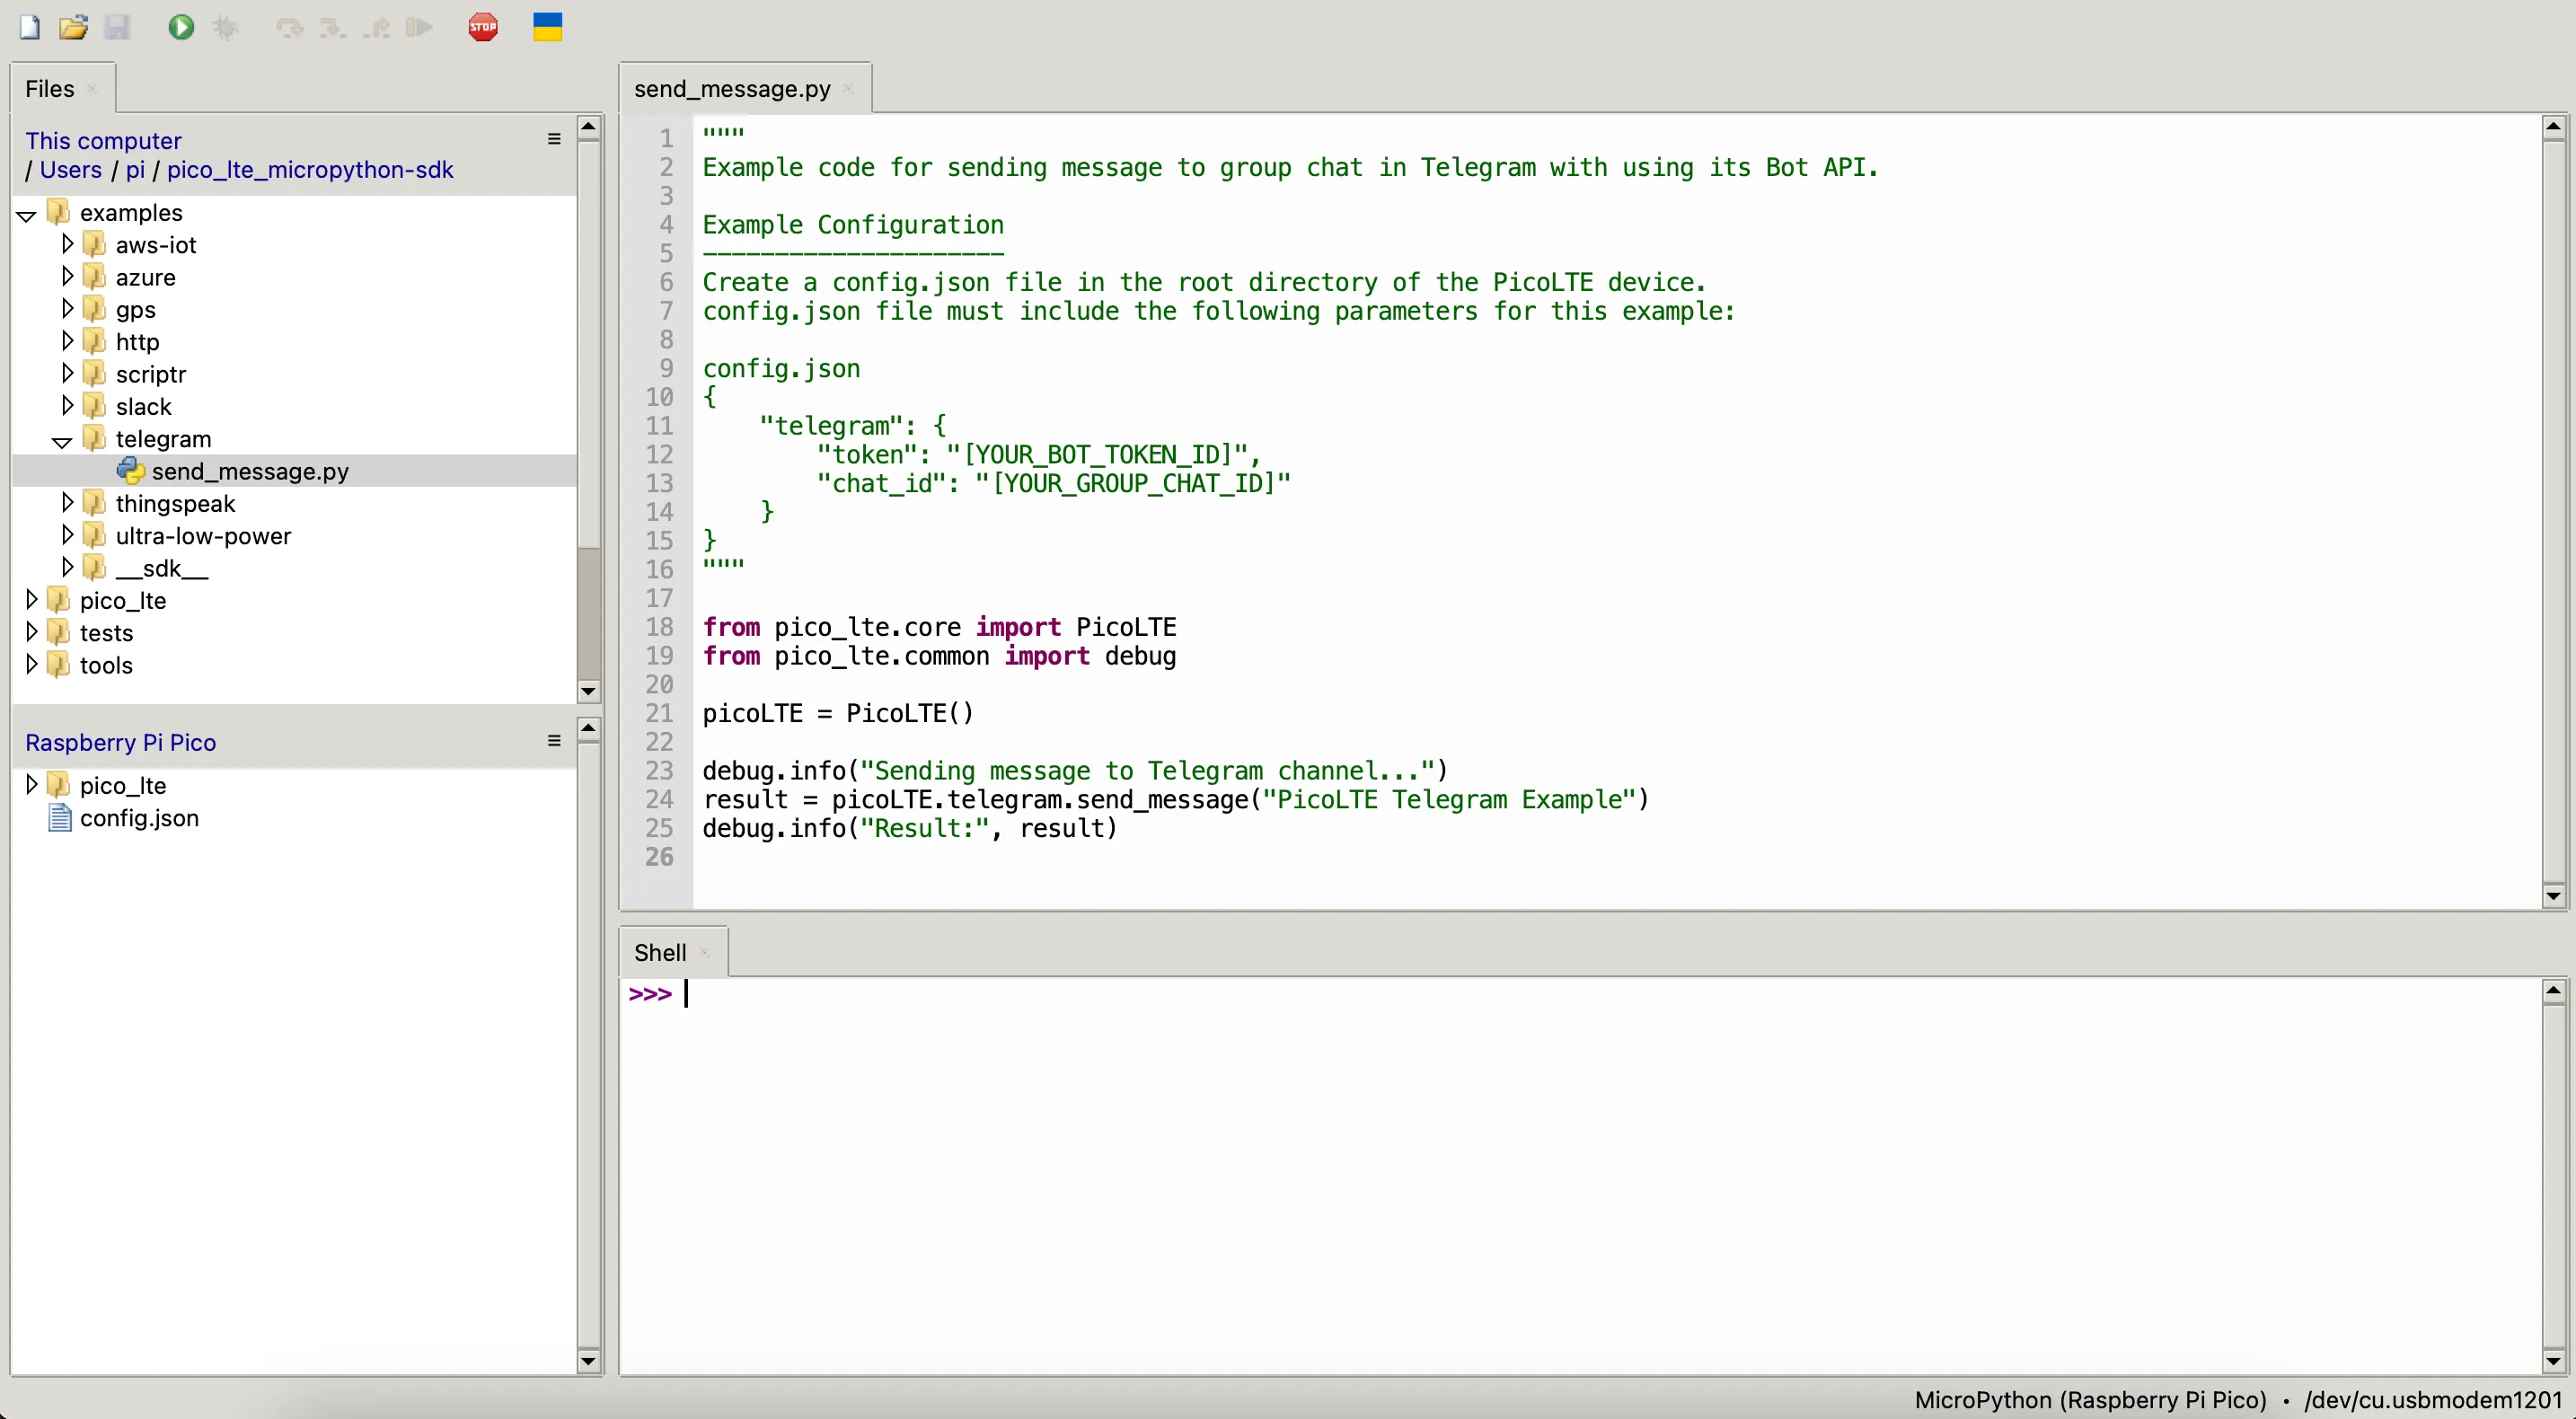
The output you get in the code should look like this:
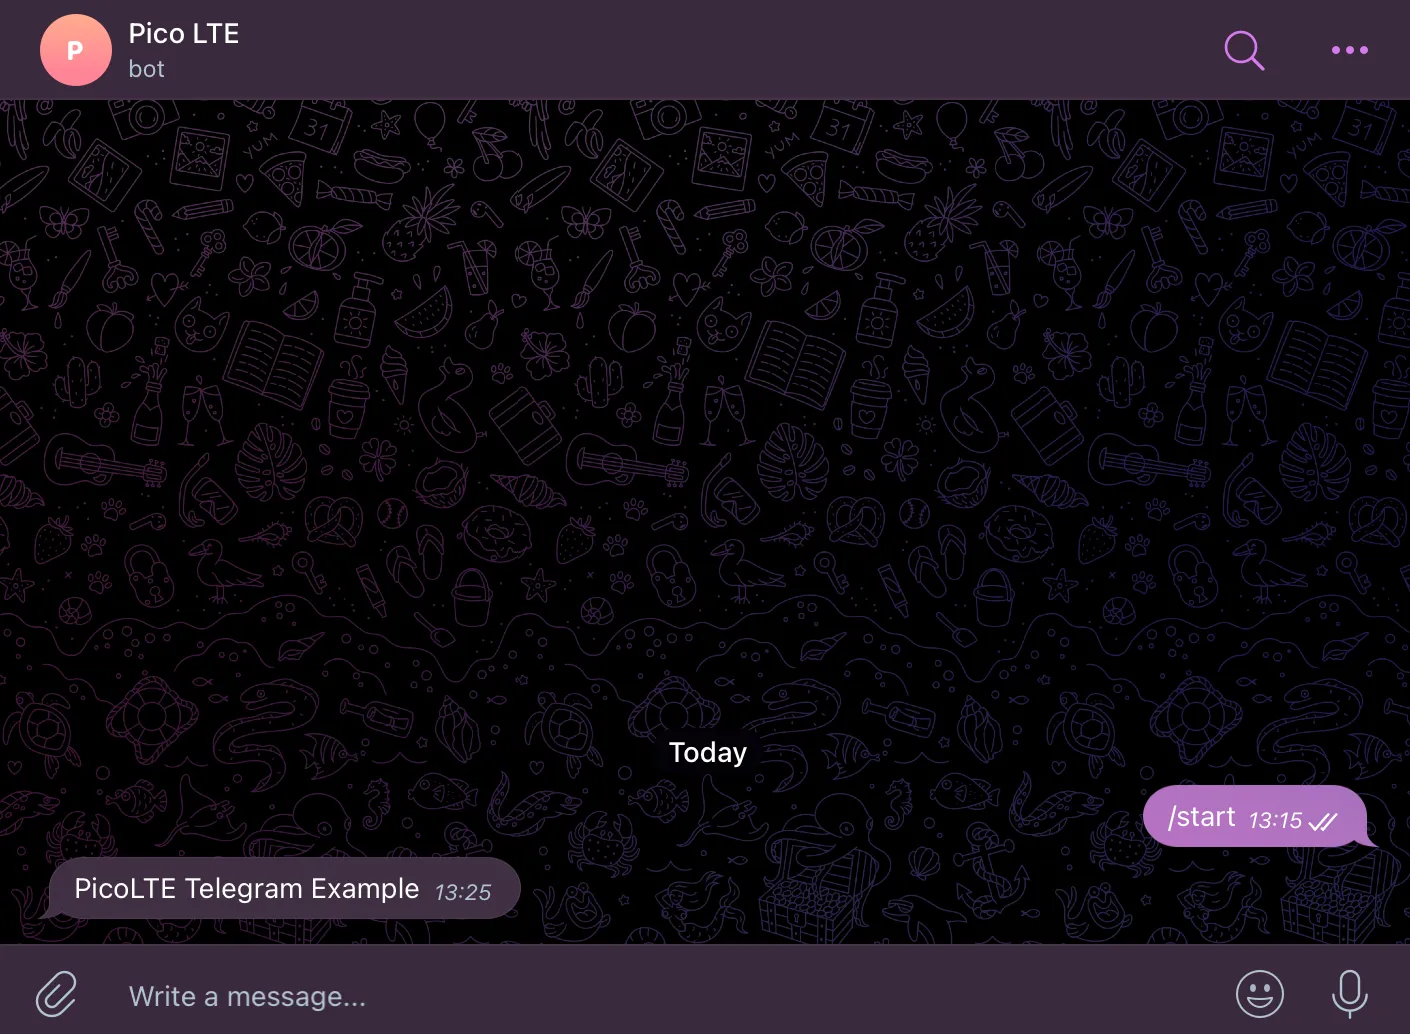
If the process is successful, a message will be sent to the channel as in the picture:
Troubleshooting
If Telegram is unable to retrieve the chat_idand '/getUpdates'_ returns {"ok":true,"result":[]}, try sending a few random messages to the chat you created with the bot. After that, refresh the API URL page you visited in the browser.
Updated 3 months ago
