MQTT Example
The Pico LTE provides all the components you need to establish an MQTT connection to an MQTT broker. No additional hardware equipment is required for this example. In this tutorial, we choose MQTTHQ as the MQTT broker to test our requests.
MQTT, is a lightweight and efficient messaging protocol designed for constrained devices and low-bandwidth, high-latency, or unreliable networks. It is commonly used in scenarios where a reliable and real-time communication protocol is essential, such as in the Internet of Things (IoT) applications.
Before starting this Pico LTE tutorial, the Pico LTE SDK installation and configuration steps must be completed. Below are the system requirements for this tutorial. If you haven't followed the SDK installation steps, please refer to the page below before proceeding with the tutorial. The details of these steps will not be covered in this tutorial.
System Requirements
| Hardware Requirements | Software Requirements |
|---|---|
| • Sixfab Pico LTE • Micro USB cable |
• Thonny IDE |
If you have completed all the requirements, let's get started!
Preparing Coding Environment
- Download the Pico LTE SDK repository to your local machine. If you have already downloaded it, skip this step.
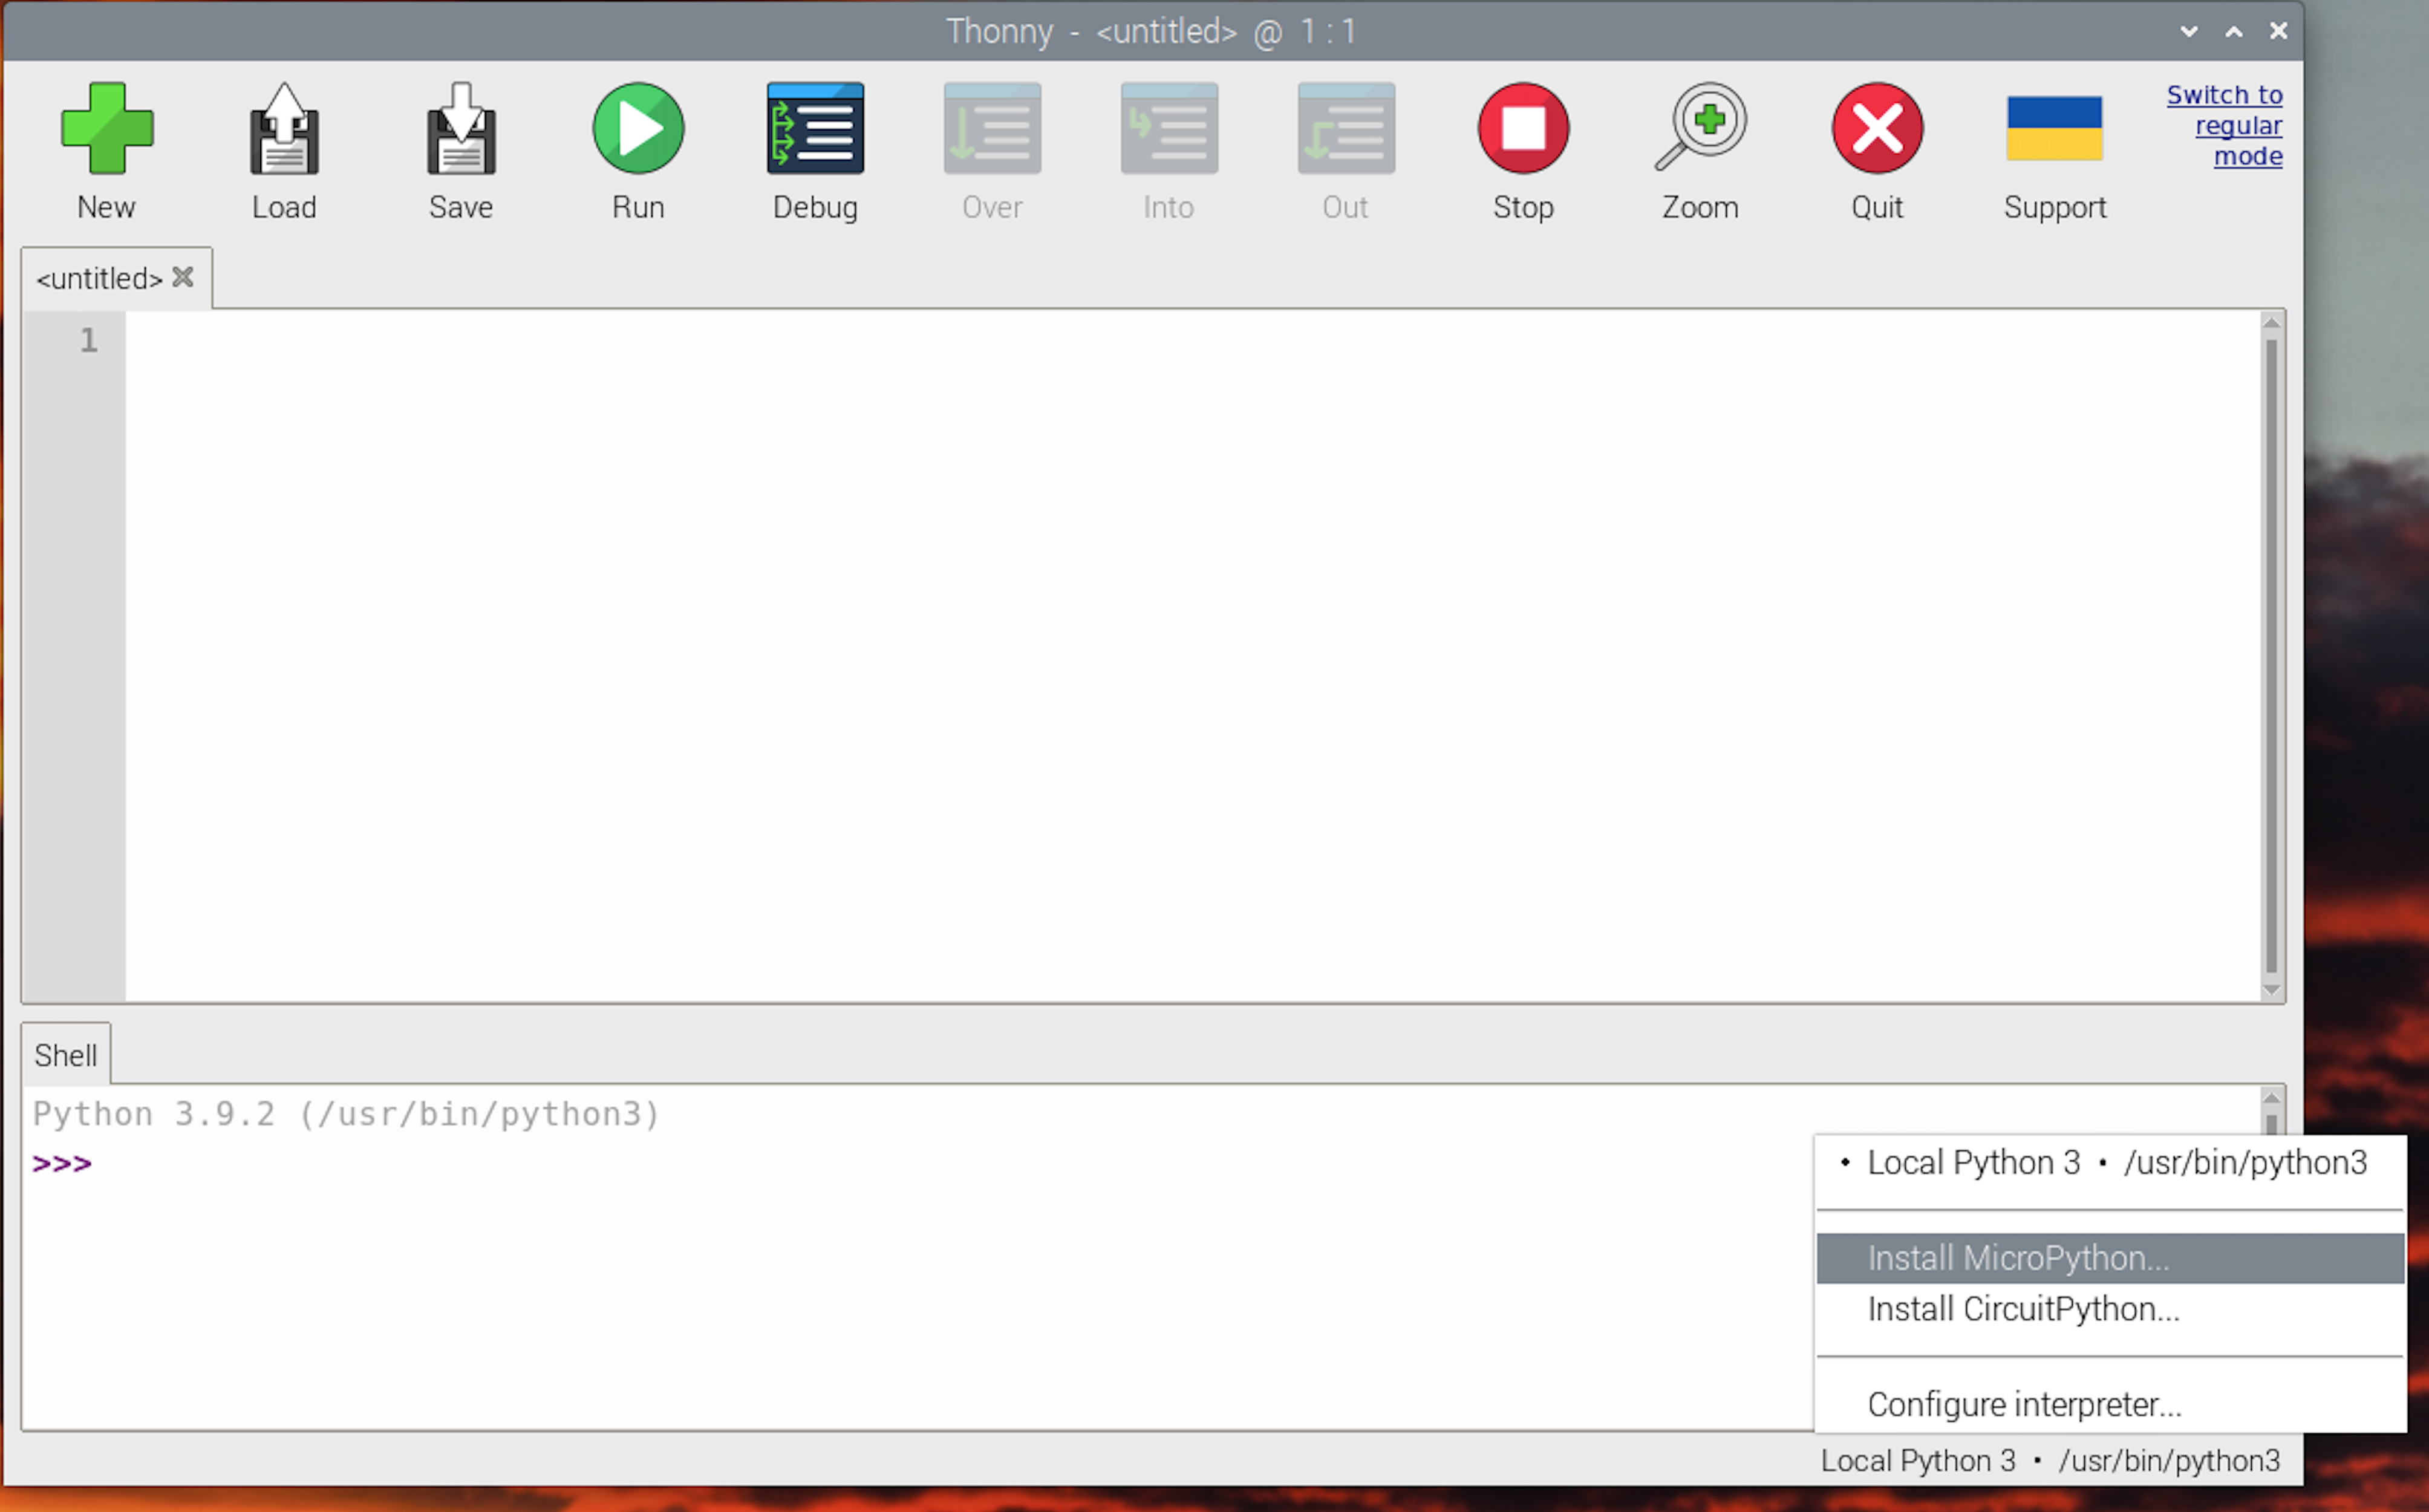
- Open script "examples → mqtt → publish.py or subscribe.py from the repository via Thonny IDE.
- If you haven't, create a config.json file in the root directory of Pico LTE device.
MQTT Publish
Preparing the MQTT Broker
Go to the MQTTHQ website.
Take note of the "Broker URL" and "TCP Port" sections. Then, click the "Try our Web Client Now" button.

Change the QoS section as “1 - At Least Once”. Take note of the "Topic" and "QoS" sections. Then, click the "Subscribe" button.

Test the Code Example
Copy the following code block into the config.json file and enter your MQTT Broker information.
{
    "mqtts":{
      "host":"[HOST_ADDRESS]",
      "port": [PORT_NUMBER],
      "pub_qos": [QoS],
      "client_id": "[CLIENT_ID]",
      "username":"[MQTT_USERNAME]",
      "password":"[MQTT_PASSWORD]"
    }
}
Since MQTTHQ does not require any client ID, username, or password settings, you can delete those parameters. For this example:
{
    "mqtts":{
          "host":"public.mqtthq.com",
          "port": 1883,
          "pub_qos": 1
      }
}
Open the "publish.py" script that you opened in the Thonny IDE. Change the “PAYLOAD” variable to send your message and the “TOPIC” variable to send the message to the targeted topic.
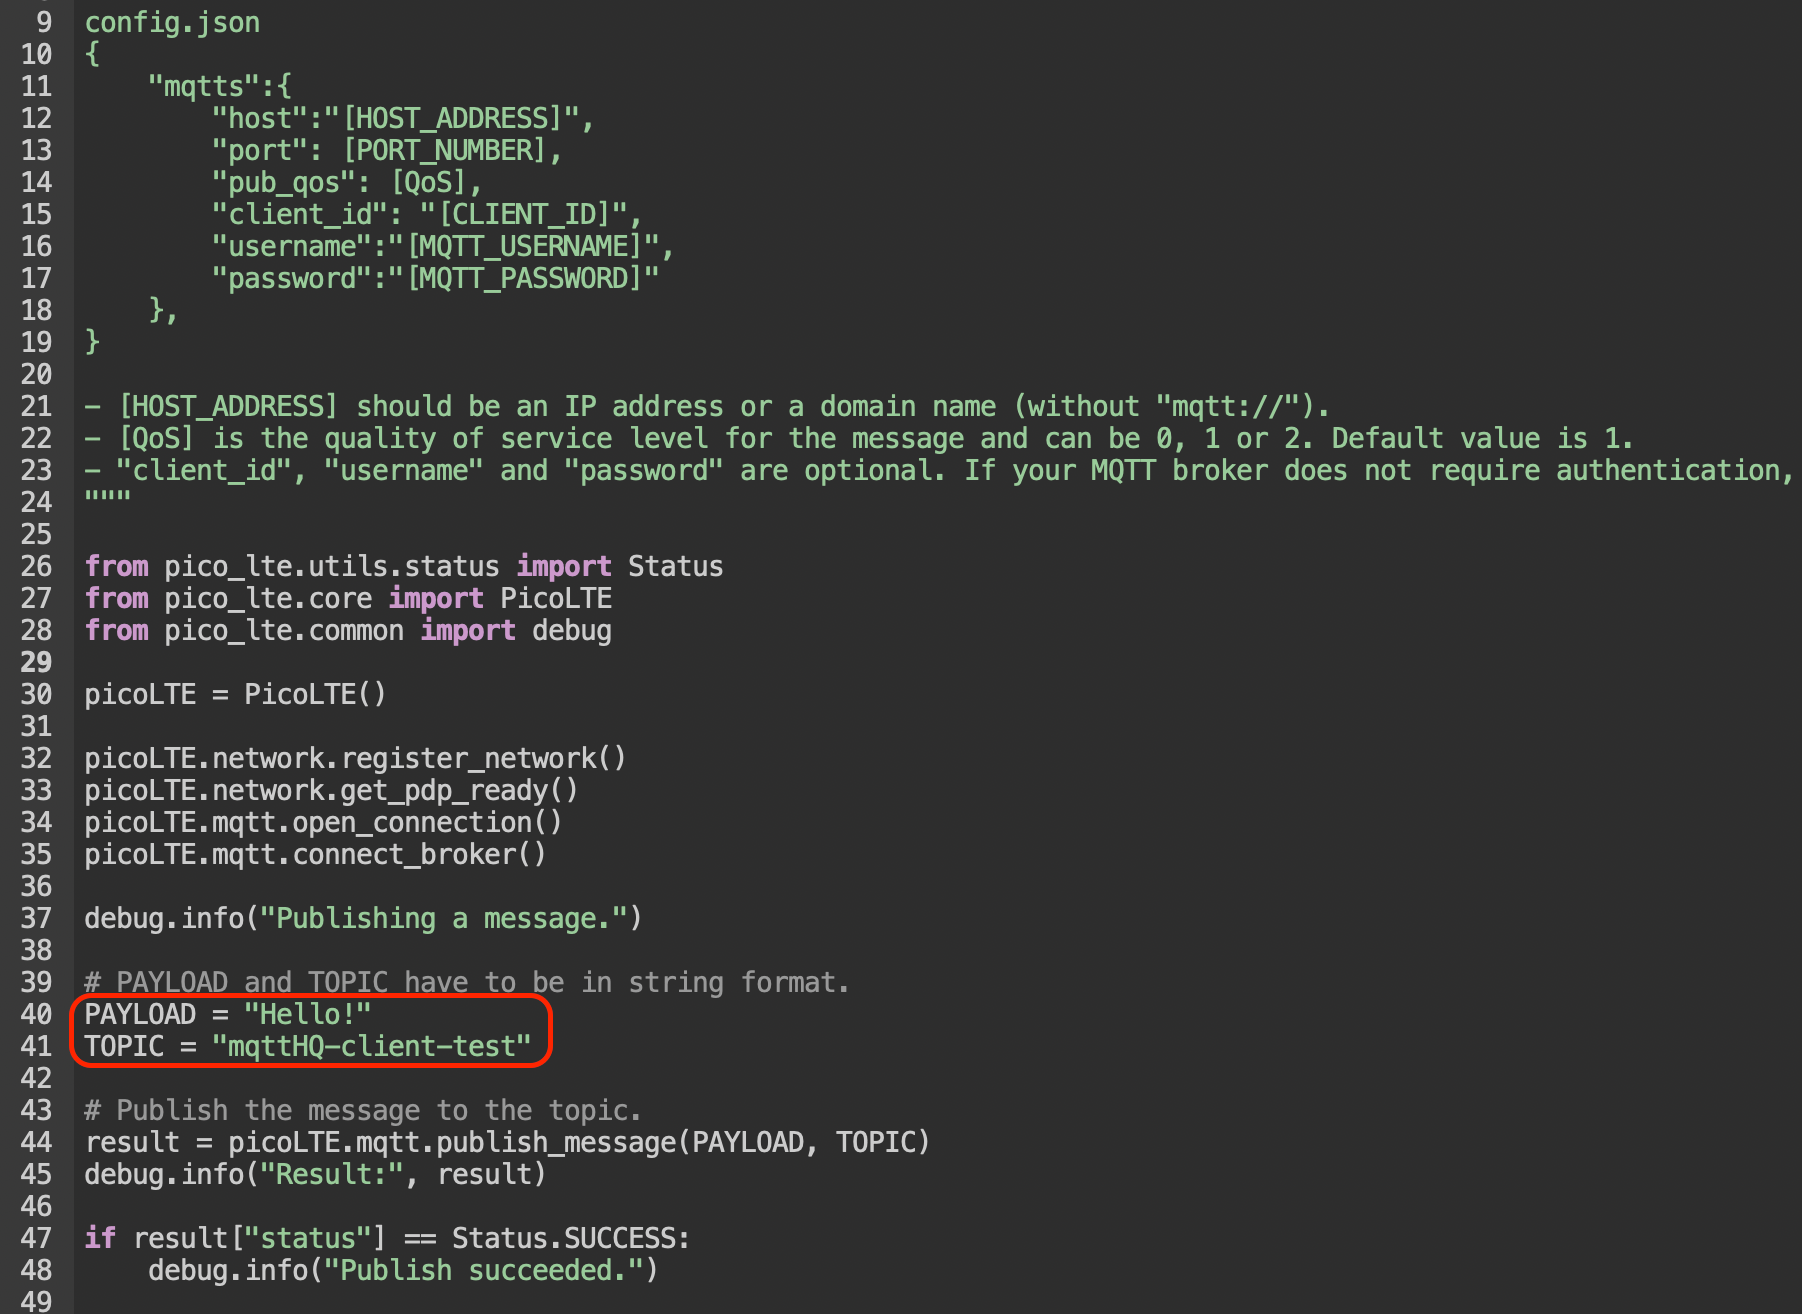
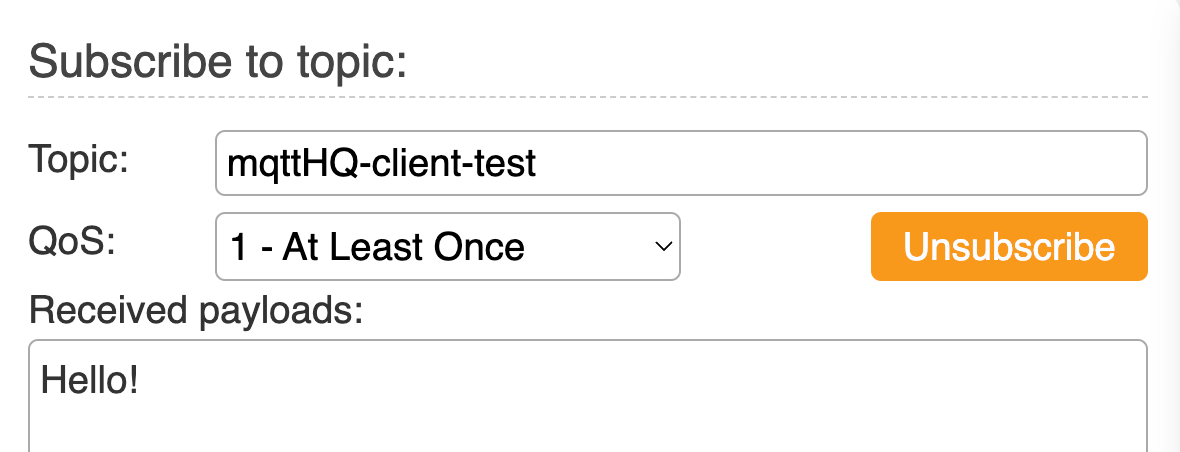
Run the script. When you run the script, you should see a log similar to the one shown below, and you should see the published data in the Web Client page.
Troubleshooting
I'm getting “timeout” error
If the "QoS" parameter is set to "0", change it to "1" or "2" for both Pico LTE and all other clients.
MQTT Subscribe
Preparing the MQTT Broker
Go to the MQTTHQ website.
Take note of the "Broker URL" and "TCP Port" sections. Then, click the "Try our Web Client Now" button.

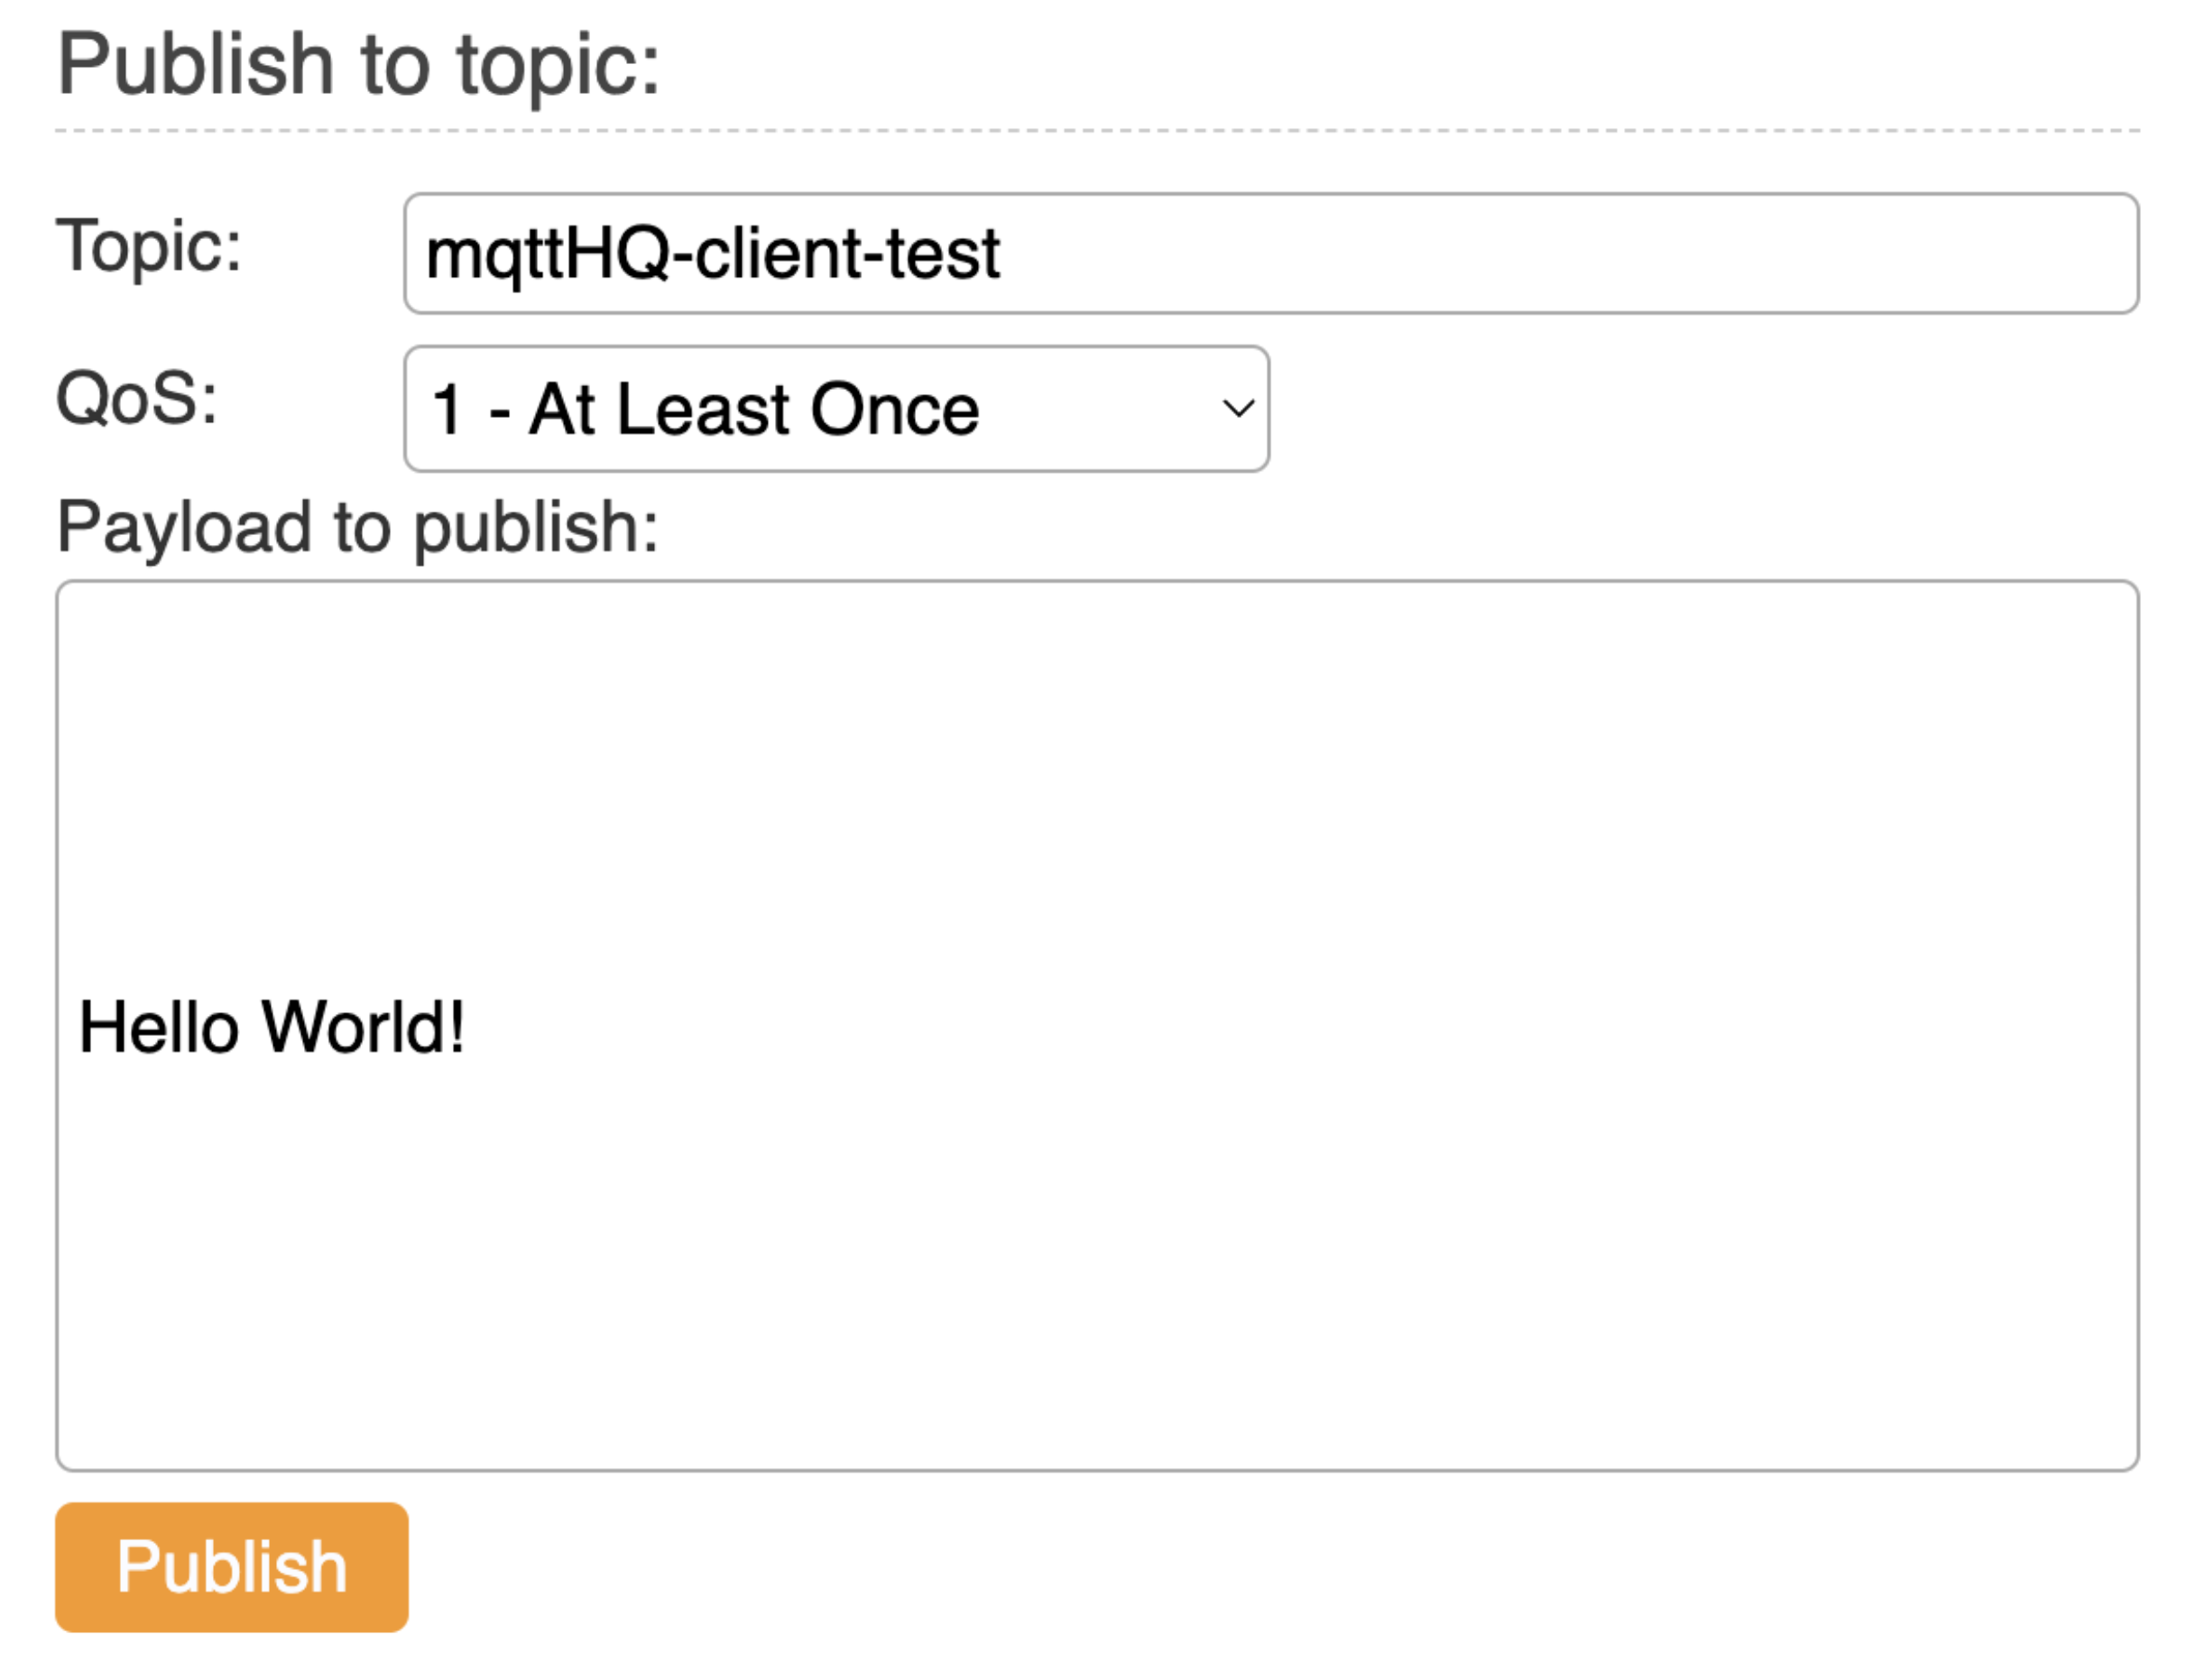
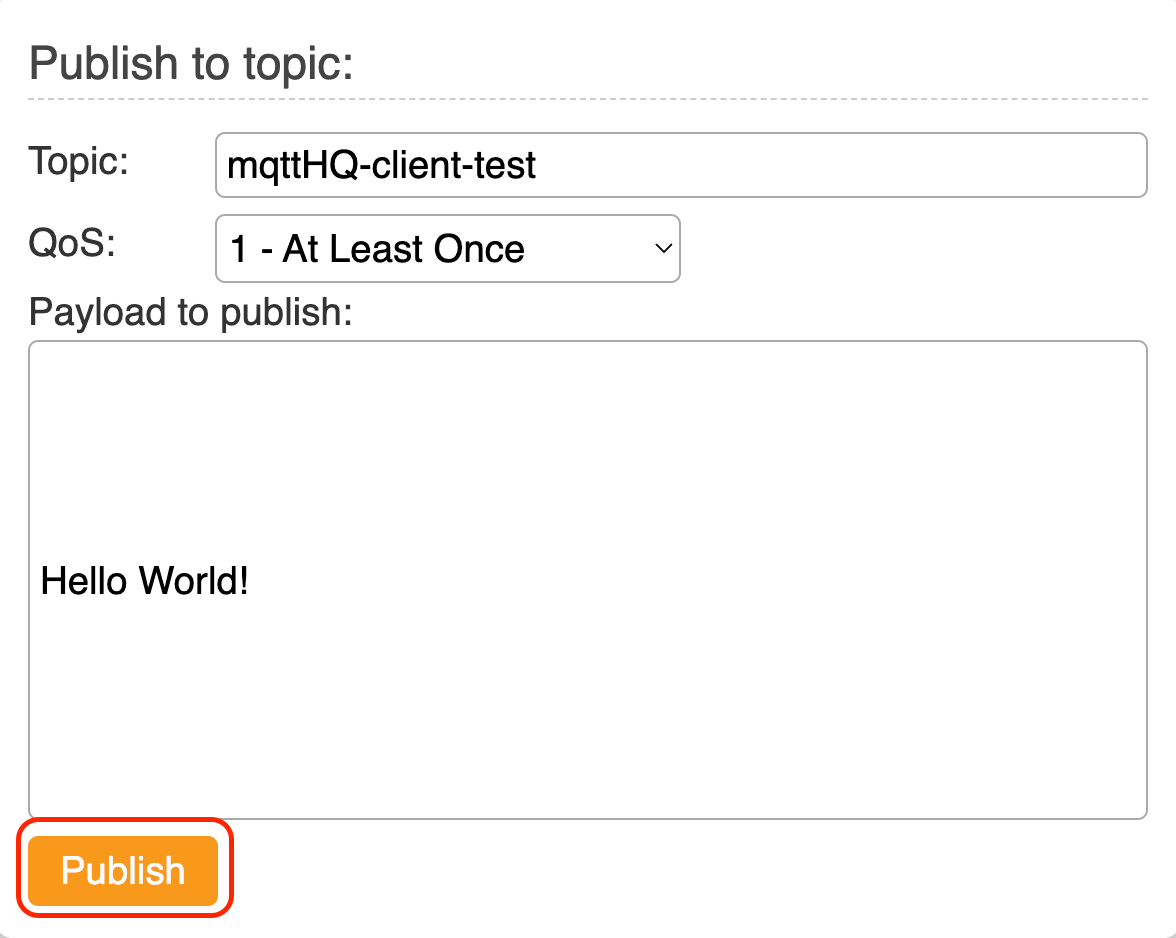
Change the QoS section as “1 - At Least Once”. Take note of the "Topic" and "QoS" sections. Additionally, write the message that needs to be published.
Test the Code Example
Copy the following code block into the config.json file and enter your MQTT Broker information.
{
    "mqtts":{
        "host":"[HOST_ADDRESS]",
        "port": [PORT_NUMBER],
        "client_id": "[CLIENT_ID]",
        "username":"[MQTT_USERNAME]",
        "password":"[MQTT_PASSWORD]",
        "sub_topics": [
                ["[YOUR_MQTT_TOPIC_1]", [QoS]],
                ["[YOUR_MQTT_TOPIC_2]", [QoS]],
                ...
            ]
    }
}
Since MQTTHQ does not require any client ID, username, or password settings, you can delete those parameters. Fill in the values for the "host", "port", and "sub_topics" fields. For this example:
{
    "mqtts":{
      "host":"public.mqtthq.com",
      "port": 1883,
      "sub_topics": [
              ["mqttHQ-client-test", 1]
          ]
  }
}
Open the "subscribe.py" script in the Thonny IDE and run it. Once you see the log message "Reading messages from subscribed topics..." in the Thonny console, navigate to the client page and click the "Publish" button.
You should see the logs and subscribed data in the Thonny console.
Troubleshooting
I'm getting “timeout” error
If the "QoS" parameter is set to "0", change it to "1" or "2" for both Pico LTE and all other clients.
Updated 3 months ago

