Pico LTE SDK for MicroPython
Seamlessly Connect, Simplify Development!

Pico LTE SDK for MicroPython
Unleash Cellular Power with Pico LTE SDK: Seamlessly Connect, Simplify Development
Pico LTE SDK is an innovative framework that enables developers to integrate cellular communication capabilities into their embedded systems projects seamlessly. Pico LTE SDK simplifies the complexities of wireless connectivity, allowing developers to focus on their applications rather than the intricacies of cellular communication processes.
This powerful SDK empowers developers to seamlessly integrate cellular capabilities into their projects, allowing your projects to communicate over wide areas using cellular networks.
One of the standout features of Pico LTE SDK is its comprehensive compatibility with popular backend services provided by Amazon Web Services (AWS), Azure, ThingSpeak, Slack, Scriptr.io and Telegram. This integration opens up a world of possibilities for leveraging the power of cloud-based services and enables seamless communication between embedded systems and the wider Internet ecosystem. Pico LTE SDK is a game-changer for developers seeking to integrate cellular communication capabilities into their Raspberry Pi Pico-based projects.
- Easy Integration: Enables seamless integration of cellular communication capabilities into embedded systems projects, specifically designed for the Sixfab Pico LTE board.
- Minimalistic Code: Connecting to a built-in application requires less than 40 lines of code, reducing complexity and allowing for quick and efficient development.
- GPS Integration: Easy-to-use GPS integration, enabling developers to incorporate location-based functionalities into their applications, leveraging cellular network-based positioning.
- Custom Application Modules: With the Pico LTE SDK, developers have the flexibility to create their own application modules using the SDK. This feature allows for custom functionality tailored to specific project requirements.
- Versatile Protocols: Pico LTE SDK simplifies the implementation of various protocols such as GPS, HTTPS, and MQTT. Developers can easily leverage these protocols for location-based services, secure web communication, and efficient machine-to-machine communication in IoT applications.
Thonny IDE
Thonny IDE is an ideal choice for MicroPython developers due to its user-friendly interface, seamless integration with MicroPython, and efficient debugging capabilities. It caters to both beginners and experienced users, offering a smooth learning curve and a productive development environment. With features like code autocompletion and error highlighting, Thonny facilitates faster and more accurate coding. Additionally, its cross-platform compatibility allows developers to work on various operating systems without constraints. Thonny's extensibility further enhances its appeal, enabling users to customize the IDE according to their specific needs. In summary, Thonny IDE provides MicroPython developers with a streamlined experience, empowering them to write clean and optimized code for their projects.
Install Thonny
In this step, you will install Thonny or make sure you have the latest version. Then you will connect to a Pico LTE board and run some simple Python code using the Shell.
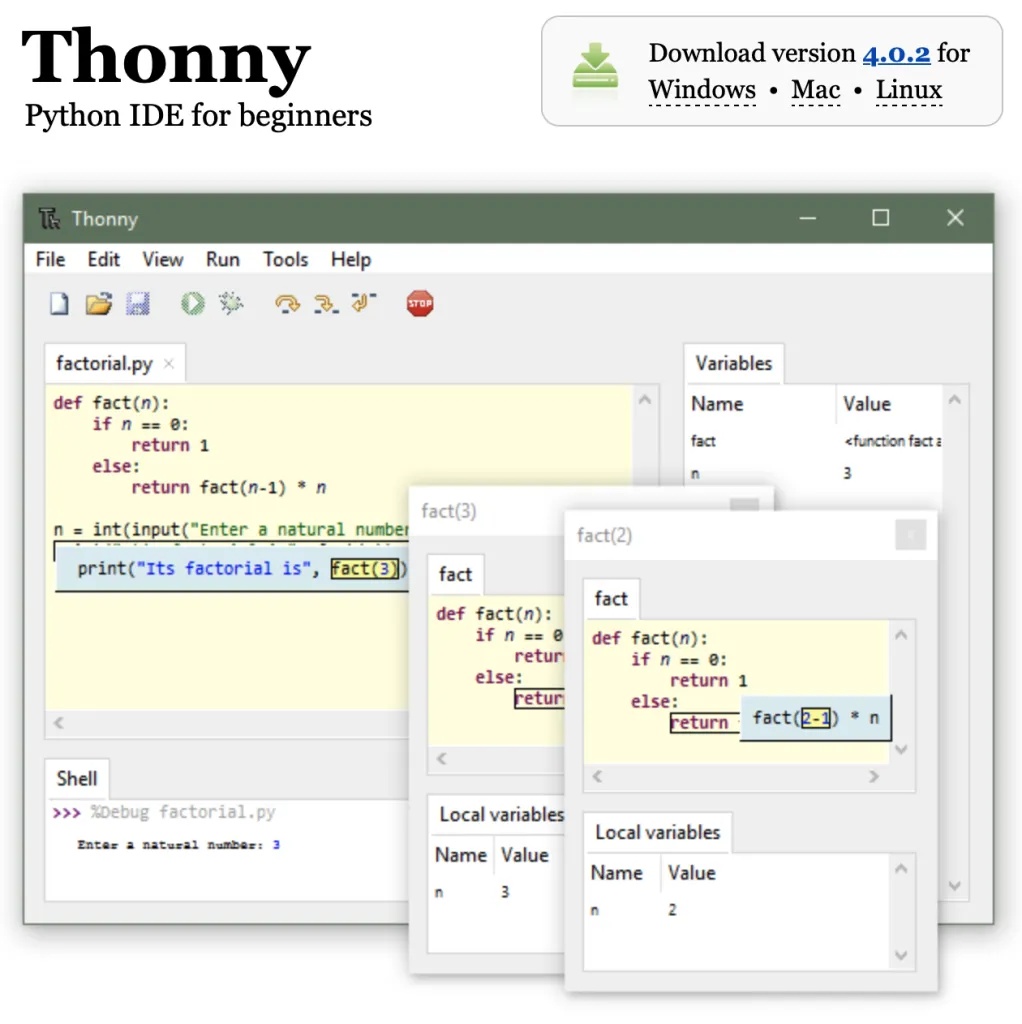
- On Windows, macOS, and Linux, you can install the latest Thonny IDE or update an existing version
- In a web browser, navigate to thonny.org
- In the top right-hand corner of the browser window, you will see download links for Windows and macOS, and instructions for Linux
- Download the relevant files and run them to install Thonny
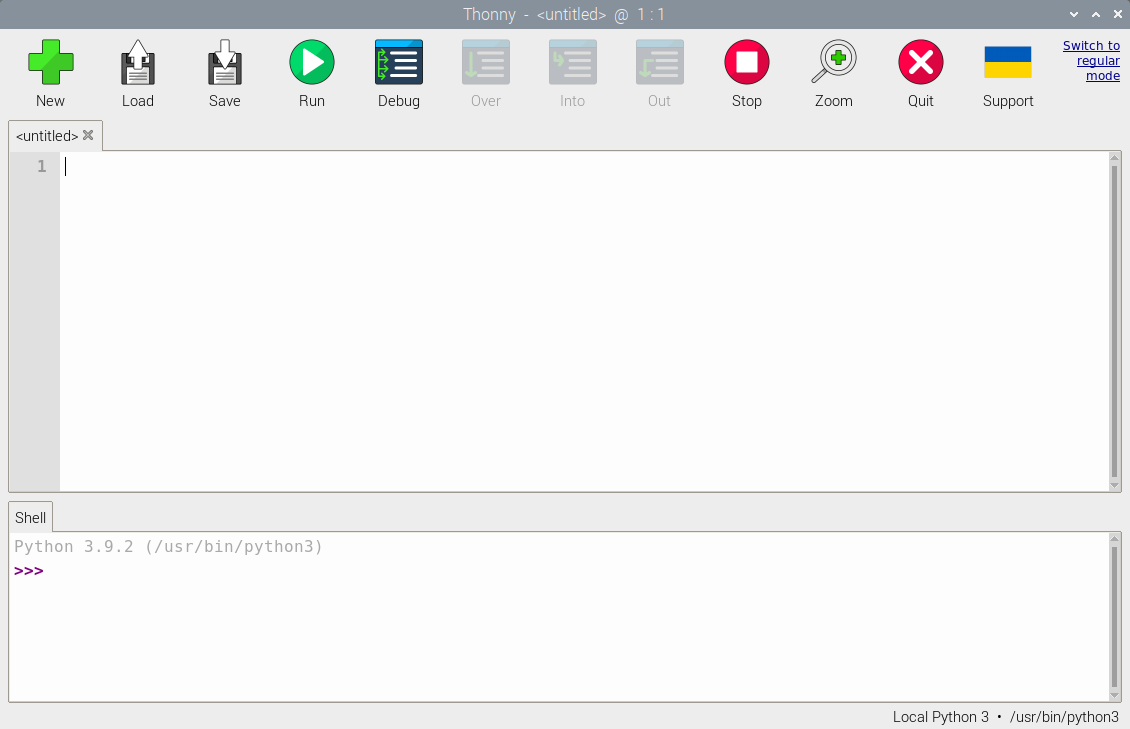
Open Thonny from your application launcher. It should look something like this:
📖 Note
All screenshots here are of the Thonny IDE program on Raspberry Pi OS. Thonny is already installed on Raspberry Pi OS.
You can use Thonny to write standard Python code. Type the following in the main window, and then click the Run button (you will be asked to save the file).
print('Hello World!')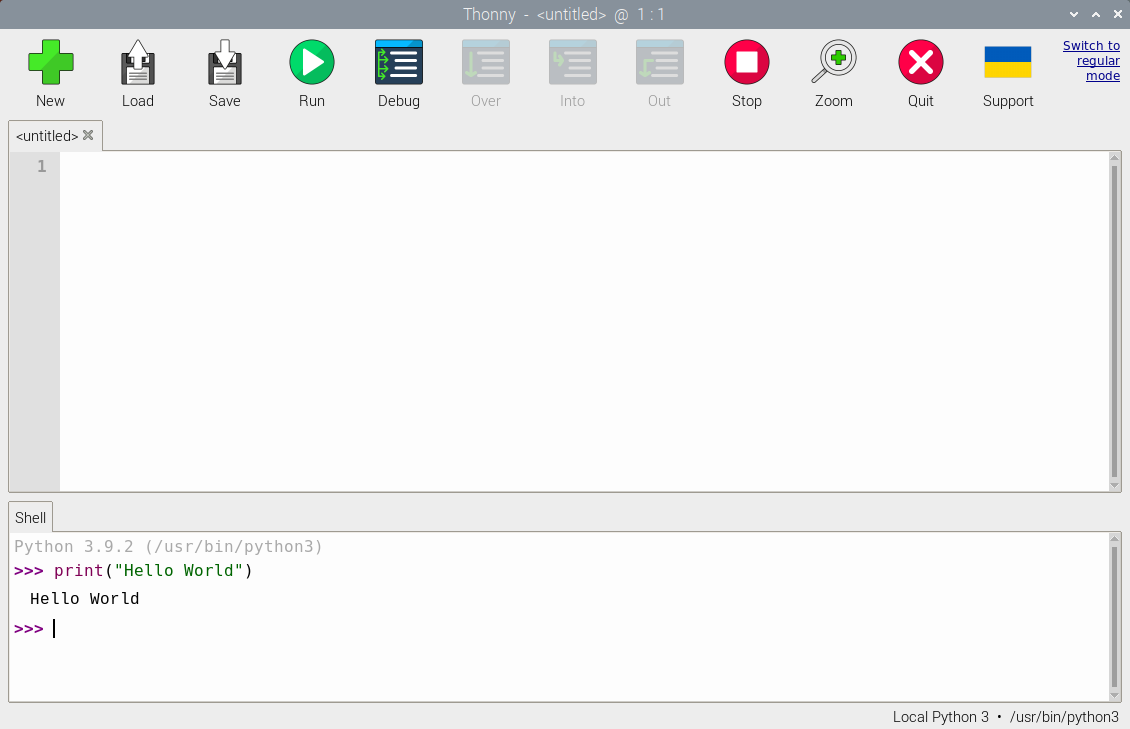
Add the MicroPython firmware
The Pico LTE board will be shipped to you without the MicroPython firmware included. Therefore, you will need to add the MicroPython firmware.
Find the BOOTSEL button on your Raspberry Pi Pico. If the USB cable is connected, please disconnect it.
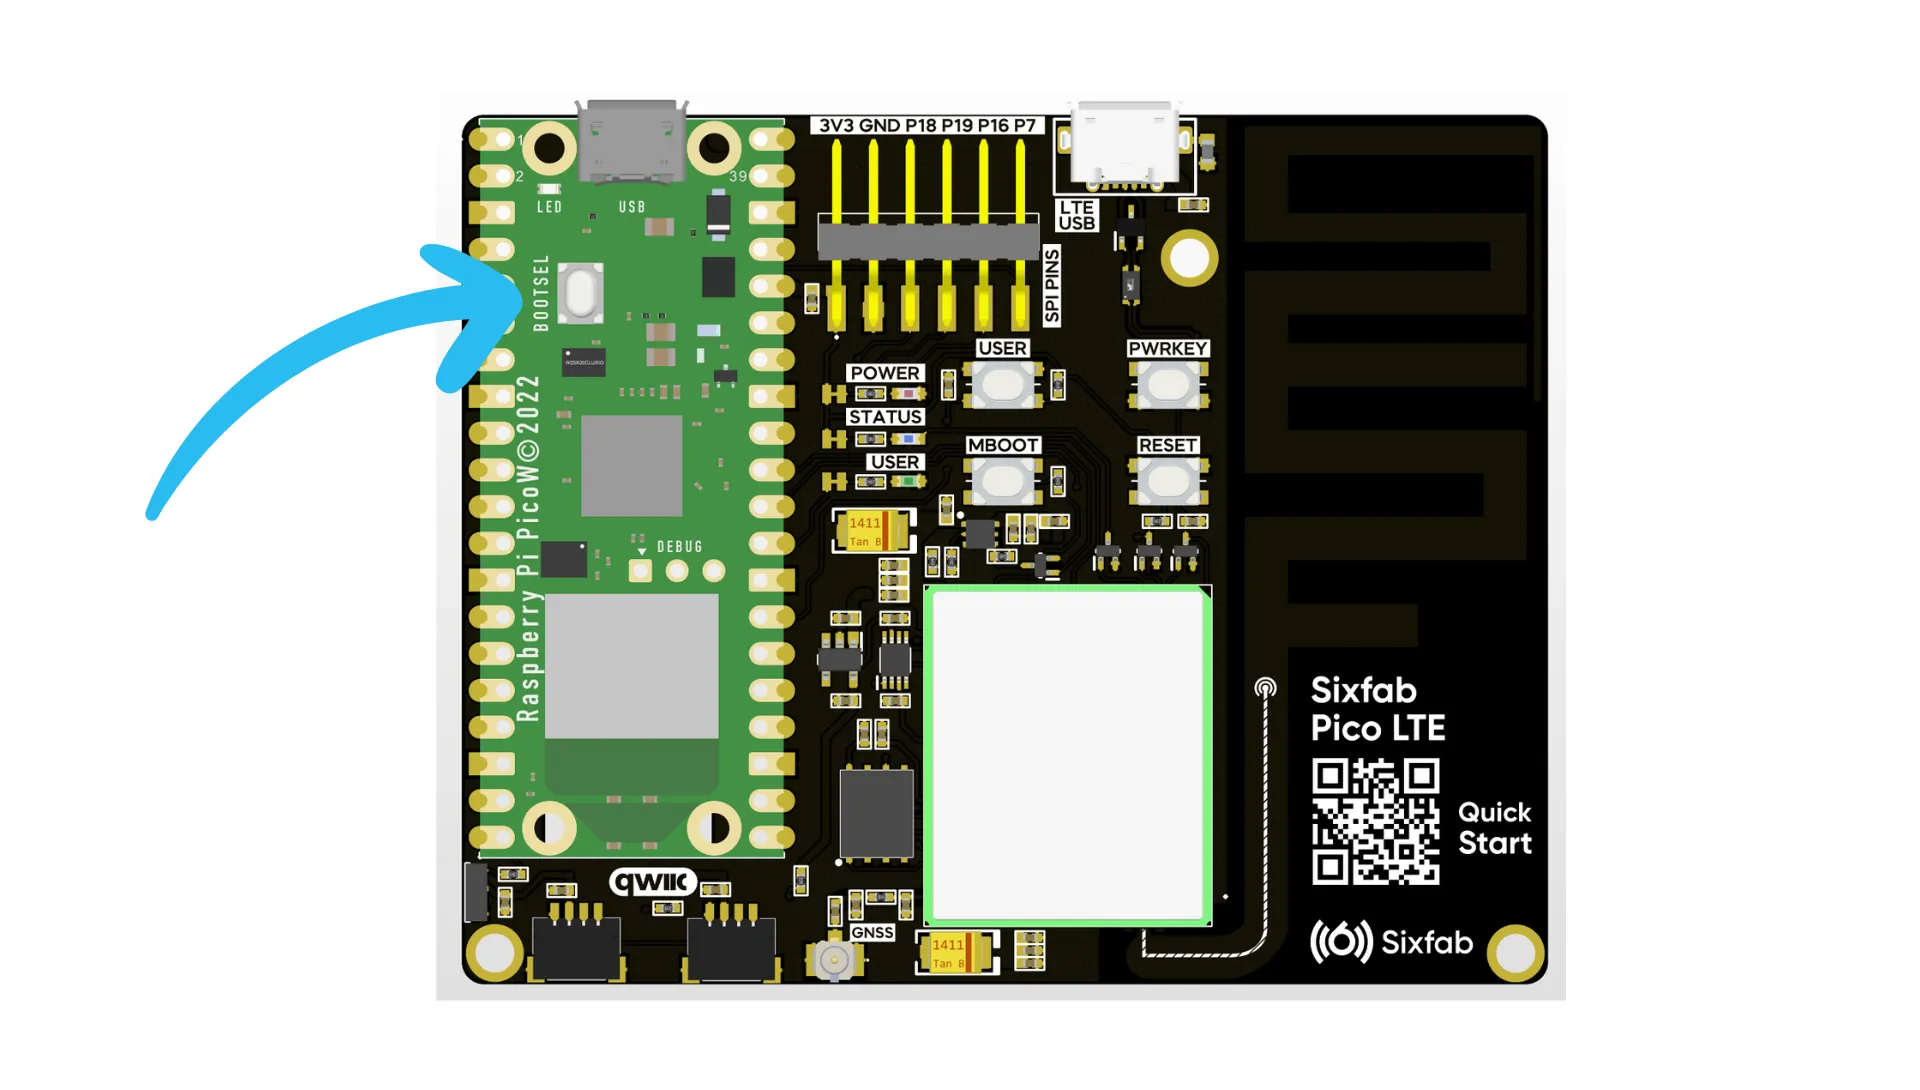
Press the BOOTSEL button and hold it while you connect the other end of the micro USB cable to your computer. A Raspberry Pi is shown in the image below, but the same applies to any computer.
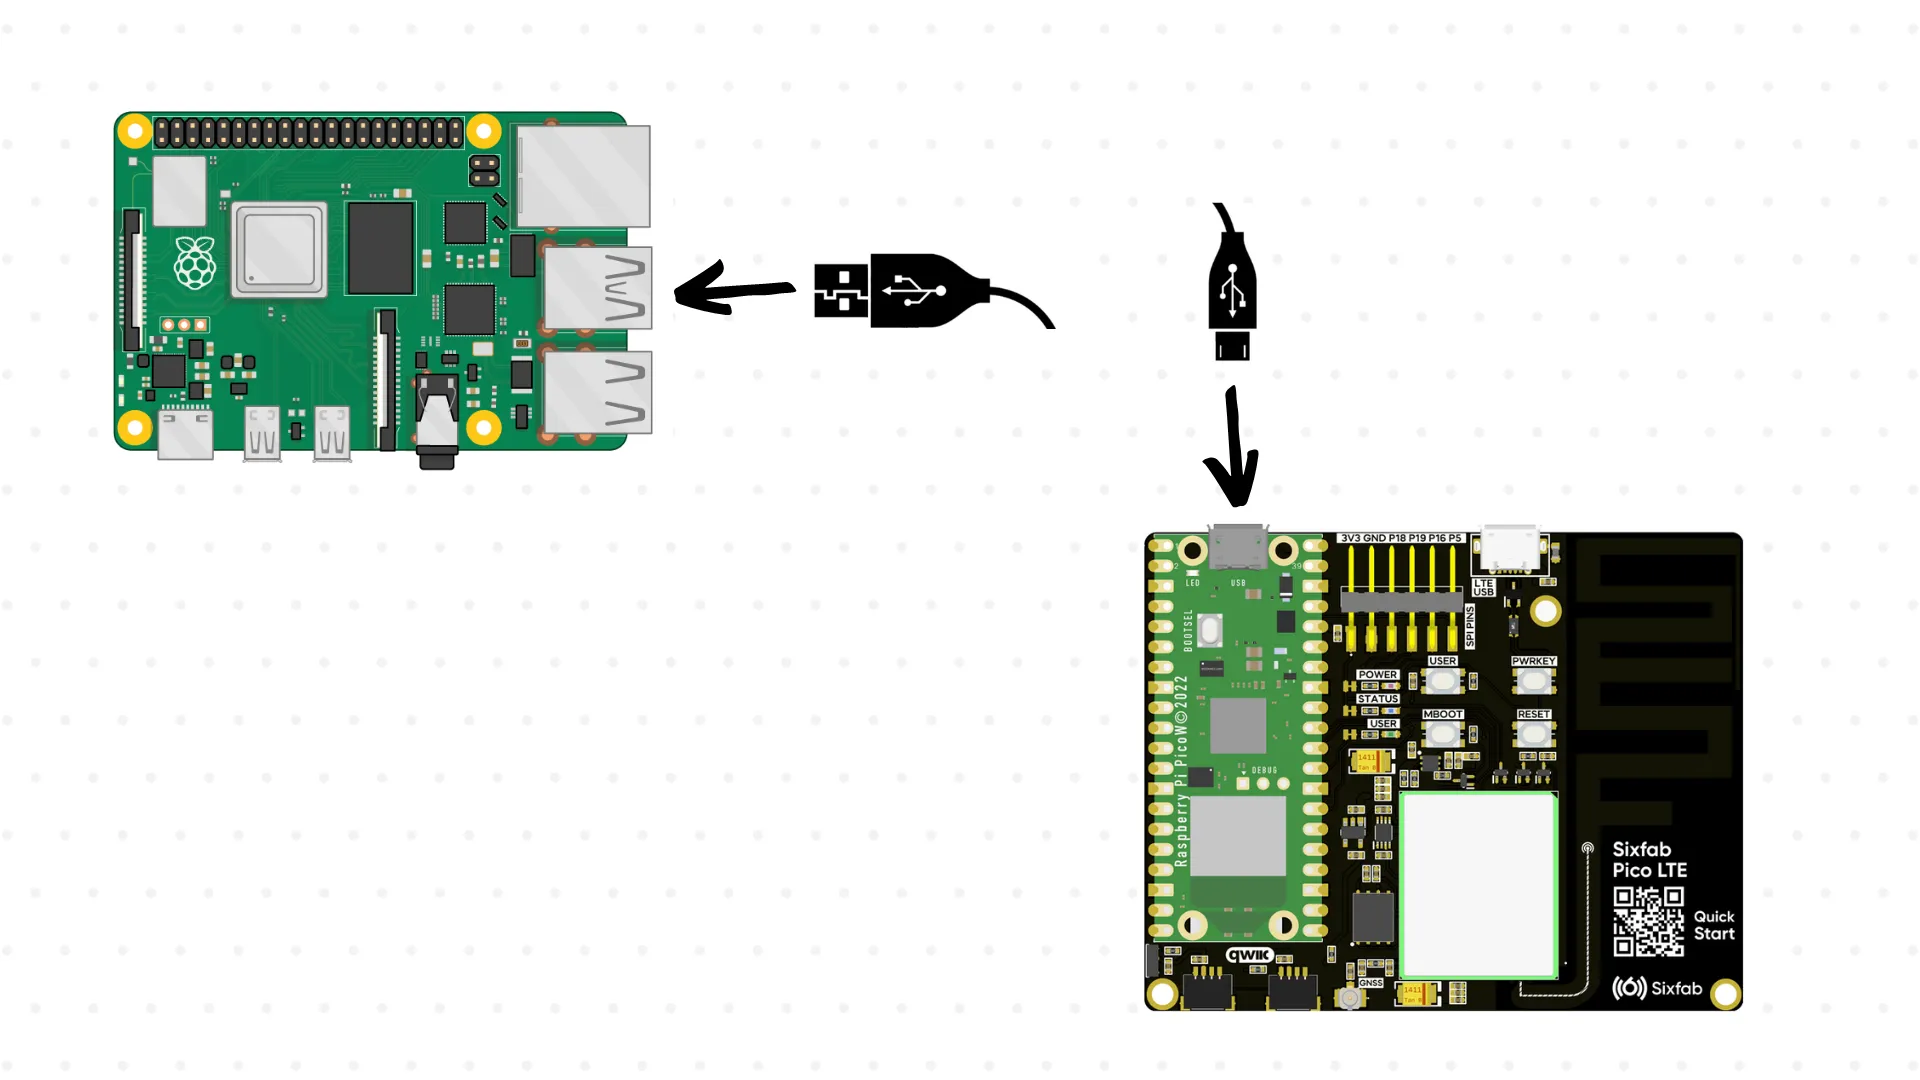
Connecting Sixfab Pico LTE board to Raspberry Pi via USB
This puts your Raspberry Pi Pico into USB mass storage device mode.
In the bottom right-hand corner of the Thonny window, you will see the version of Python that you are currently using.

Click on the Python version and choose ‘Install MicroPython’:
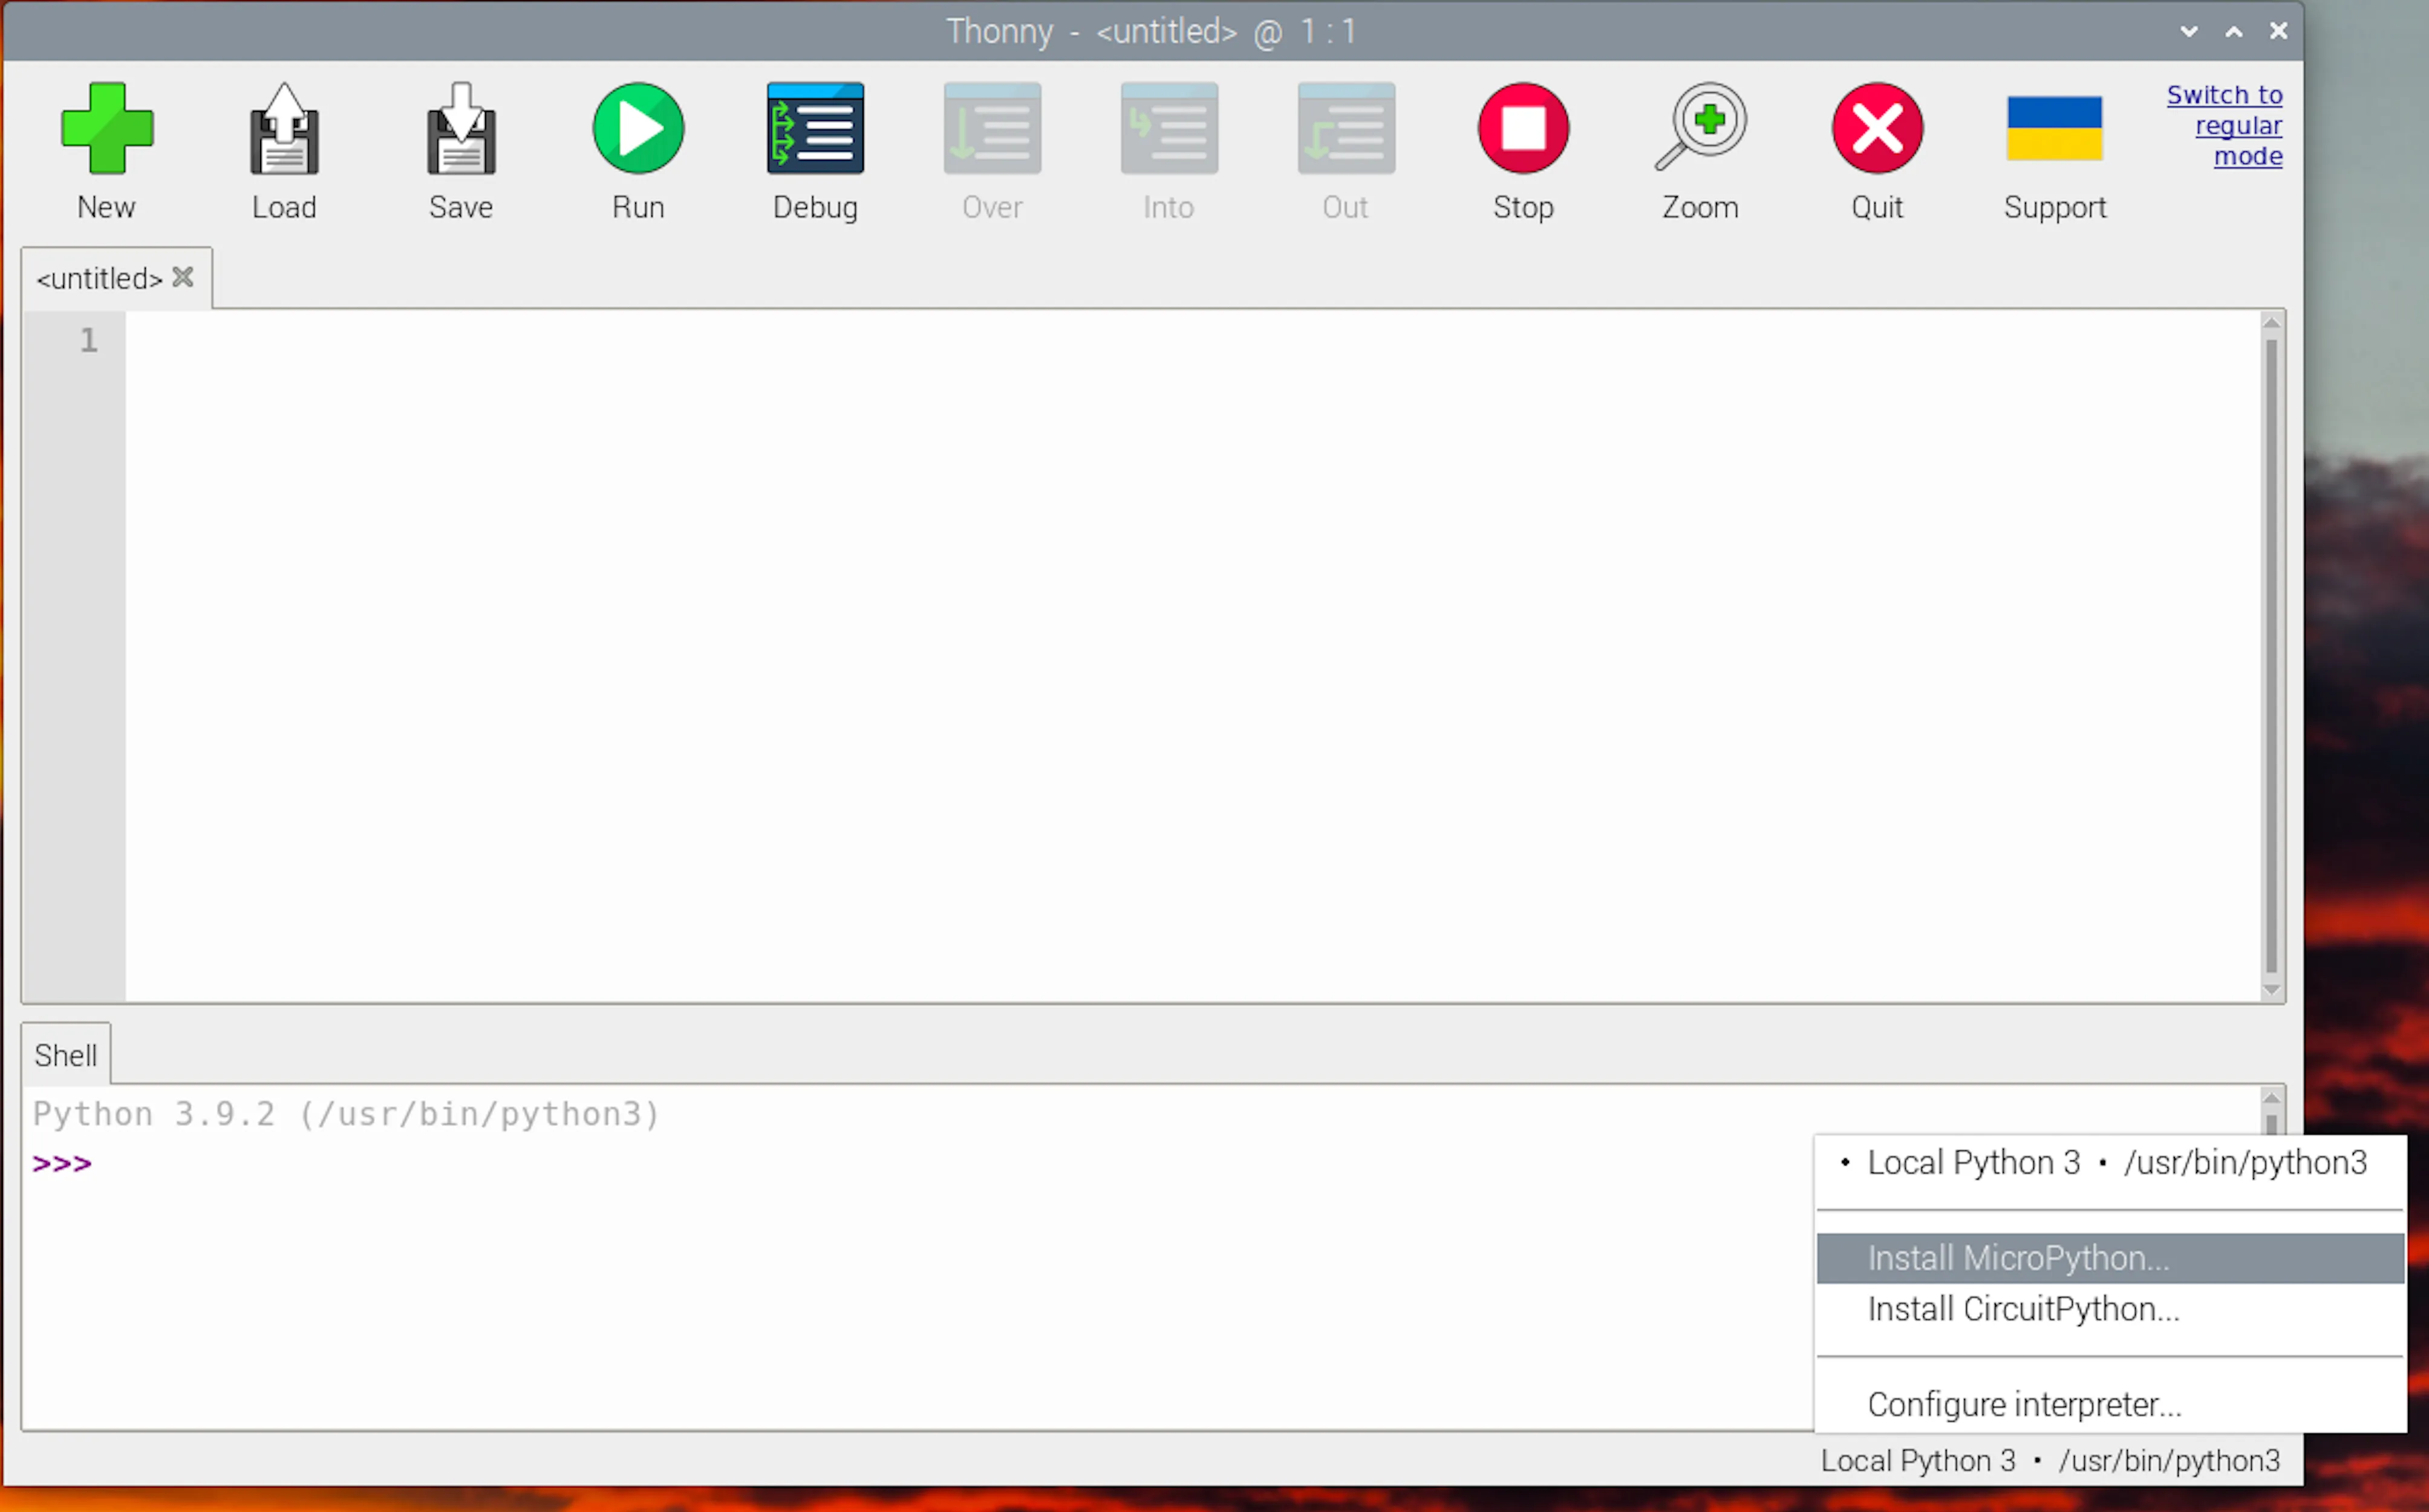
If you don’t see this option, then check that you have plugged in your Raspberry Pi Pico.
A dialog box will pop up to install the latest version of the MicroPython firmware on your Raspberry Pi Pico.
Click the Install button to copy the firmware to your Raspberry Pi Pico.
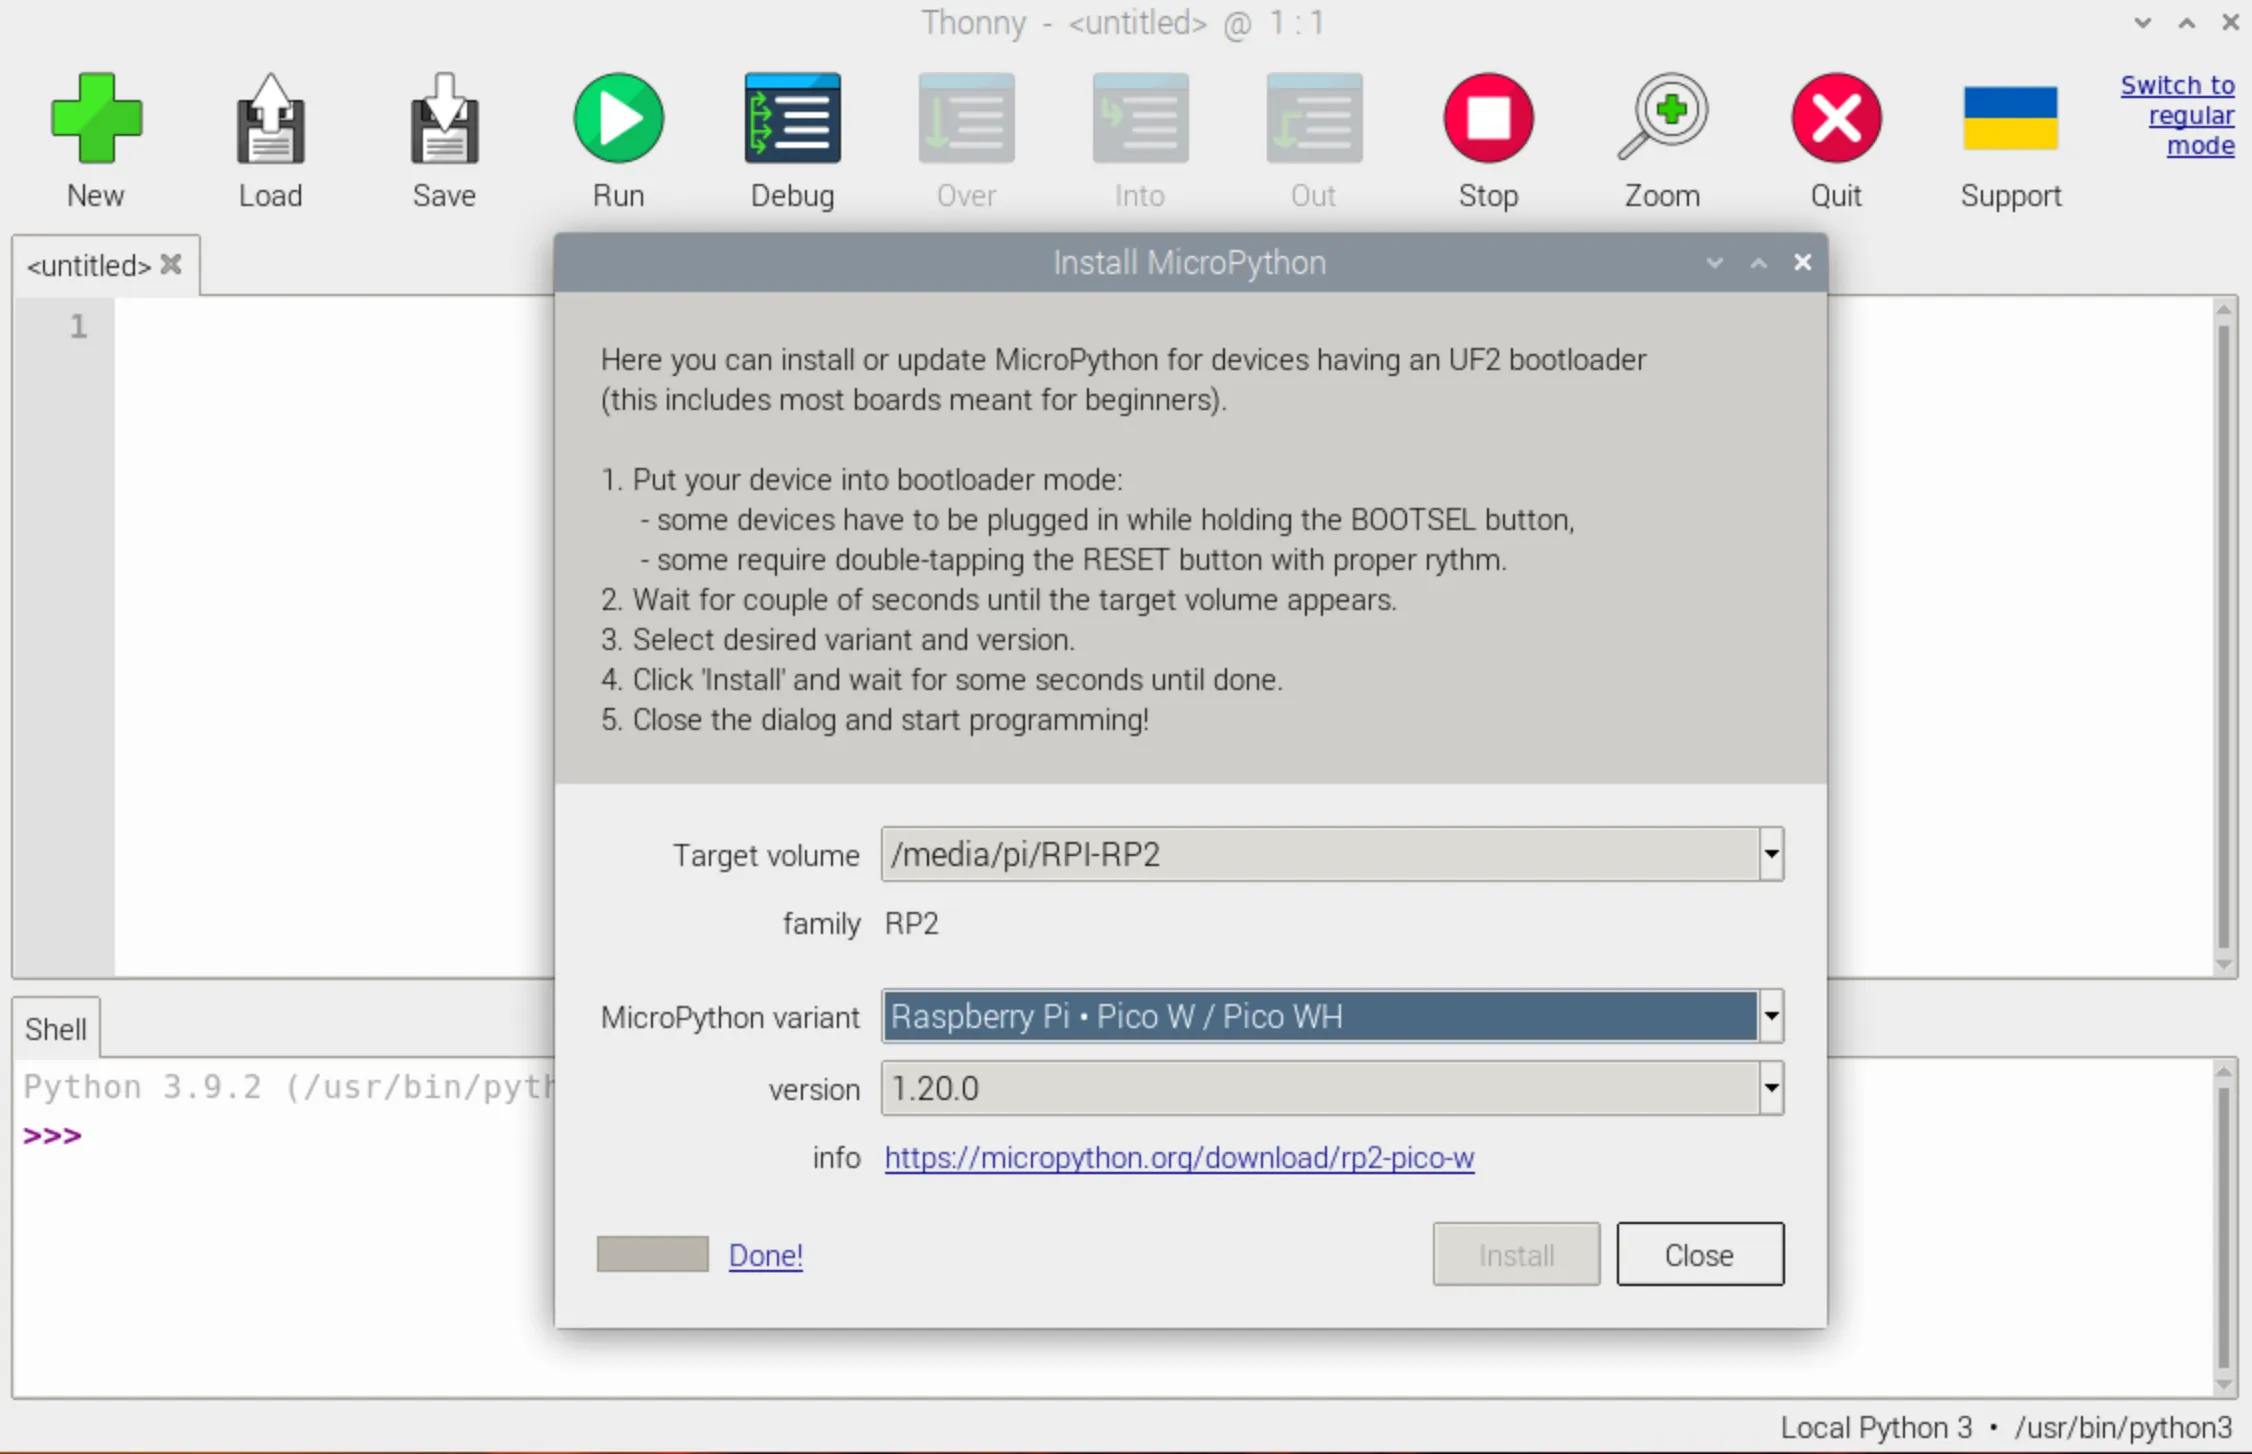
Wait for the installation to complete and click Close.
You don’t need to update the firmware every time you use your Raspberry Pi Pico. From now on, you can just plug it into your computer without pressing the BOOTSEL button.
Download Pico LTE SDK
Go to the Pico LTE SDK GitHub page below.
Clone the repository to your local machine or download the repository as a zip from the GitHub page by clicking Code → Download zip and extract it to your local machine.
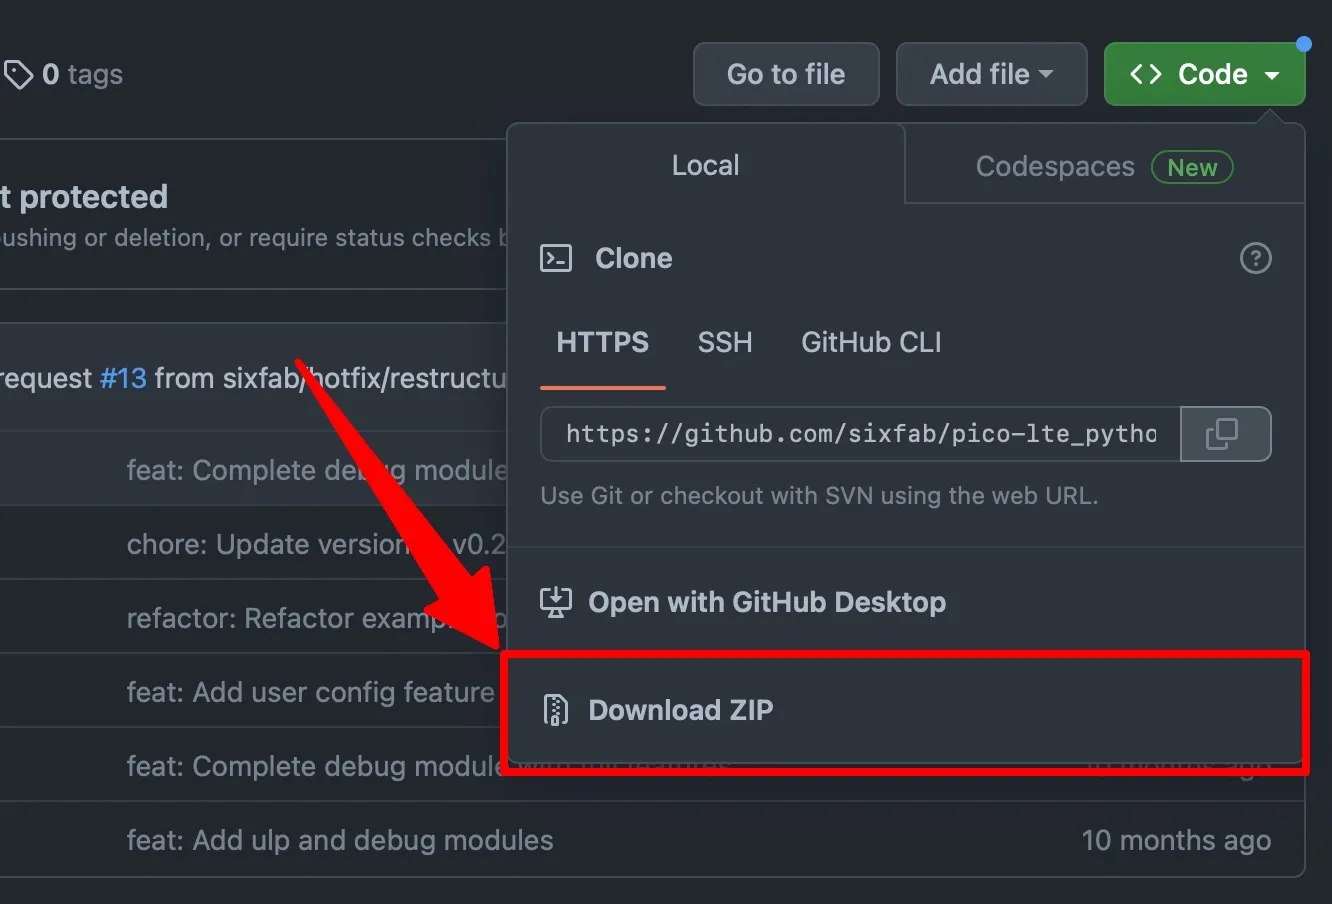
📖 Note
You can ask Thonny IDE to show you the “Files” panel on the left by choosing View → Files.
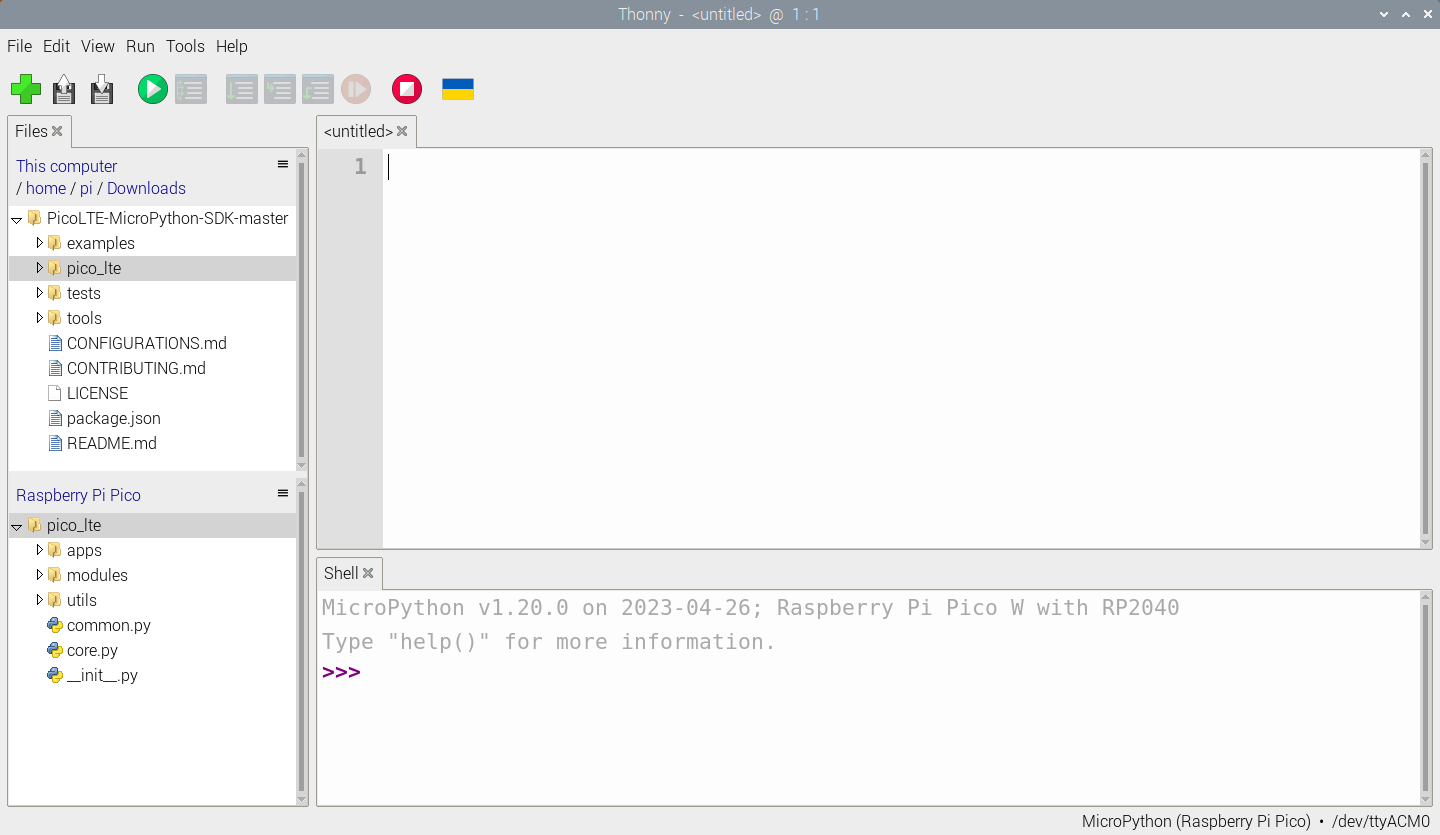
Then go to the directory where you downloaded the repository, right-click on the pico_lte folder, and upload it to your Pico LTE device by clicking "Upload to /".
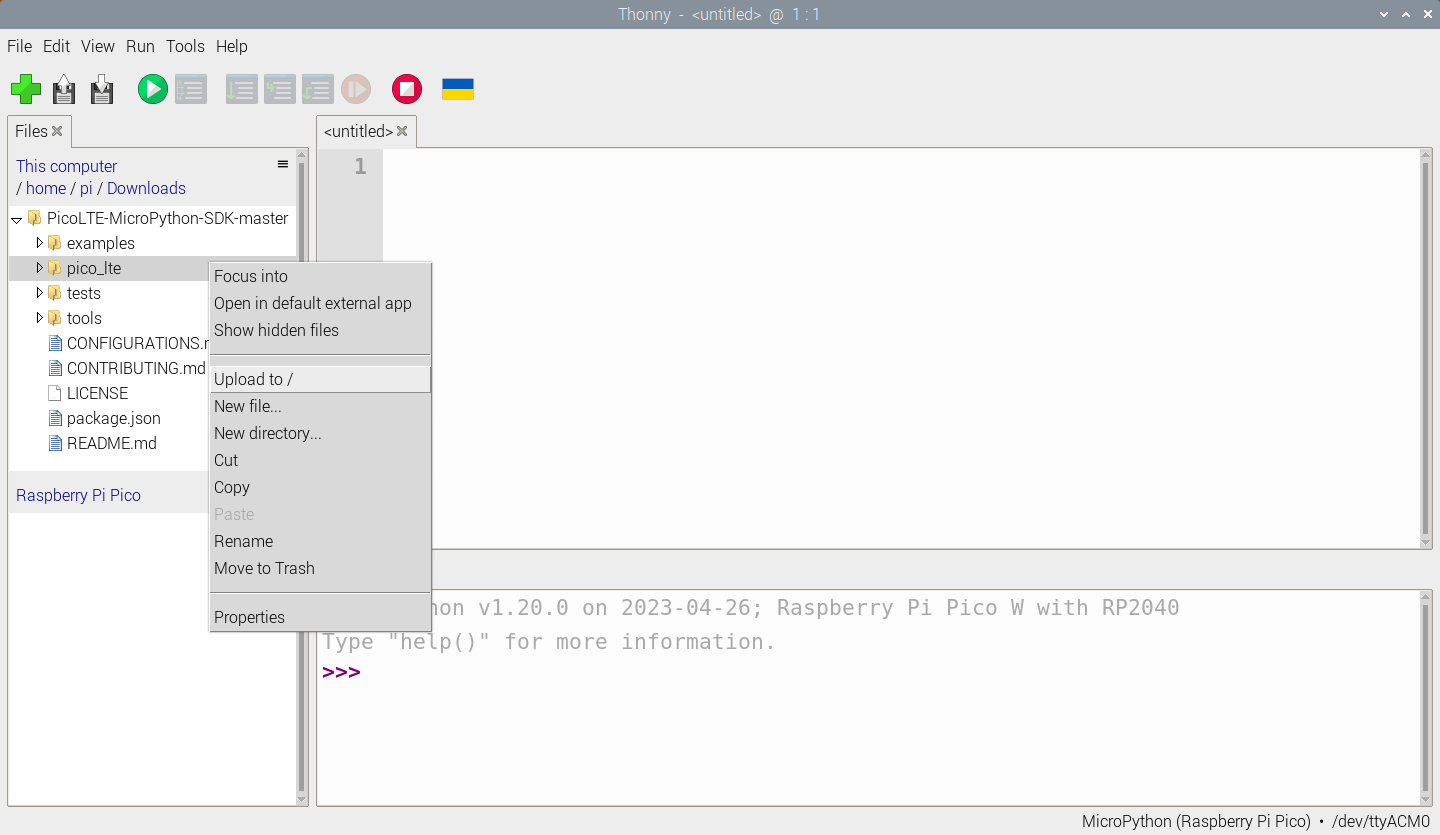
Now everything is OK! Pico LTE SDK is installed on your Pico LTE device.
Coding
In this step, you will use the Thonny Shell to run some simple Python code on your Raspberry Pi Pico.
Make sure that your Raspberry Pi Pico is connected to your computer and you have selected the MicroPython (Raspberry Pi Pico) interpreter.
Look at the Shell panel at the bottom of the Thonny editor.
You should see something like this:

Thonny is now able to communicate with your Raspberry Pi Pico using the REPL (read–eval–print loop), which allows you to type Python code into the Shell and see the output.
Now you can type commands directly into the Shell and they will run on your Raspberry Pi Pico.
Type the following command.

Blink the onboard USER LED
In this step, you will create a MicroPython program to toggle the USER LED on the Pico LTE in a loop.
Click in the main editor panel of Thonny.
Enter the following code to toggle the LED.
from machine import Pin
USER_LED = Pin(22, mode=Pin.OUT)

USER_LED.toggle()
Run your programs by pressing the green arrow in the toolbar.
You can use the 'timer' module to set a timer that runs a function at regular intervals.
Update your code so it looks like this:
from machine import Pin, Timer
USER_LED = Pin(22, mode=Pin.OUT)

timer = Timer()

def blink(timer):
    USER_LED.toggle()

timer.init(freq=2.5, mode=Timer.PERIODIC, callback=blink)
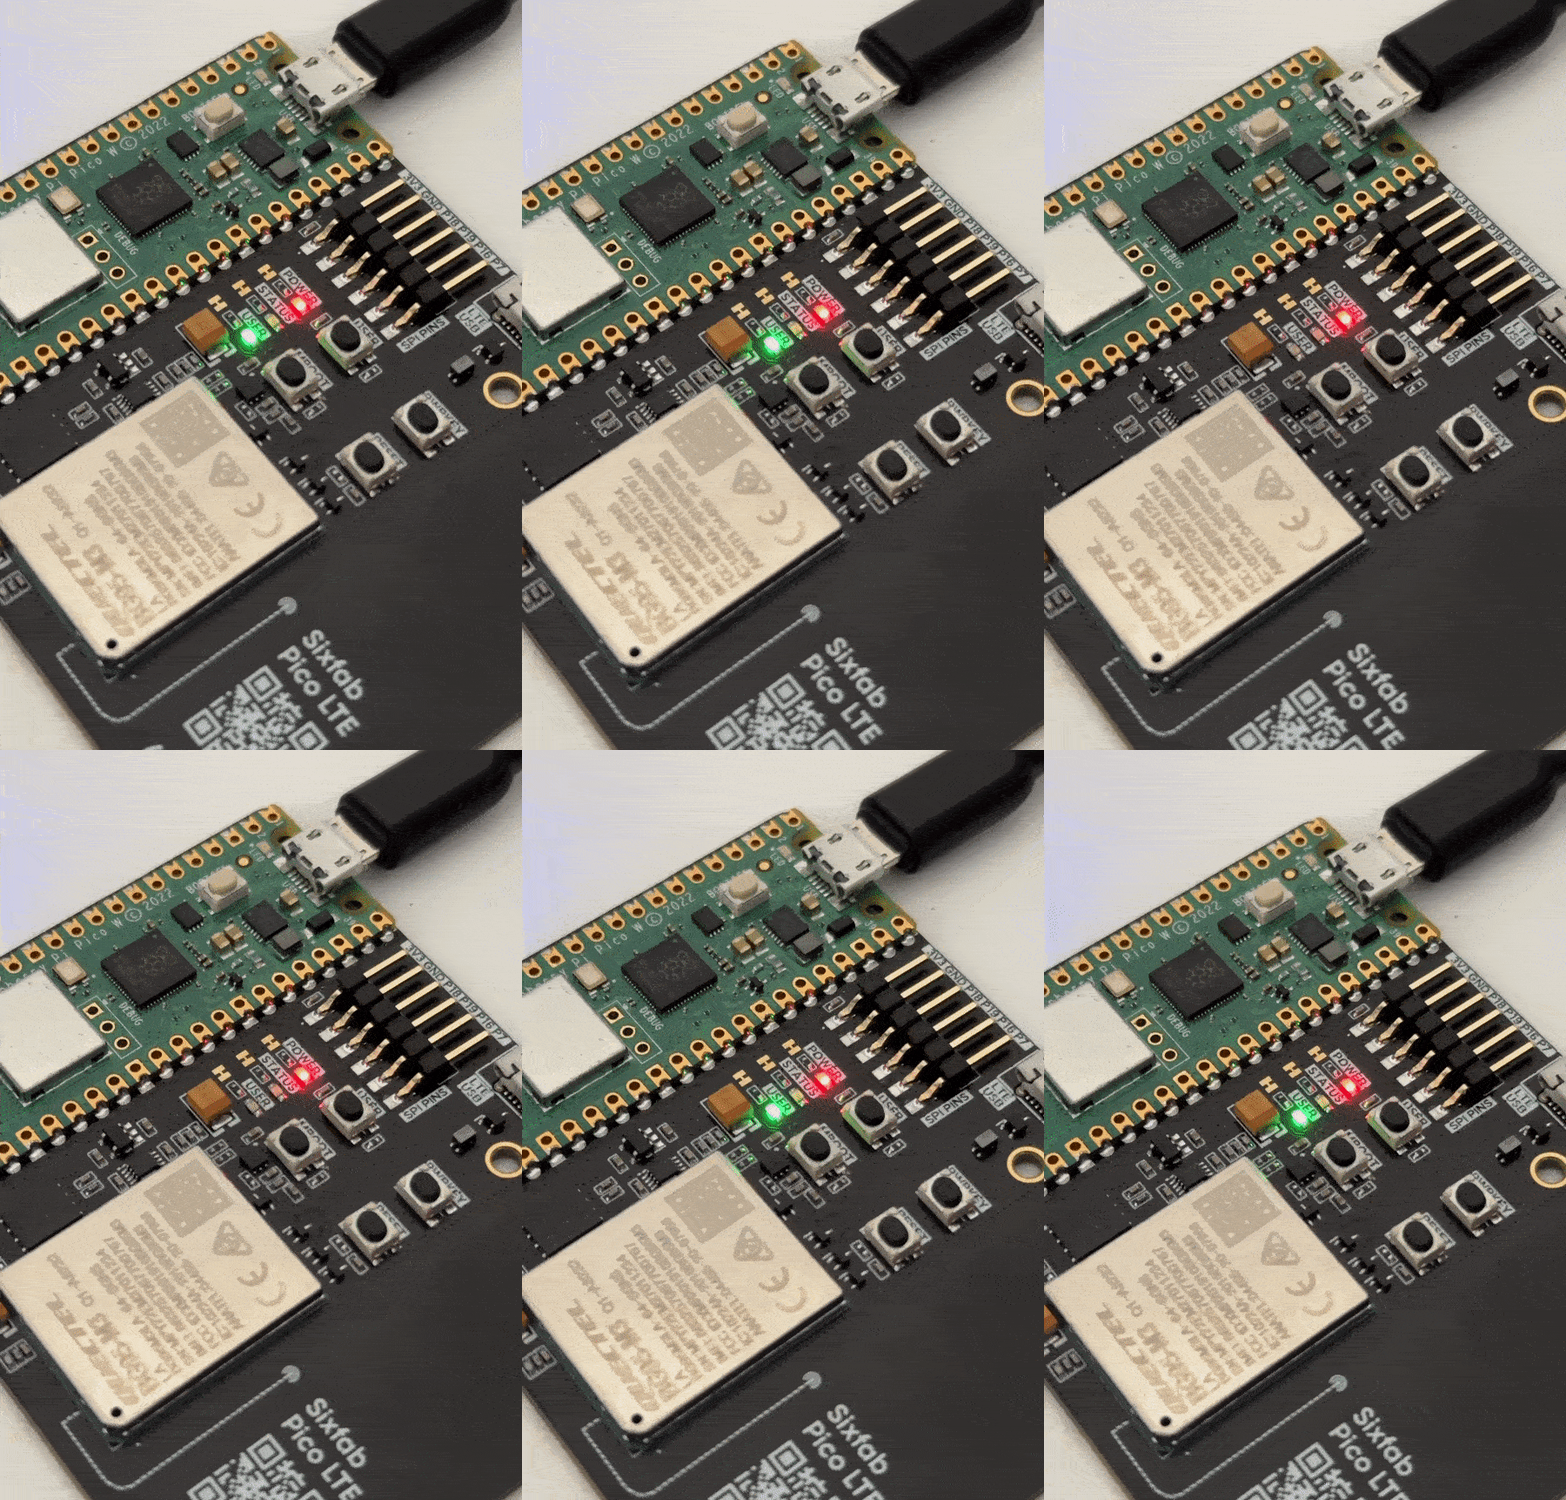
Click Run and your program will blink the USER LED on and off until you click the Stop button.
Updated 3 months ago

