
Connect Pico LTE to the Scriptr.io
Scriptr.io is a very powerful cloud service for running server-side code. At scriptr.io, use scripts to create custom backend APIs for Internet of Things (IoT) and other projects. Scriptr.io helps you be productive quickly by providing an integrated web-based environment for developing, running, and debugging your code.
The Pico LTE device provides all the components needed to send data to Scriptr.io.
Before starting this Pico LTE tutorial, the Pico LTE SDK installation and configuration steps must be completed. Below are the system requirements for this tutorial. If you haven't followed the SDK installation steps, please refer to the page below before proceeding with the tutorial. The details of these steps will not be covered in this tutorial.
System Requirements
| Hardware Requirements | Software Requirements |
|---|---|
| • Sixfab Pico LTE • Micro USB cable |
• Thonny IDE |
If you have completed all the requirements, you are ready to send data to scriptr.io script with Pico LTE device.
Let's get started!
Preparing Coding Environment
- Download the Pico LTE SDK repository to your local machine. If you have already downloaded it, skip this step.
- Open script "examples → scriptr → send_data.py from the repository via Thonny IDE.
- If you haven't, create a config.json file in the root directory of Pico LTE device.
1. Login to Scriptr.io
Login to your Scriptr.io account from the login page, if you do not have an account, create a new account from the registration page.
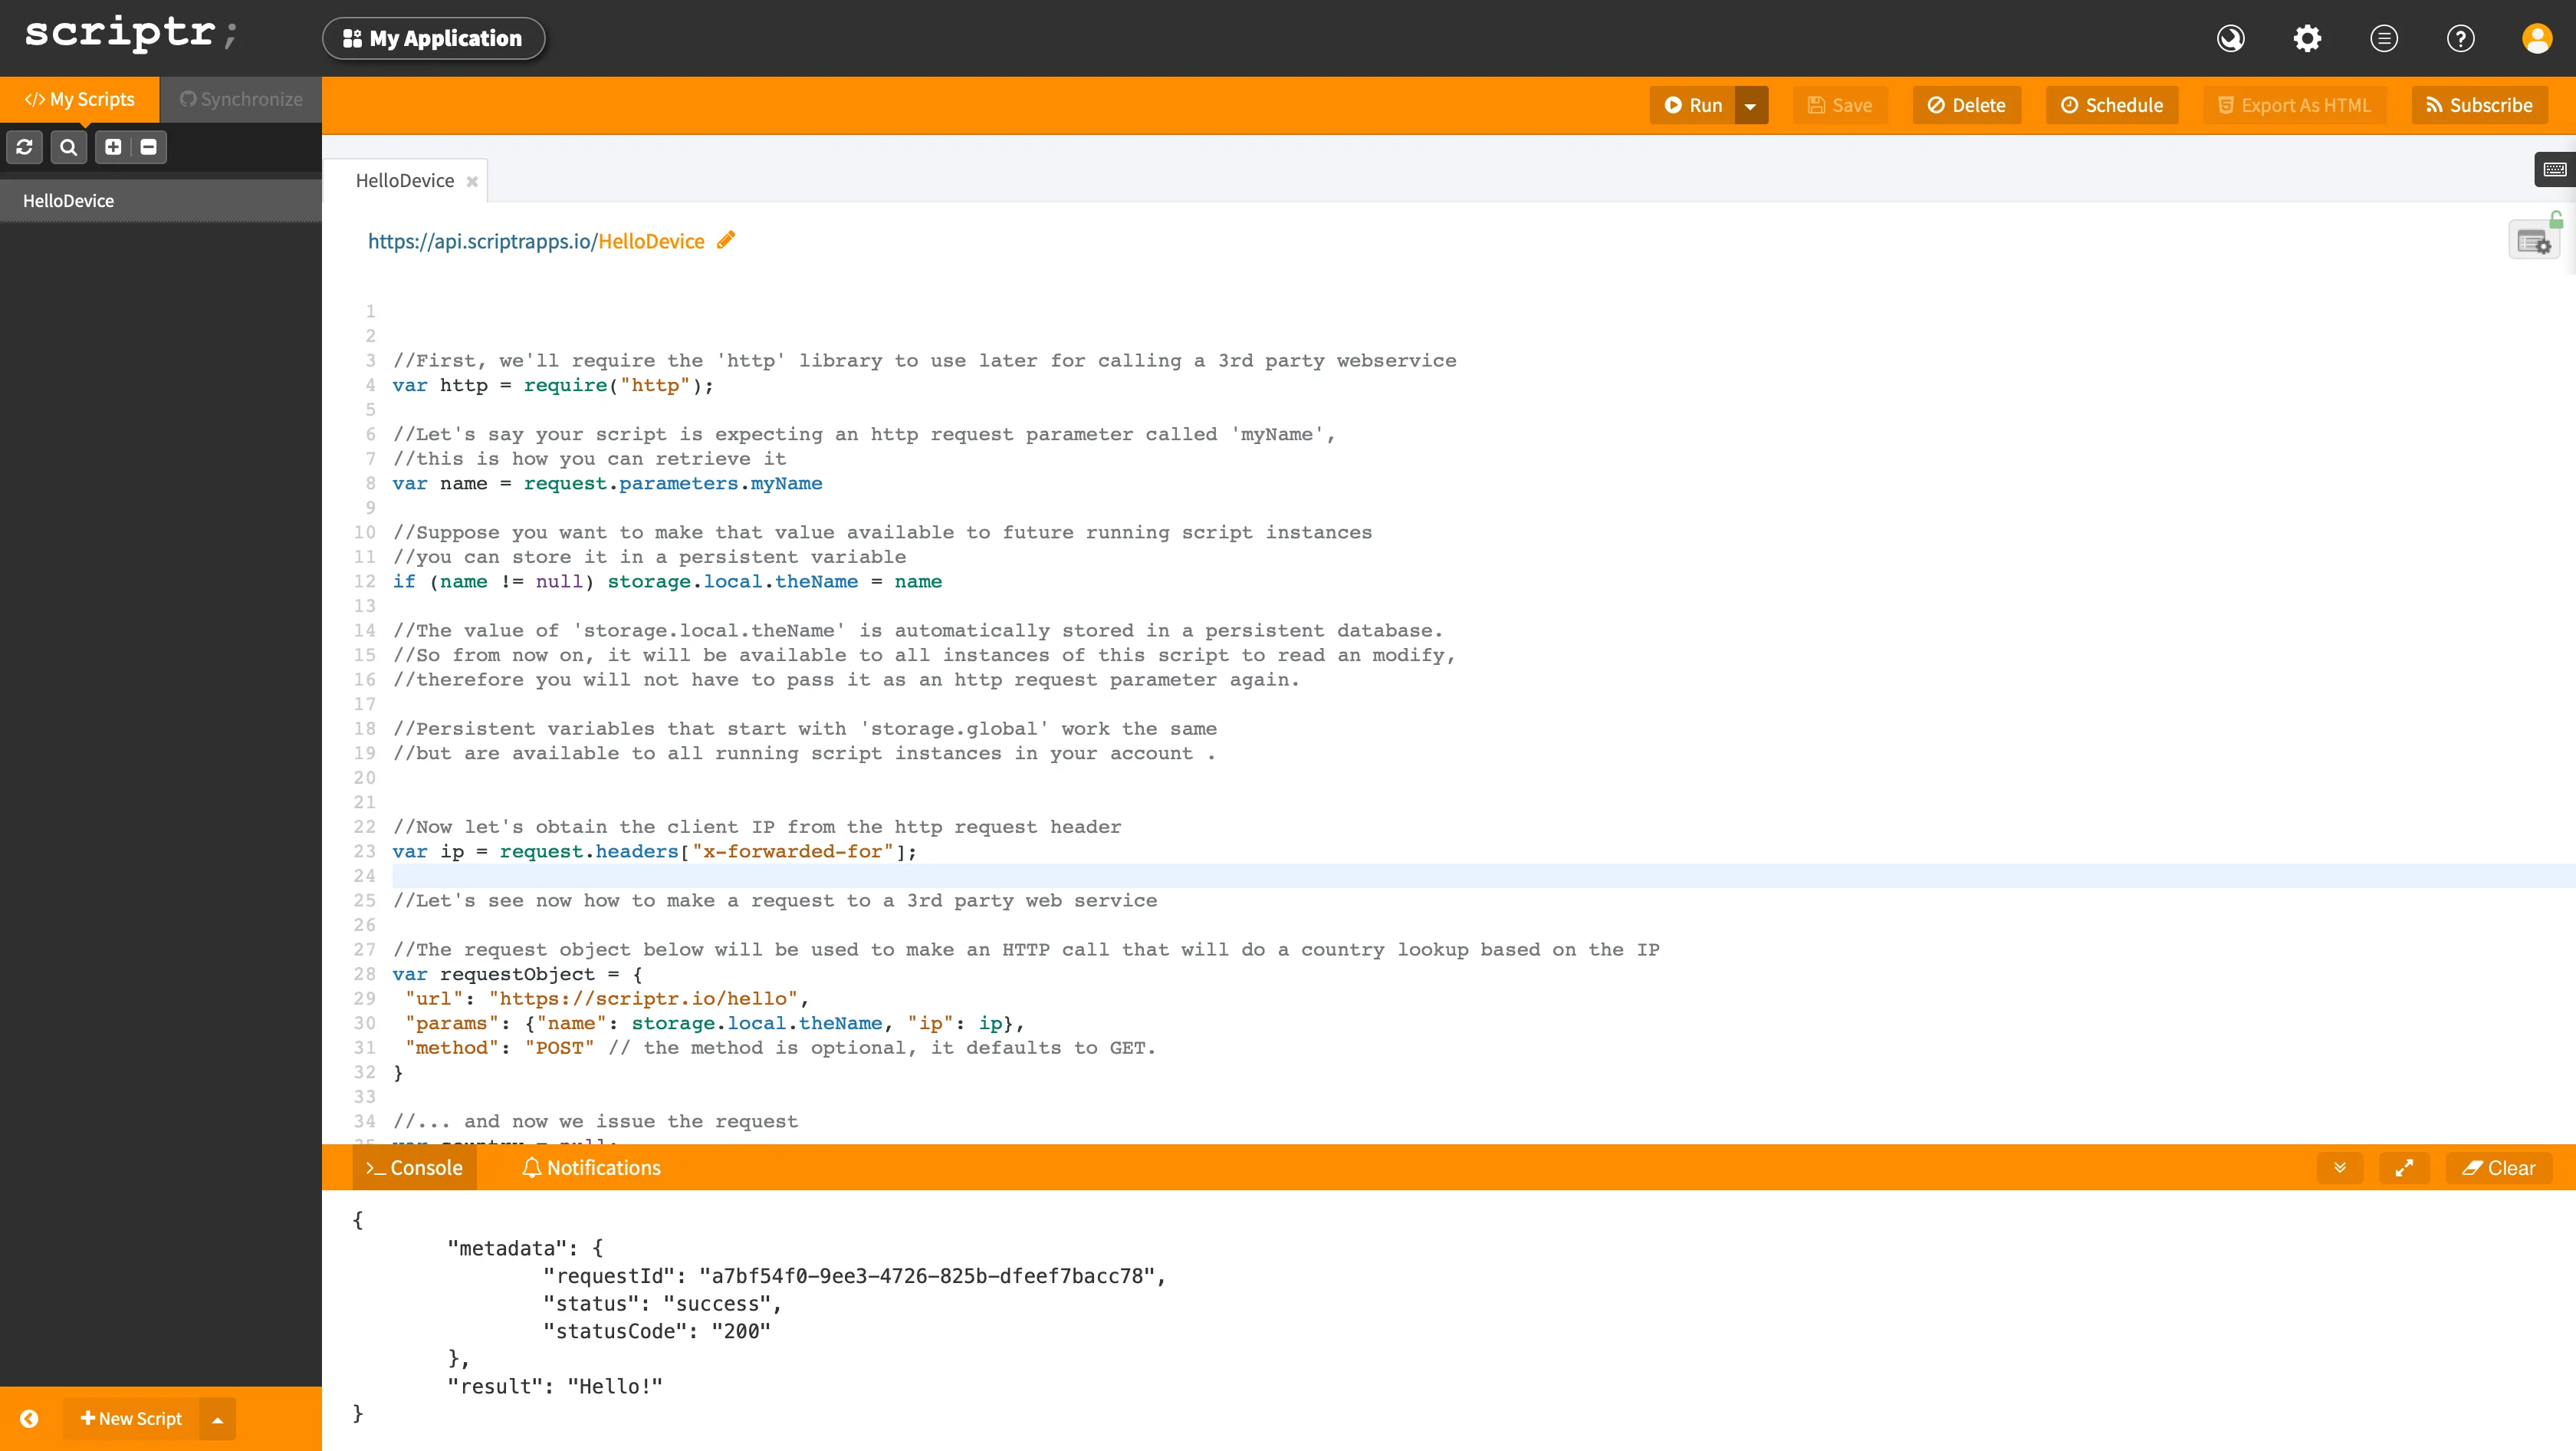
2. Test your workspace
When you log in to your account, you can send your first request and test the workspace by executing the "Hello Device" script, which comes as a default attachment, using the "run" command.
3. Demo with Creatr
- With the Creatr guide, you'll have the capability to link a device to scriptr.io, choose a use case, and then initiate a demo application that will process and visualize your device data. This process will enable you to take the initial step in sending data to a script using Pico LTE.
- Go to the Creatr page to start the demo. Continue with the GET STARTED button.
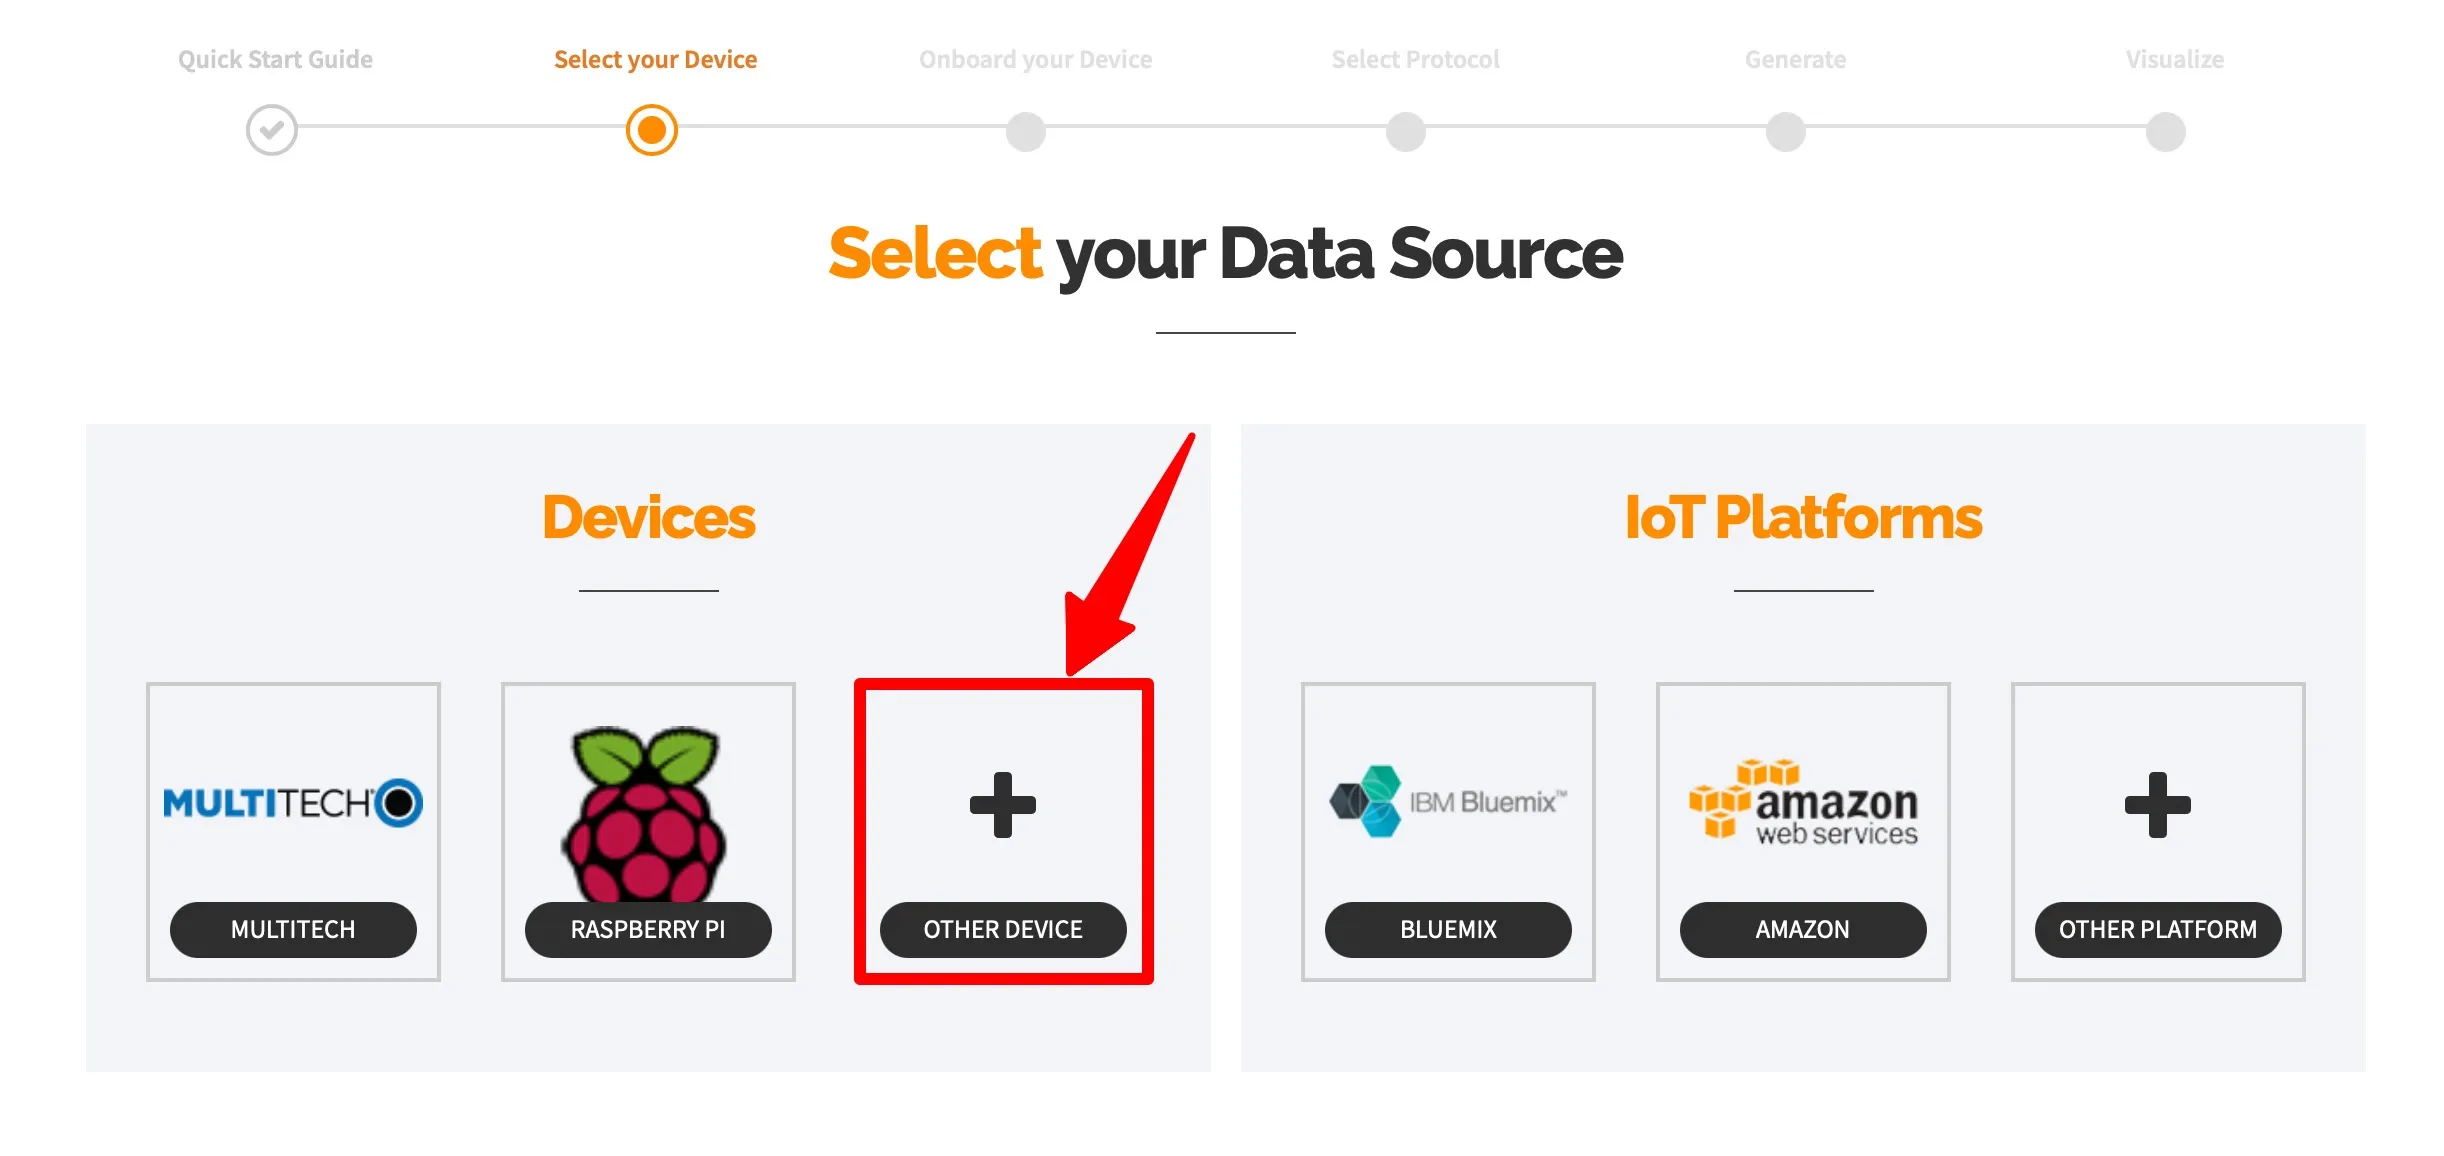
4. Select your Device
Continue with Other Device as we will be sending data via Pico LTE.
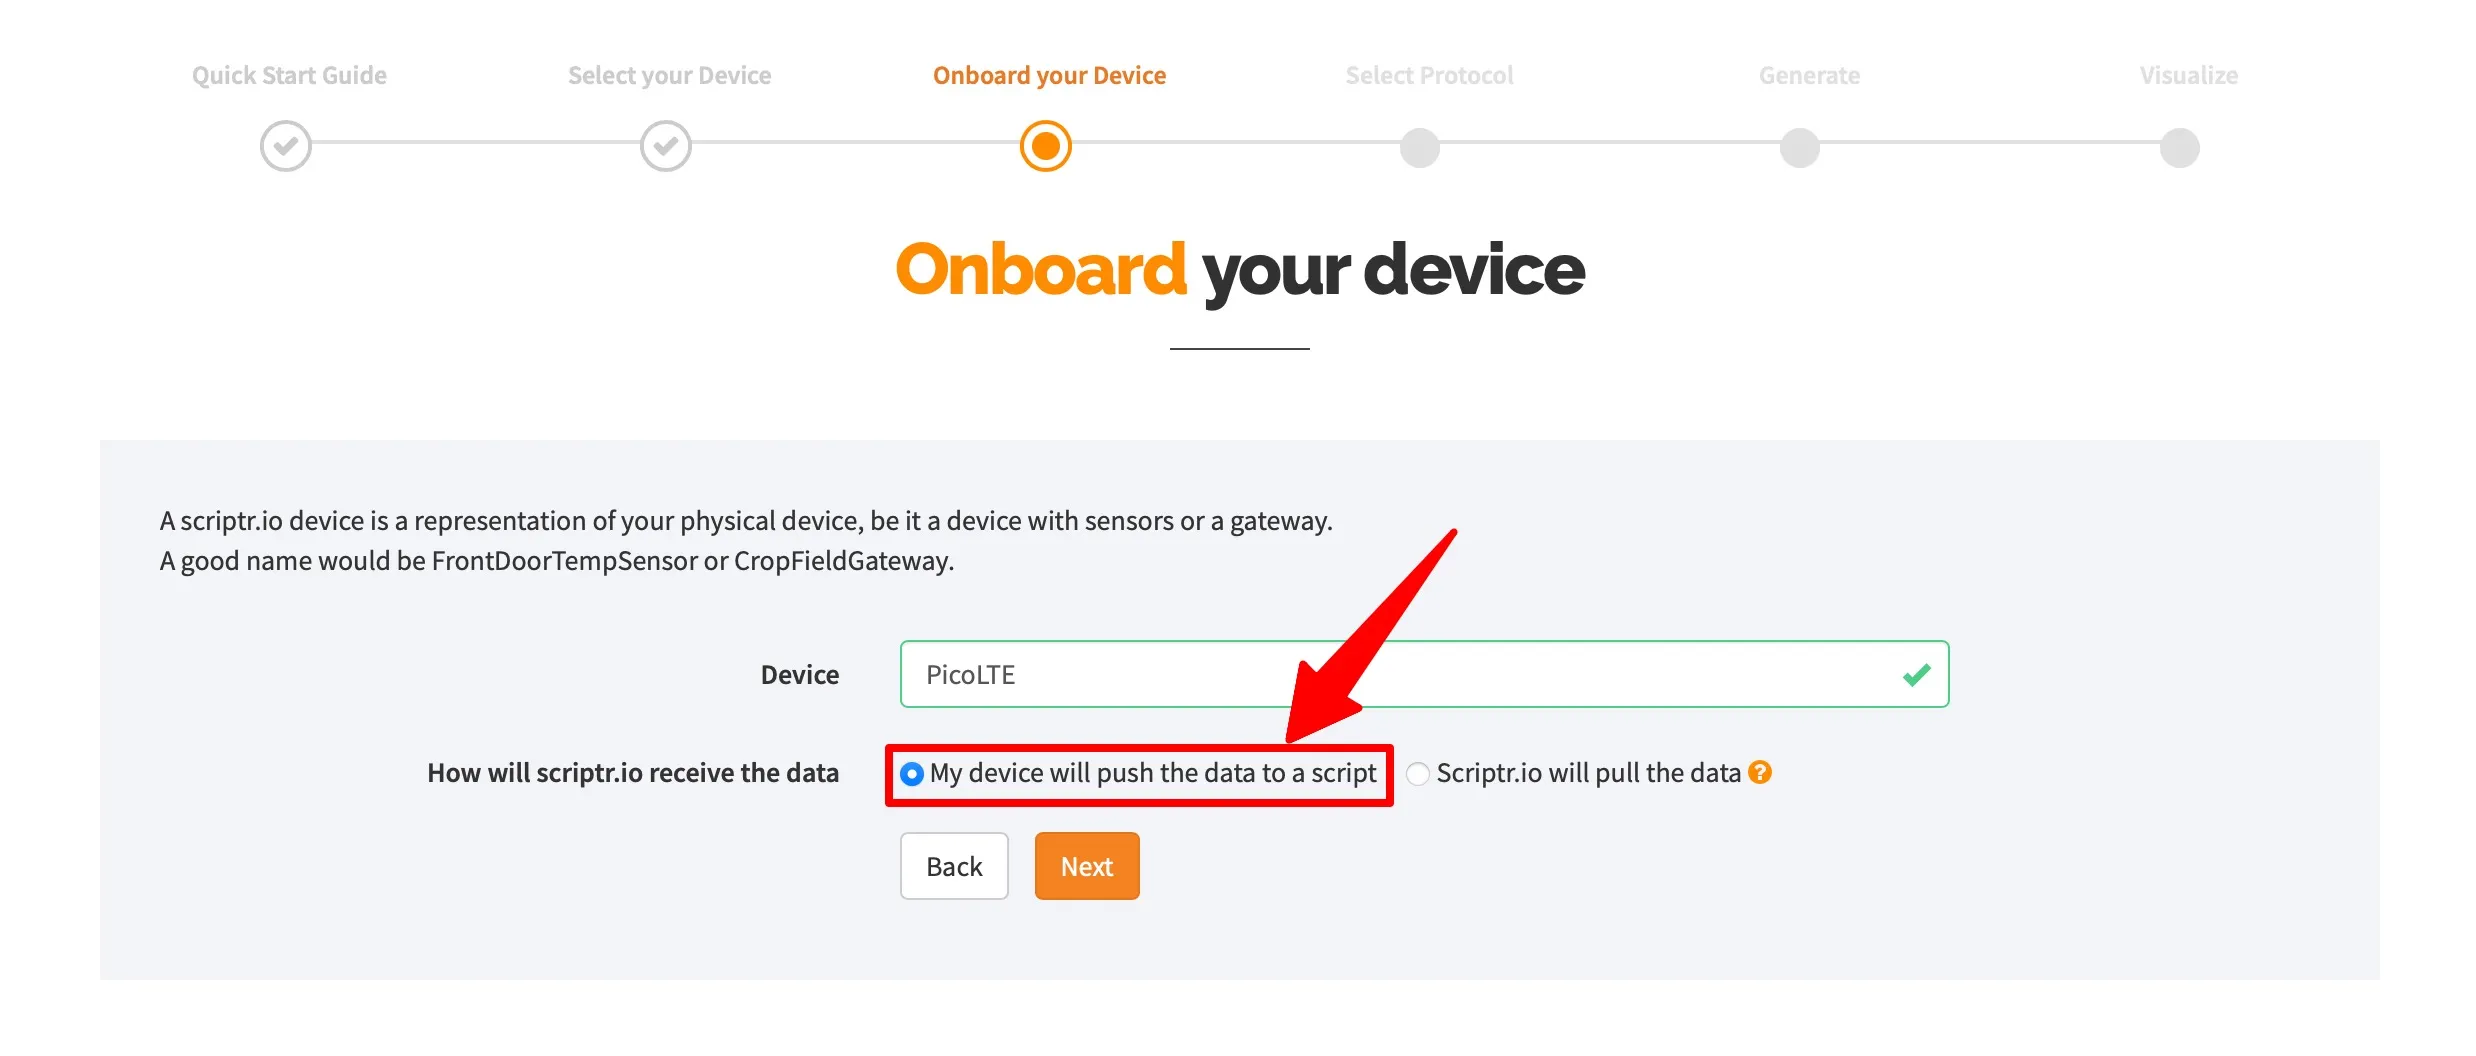
5. Create your device
Enter the name of the device to which you will send data and select the path to transmit the data. In this example, since the data will be sent with Pico LTE, continue with the "My device will push the data to a script" option.
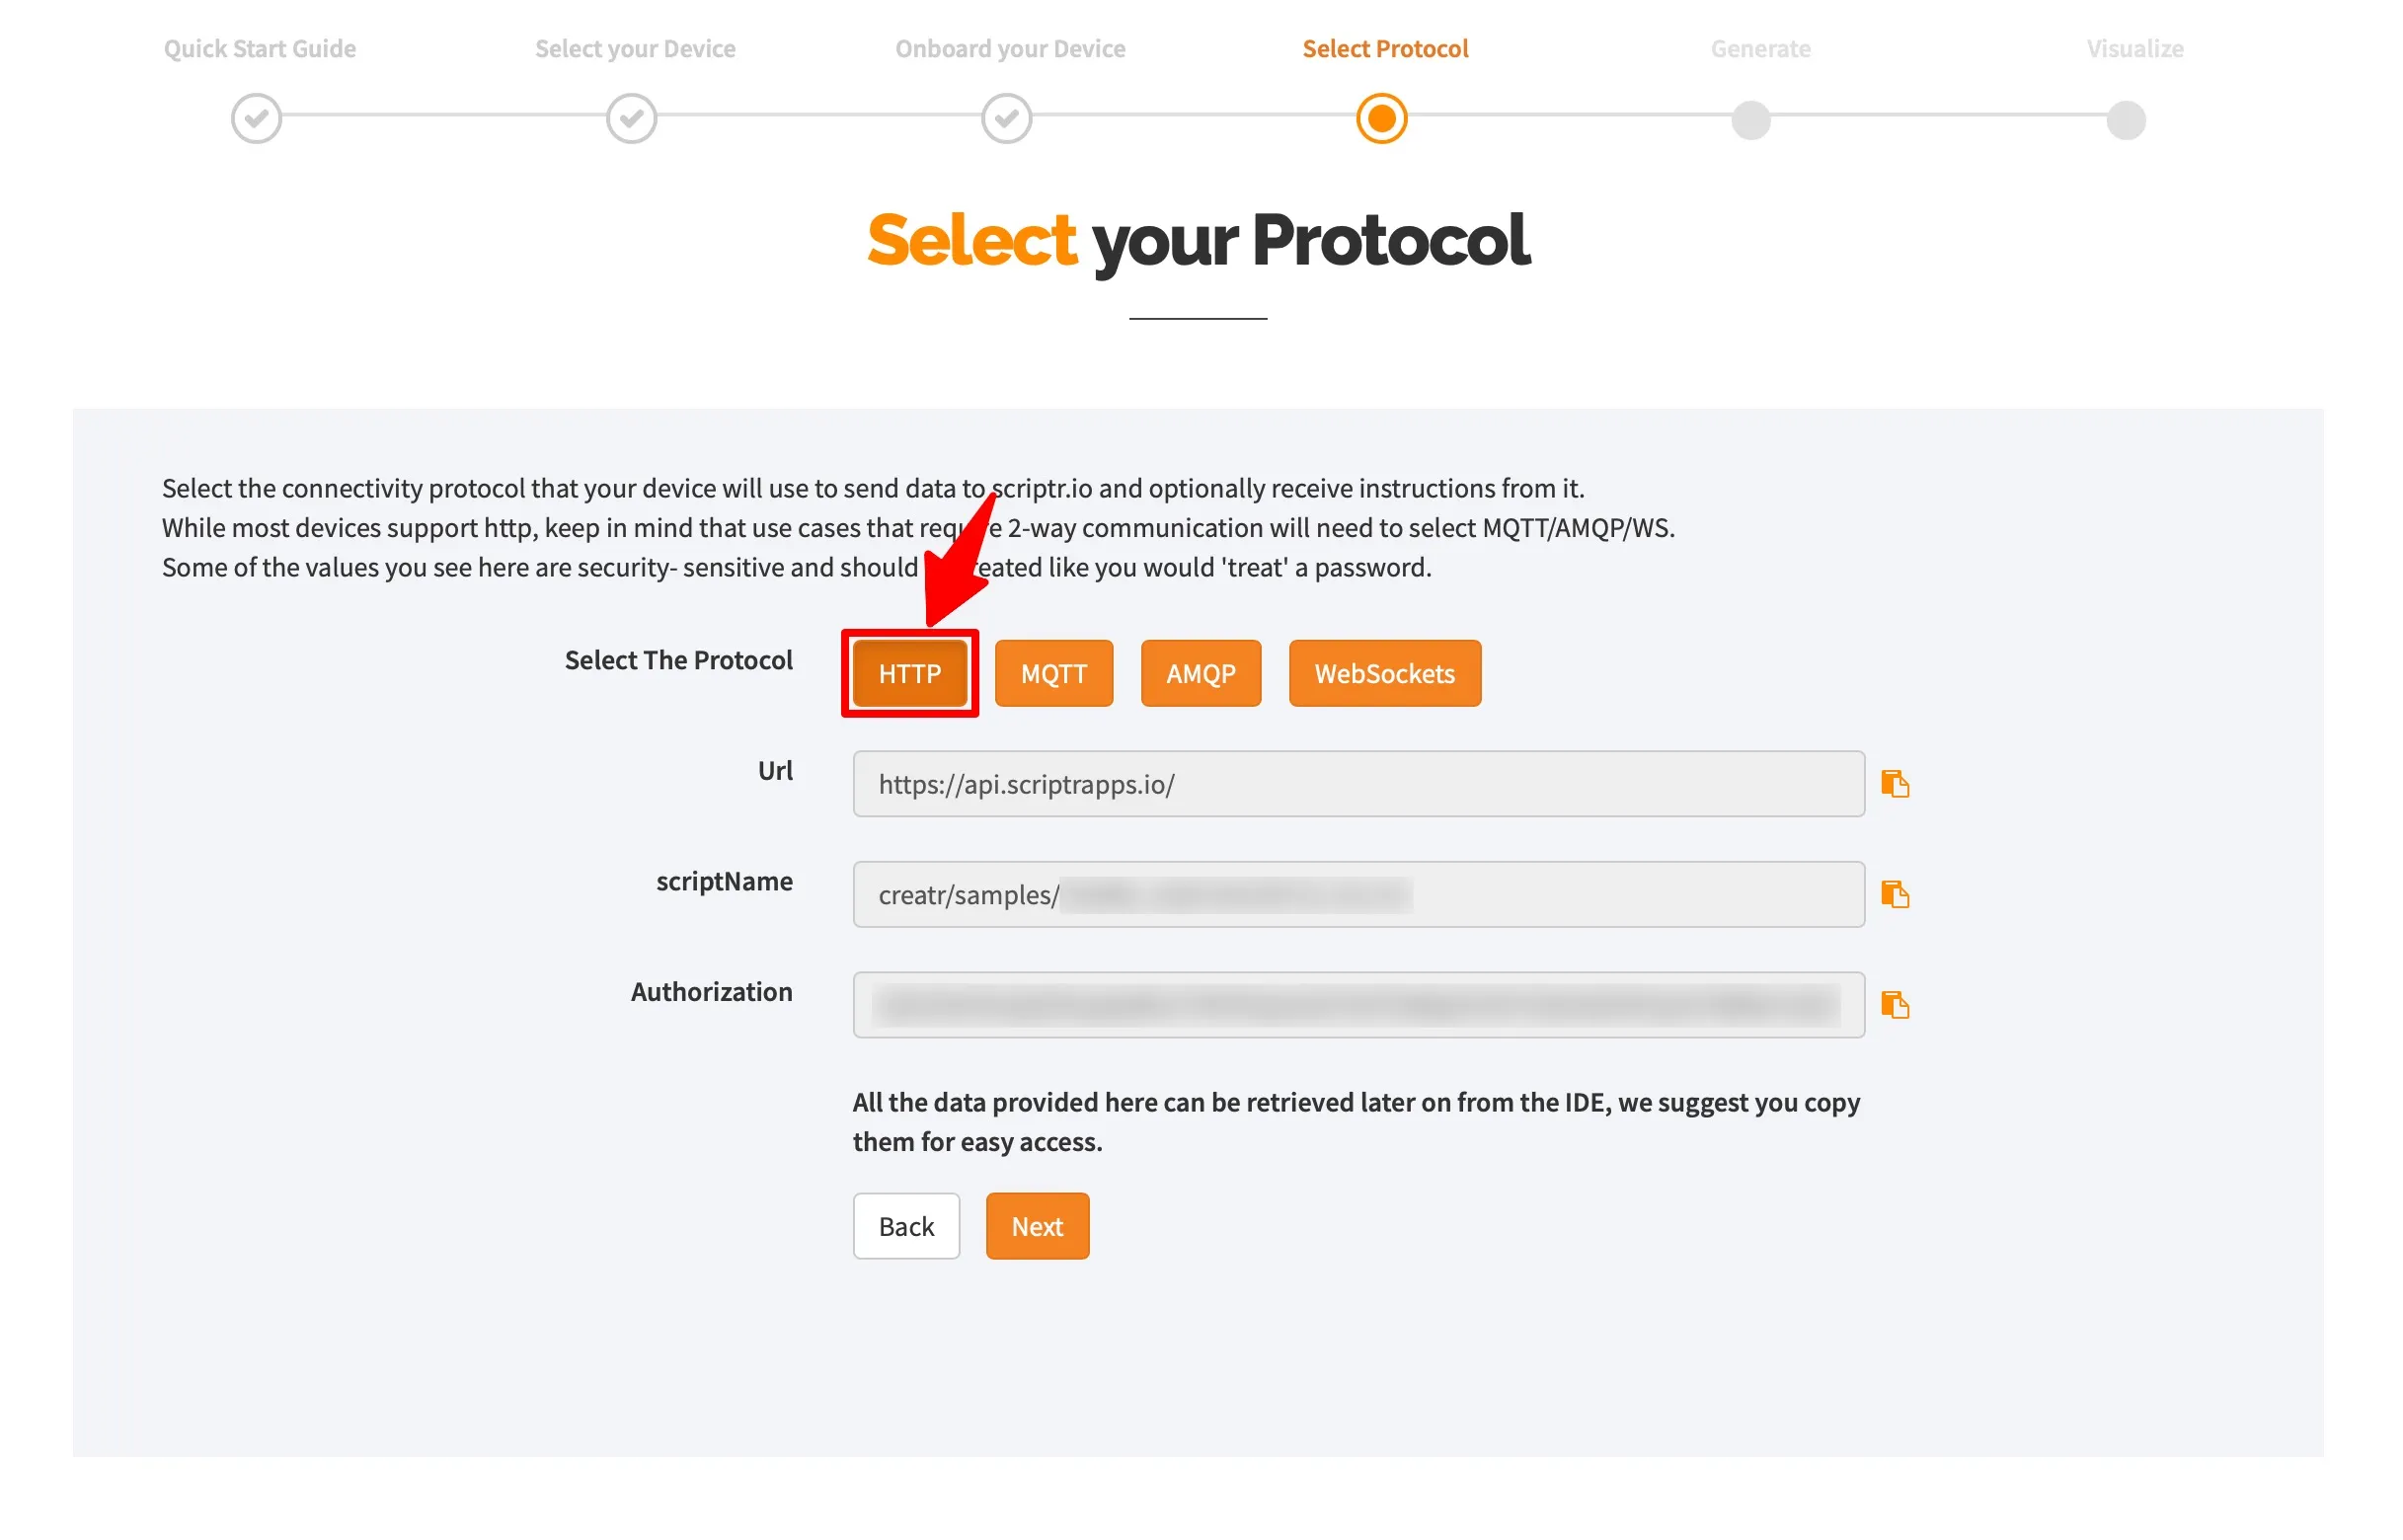
6. Select Protocol
Go with HTTP as this example happens with the HTTP protocol. Here, the script is created automatically with Creatr. Note the scriptName and Authorization sections for the config.js file and continue with the next button.
7. Test the Code Example
Copy the following code block into the config.js file and enter your query and authorization. The value 'scriptName' should be written in the query section
{
    "scriptr":{
        "query": "QUERY_OF_SCRIPT",
        "authorization": "YOUR_TOKEN"
    }
}
Slash
Don't forget to put slash (/) in front of the scriptName.
Then save it to your Pico LTE device and Run the "send_data.py" script.
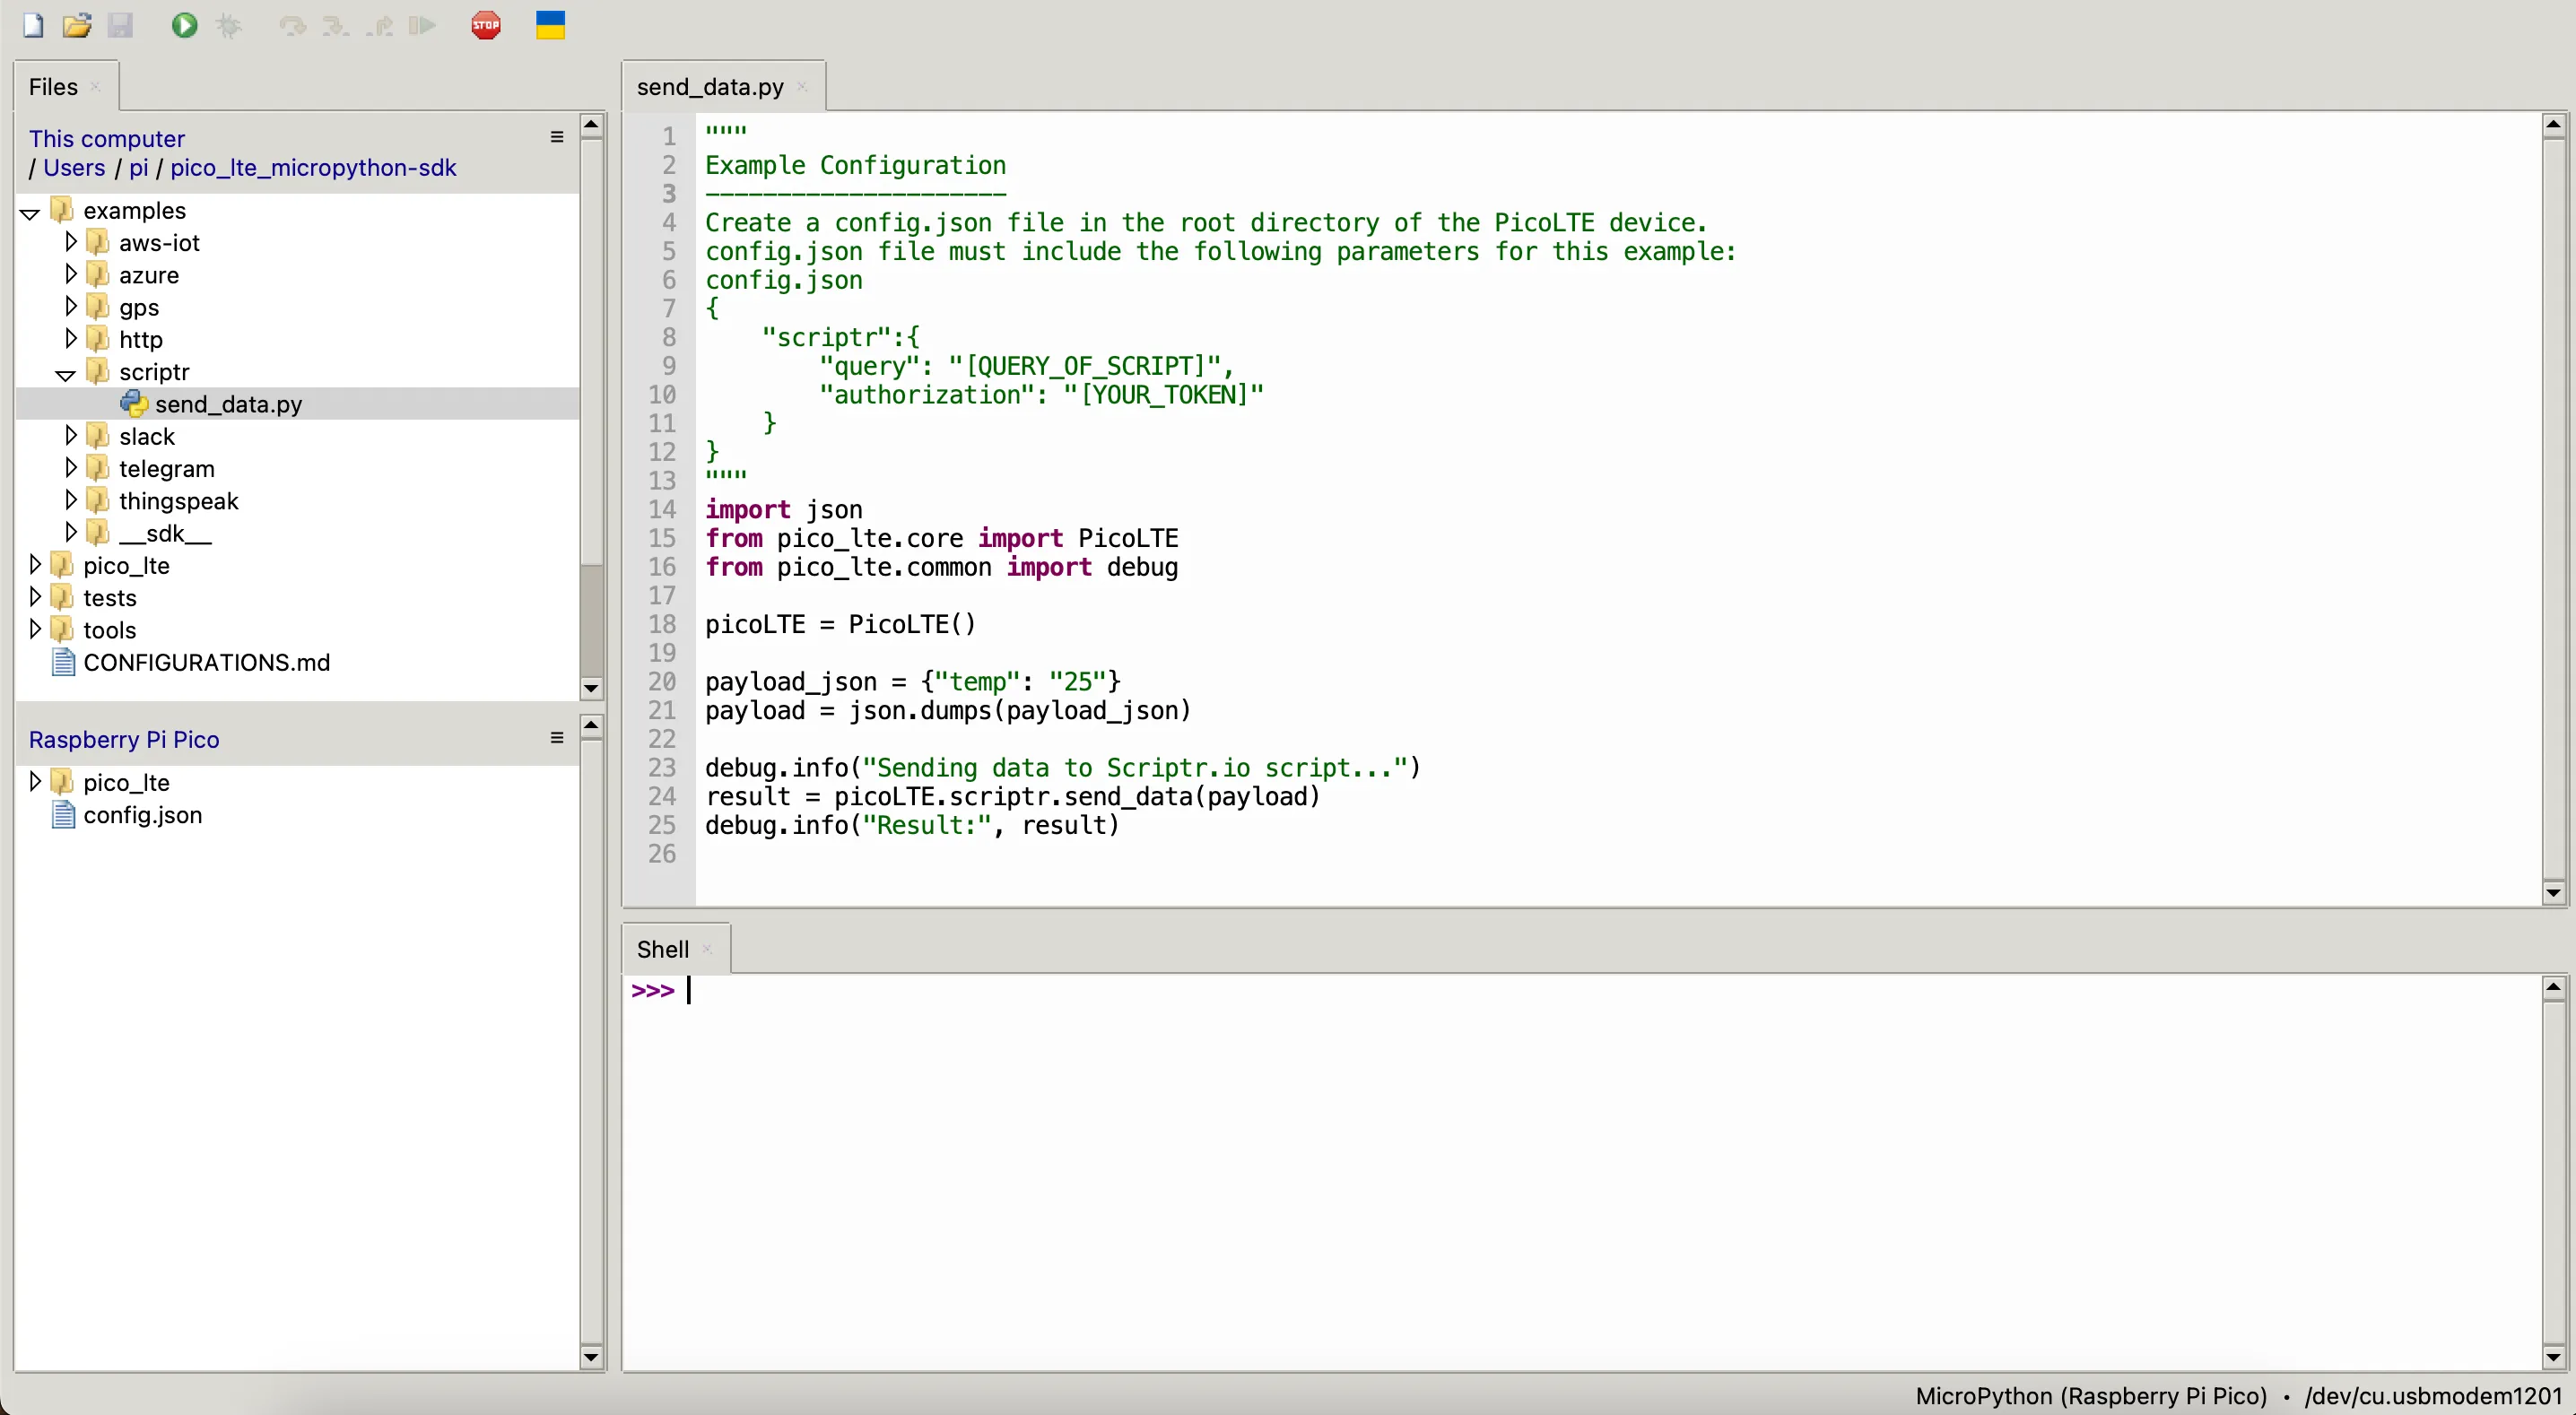
When the message is transmitted successfully, the output is as follows:
8. Generate your code
Select the language supported by your device. Select the one you want in this section and click next.
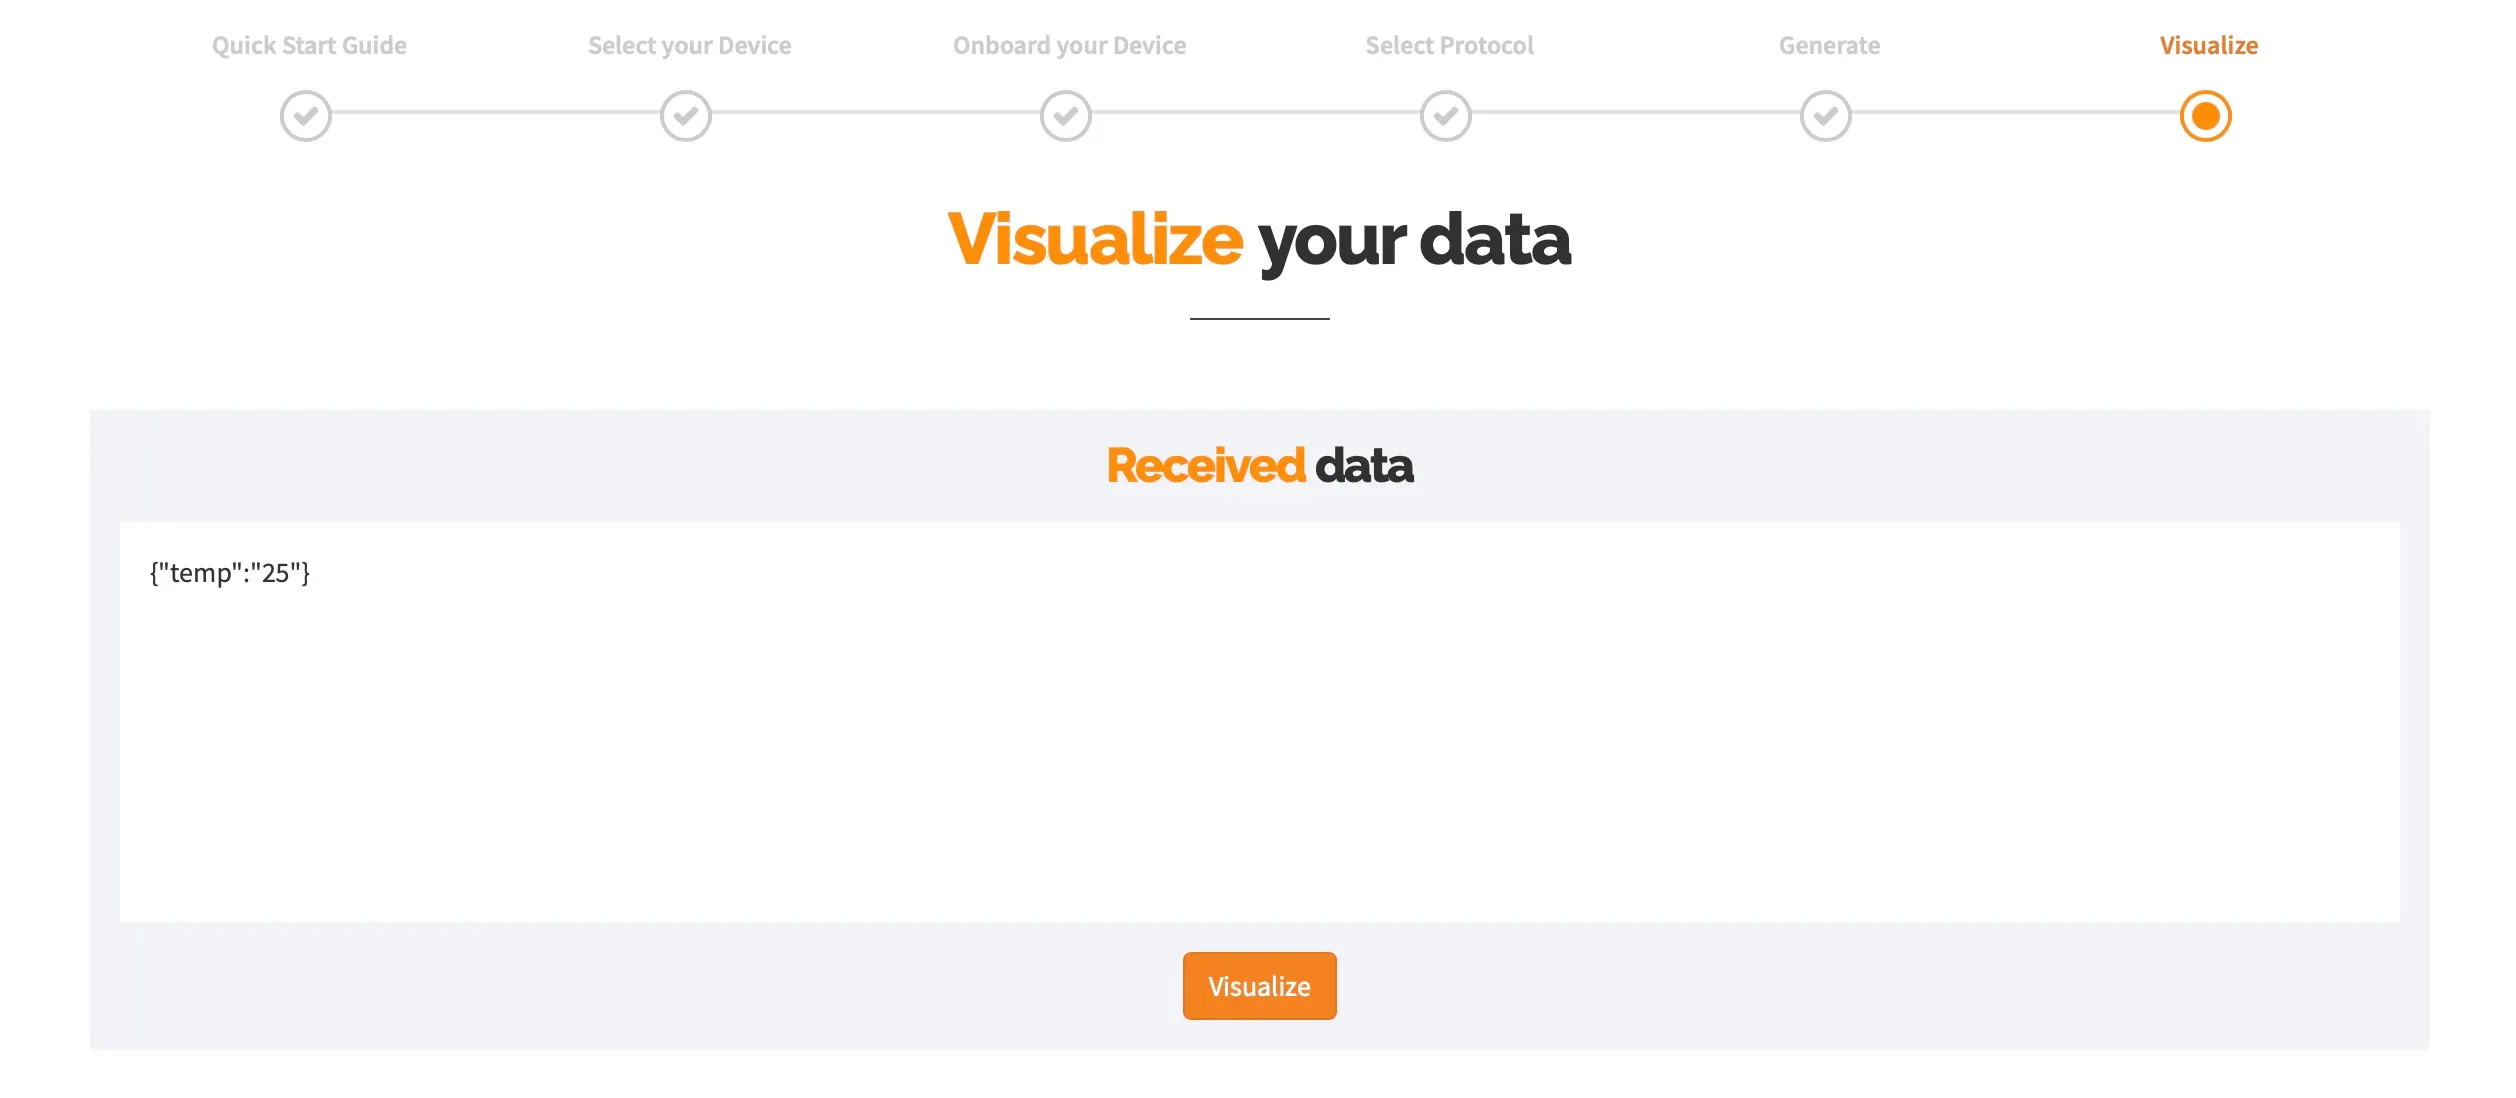
9. Received data
On the Creatr page, the data will appear as shown in the image below.
If you want to continue the Demo, check the next steps of the tutorial.
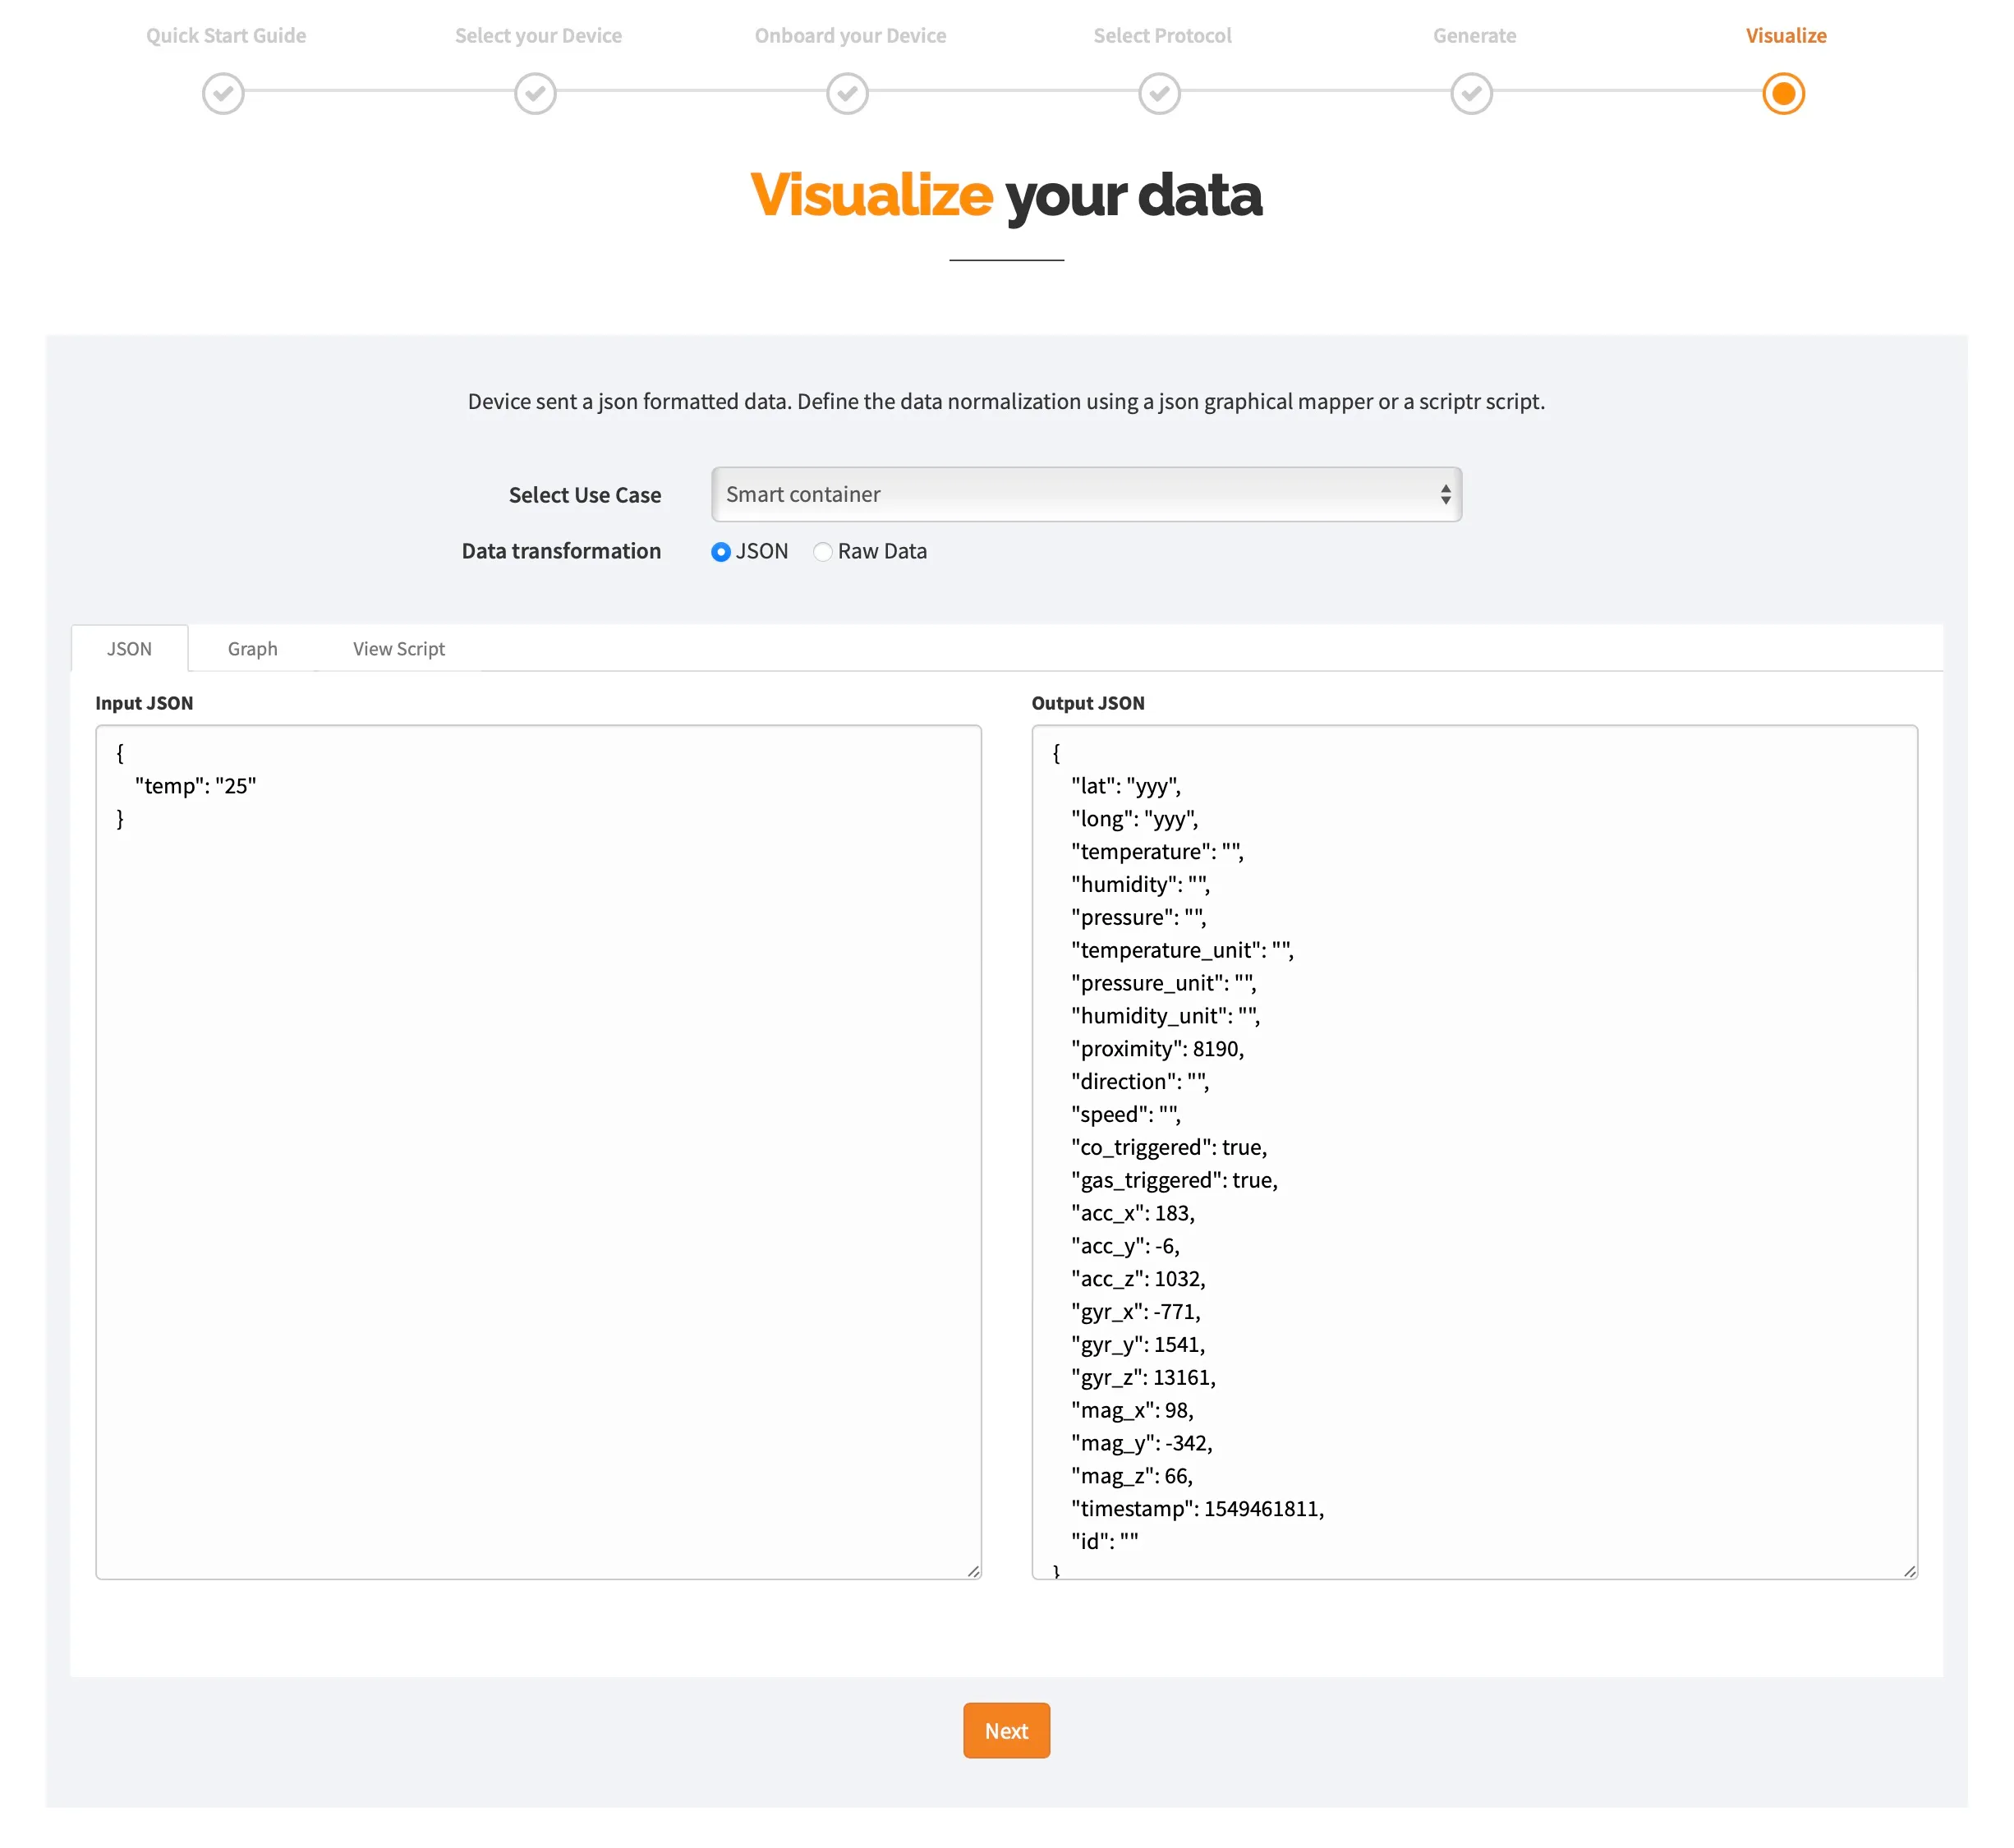
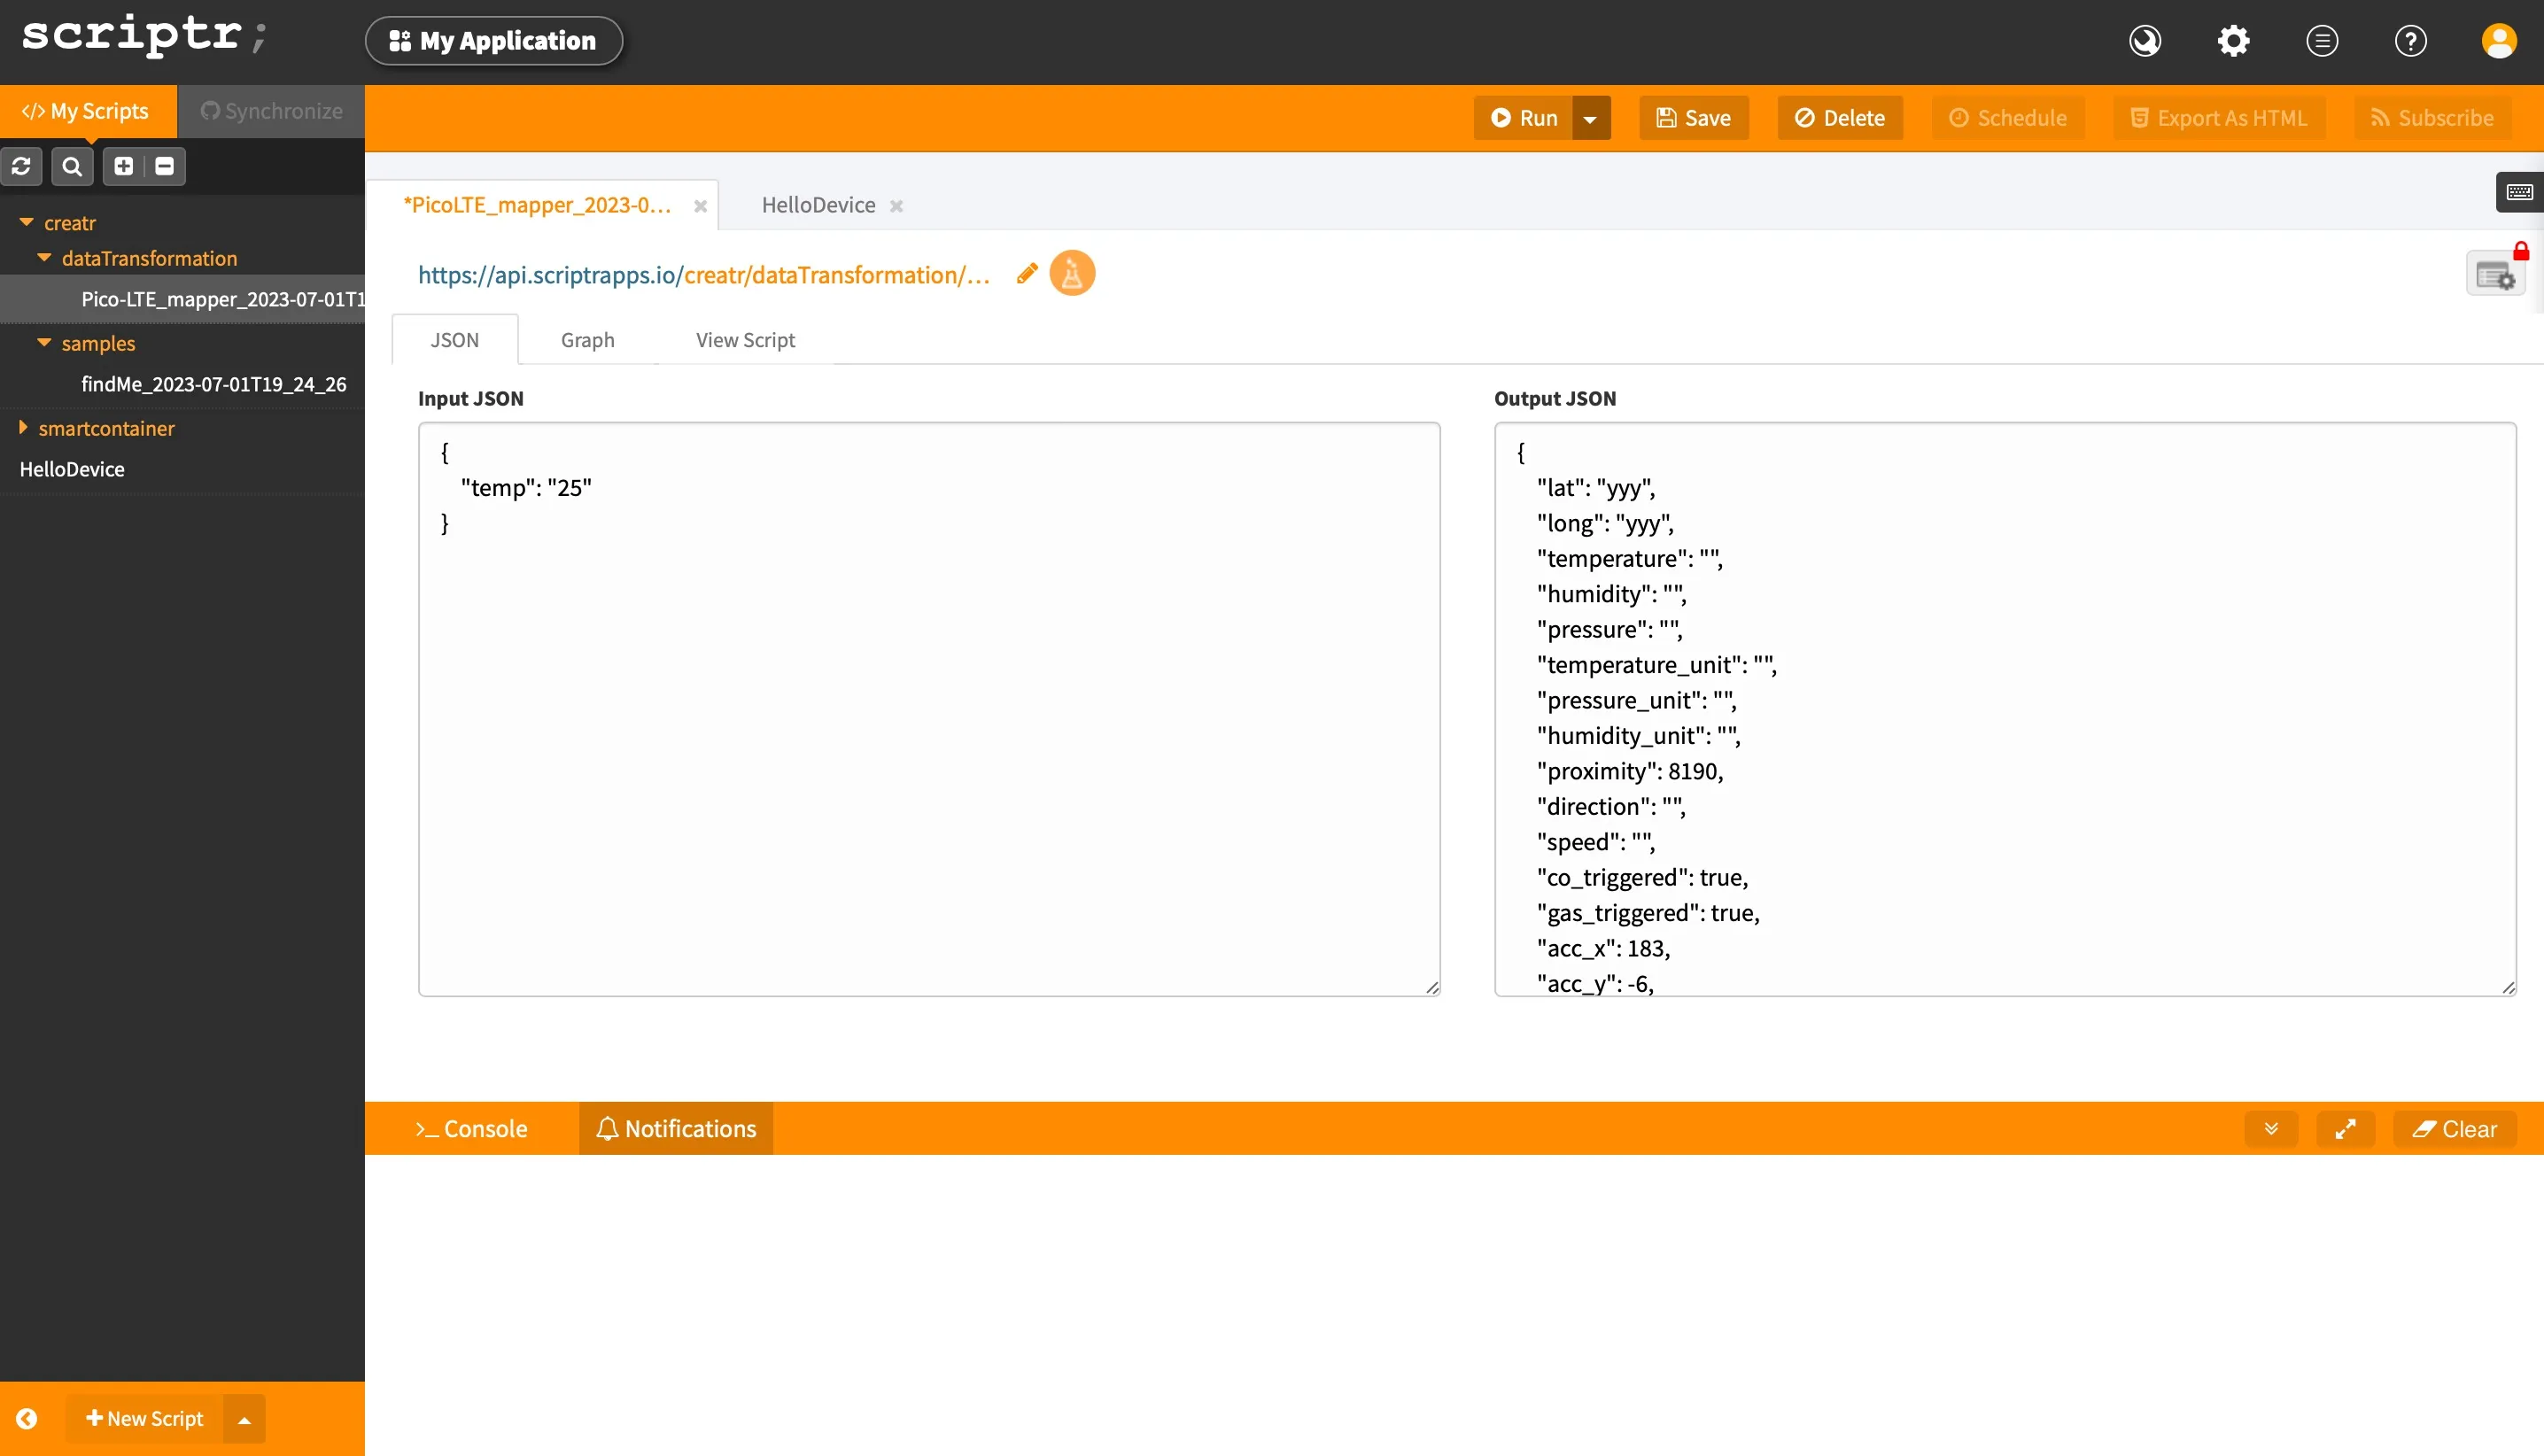
Go to the workspace to see the transmitted data and the JSON Map generated for that data.
Updated 8 months ago