
IoT Cube Gateway Connection Guide
This tutorial provides a step-by-step guide to setting up and configuring the ALPON X4 as a secure IoT gateway on the IoT Cube platform.
IoT Cube is an IoT management platform that provides centralized device management, data visualization, and automation capabilities. Using IoT Cube, field devices can be connected via protocols such as Modbus, BACnet, LoRaWAN, and more. This guide walks through setting up ALPON X4 as a secure and functional gateway that collects field data and transmits it to the IoT Cube system.
For details about IoT Cube, visit the IoT Cube website.
Prerequisites
- ALPON X4 Device: Must have a clean production image installed.
- ALPON Cloud Access: Required to connect remotely via terminal (or use SSH).
Step 1: Install the Gateway Agent
- Access your ALPON X4 via ALPON Cloud or SSH.
- On the IoT Cube interface, generate the installation command with the correct registrationCode. You can follow how to obtain the required code:
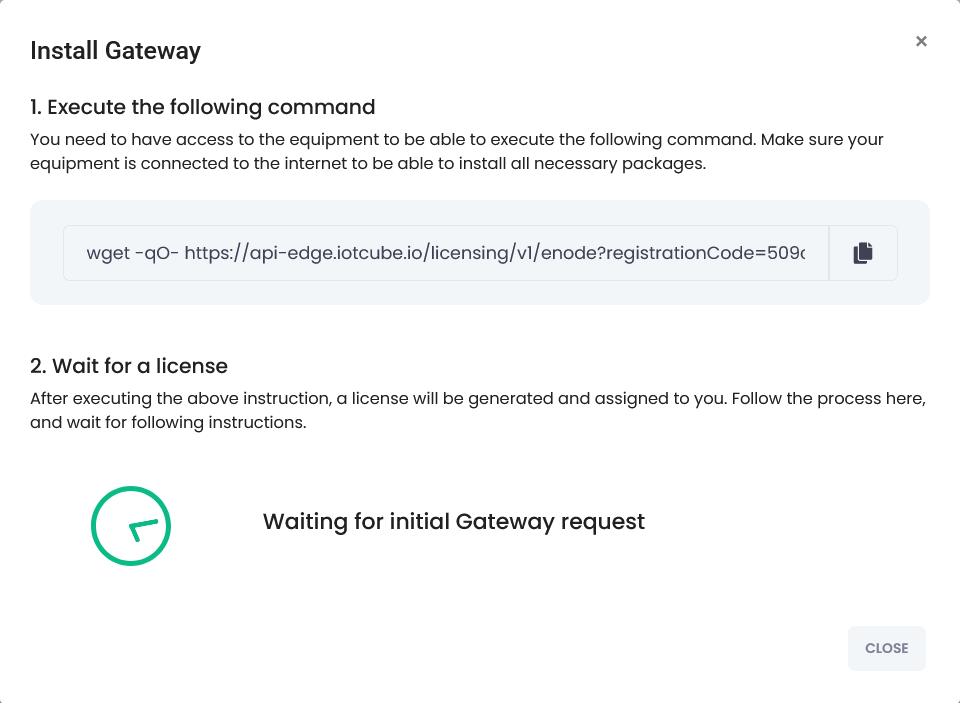
On your ALPON X4 device, run the setup command automatically generated by the system to start the licensing process.
wget -qO- https://api-edge.iotcube.io/licensing/v1/enode?registrationCode=...Note: The full command and correct
registrationCodewill be automatically generated by the system.
After running this command, the device will request a license from the system.
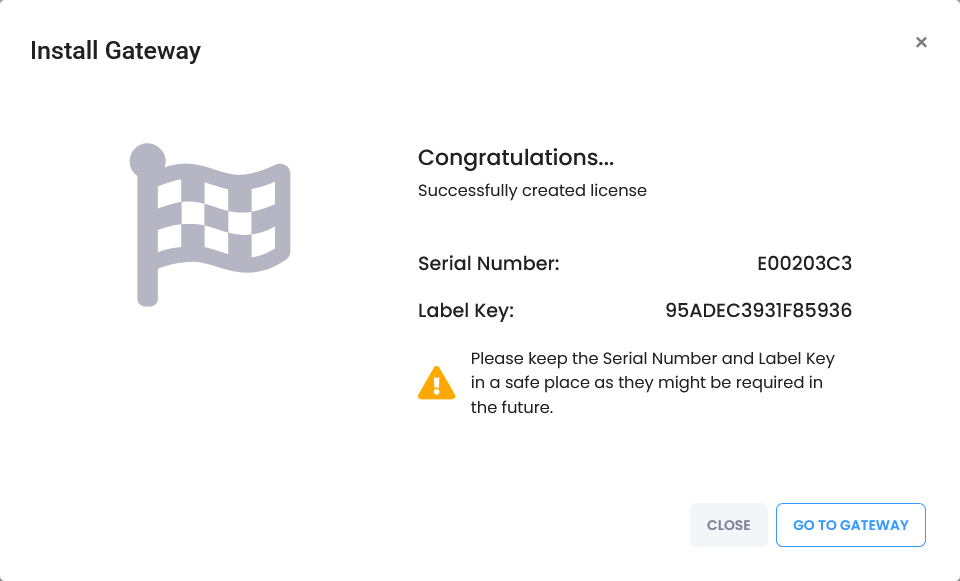
Step 2: License and Serial Number
After successful licensing, you will see:
- Serial Number:
E00***** - Label Key:
95*********
Keep this information stored securely.
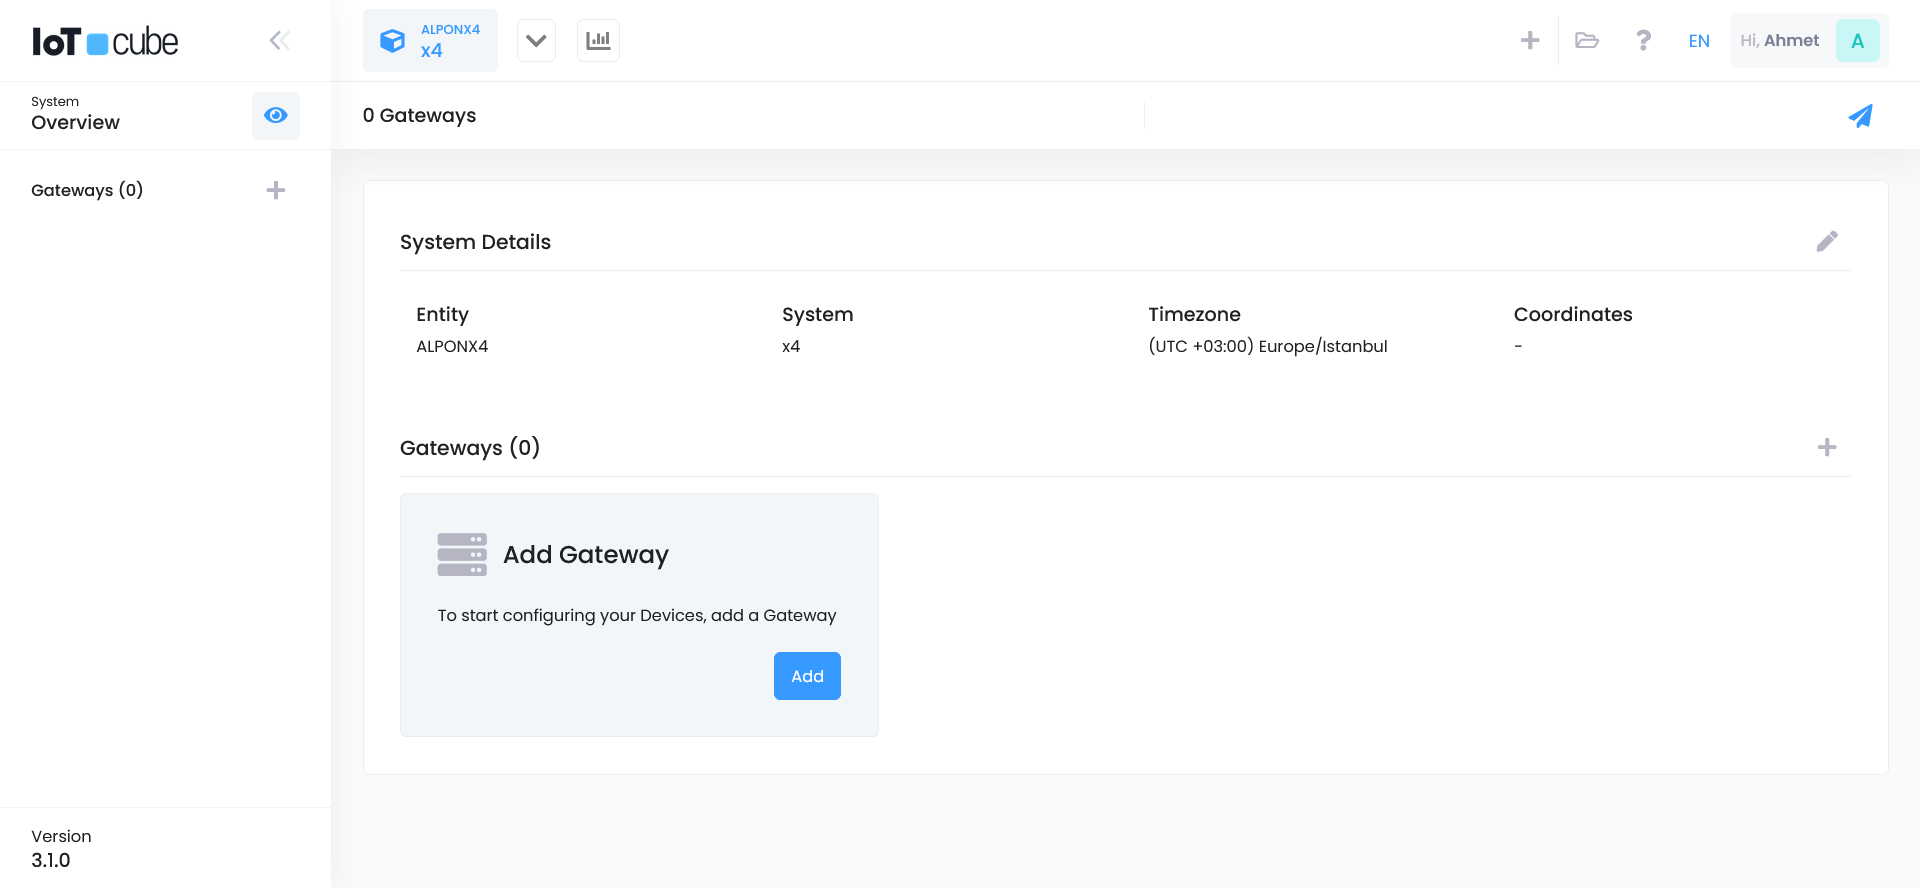
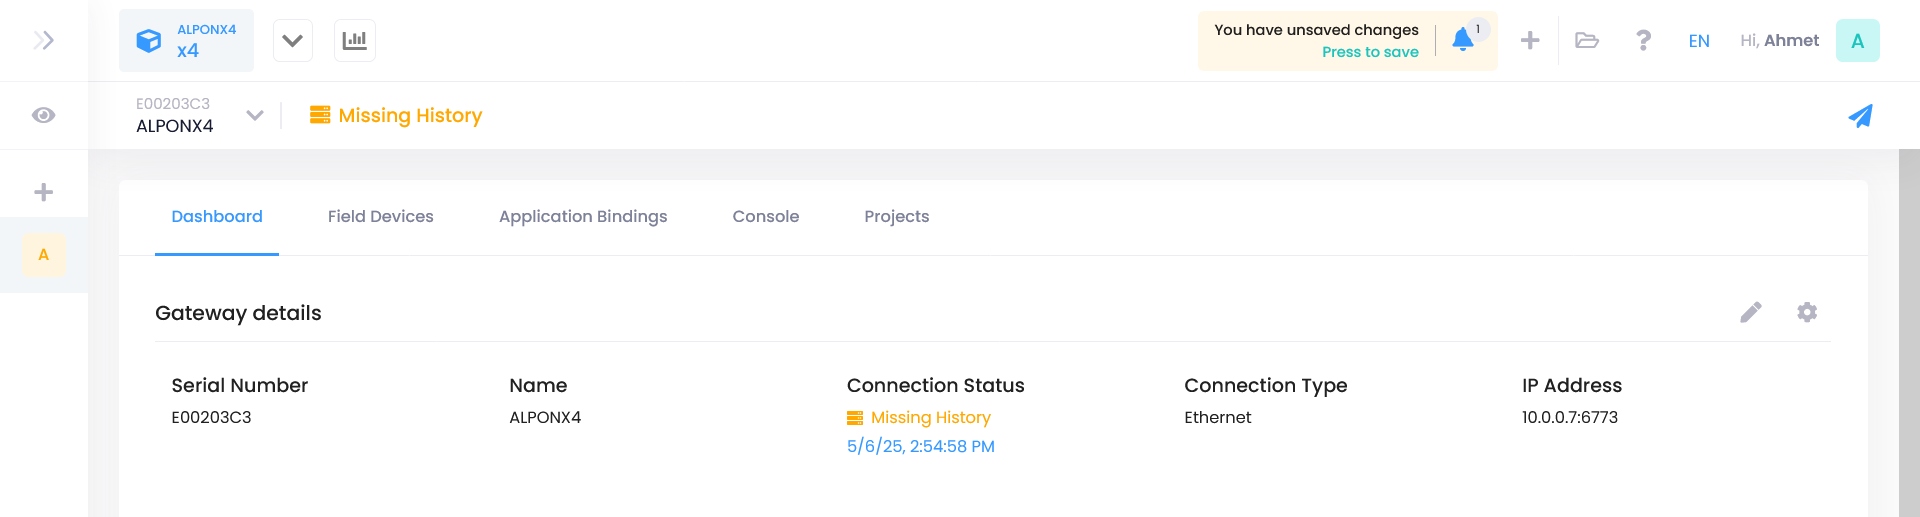
Step 3: Verify Gateway Connection
Once registered, the gateway status will switch to Connected in IoT Cube.
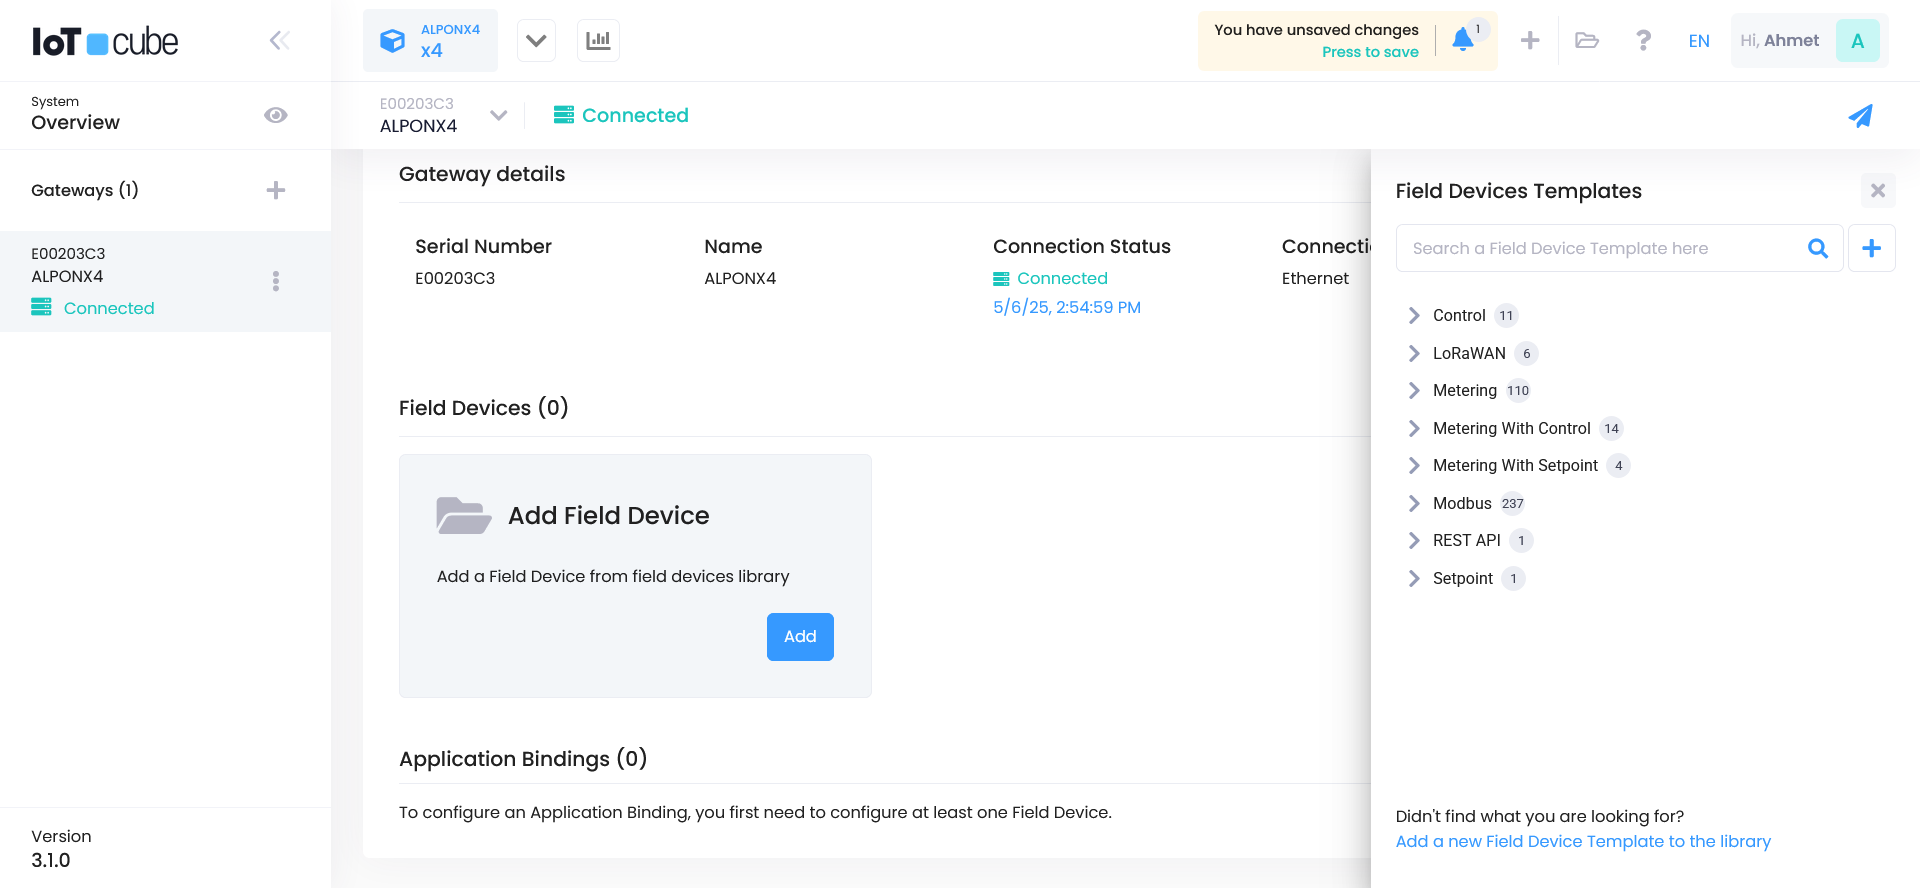
Step 4: Add a Field Device
- Click the “Add Field Device” button.
- Click the
+icon in the top right to manually create a device template.
Step 5: Choose Connection Type
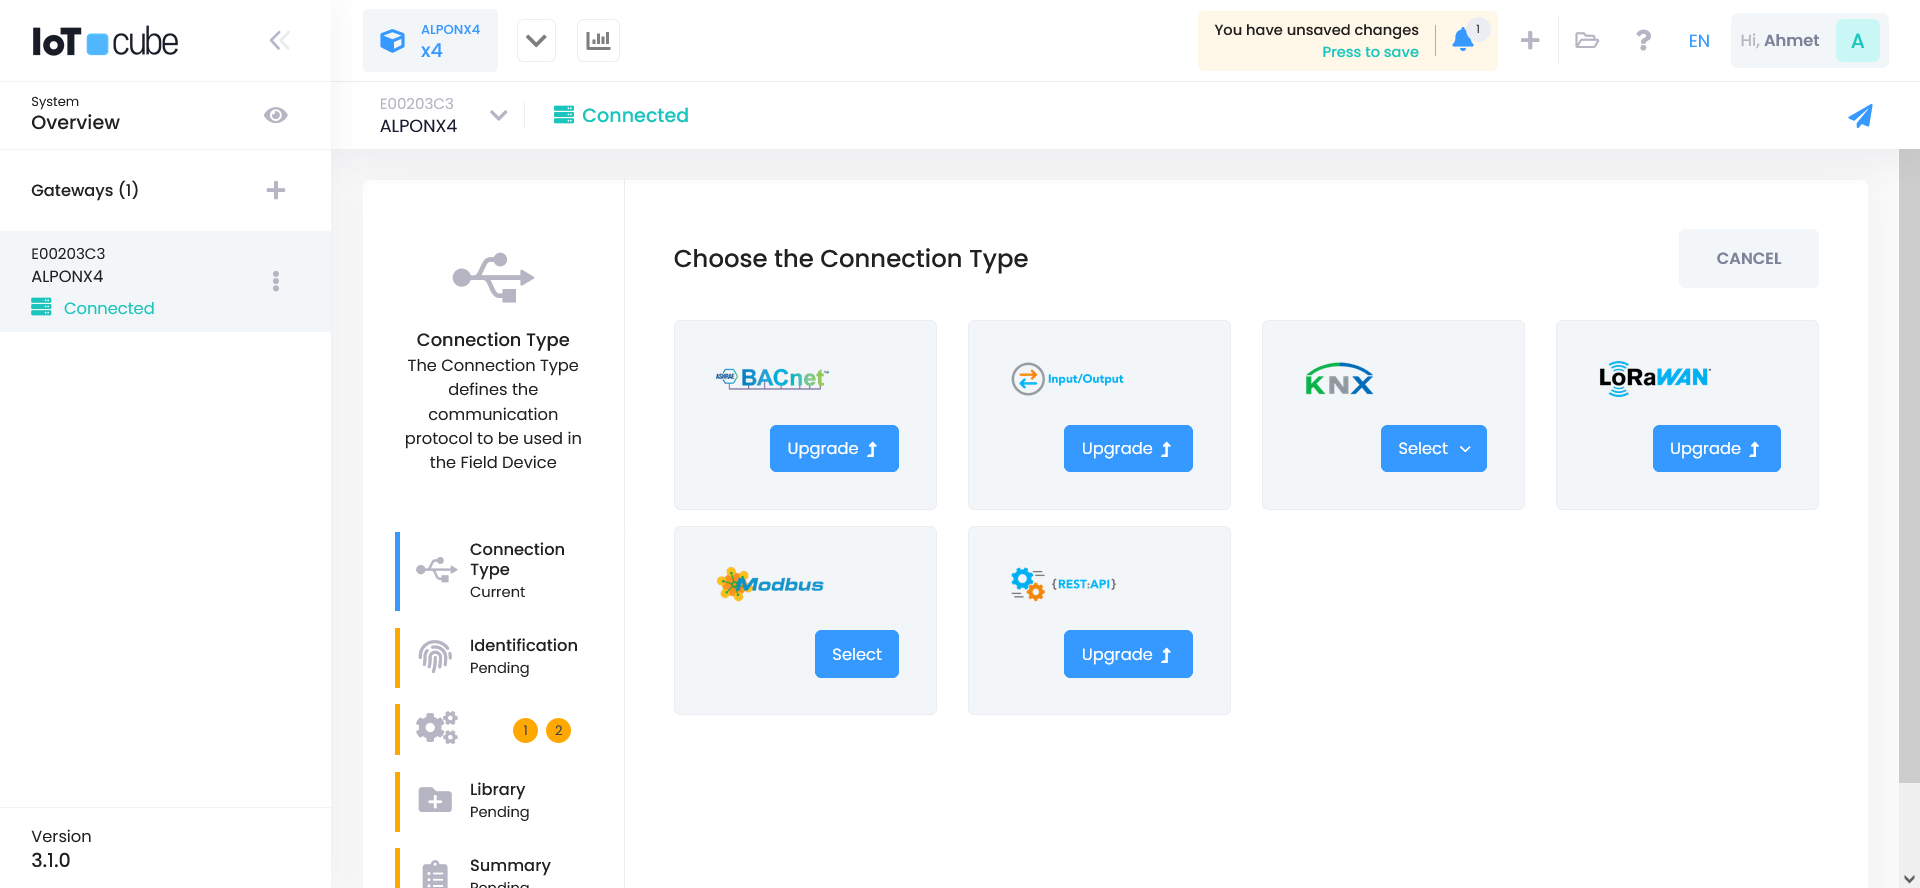
Select a protocol supported by ALPON X4, such as:
- BACnet
- Input/Output
- KNX
- LoRaWAN
- Modbus (used in this example)
- REST API
Step 6: Create a Device Template
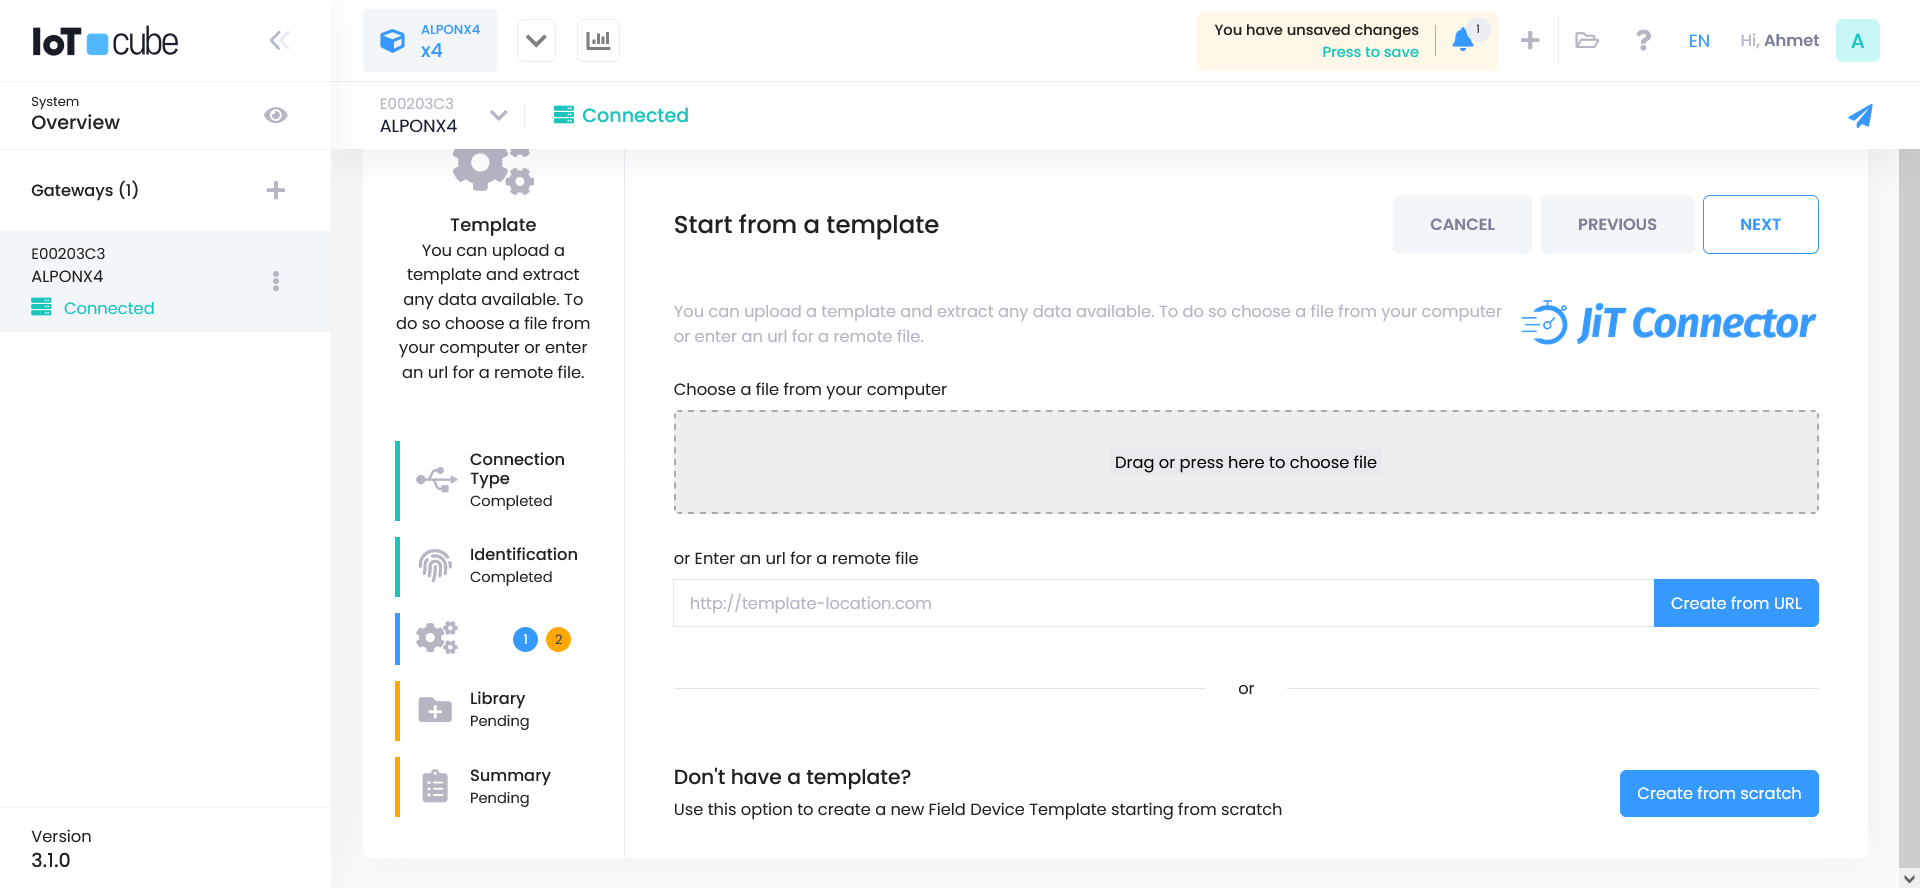
Click on the “Create from scratch” option to build the template from the beginning.
Step 7: Configure Communication Settings

- Communication Channel: TCP
- Fill in the fields as shown.
- Click the Next button to proceed.
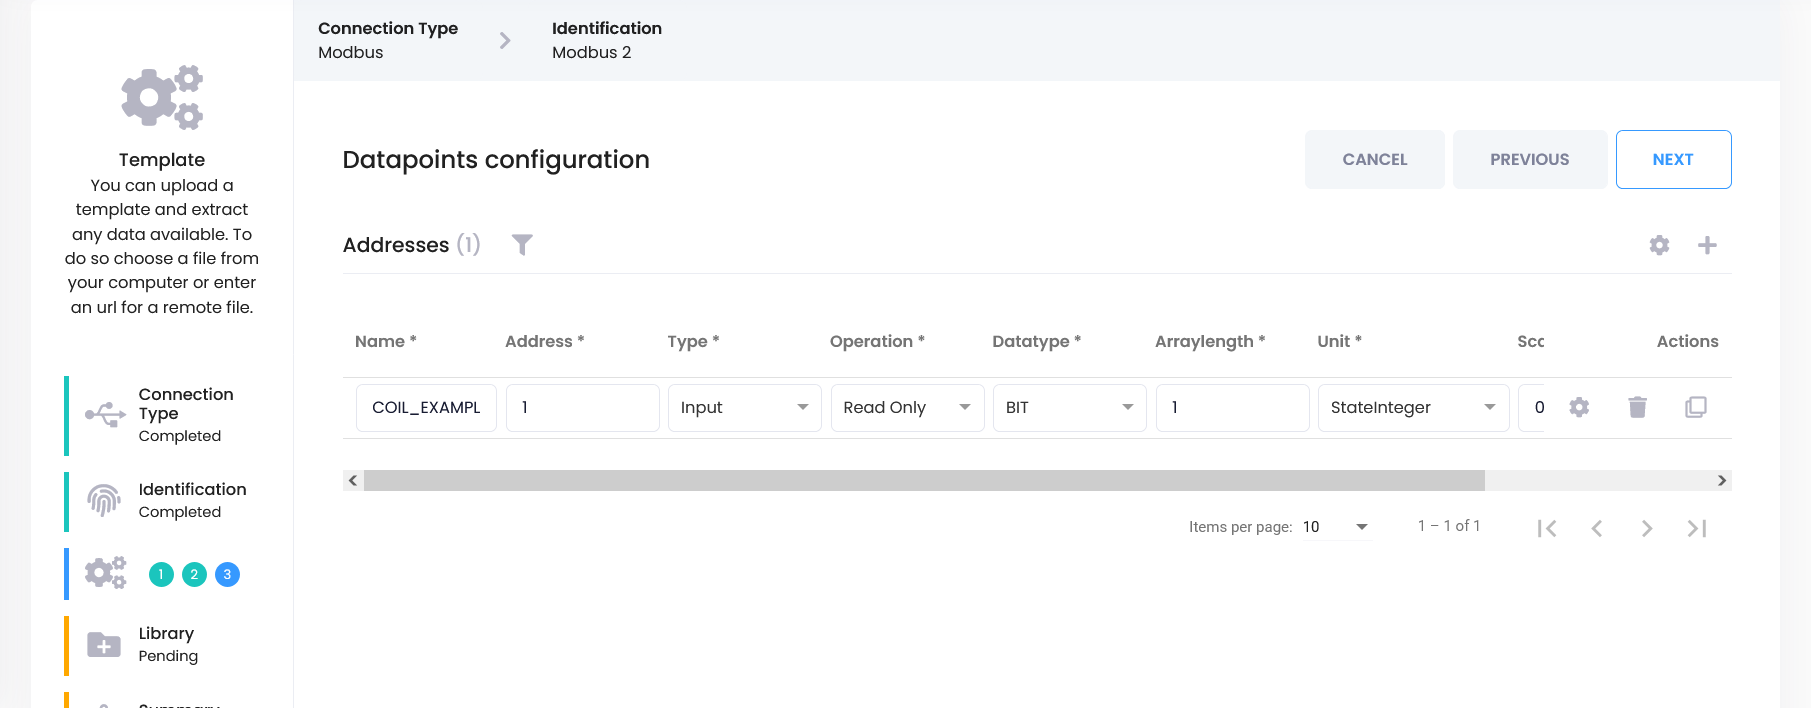
- Register Type: COIL
- Register Address: 1
- Unit: StateInteger
These fields may vary depending on your needs. After completing the settings, finish template creation with Next → Finish.
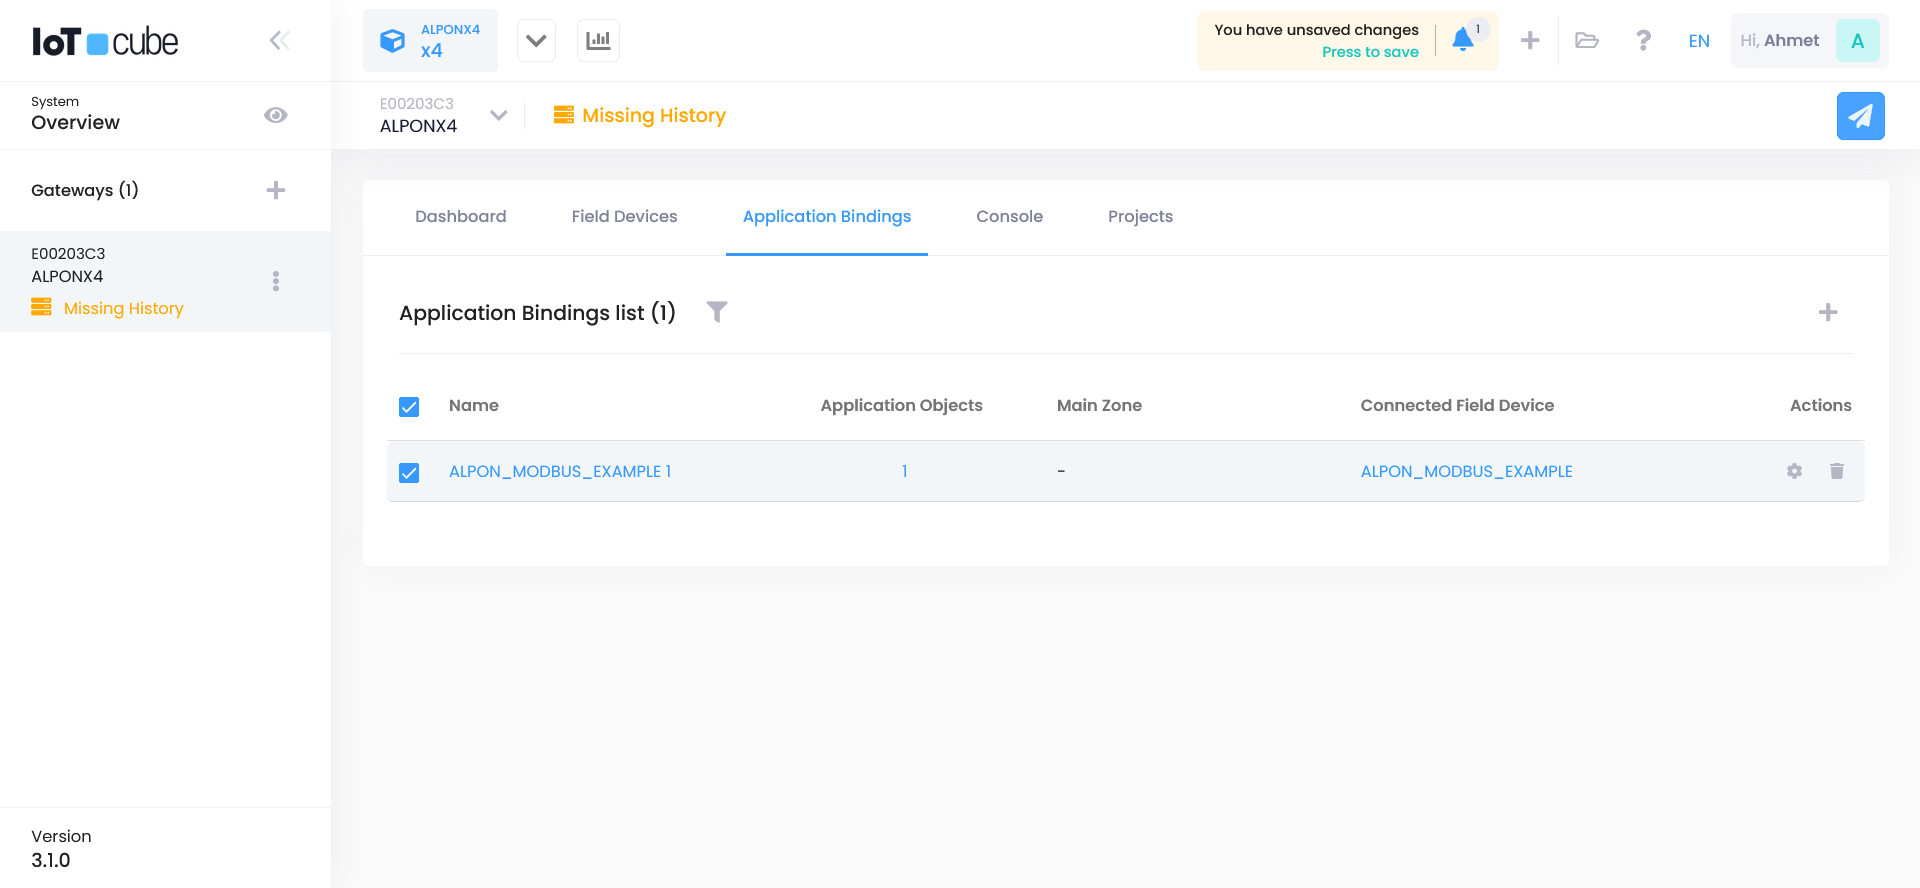
Step 8: Create Application Binding
Go to the "Application Binding" tab and click the Create button.
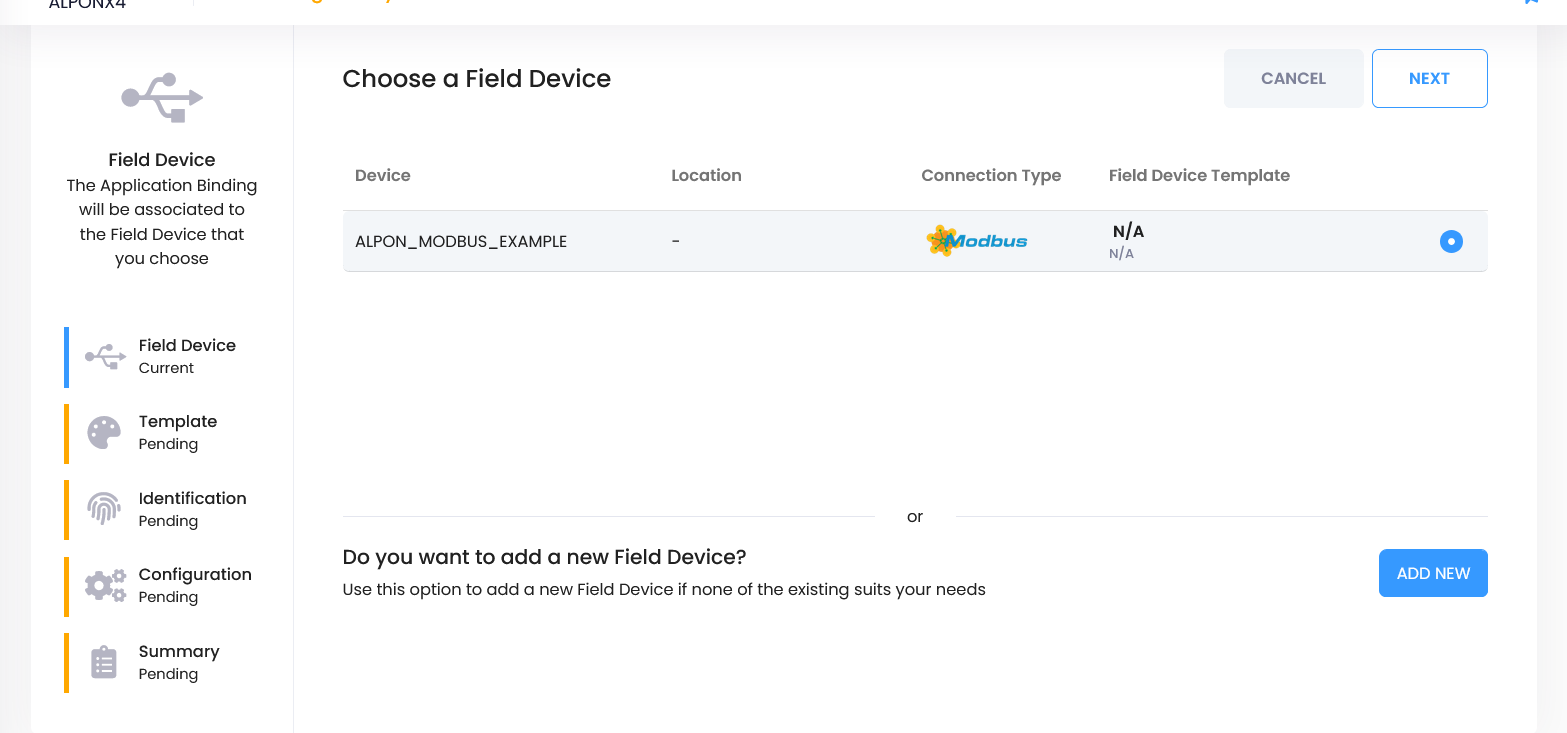
- Select the Field Device you just created and proceed with Next.
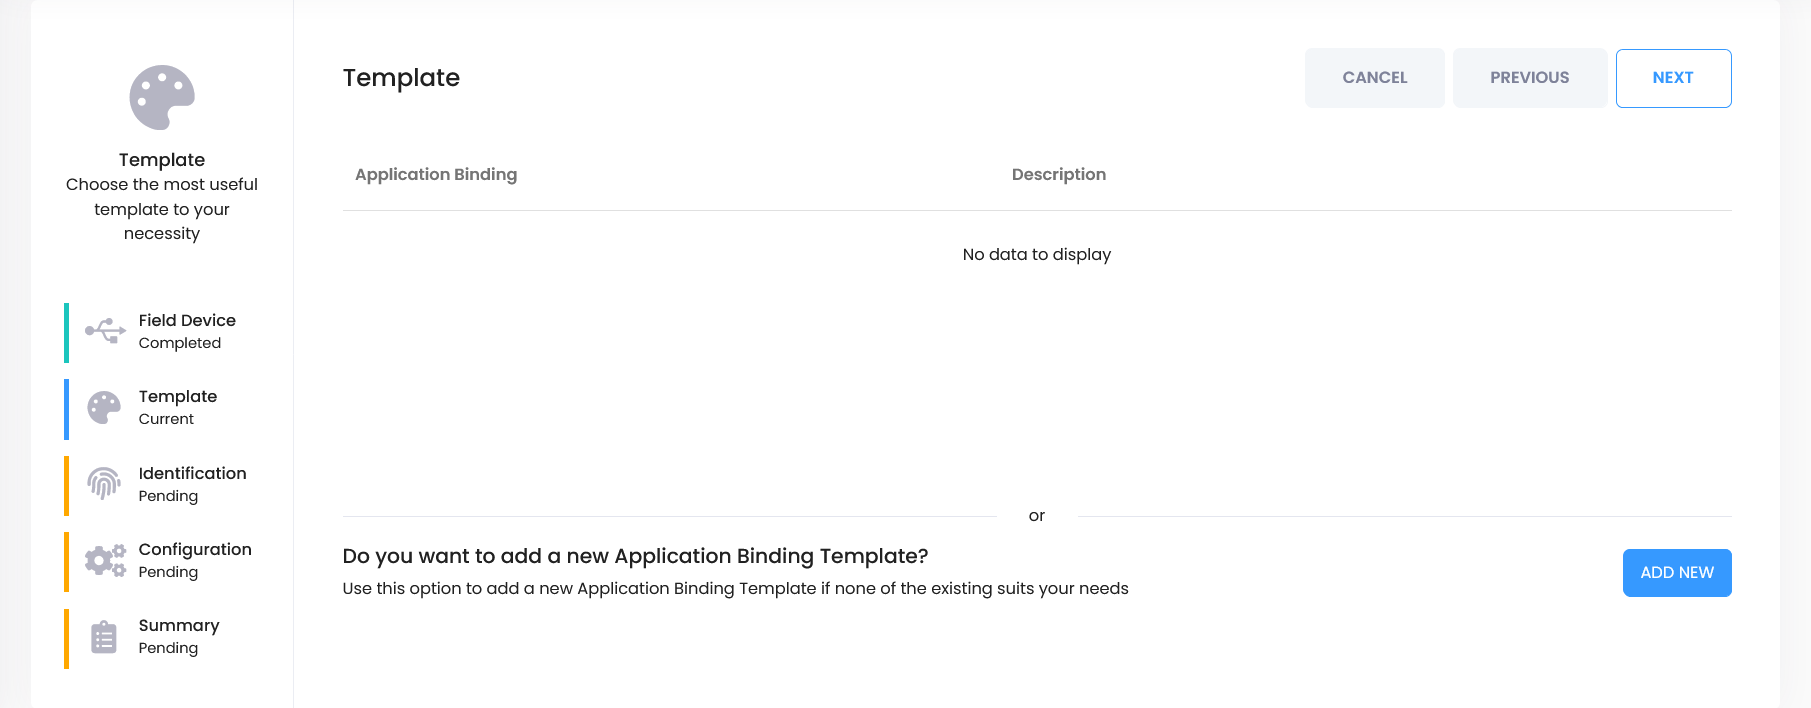
- Click the "Add New" button to create a new binding template.
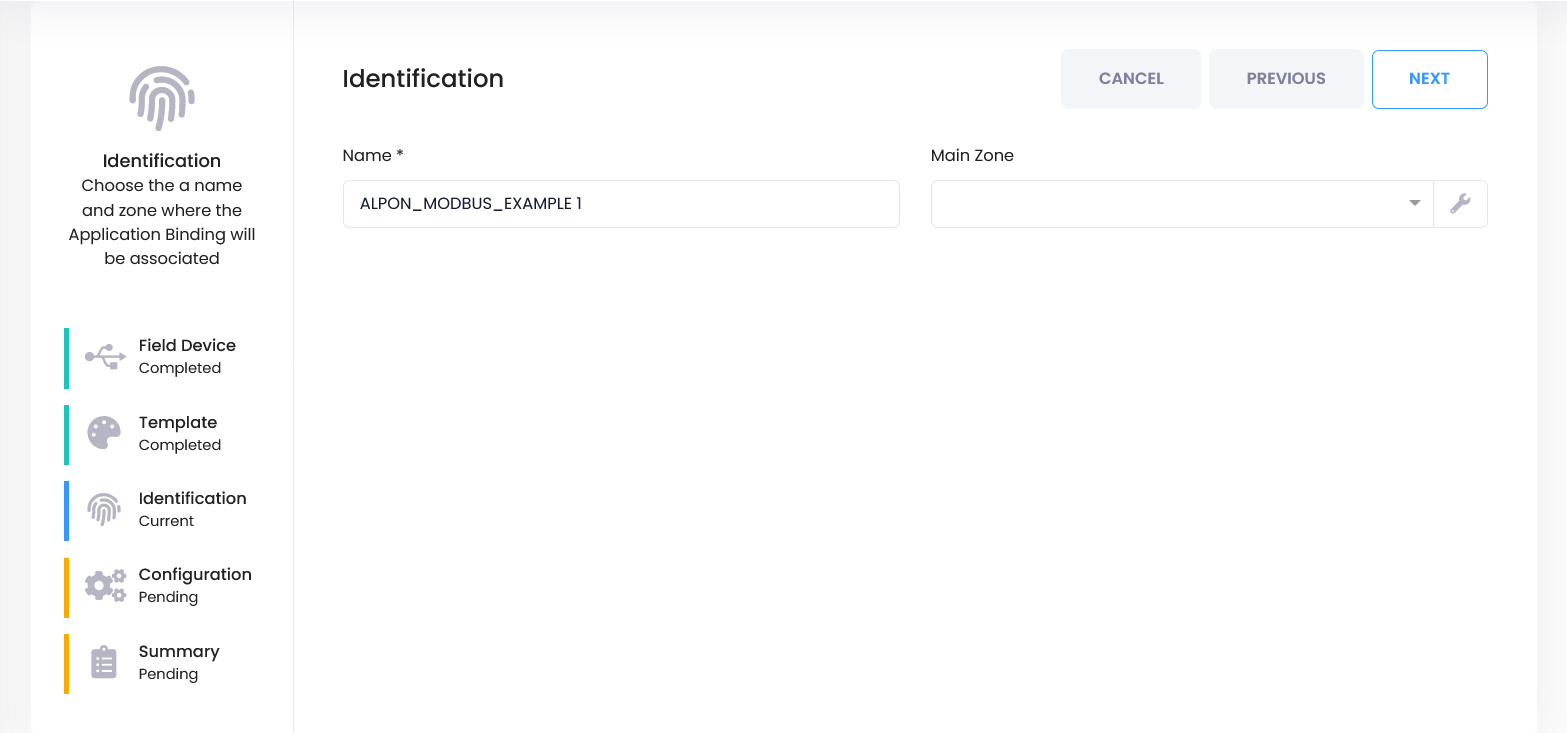
Step 9: Configure Binding & Data Mapping
- Fill in the form as shown below. Optionally, you can add a description and keywords.

- Click Next to continue.
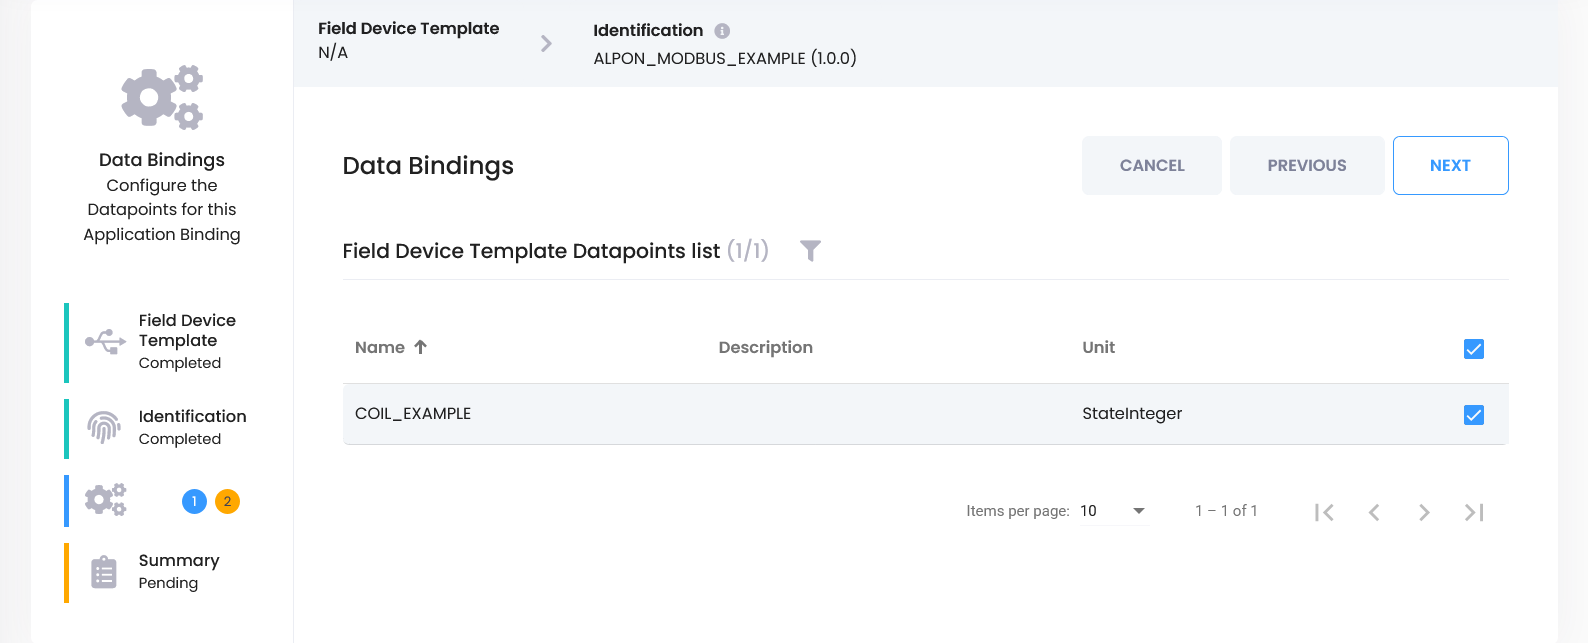
- On the next screen, select the COIL_EXAMPLE field created earlier and click Next again.
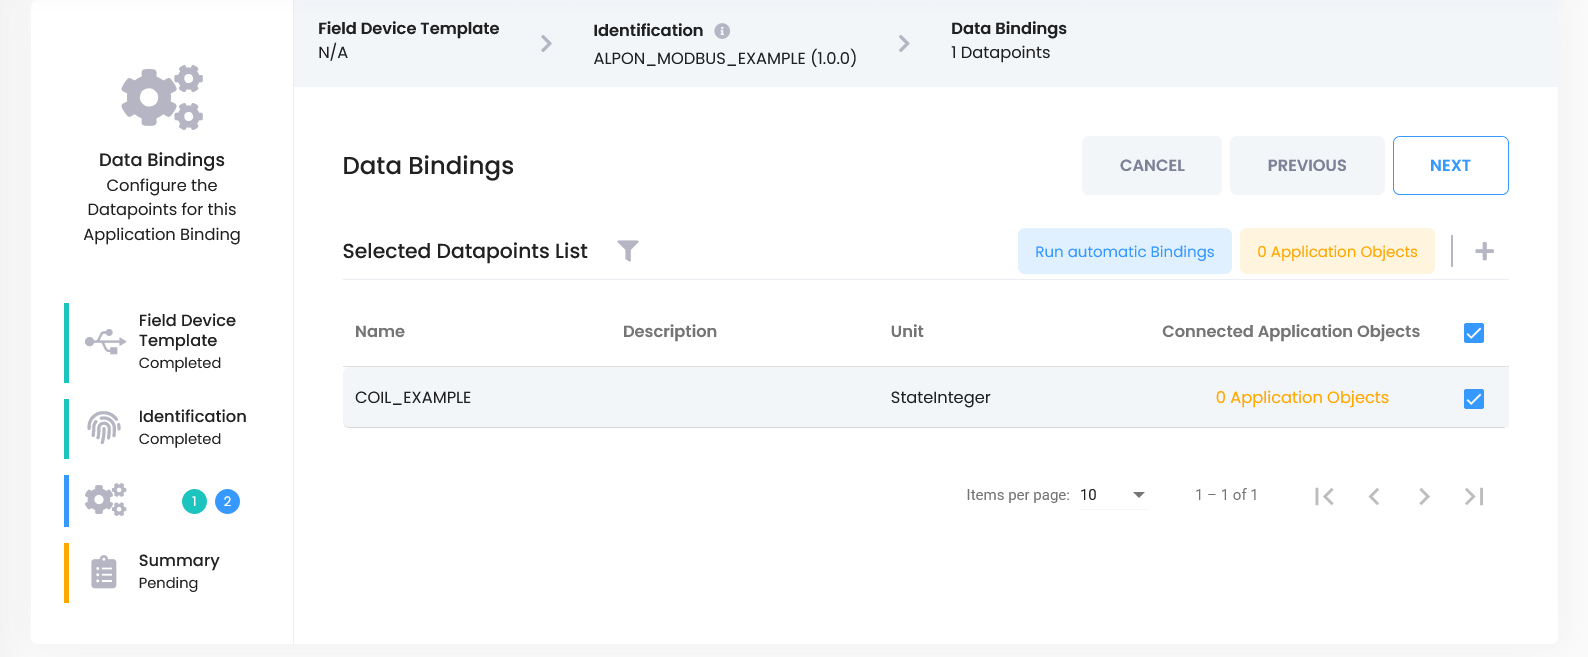
Step 10: Create Application Object
- Select COIL_EXAMPLE.
- Click the
+icon next to the “0 Application Objects” section.
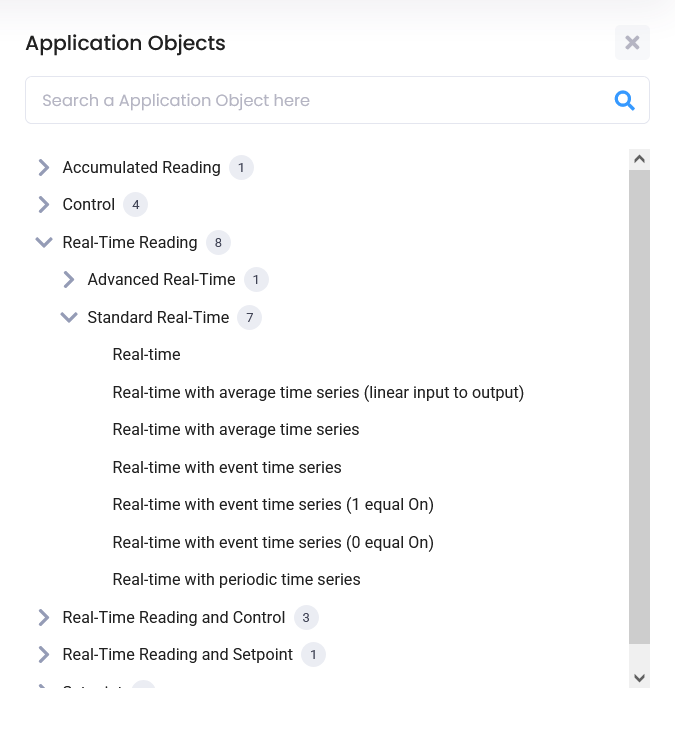
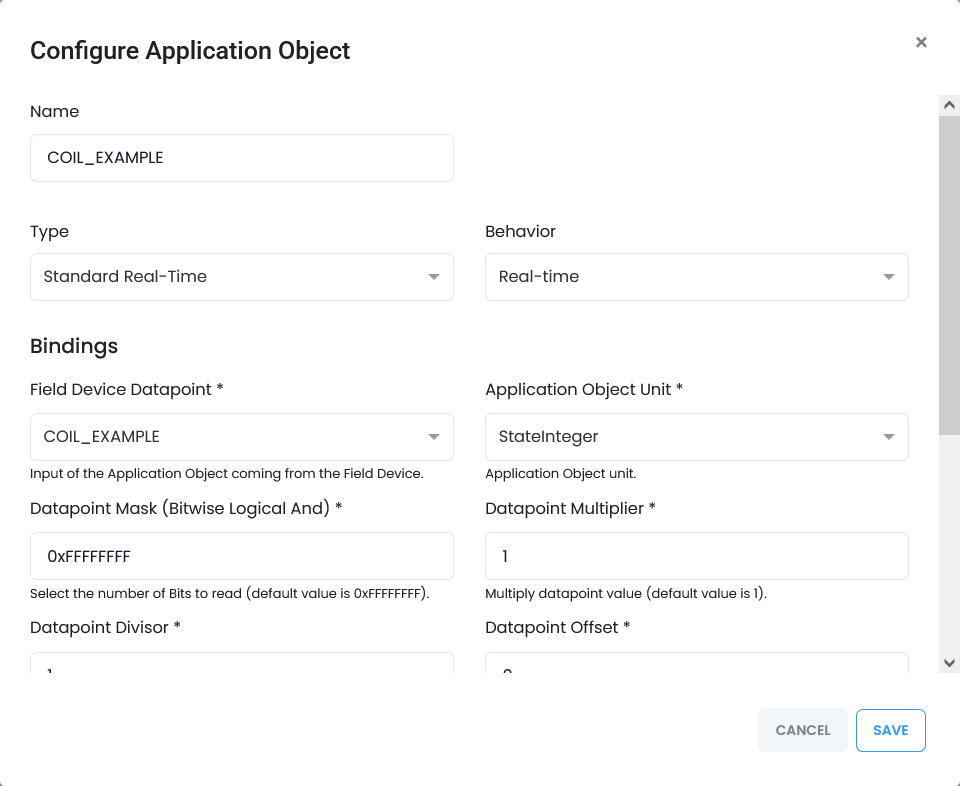
In the new screen:
- Follow the path Real-Time Reading > Standard Real-Time > Real-Time.
- Without changing anything, click Next → Save to continue.
Once the form closes, complete the process with Next → Finish.
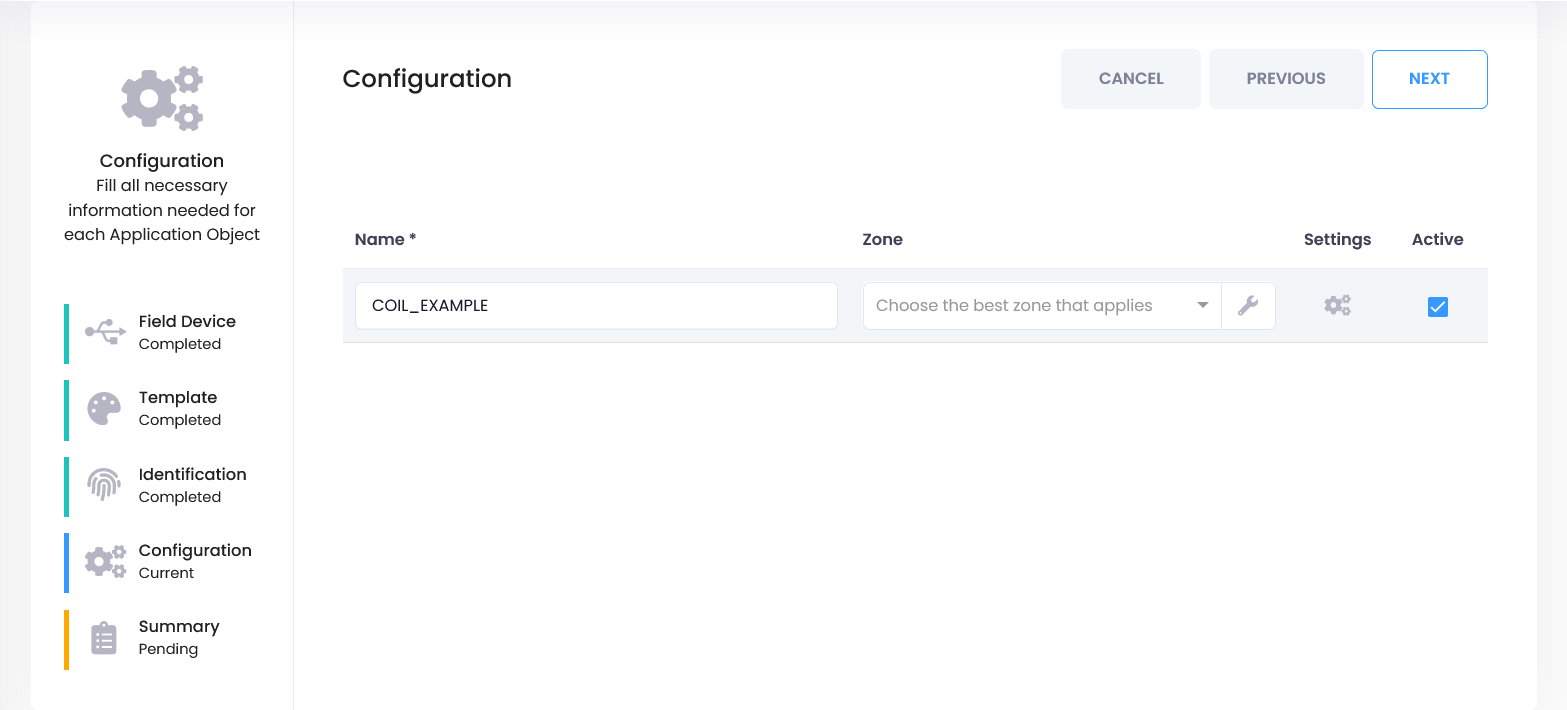
Step 11: Save Binding Settings
- Select the Application Binding you created and proceed with Next.
- Complete the process without changing the other tabs.

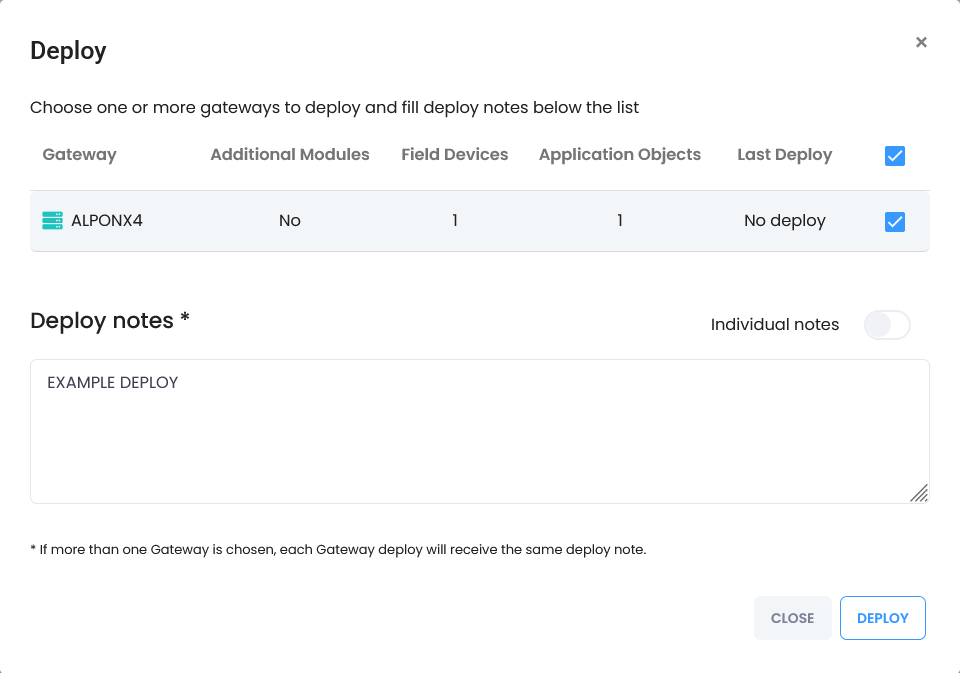
Step 12: Deploy Configuration
After all steps are completed, you need to “Deploy” the configuration to apply it to the device.
- Click the blue airplane icon in the top right corner.
- In the popup window, click the Deploy button again.
Step 13: Verify Data Flow
After the deploy process is complete, to check whether data is coming from the device:
- Click the graph icon next to your device name.
- Check if live data is flowing in.

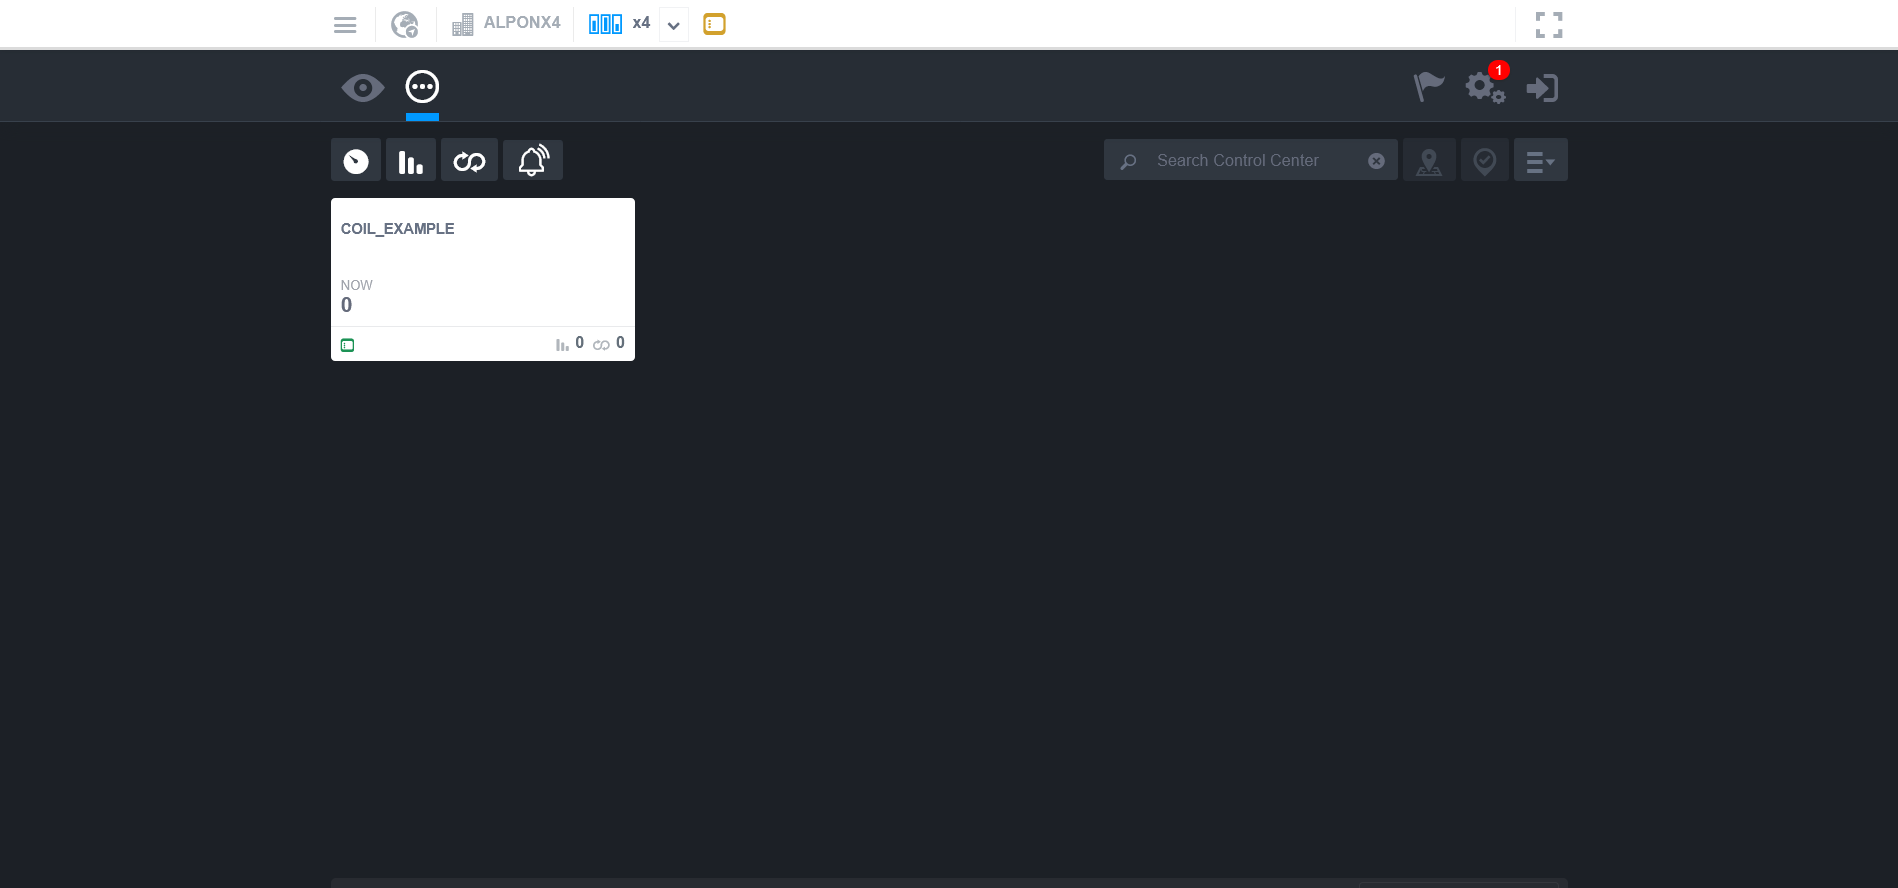
If data is visible, your setup is complete 🎉
ALPON X4 is now successfully connected as an IoT Cube Gateway. You can continue adding devices, configuring bindings, and visualizing real-time data.