
Getting Started
This section will lead you through the hardware setup of the Power HAT.
Keeping this pocket-sized computer Raspberry Pi alive all the time is mandatory for most of the projects. Having them on the edge need to always self-powered and recovery ability when things went wrong with the electricity.
Sixfab Power Software and UPS HAT are designed to prevent any data loss when the power is gone. If you just need an uninterruptible power supply(UPS) for your Raspberry Pi built, you just need to insert a battery to HAT and you are clear to go right out of the box. The UPS HAT will not let your operating system freeze or resets while switching the source between the battery and main supply.
This section explains how you can get your HAT up ready working with your Raspberry Pi. In order to get a device connected please follow the following steps.
Hardware Prerequisites
We will need the following parts to setup our hardware
-
Raspberry Pi
-
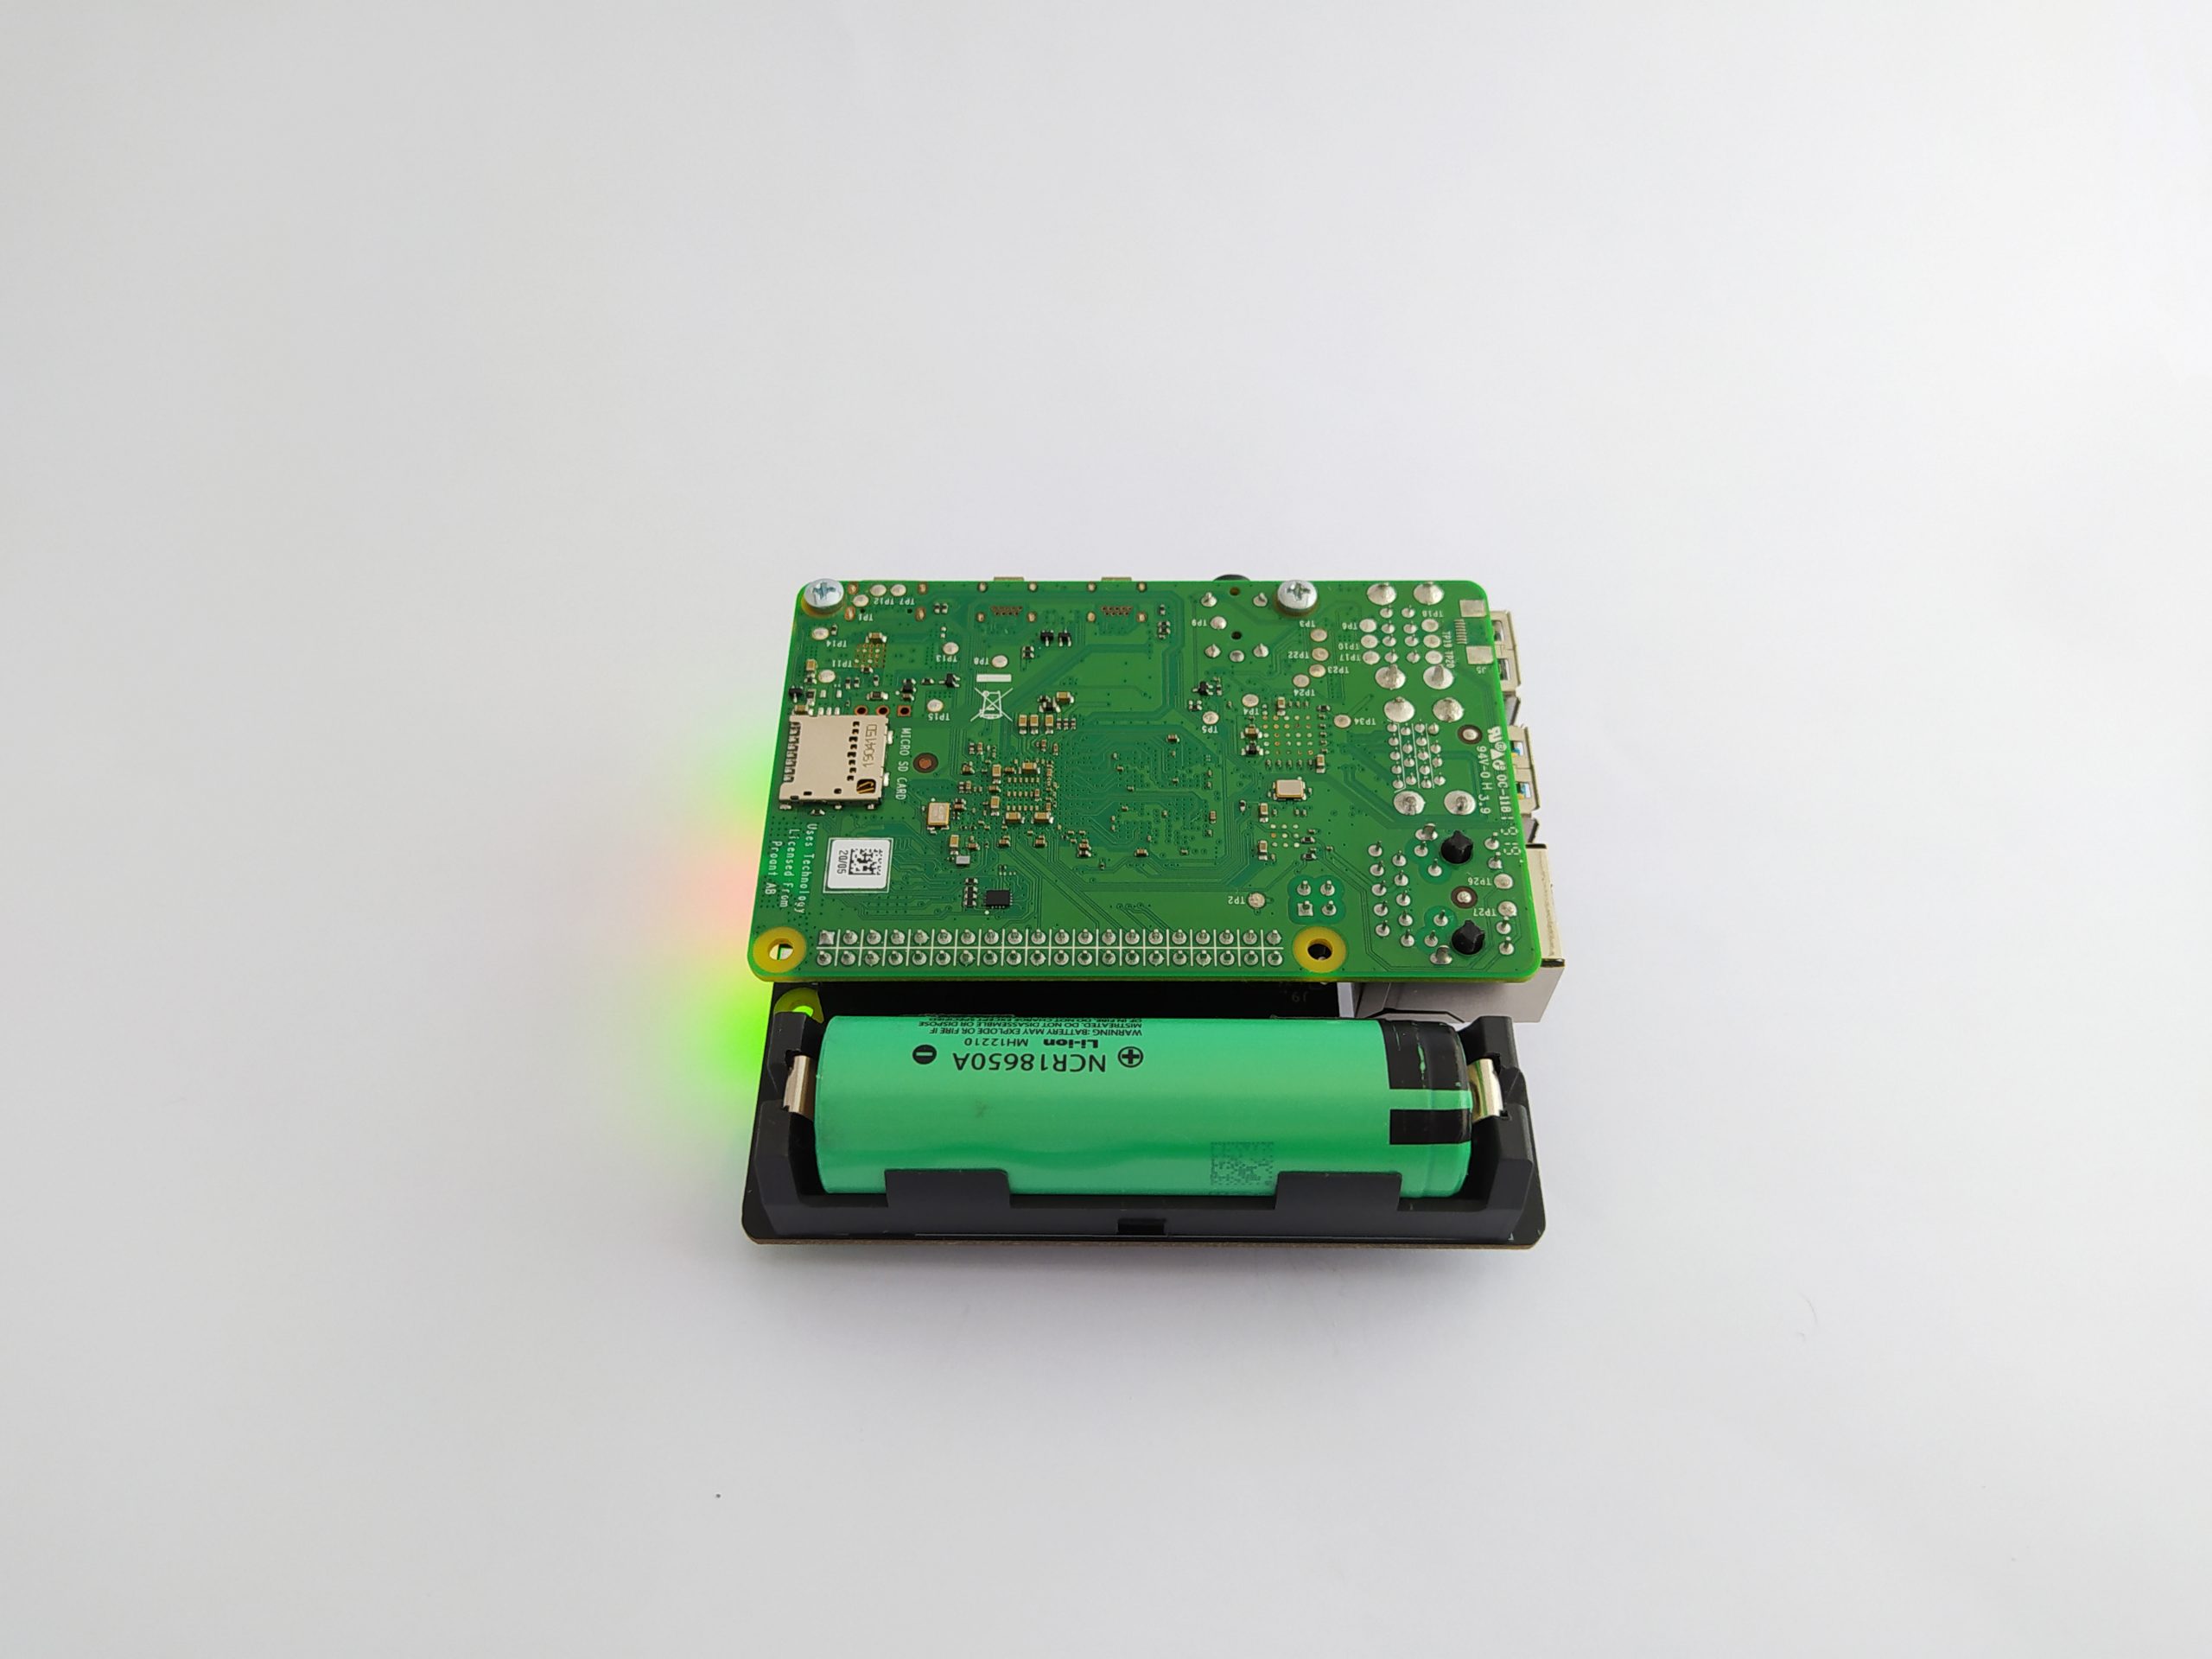
1-cell 3.7V rechargeable Li-ion battery (Flat top unprotected 18650 battery)
-
Raspberry Pi Power Adapter
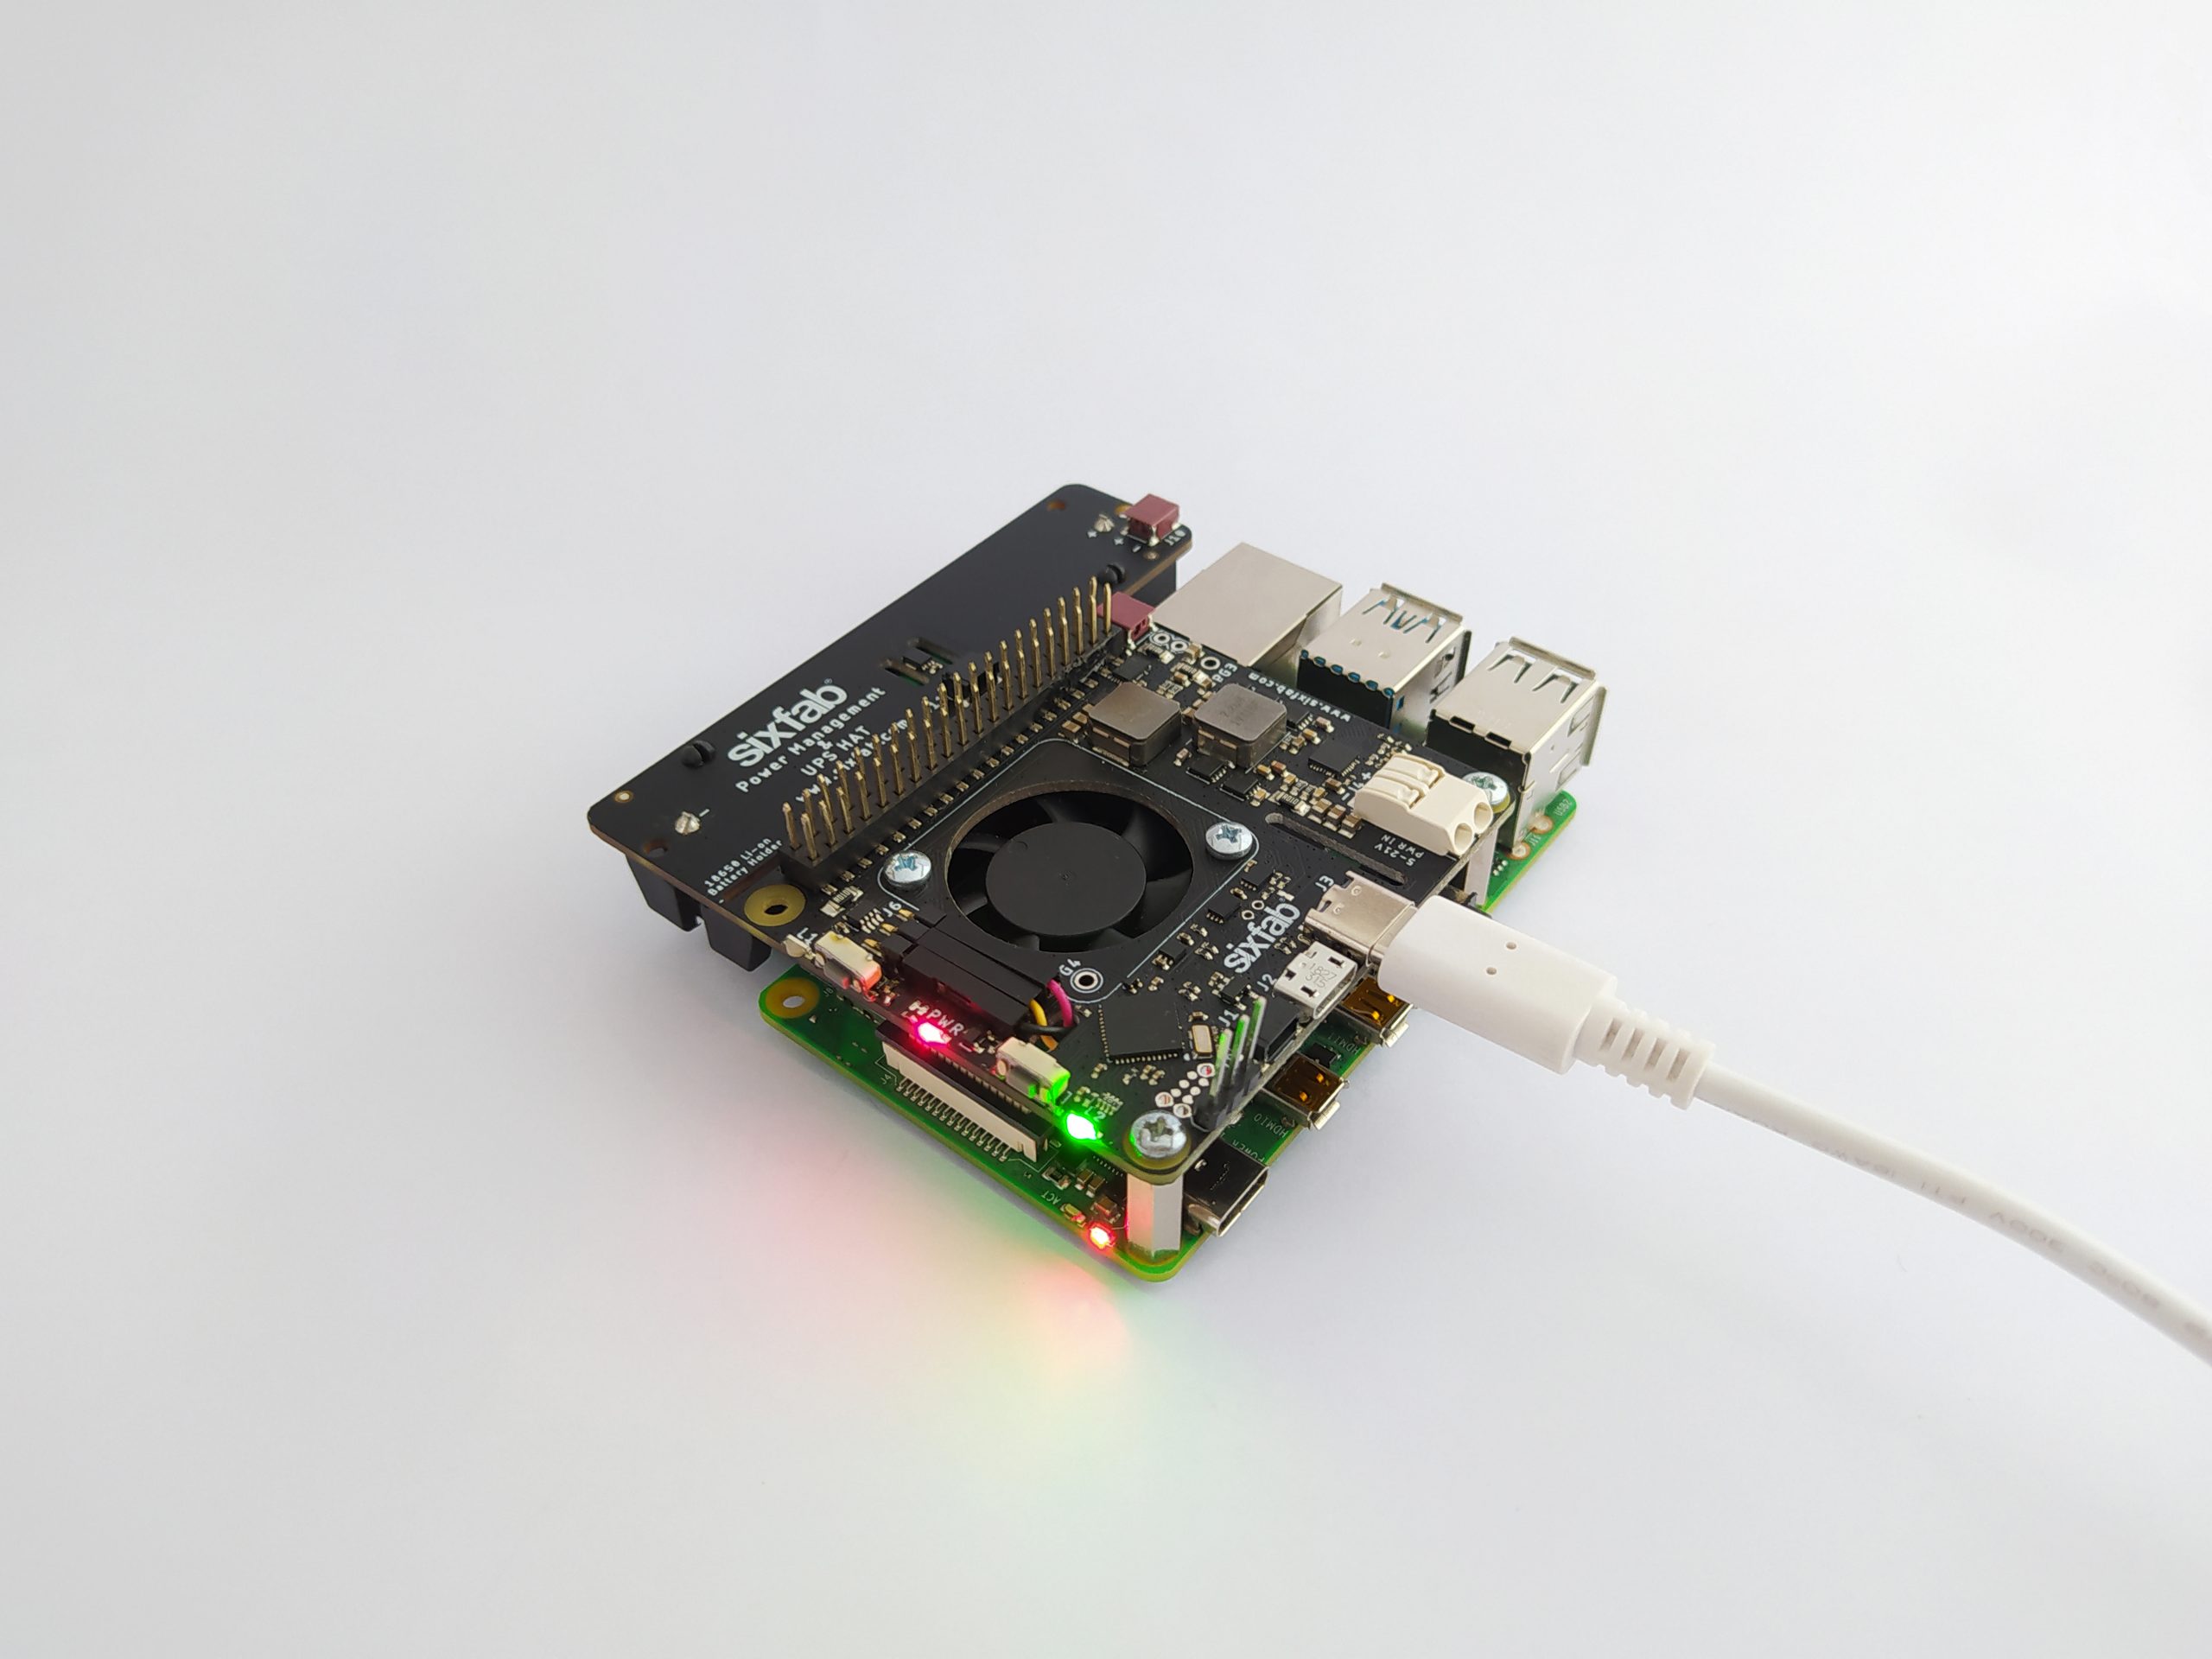
Hardware Setup
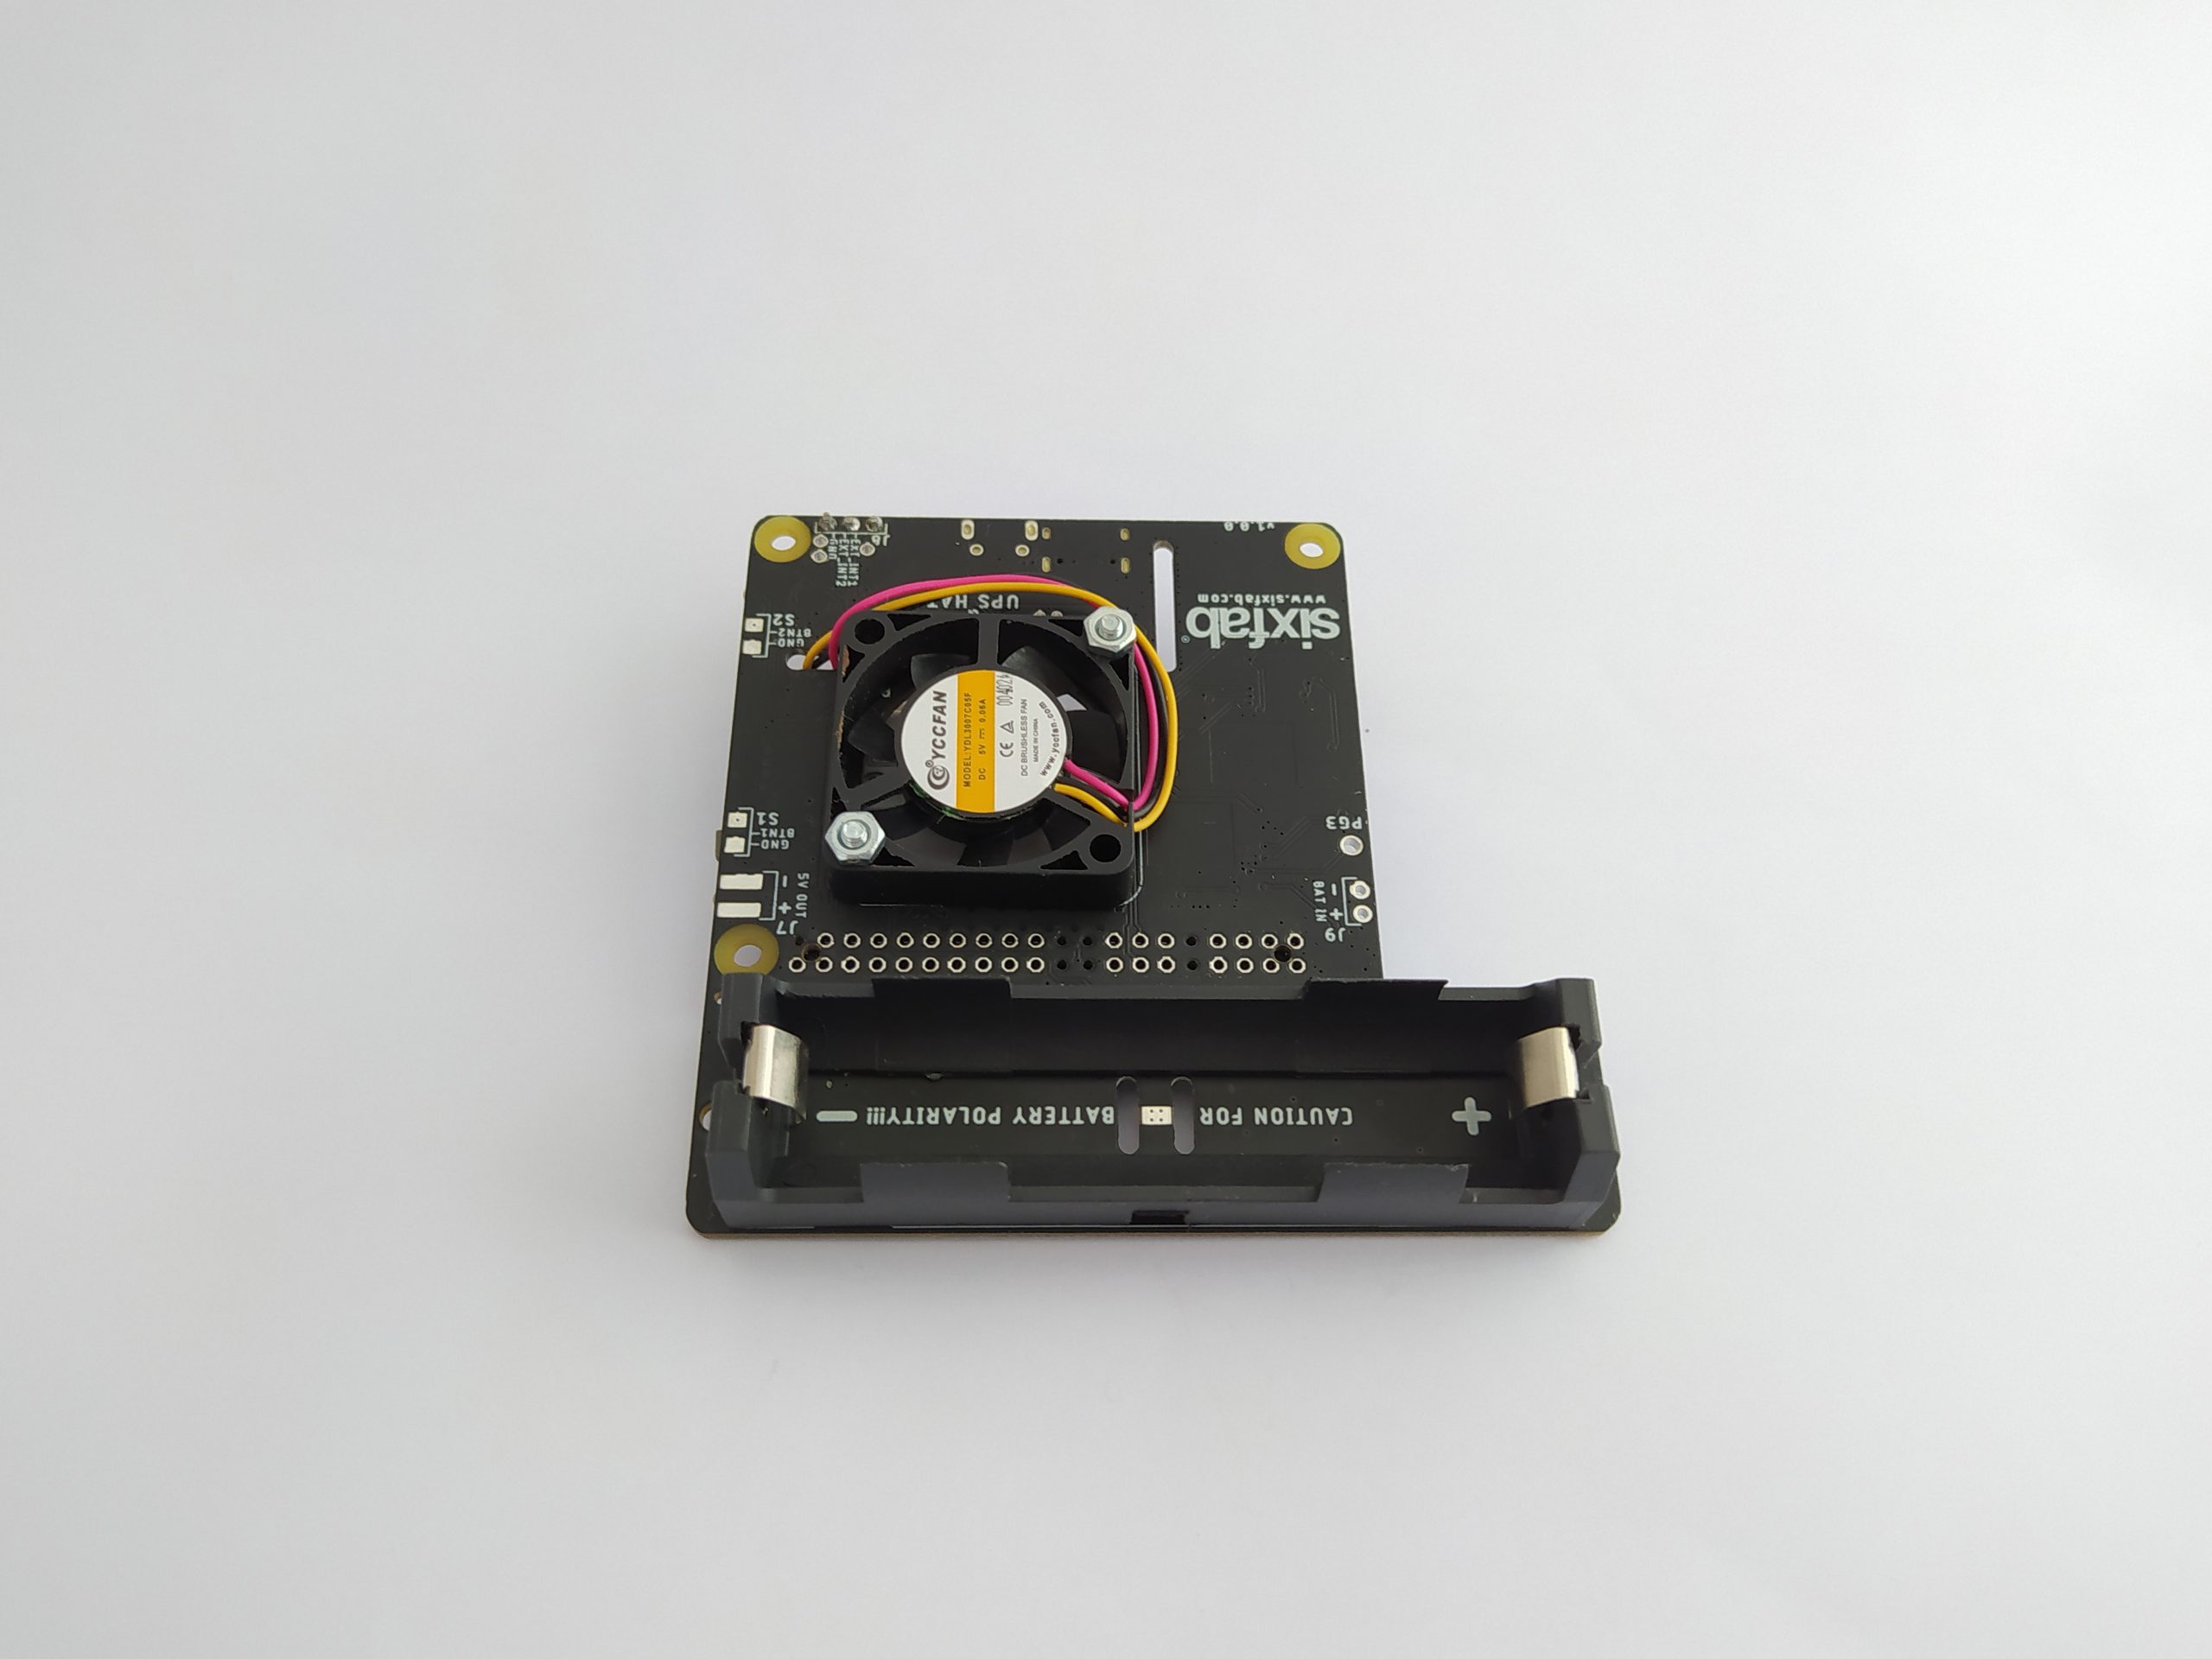
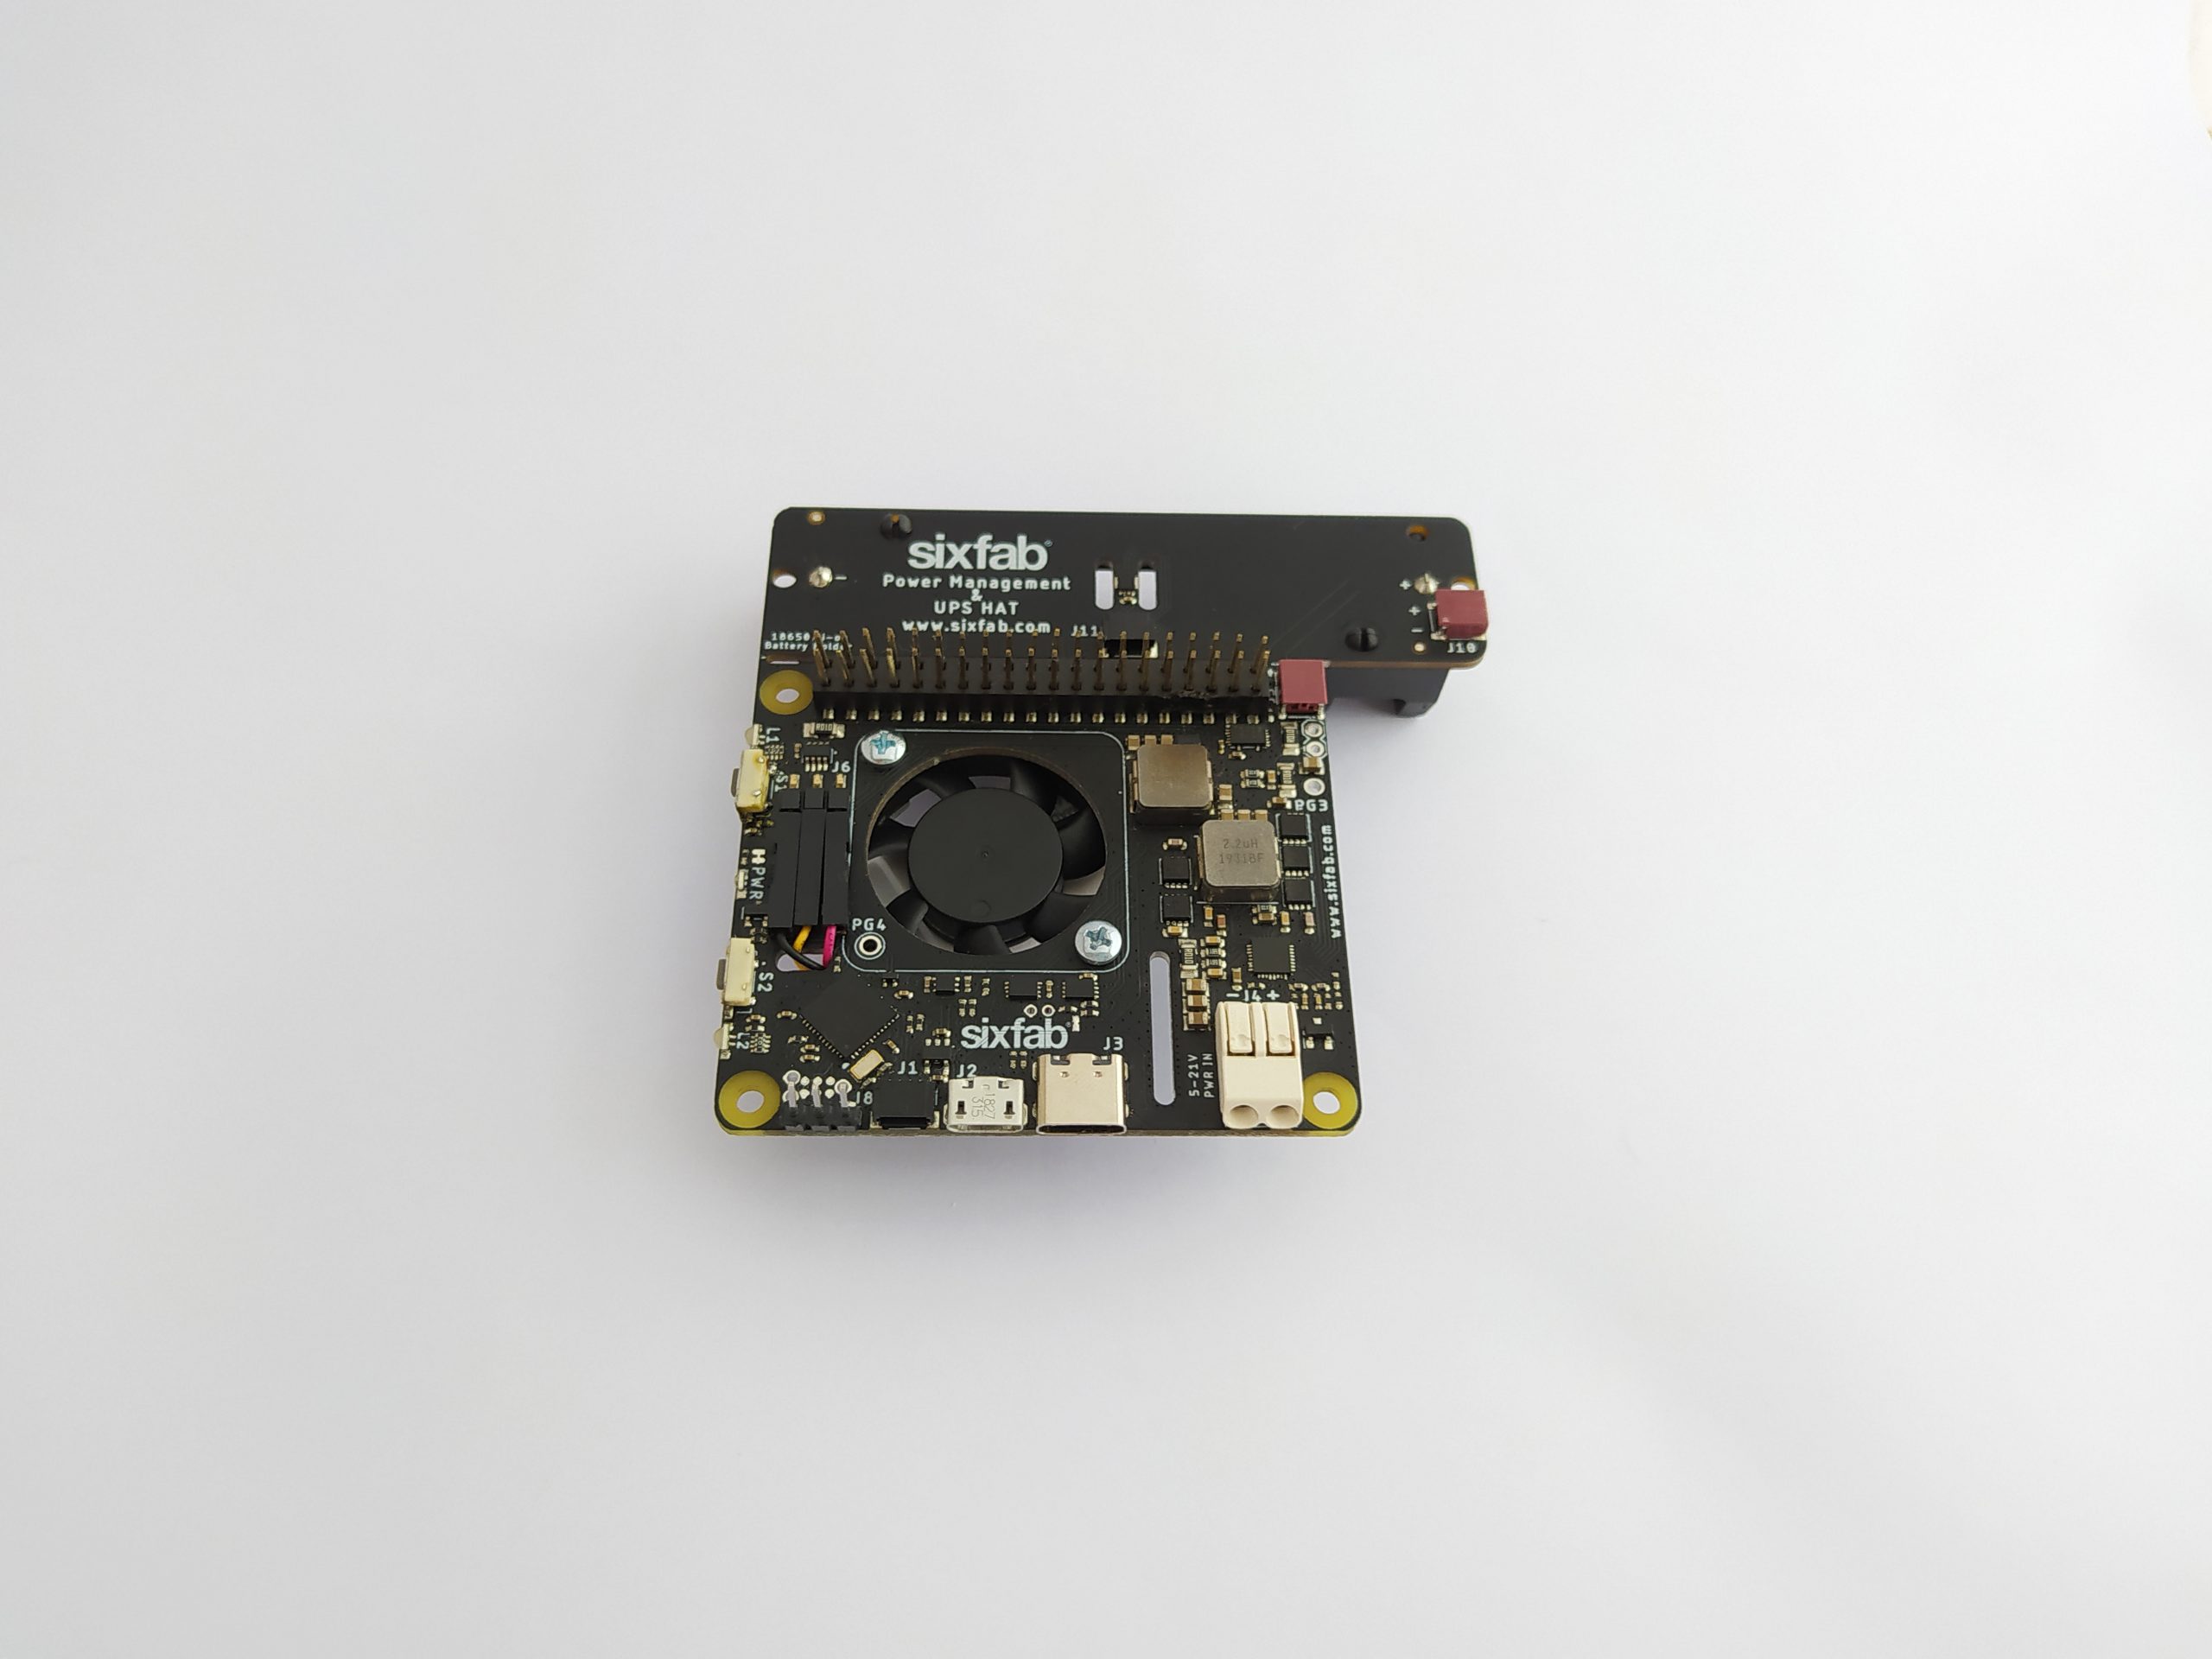
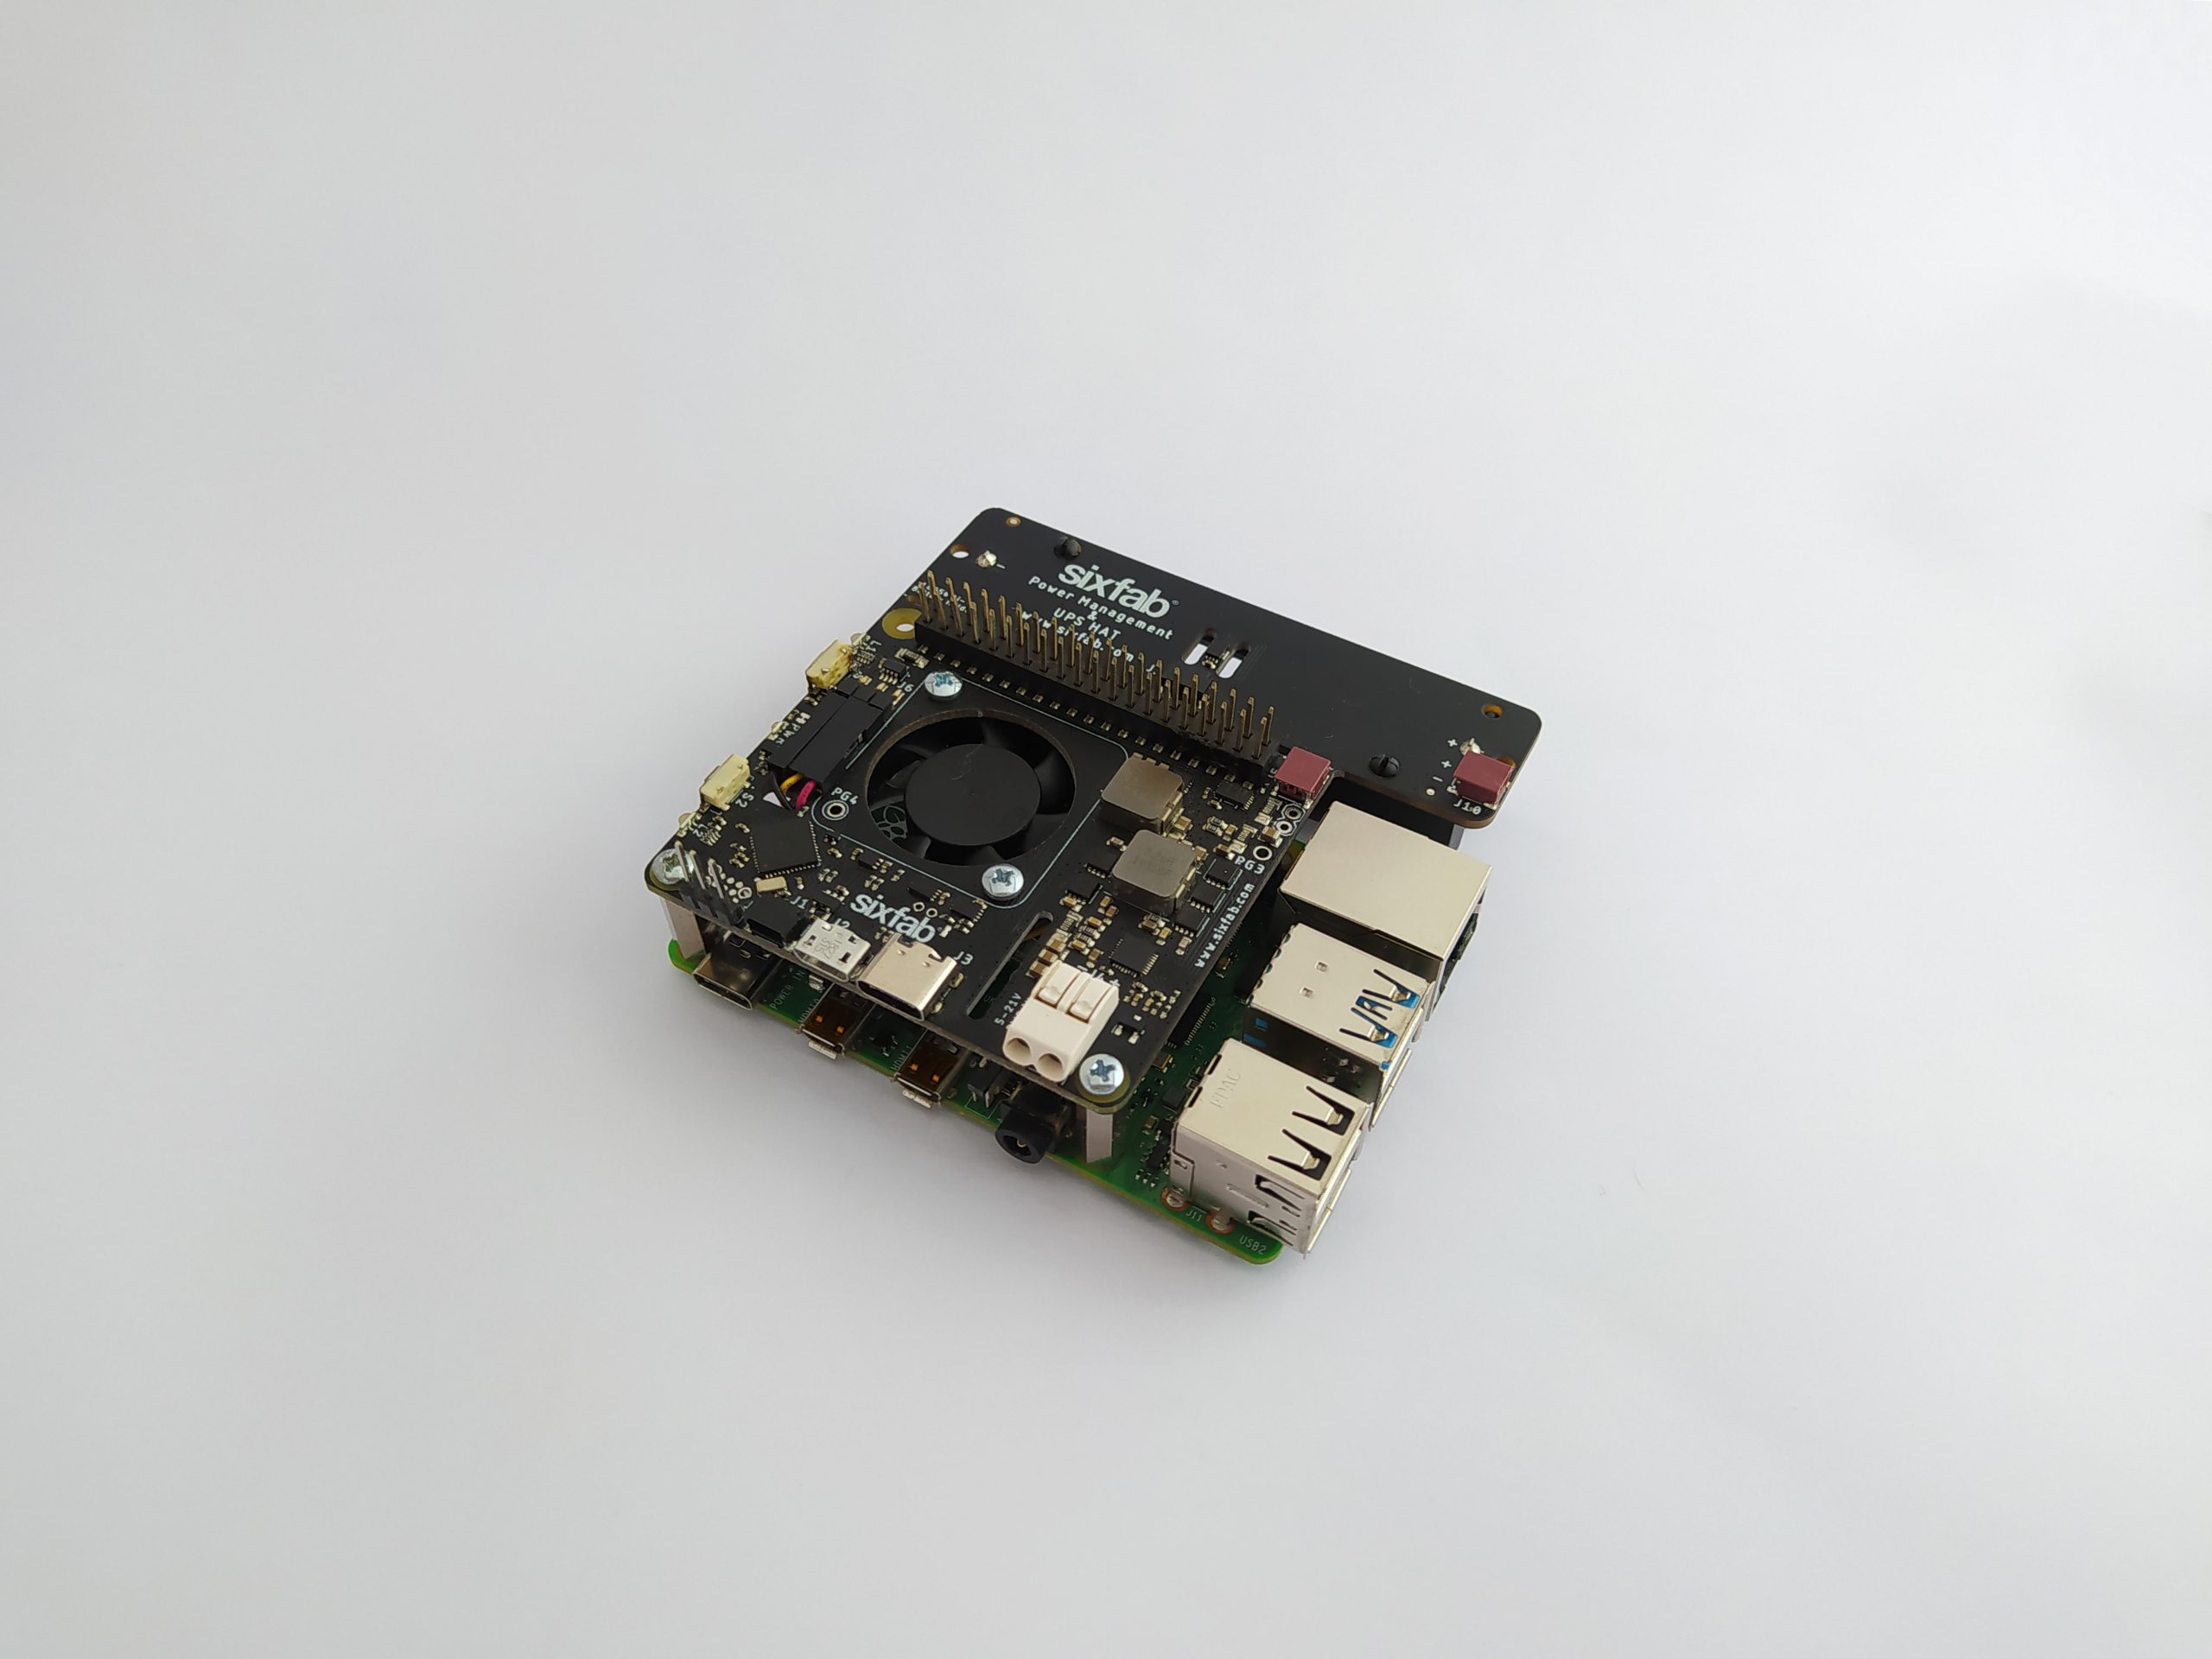
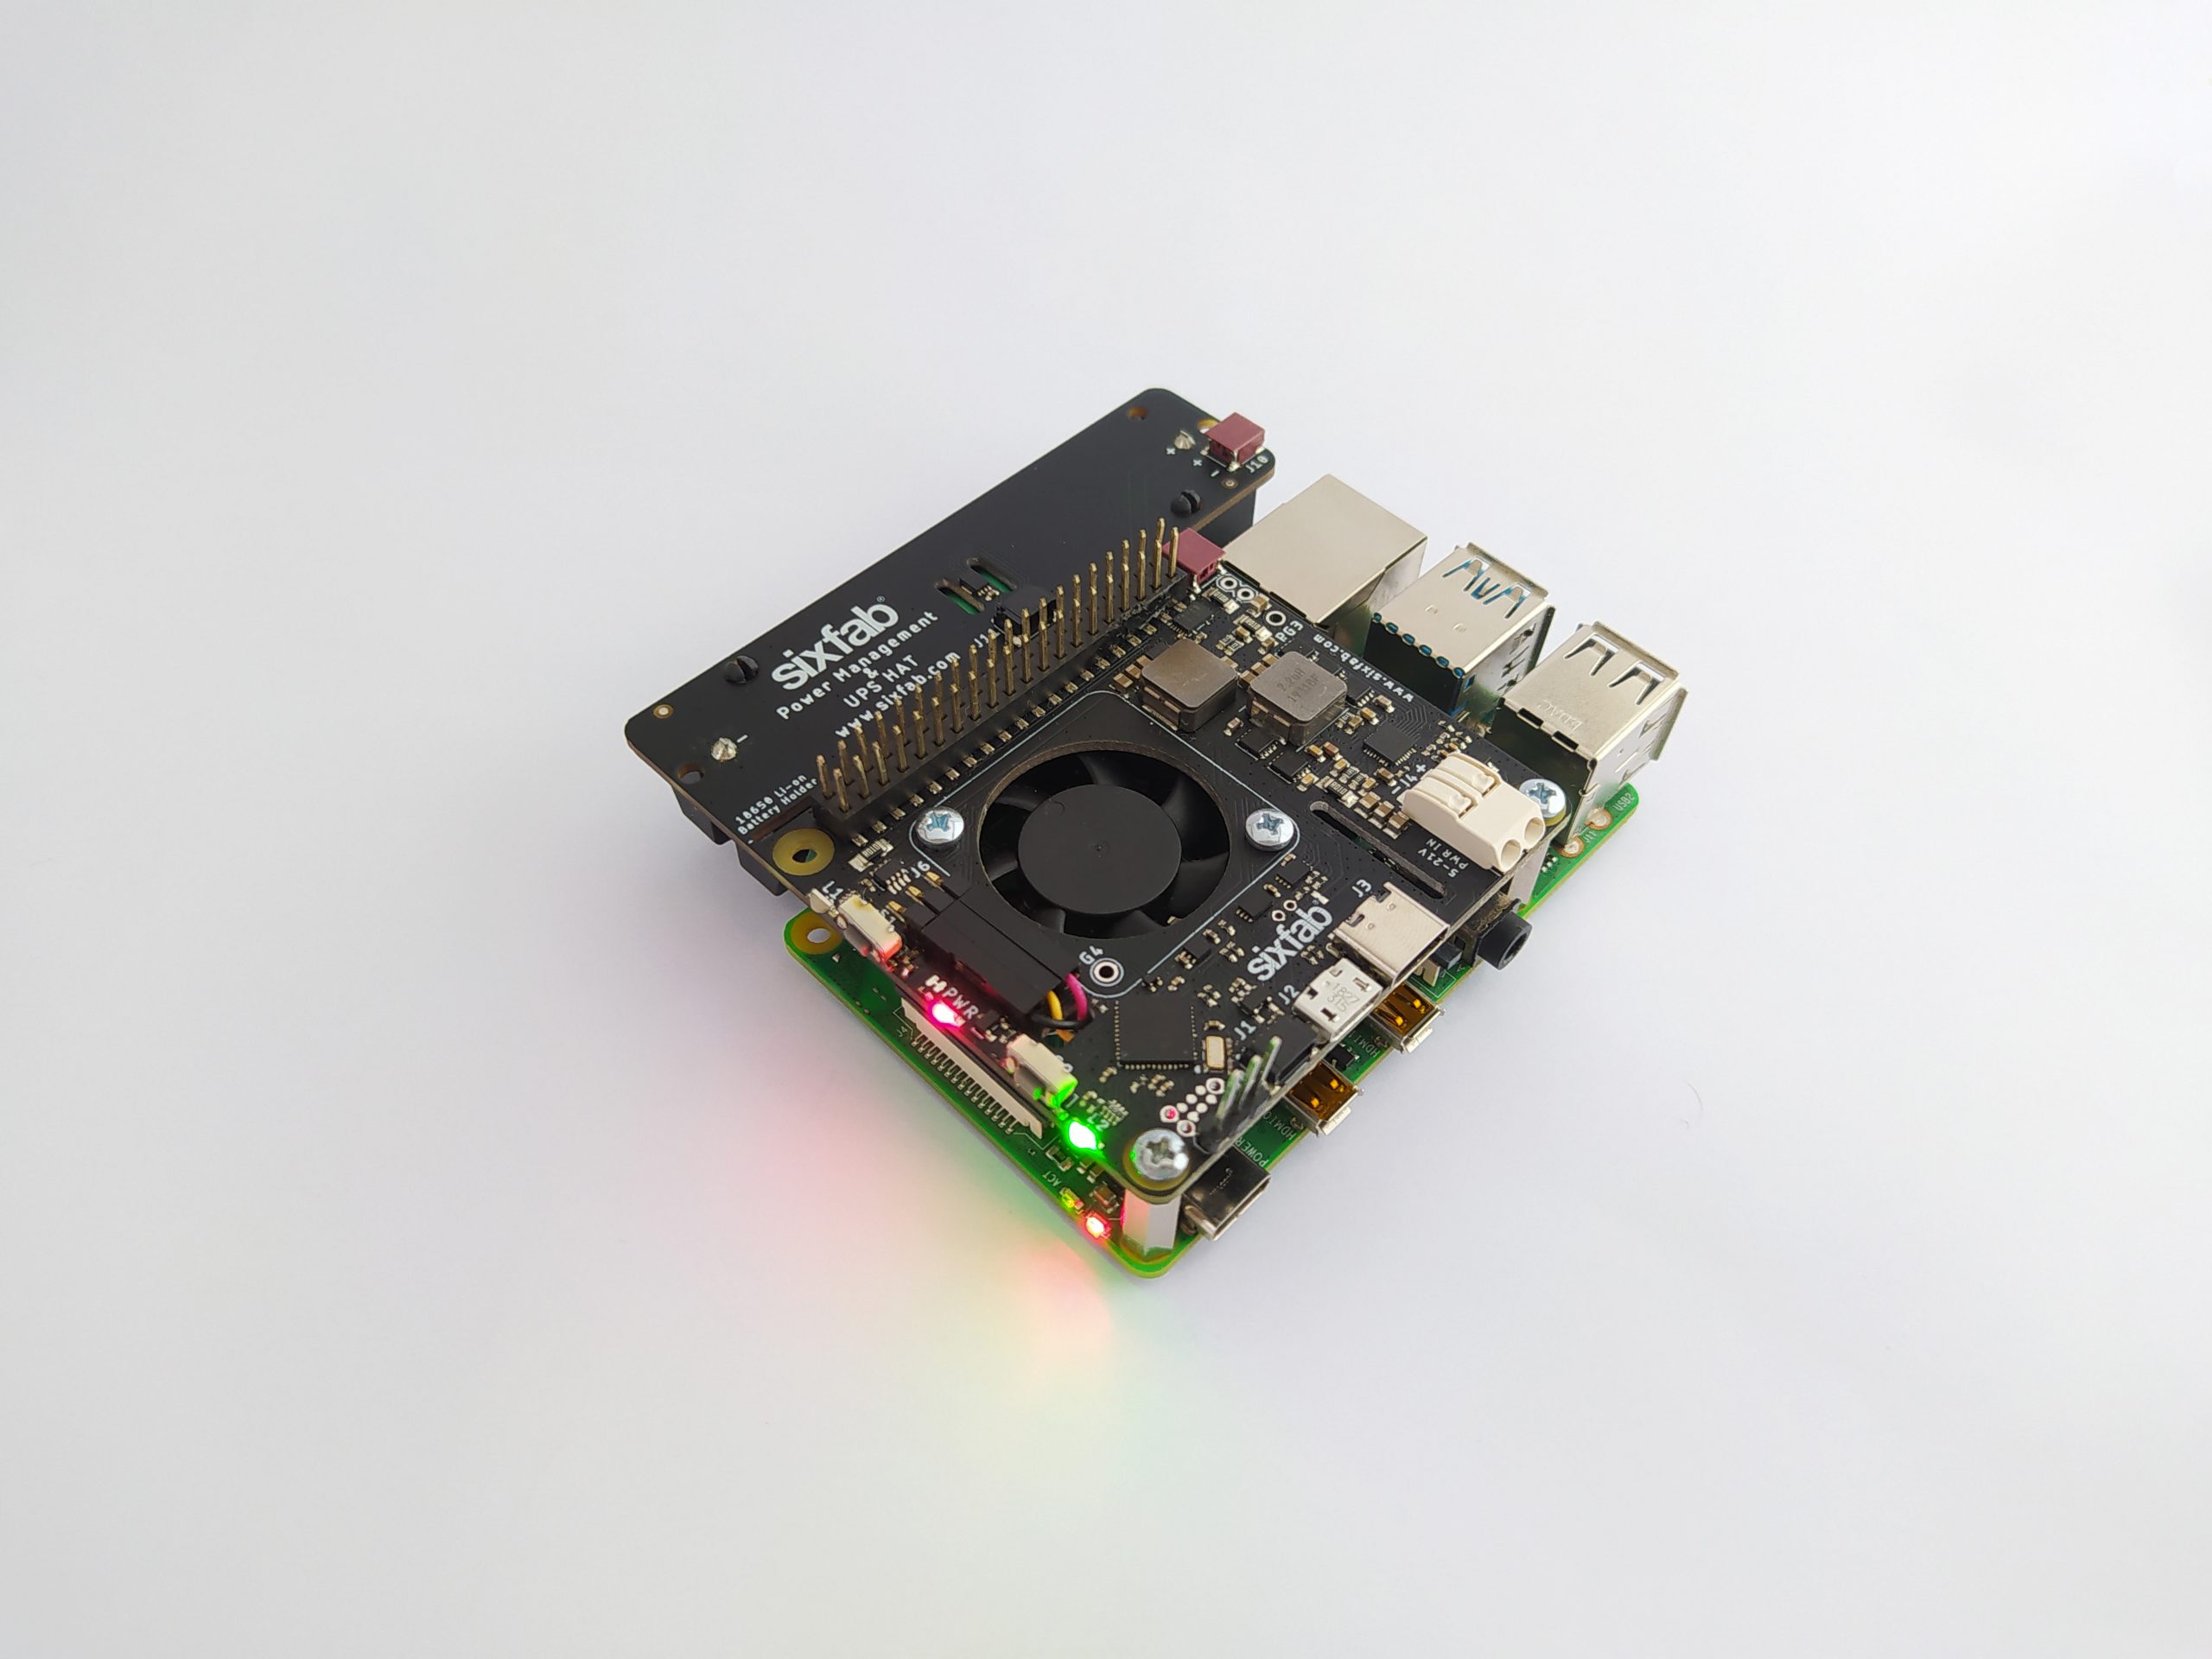
Use the power input of the UPS HAT to power your system. For power input options check the technical details.
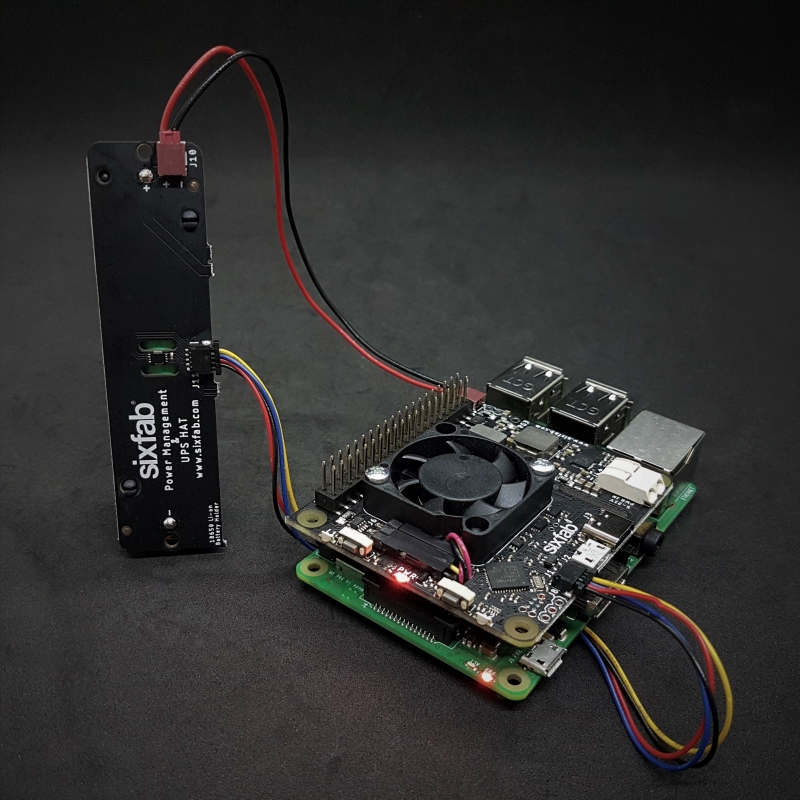
You can also detach the battery holder from the Power HAT and use it. The qwiic cable and the qwiic connectors(J1-J11) on board are used to read the temperature of the battery holder card when battery holder broke off from Power HAT.
Software Setup
Setting up a Device on Power Software
One of the biggest problems of remote projects is keeping the devices all-time-powered on the edge and knowledge of the power status. While stacking the UPS HAT with a battery solves the problem as standalone. The user can manage the UPS HAT via the Sixfab Power Software remotely.
The detailed diagnostics about the battery and main power source available here and ease the maintenance. An ultra-lightweight service agent works on the Raspberry Pi and communicates with the platform if you have an Internet connection via ethernet, Wi-Fi, or Cellular.
Click for features of the power software.
By the end of this section, you will see your device status from our power management platform.
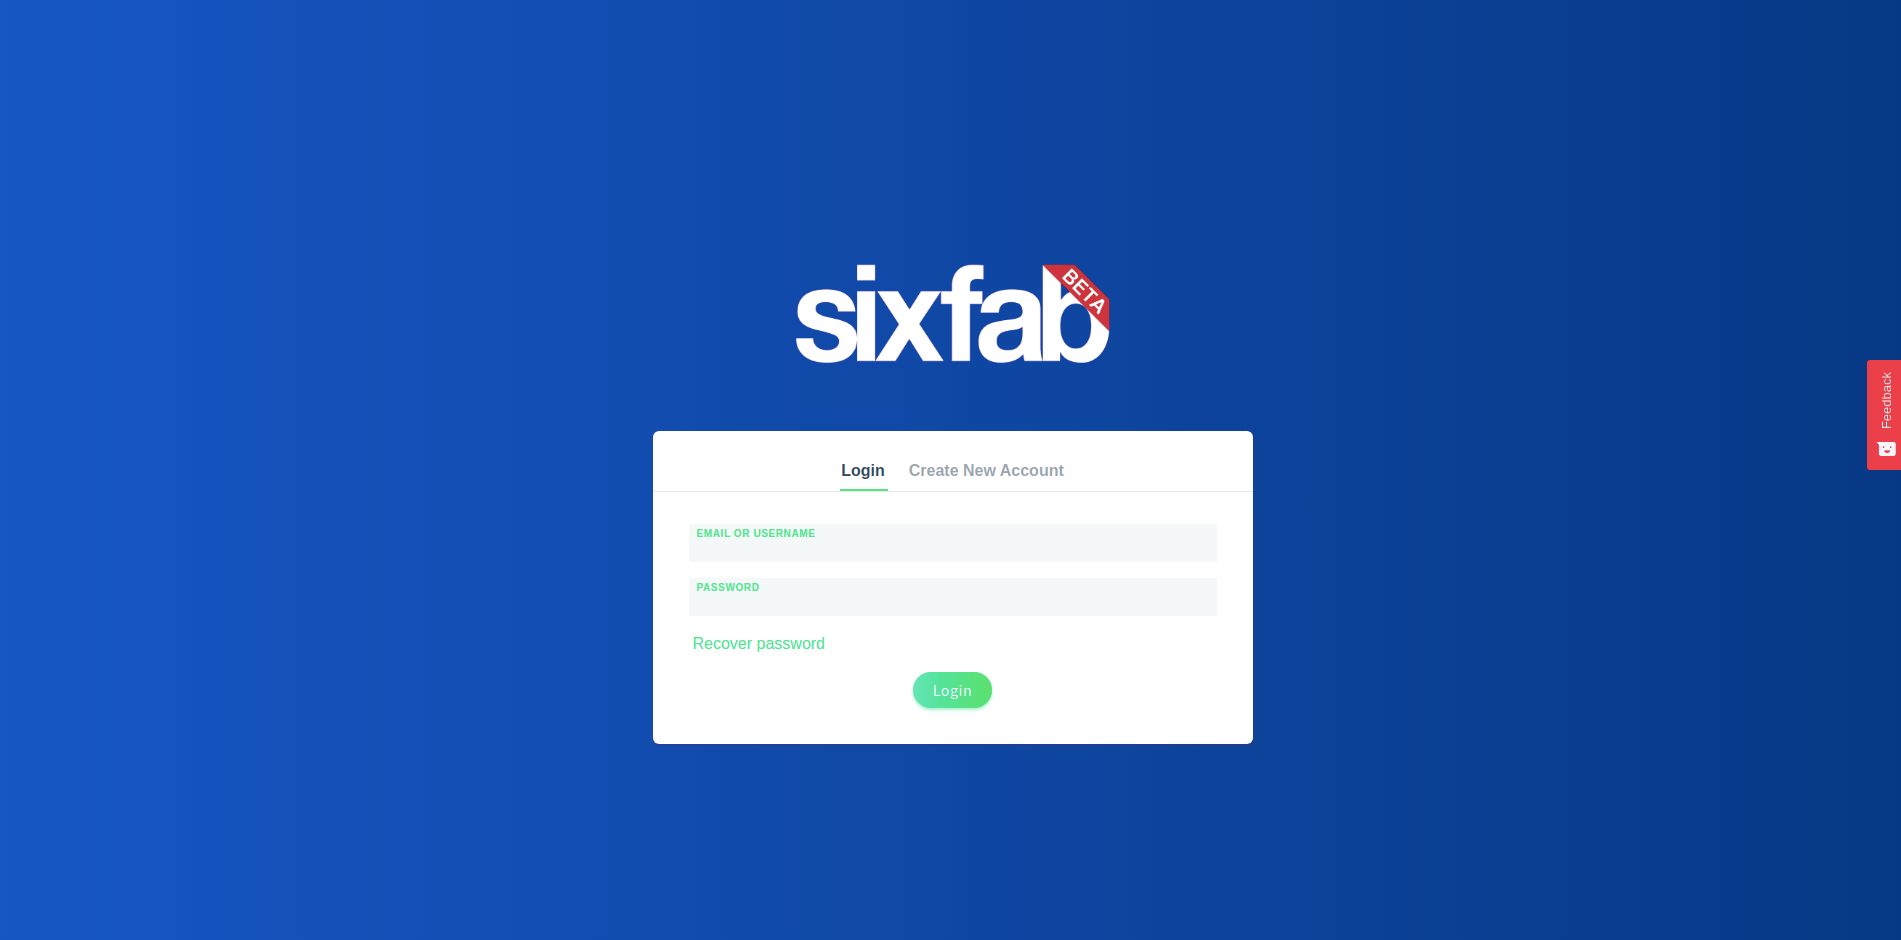
Create a new account and log into power.sixfab.com with your credentials.
Here click on "Create New Device" on the right side of the screen.

While creating a new device, you will need to fill 4 fields. These are;
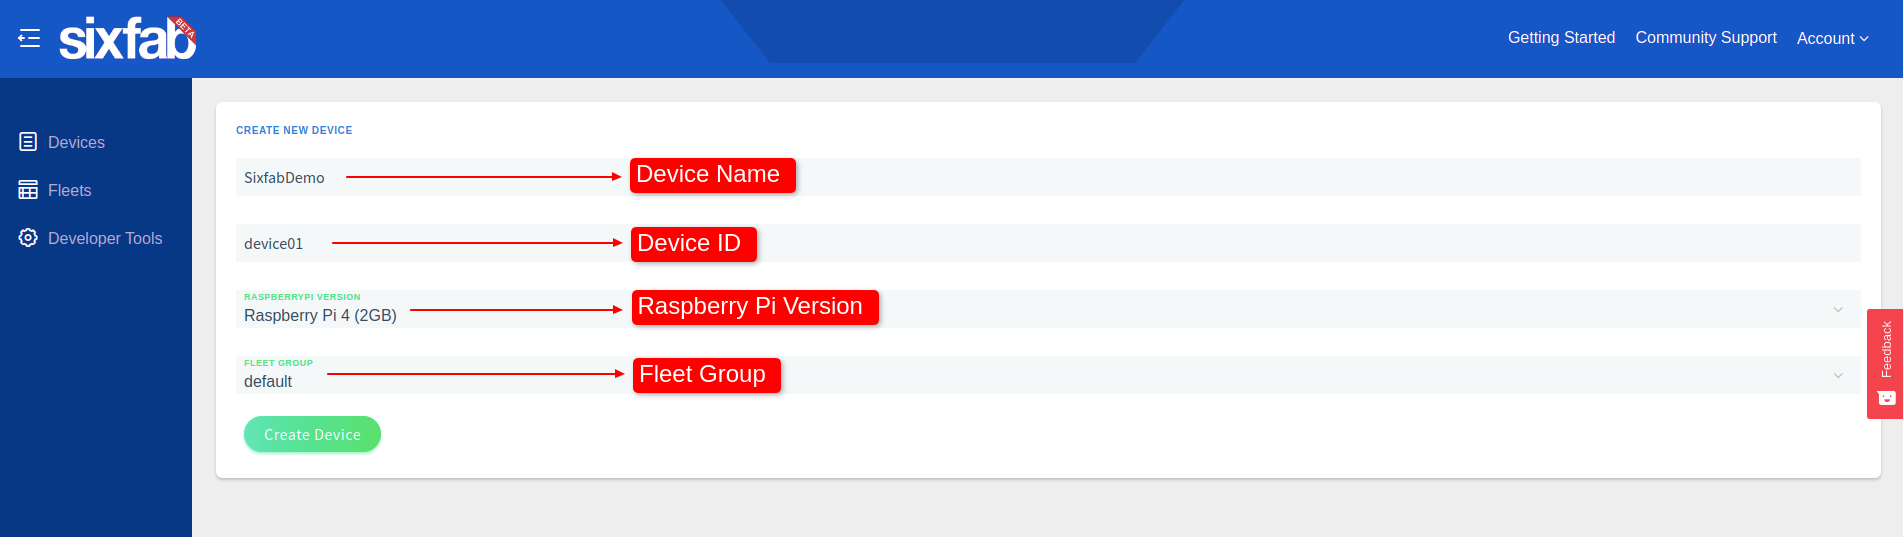
Device ID: Give an ID to your device.
Raspberry Pi Version: Select your Raspberry Pi version.
Fleet Group: Select the default fleet(Customers can use fleets to configure their devices in bulk.
Click "Create Device" which will show the installation command with generated key.
Copy this key which will be used in the next step.
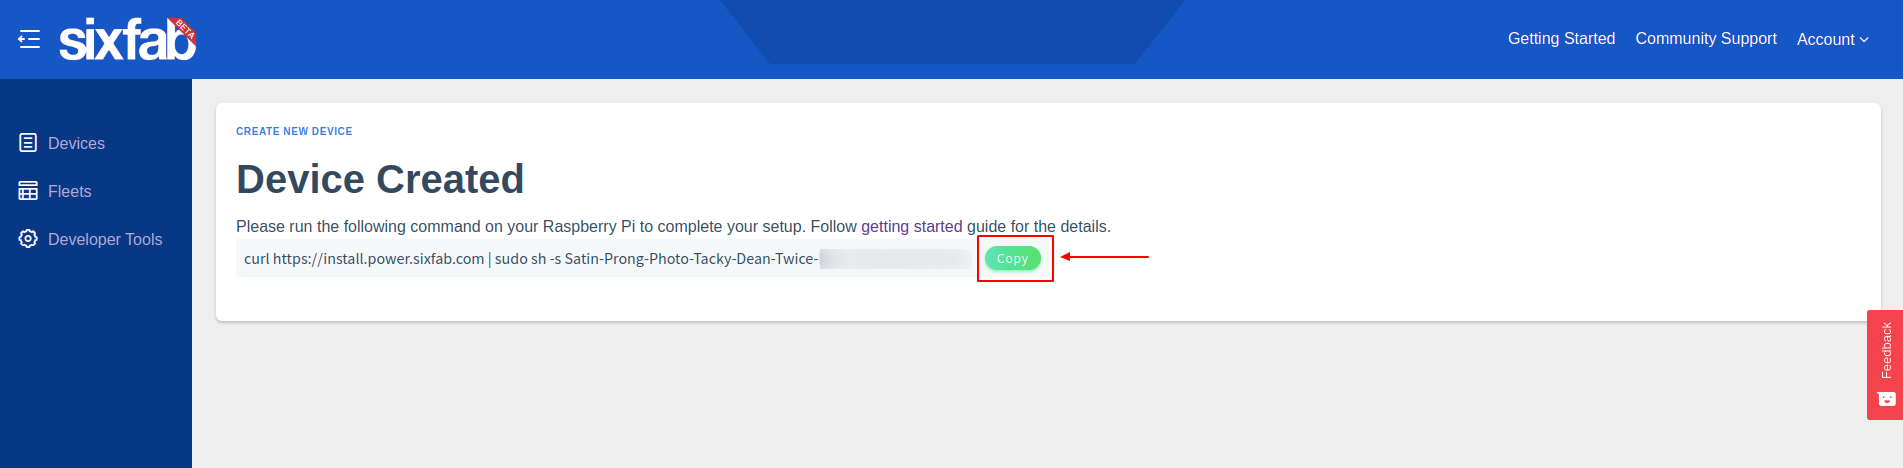
Open a terminal and paste the command that is copied in the previous step. This step may take a few minutes.
Once the installation is complete, go back to power.sixfab.com. Under devices section you will find the device you have recently created.
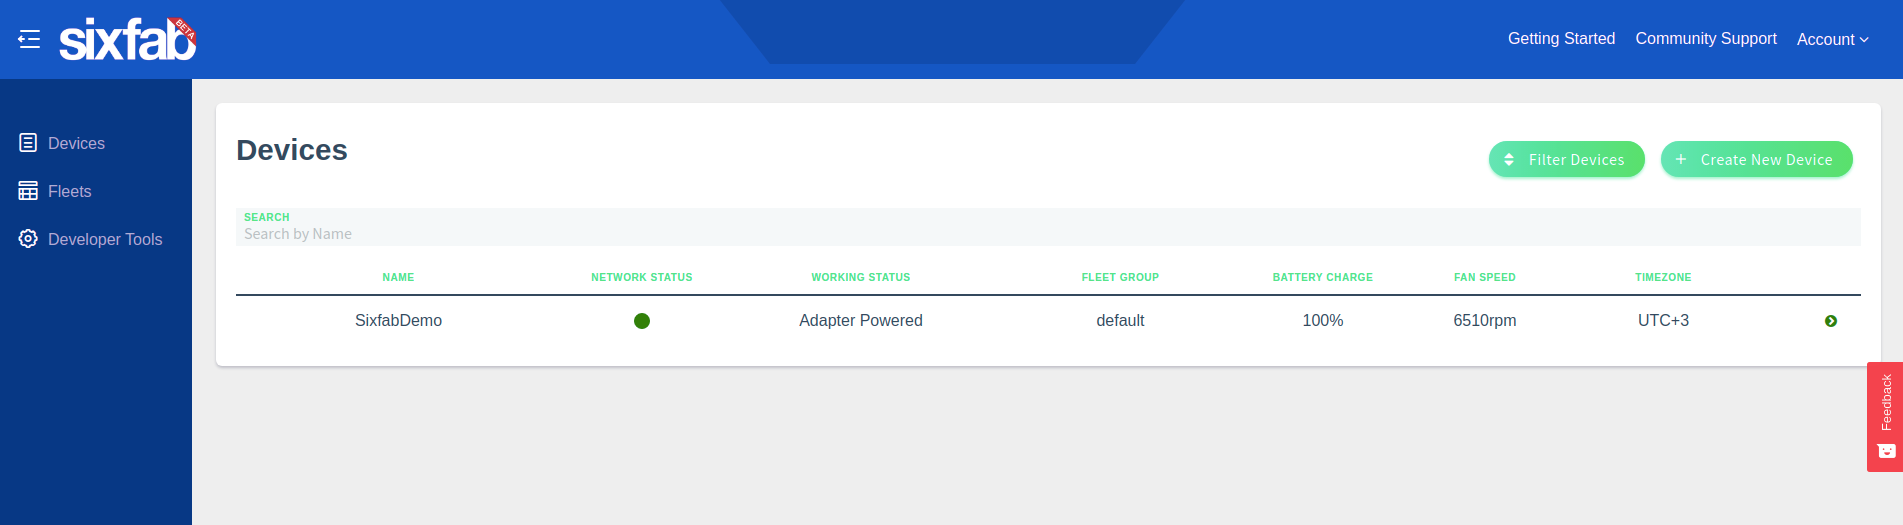
Select the device and you can observe the details of the HAT and Raspberry Pi.
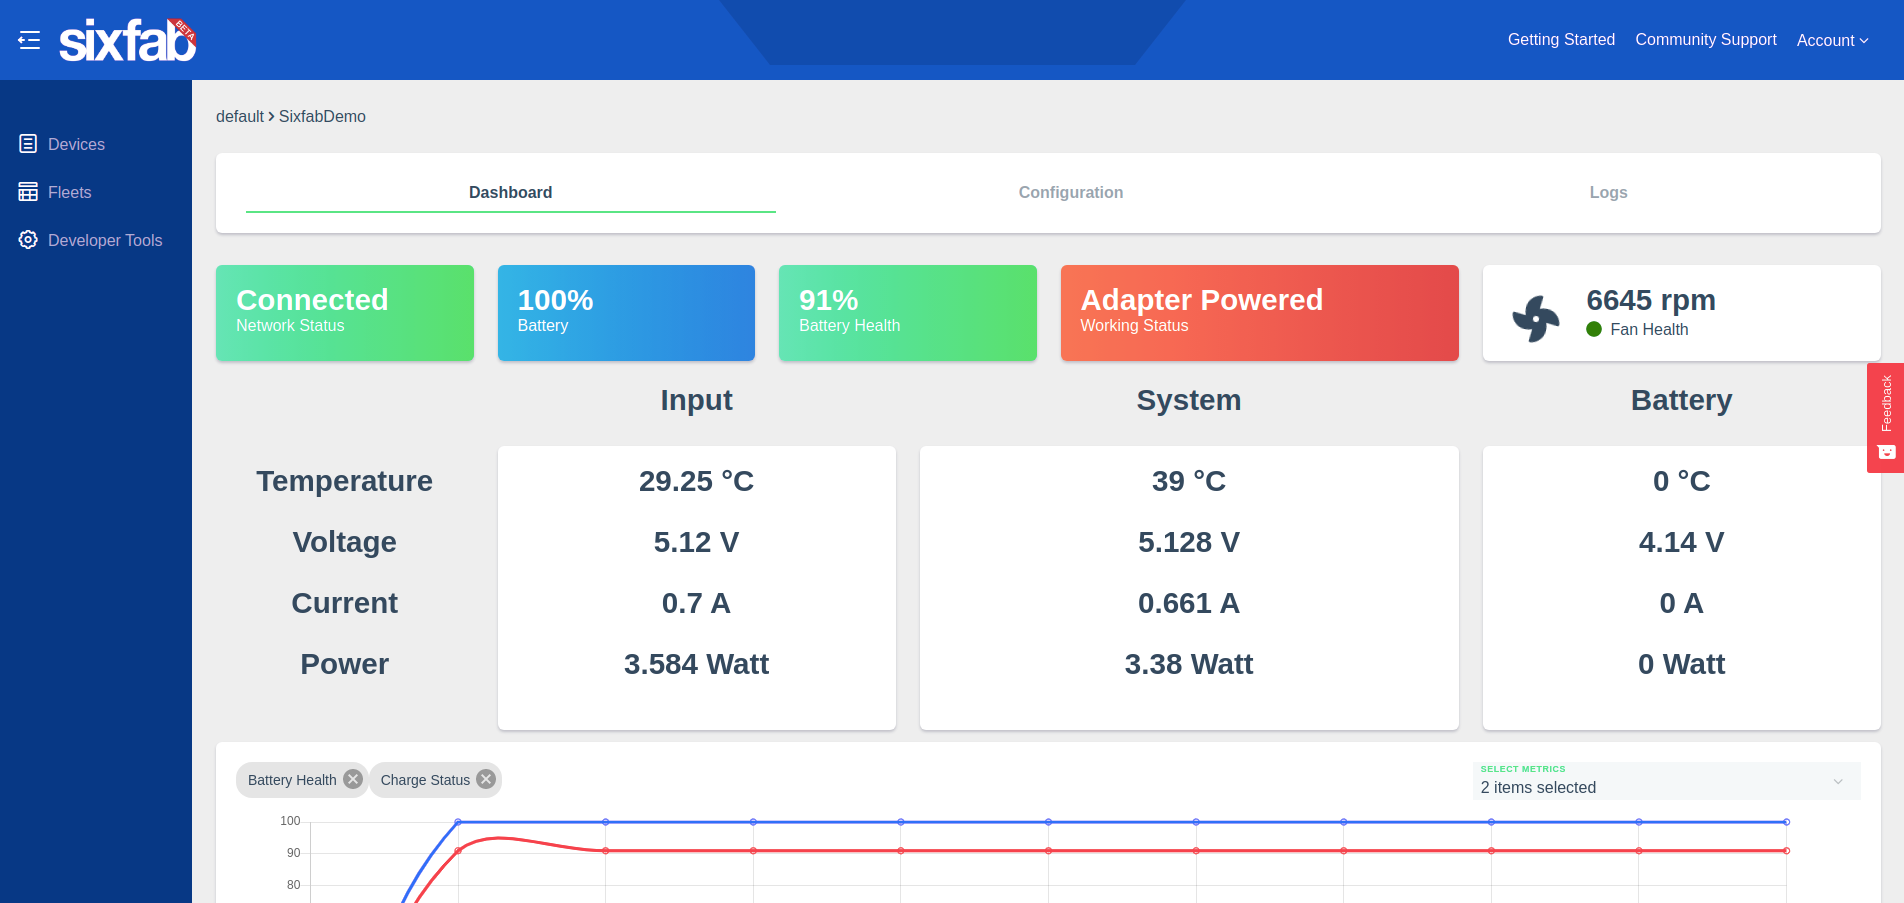
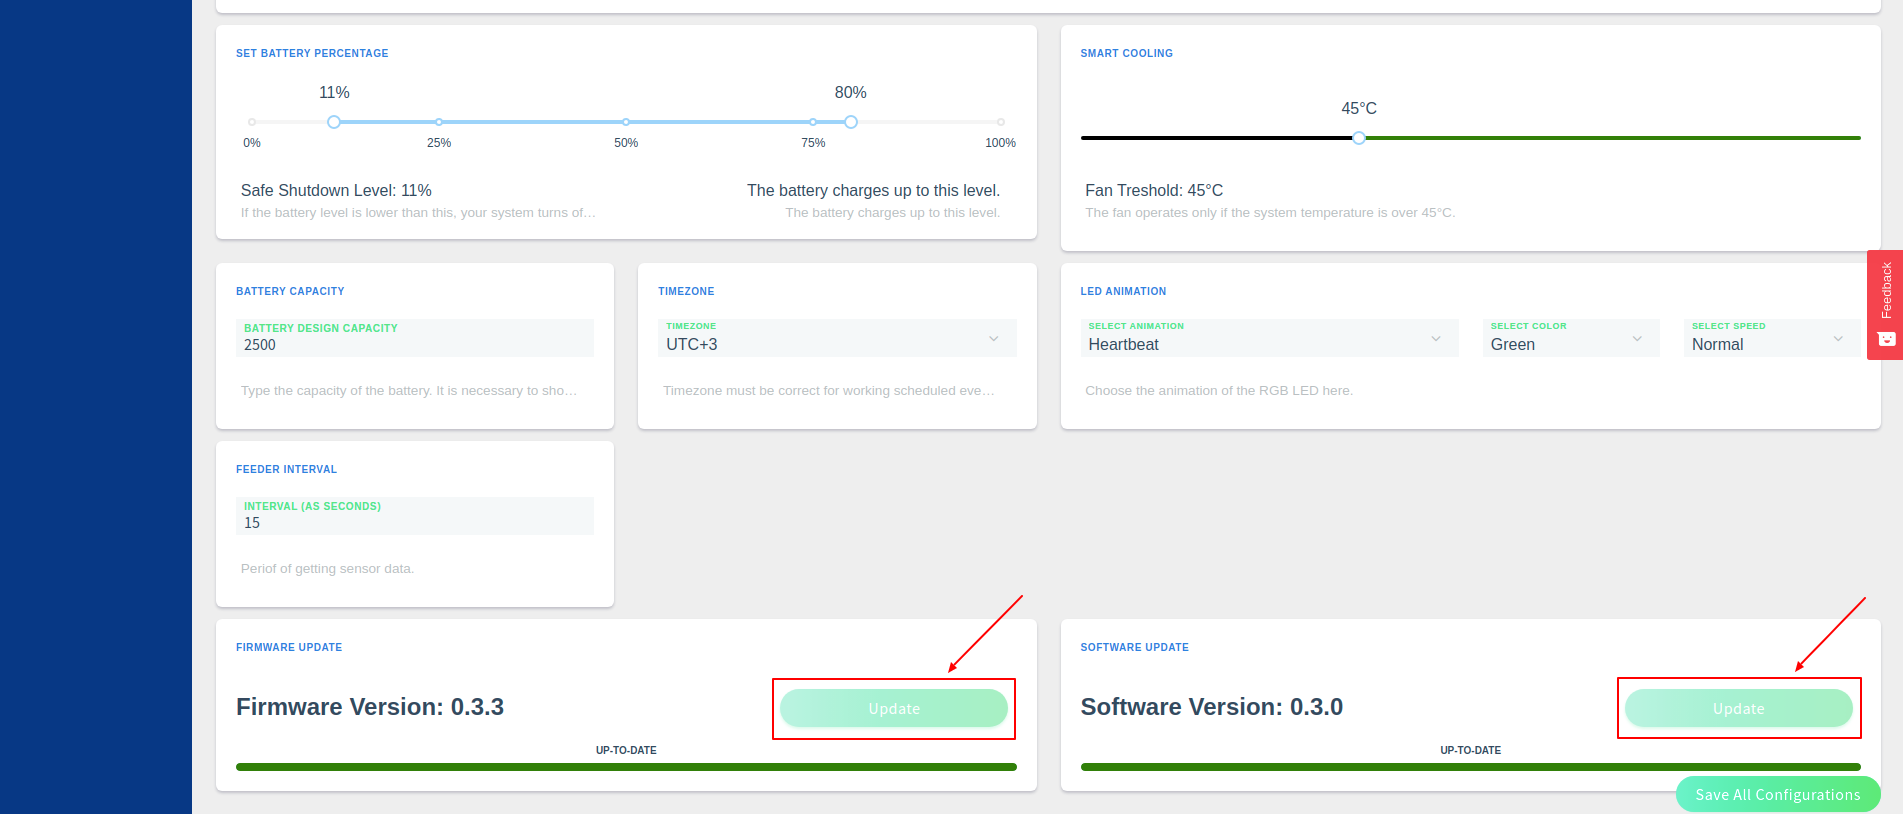
Go to the Configuration tab and find the Firmware Update and Software Update section. Keep them up-to-date to have a better experience.
UPS HAT with other HATs from Sixfab
You can also use UPS HAT with other HATs from Sixfab.
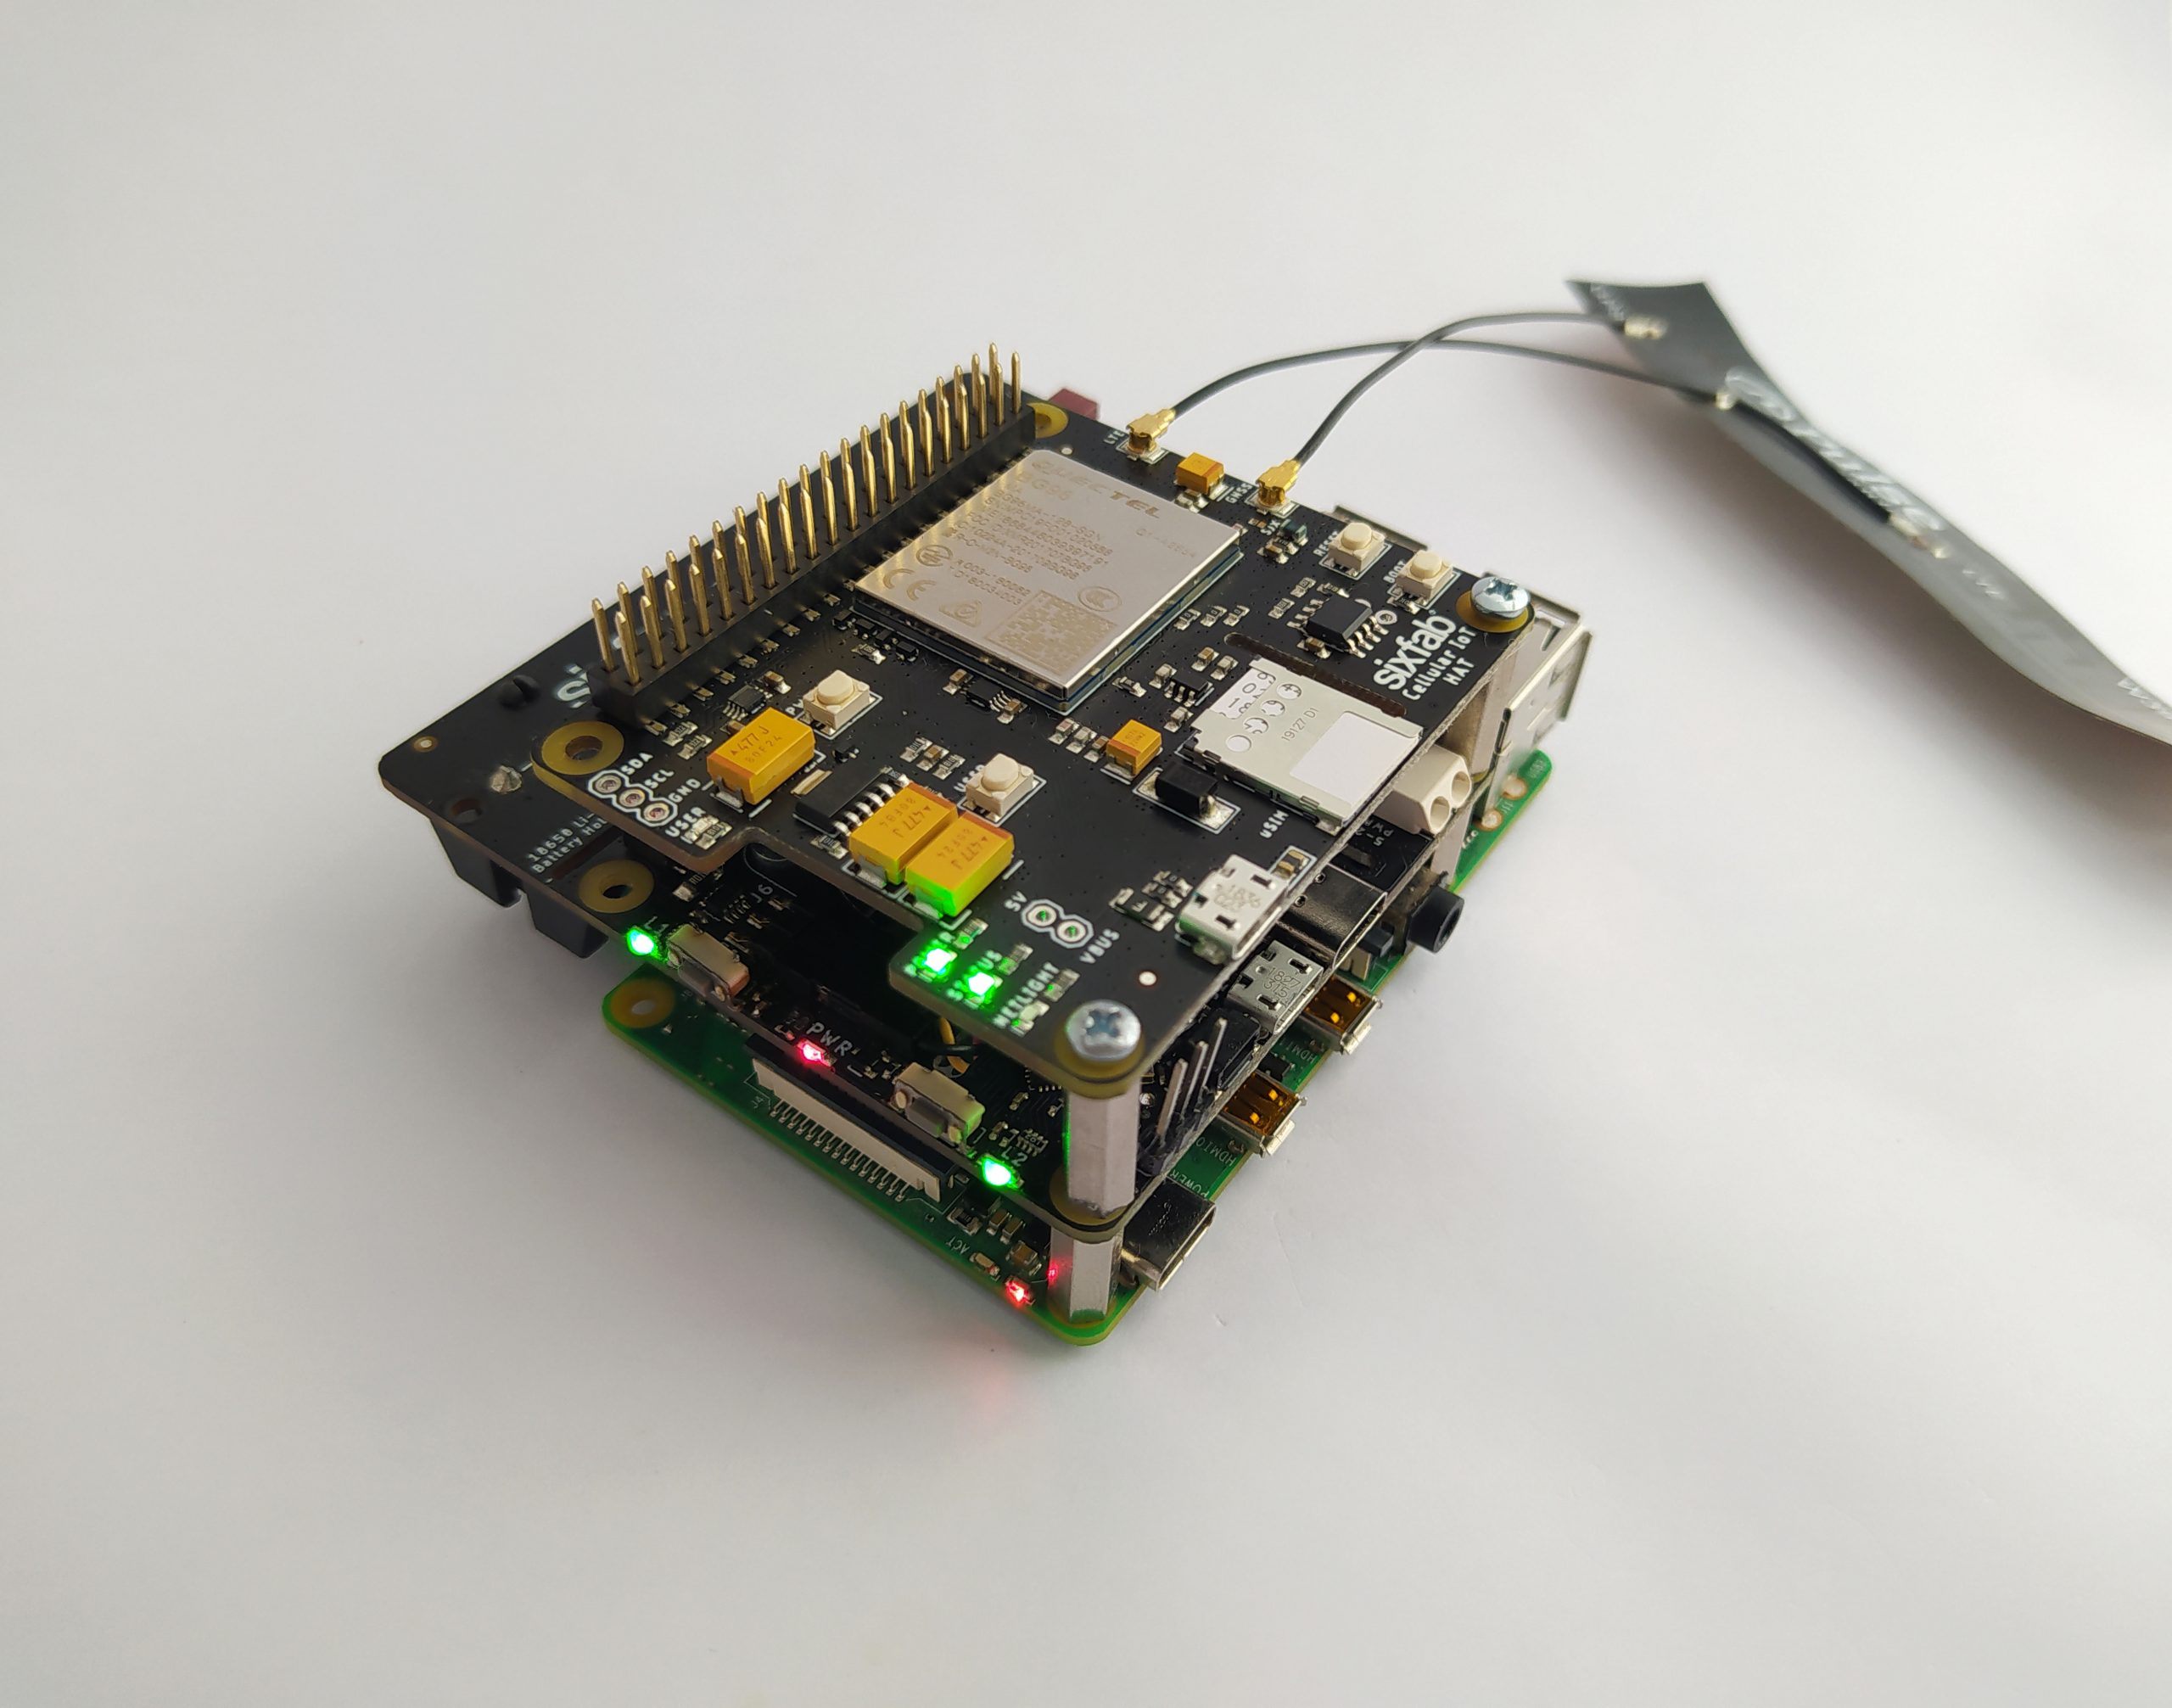
UPS HAT + Cellular IoT HAT
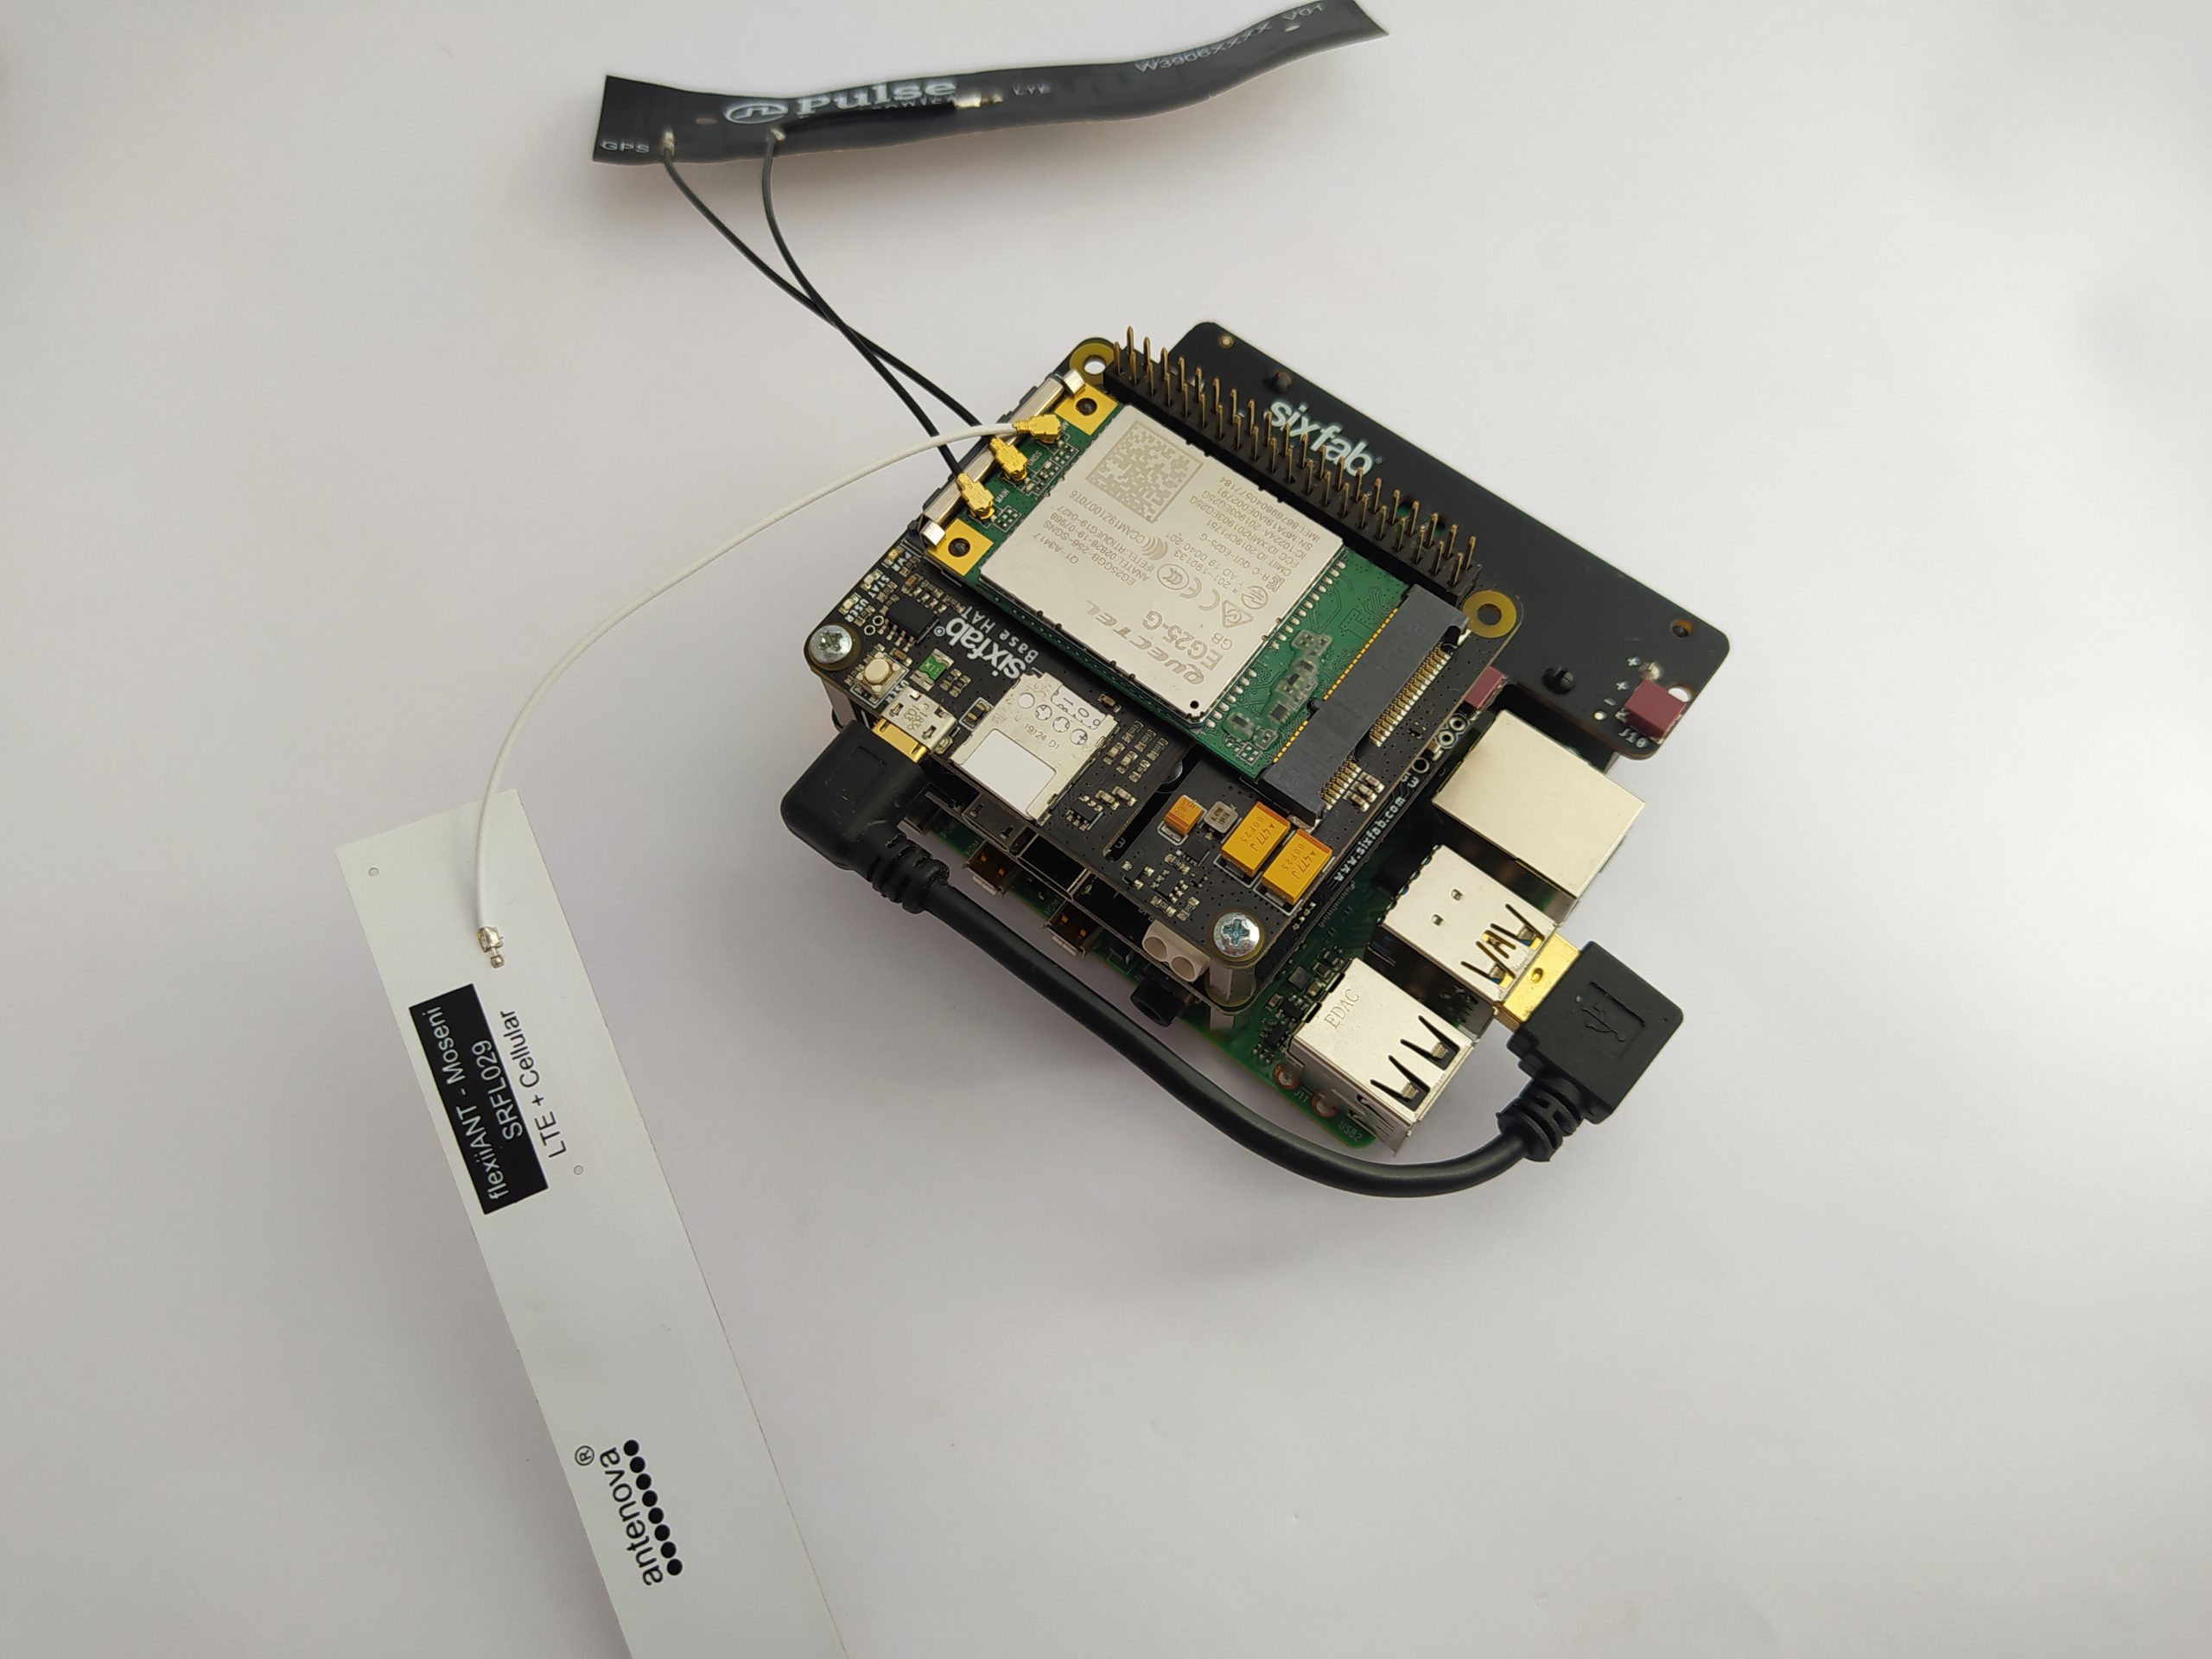
UPS HAT + Base HAT
Updated 4 months ago