Getting Started with Sixfab CORE
This section will lead you step by step to create a cellular connection with the NVIDIA Jetson Nano 4G/LTE Cellular Modem Kit
Sixfab CORE Service Discontinuation NoticeWe want to inform you that Sixfab CORE will no longer be available starting from December 31, 2025. After this date, users with the Raspberry Pi / NVIDIA Jetson Nano 4G/LTE Cellular Modem Kit will no longer be able to install or use Sixfab CORE on their devices.
To set up cellular communication on your devices, we recommend following the ECM (Ethernet Control Model) tutorial available on our website, which will guide you through the process of establishing a reliable cellular connection without the use of Sixfab CORE.
Manage your Raspberry Pi remotely with Raspberry Pi Connect, providing a browser-based terminal and management tools. This service simplifies remote access, making SSH setup unnecessary, especially for cellular connections. For more details, visit the official Raspberry Pi Connect documentation.
We understand this change may affect your current setup, and we are here to assist you during the transition. If you have any questions or need support, please don't hesitate to contact us.
Thank you for your understanding and continued trust in Sixfab.
The NVIDIA Jetson Nano 4G/LTE Cellular Modem Kit provides all the components you will need for establishing an internet connection on your NVIDIA Jetson Nano using the Sixfab CORE solution.
Getting started is pretty straight forward, first you will setup the hardware then complete the Sixfab CORE installation. Each of the steps are mentioned in detail below.
System Requirements
To getting started with the NVIDIA Jetson Nano 4G/LTE Cellular Modem Kit, first check the following requirements.
| Hardware Requirements | Software Requirements |
|---|---|
| NVIDIA Jetson Nano | Jetson Nano Linux JP451 or higher |
Step 1: Assembly
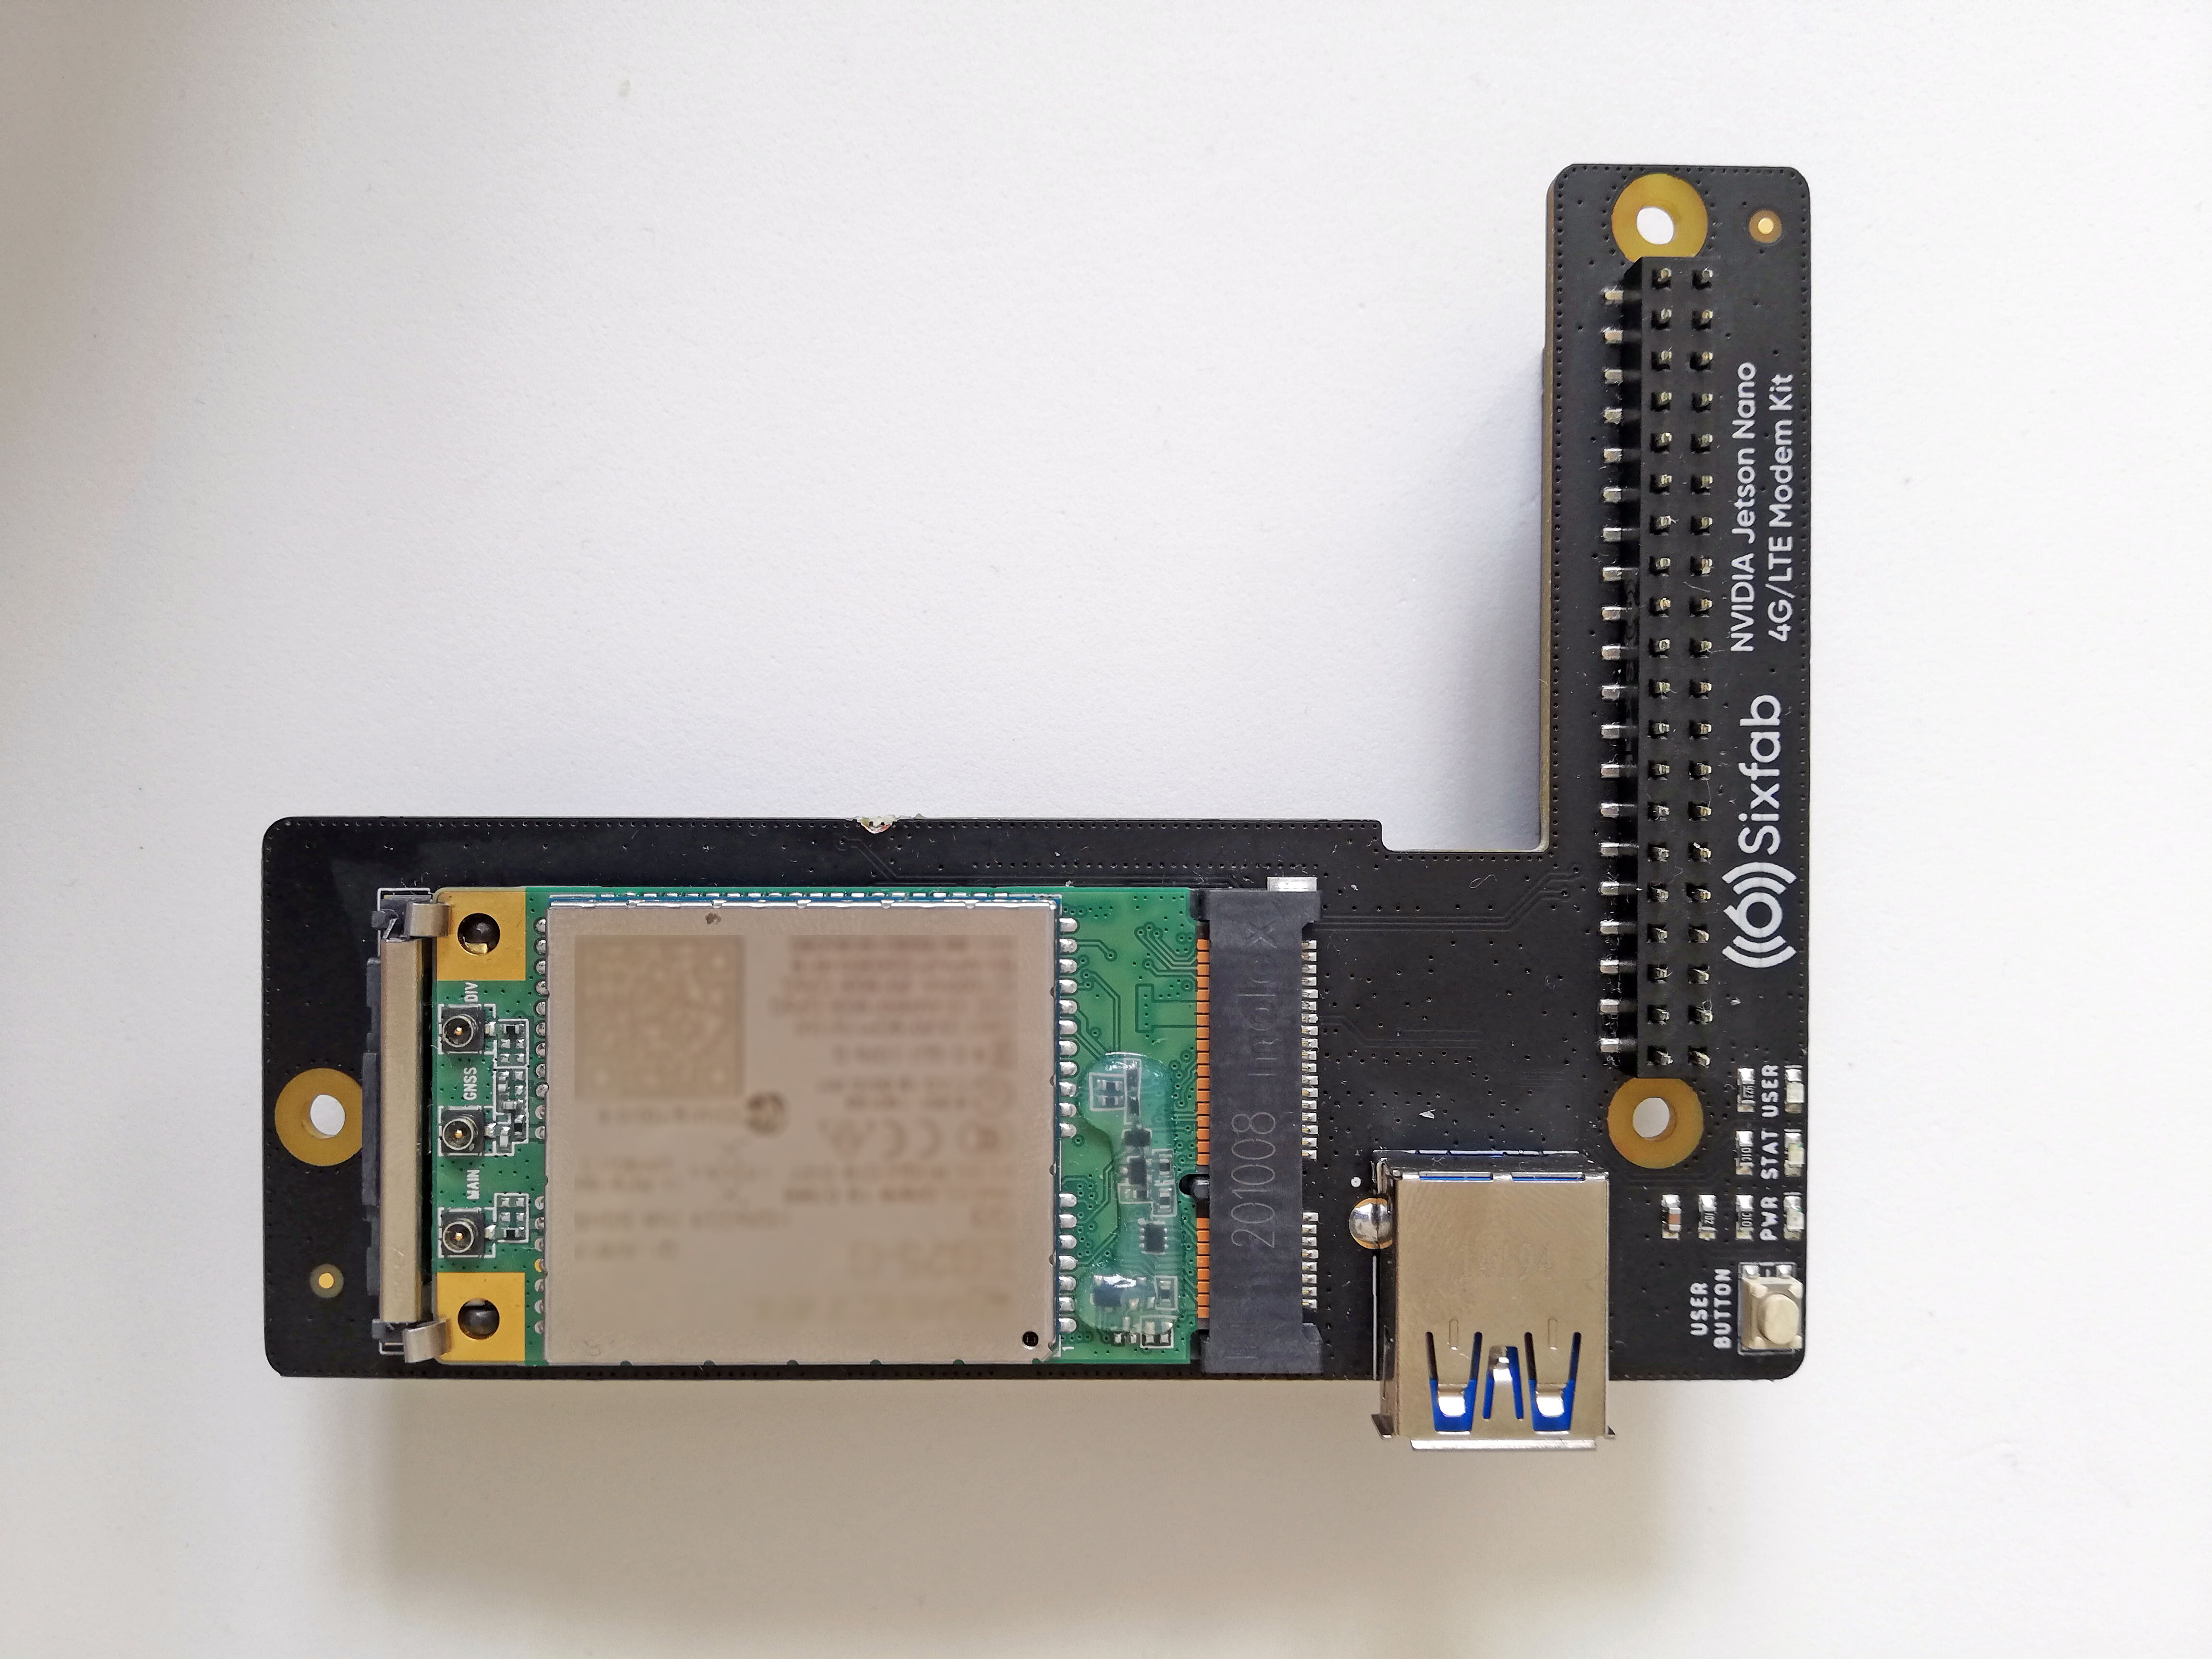
1. Attach the mini PCIe module to the HAT
2. Attach the antenna to the mini PCIe module
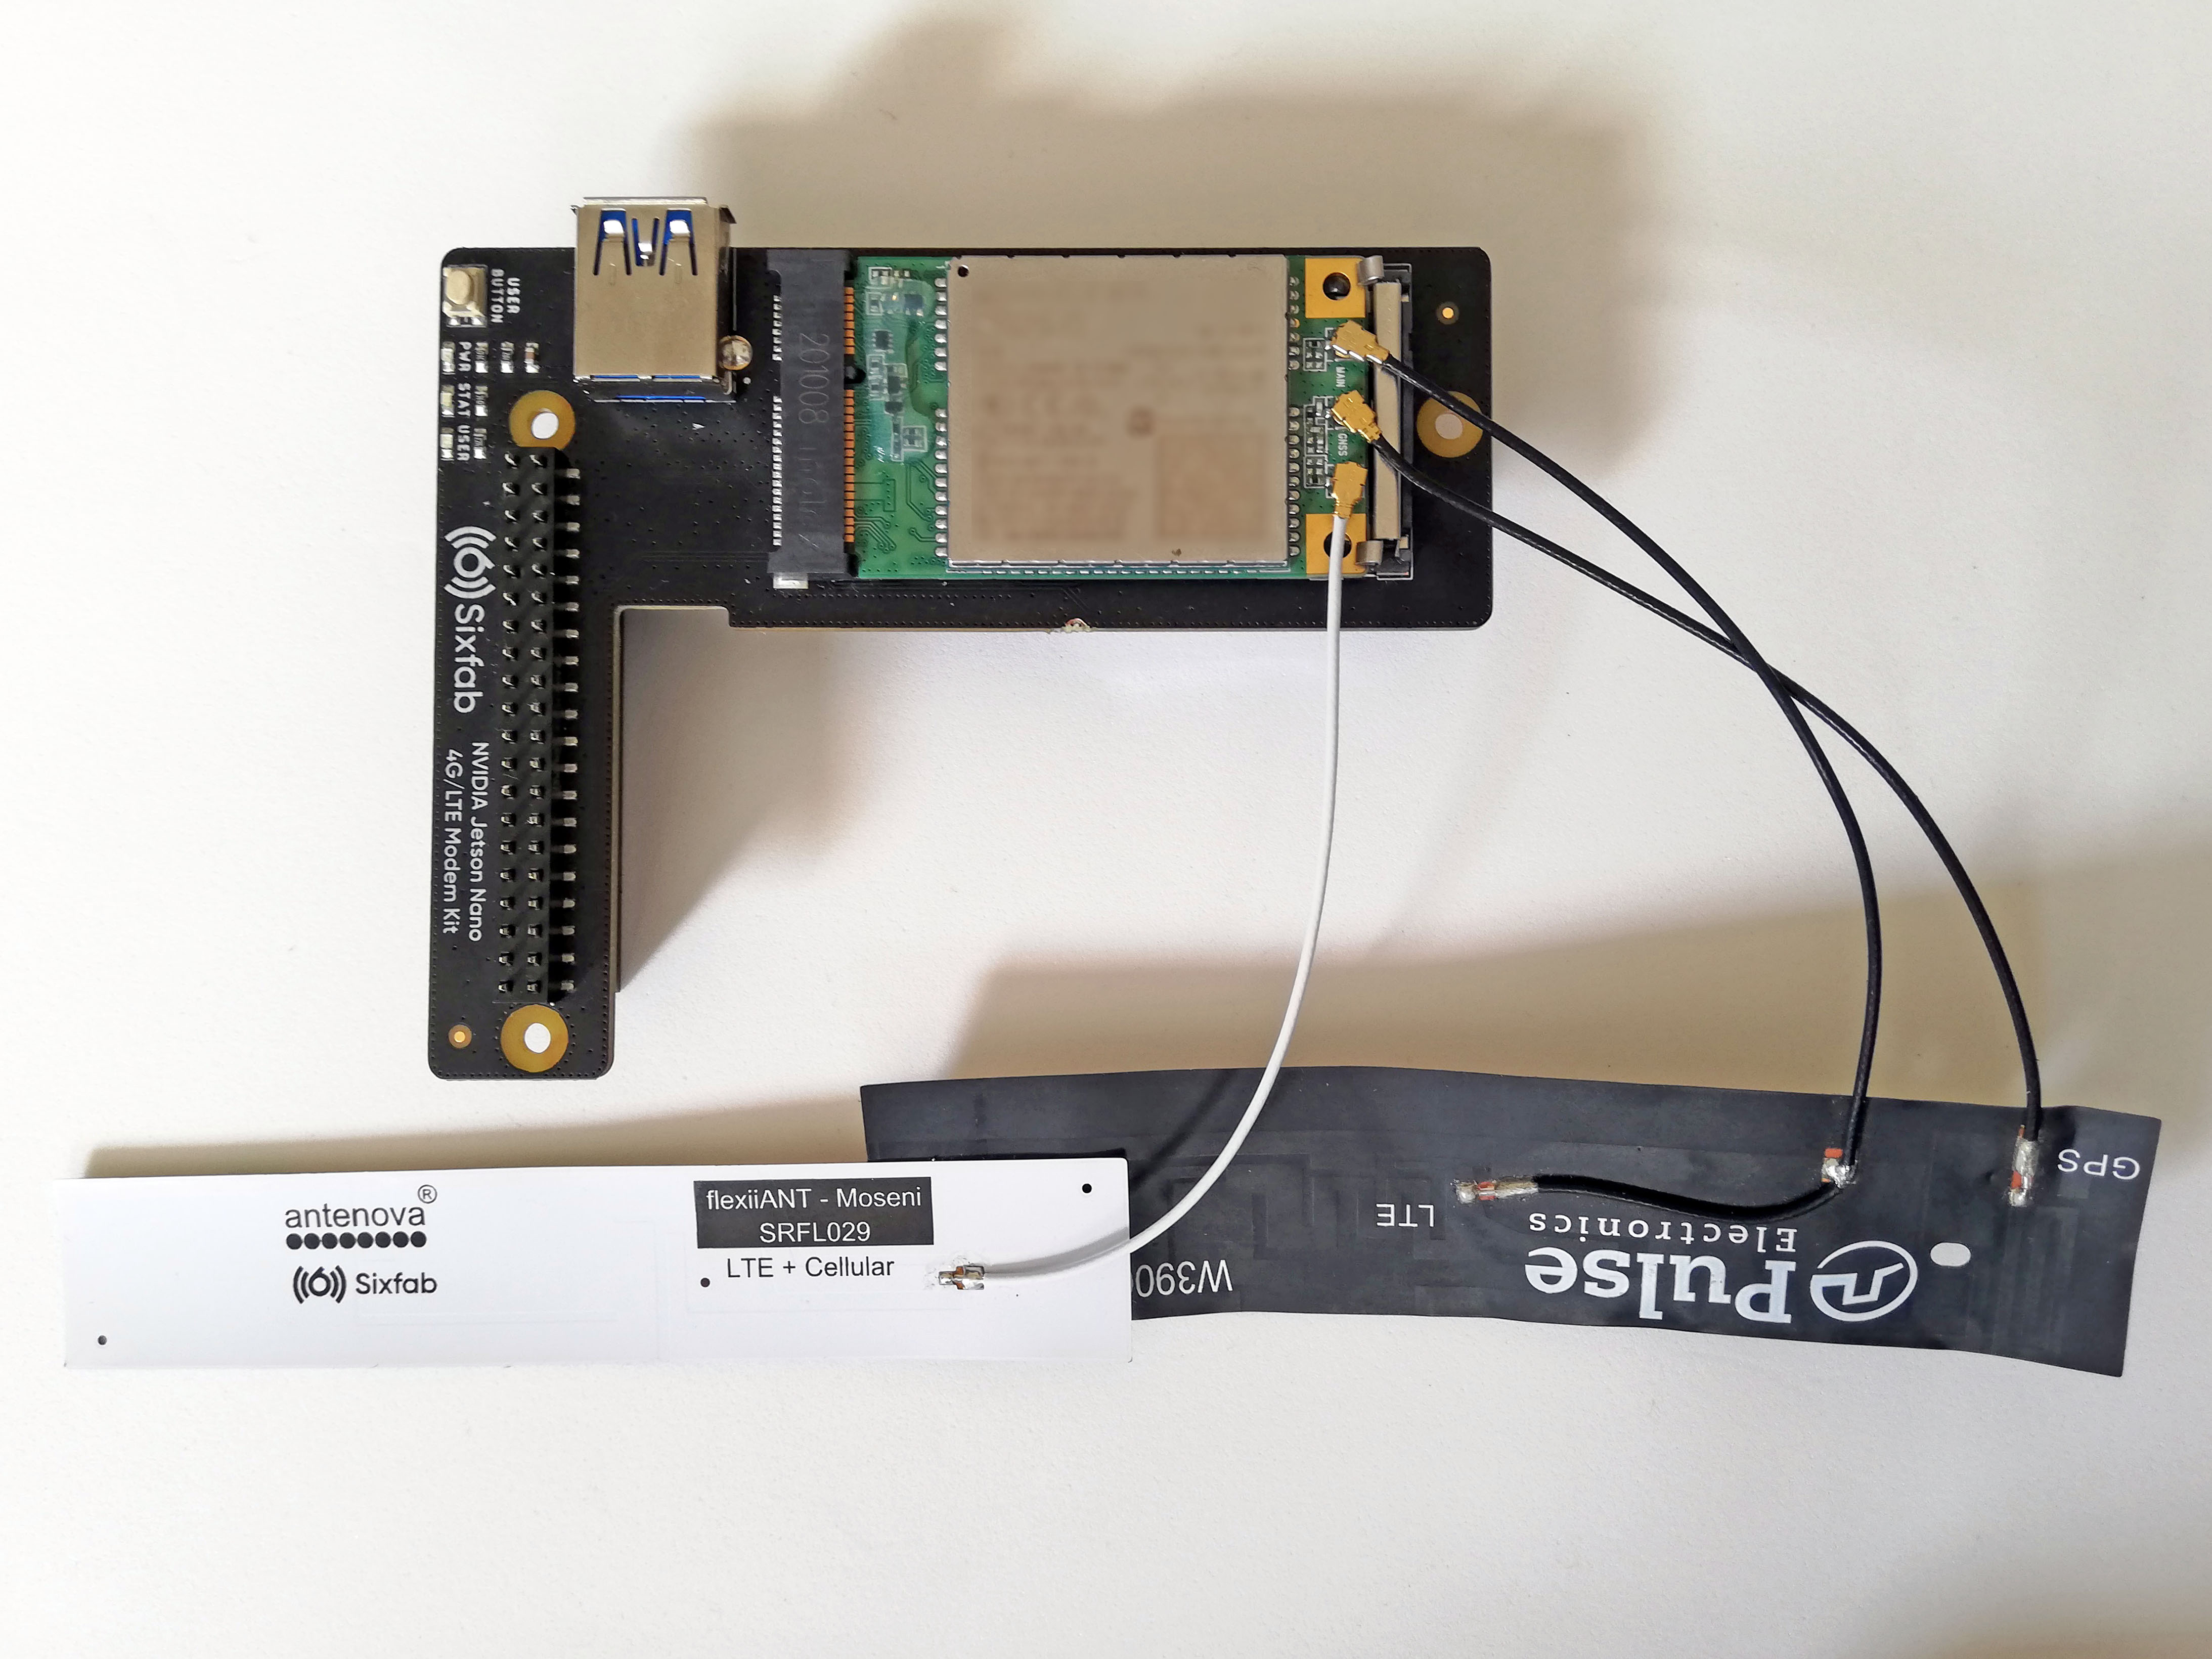
Make sure the right antenna is connected to the right port. Attach LTE full band PCB antenna/LTE connector of the LTE-GNSS dual antenna to the main Antenna interface/diversity antenna interface & GPS Antenna portion goes to the GNSS antenna interface.
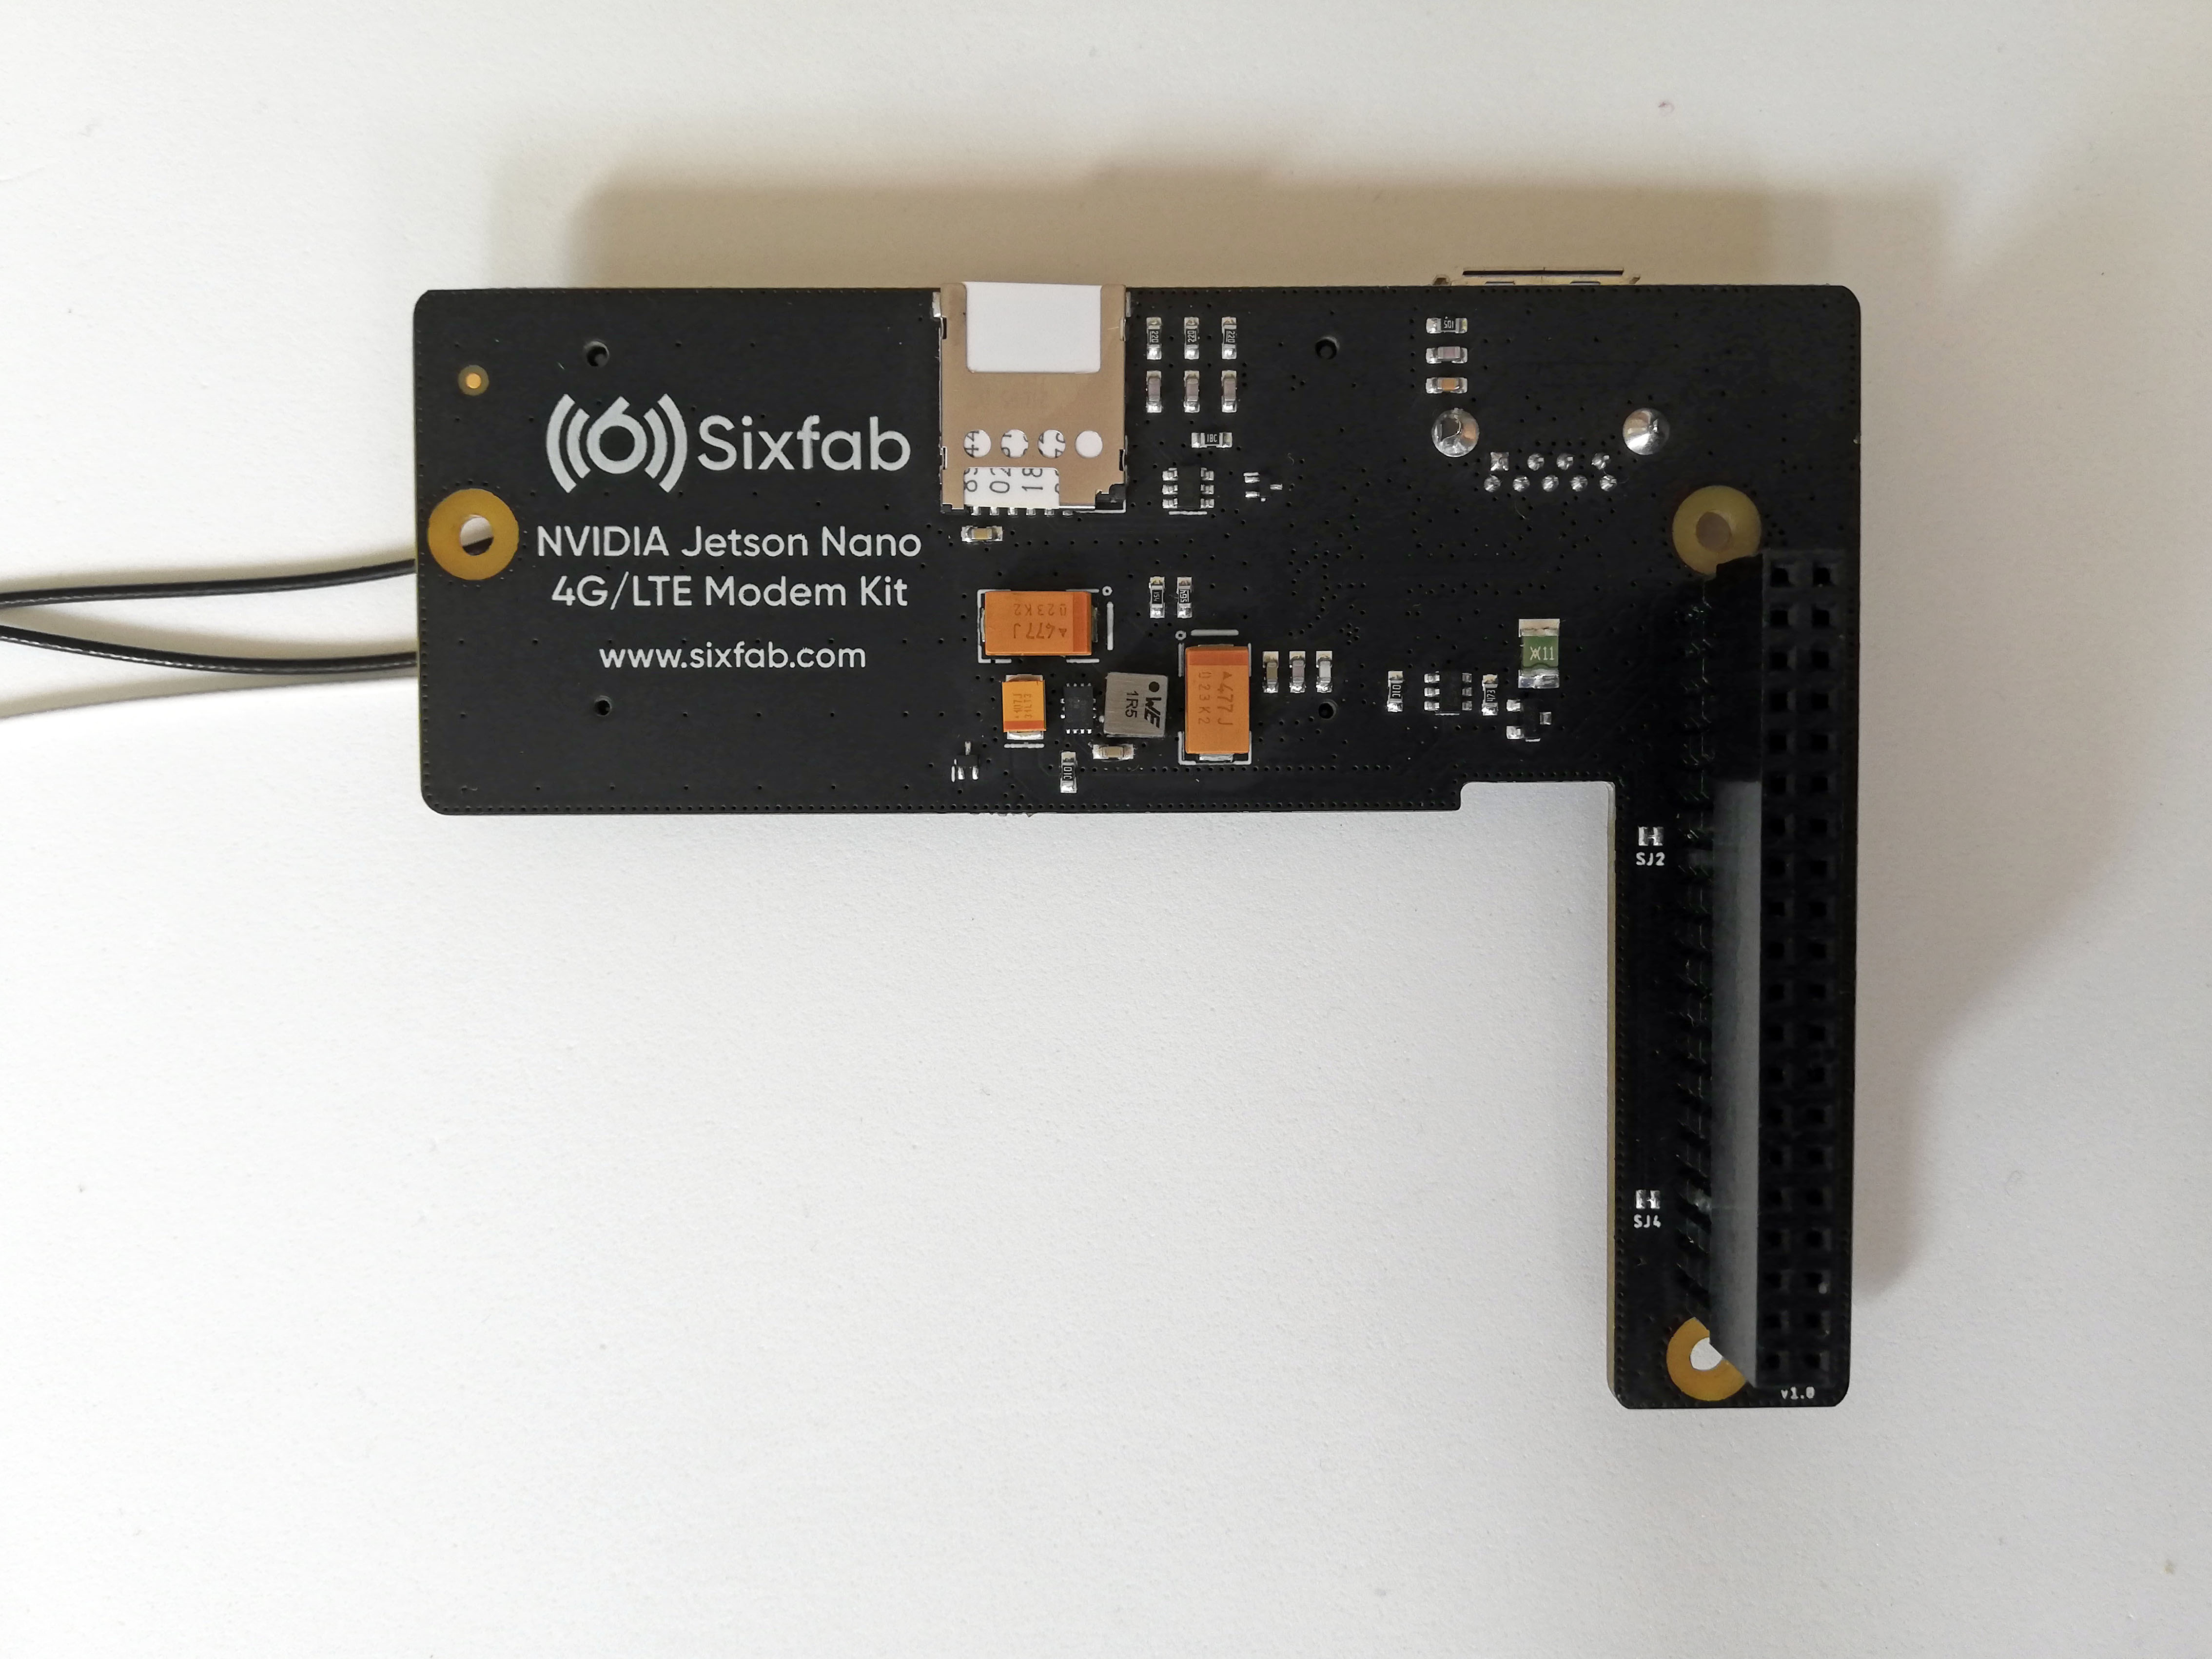
3. Attach header and Sixfab SIM
4. Attach it to the NVIDIA Jetson Nano
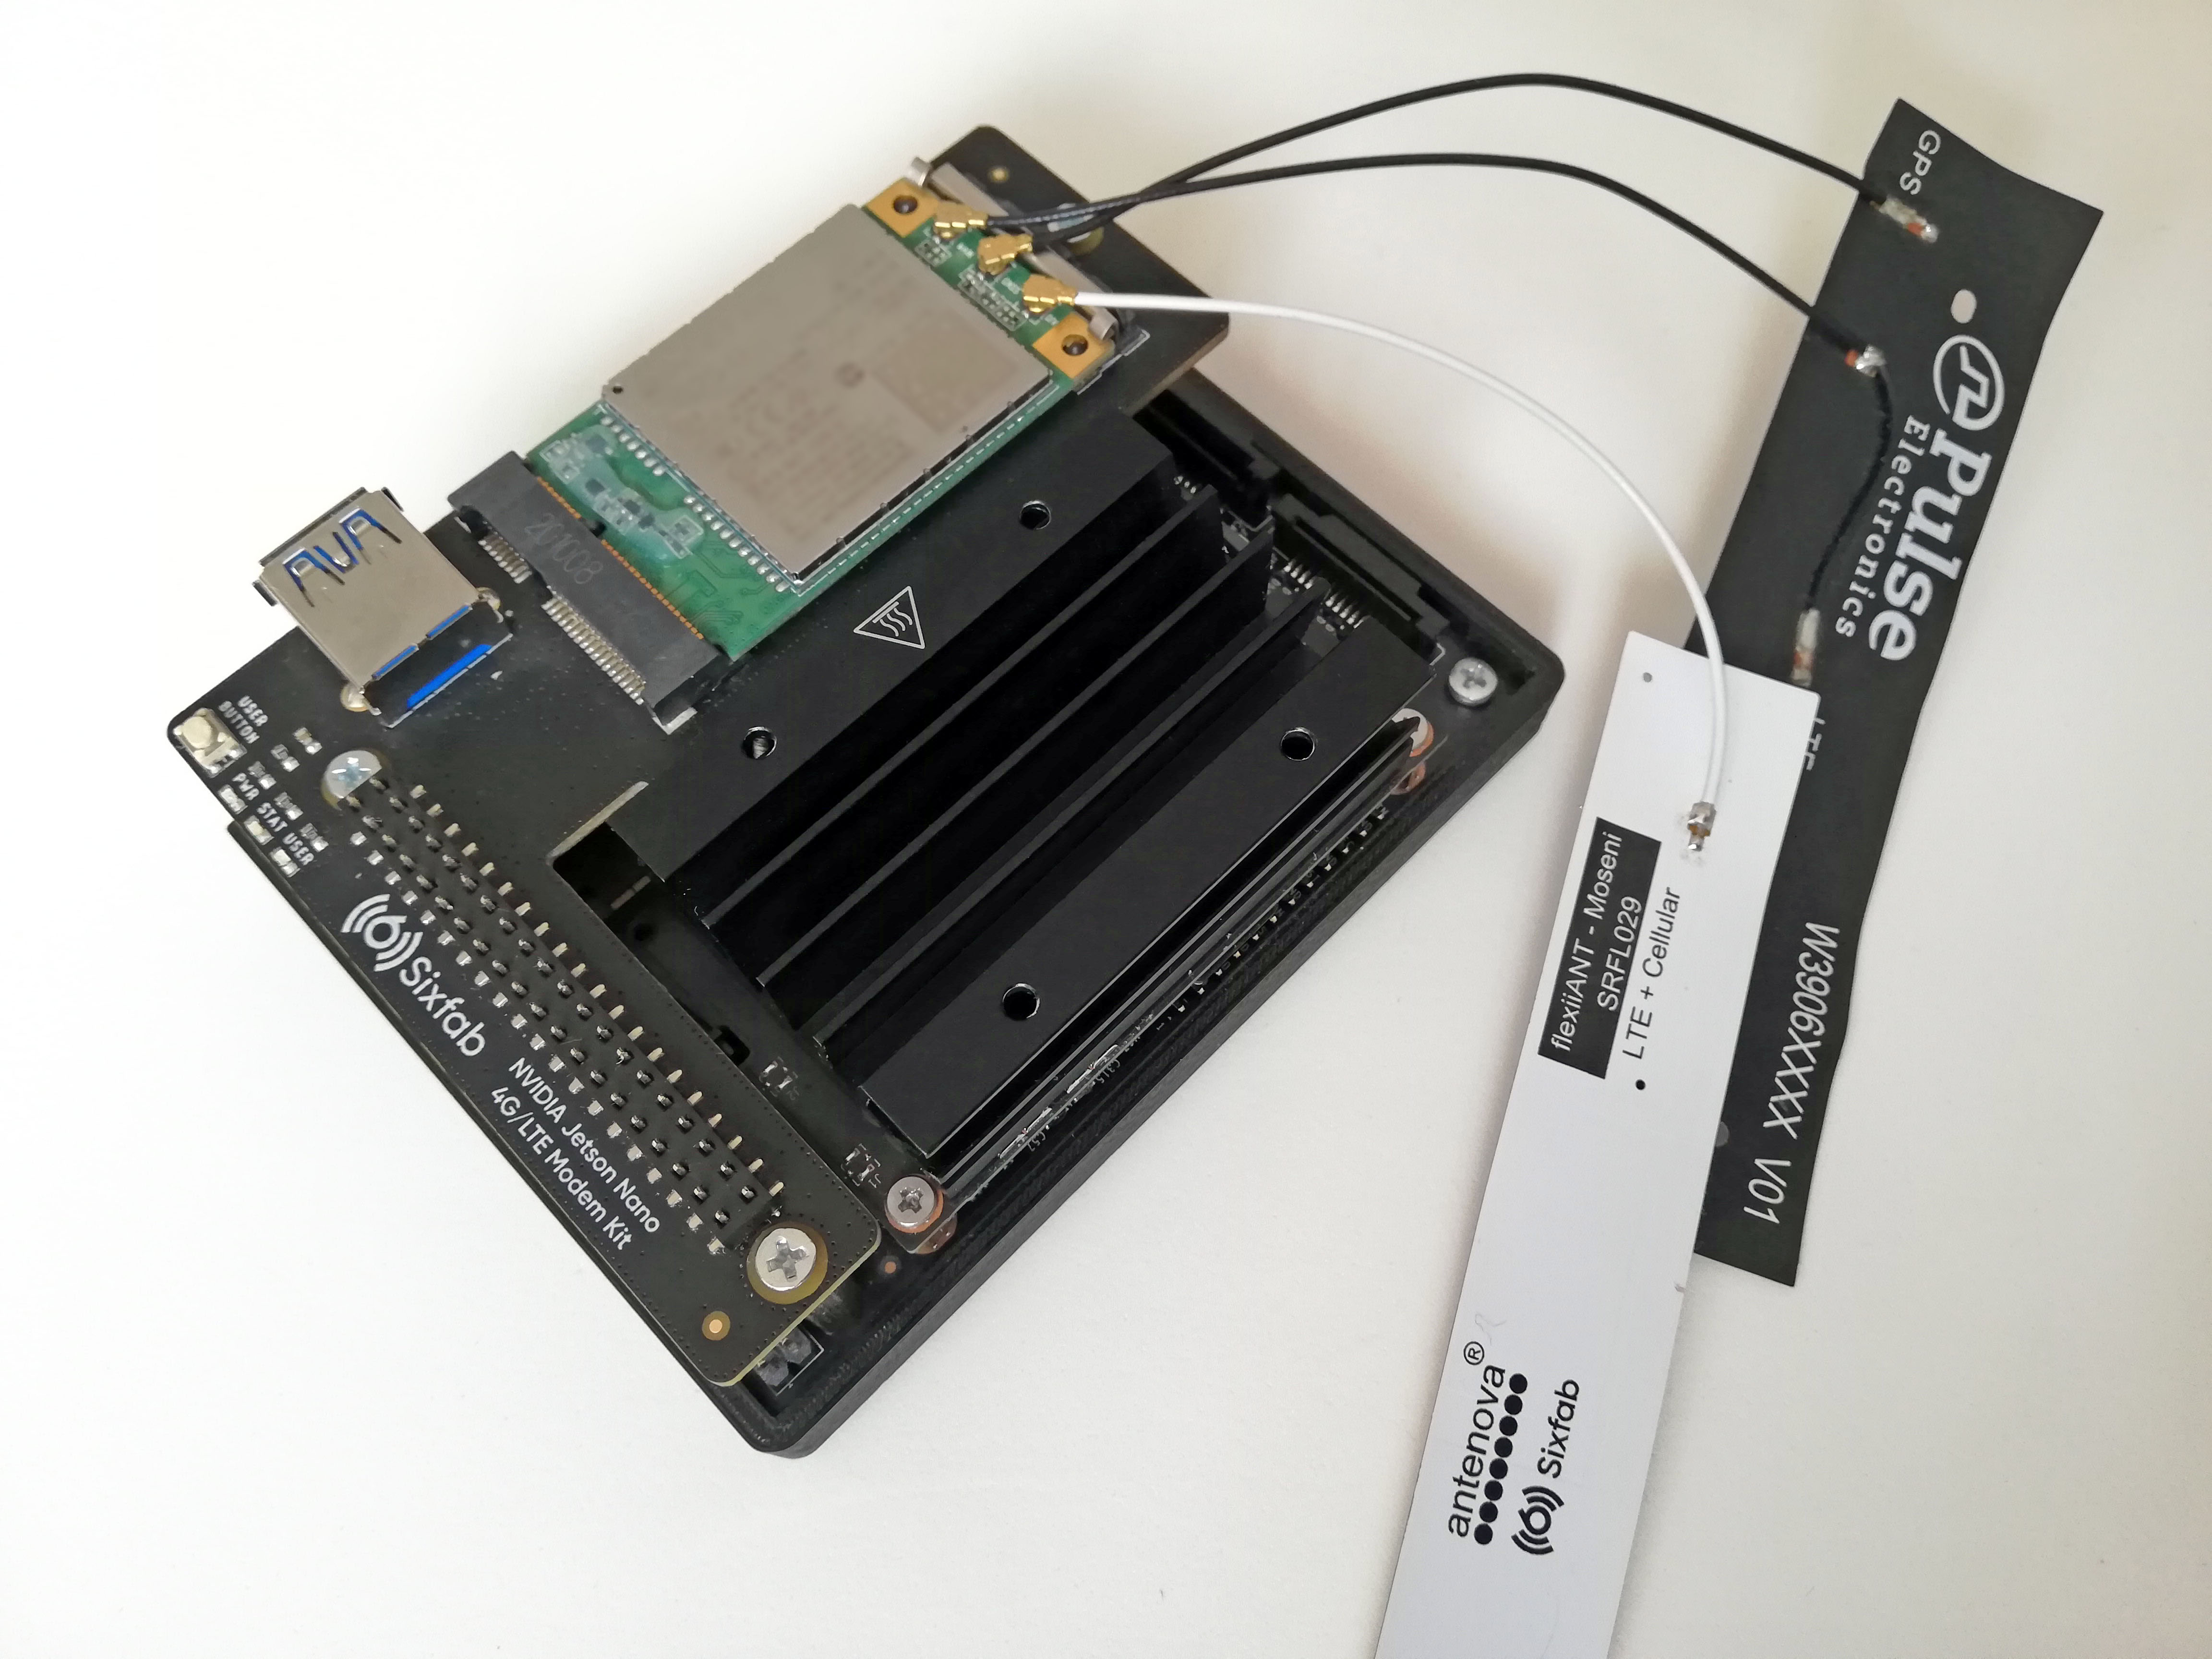
📖 Note
For a clean install and avoiding installation errors, plug USB bridge into HAT after the software setup is complete.
Step 2: Software Setup
1. Sign In
Head over to connect.sixfab.com and sign in using your login credentials.
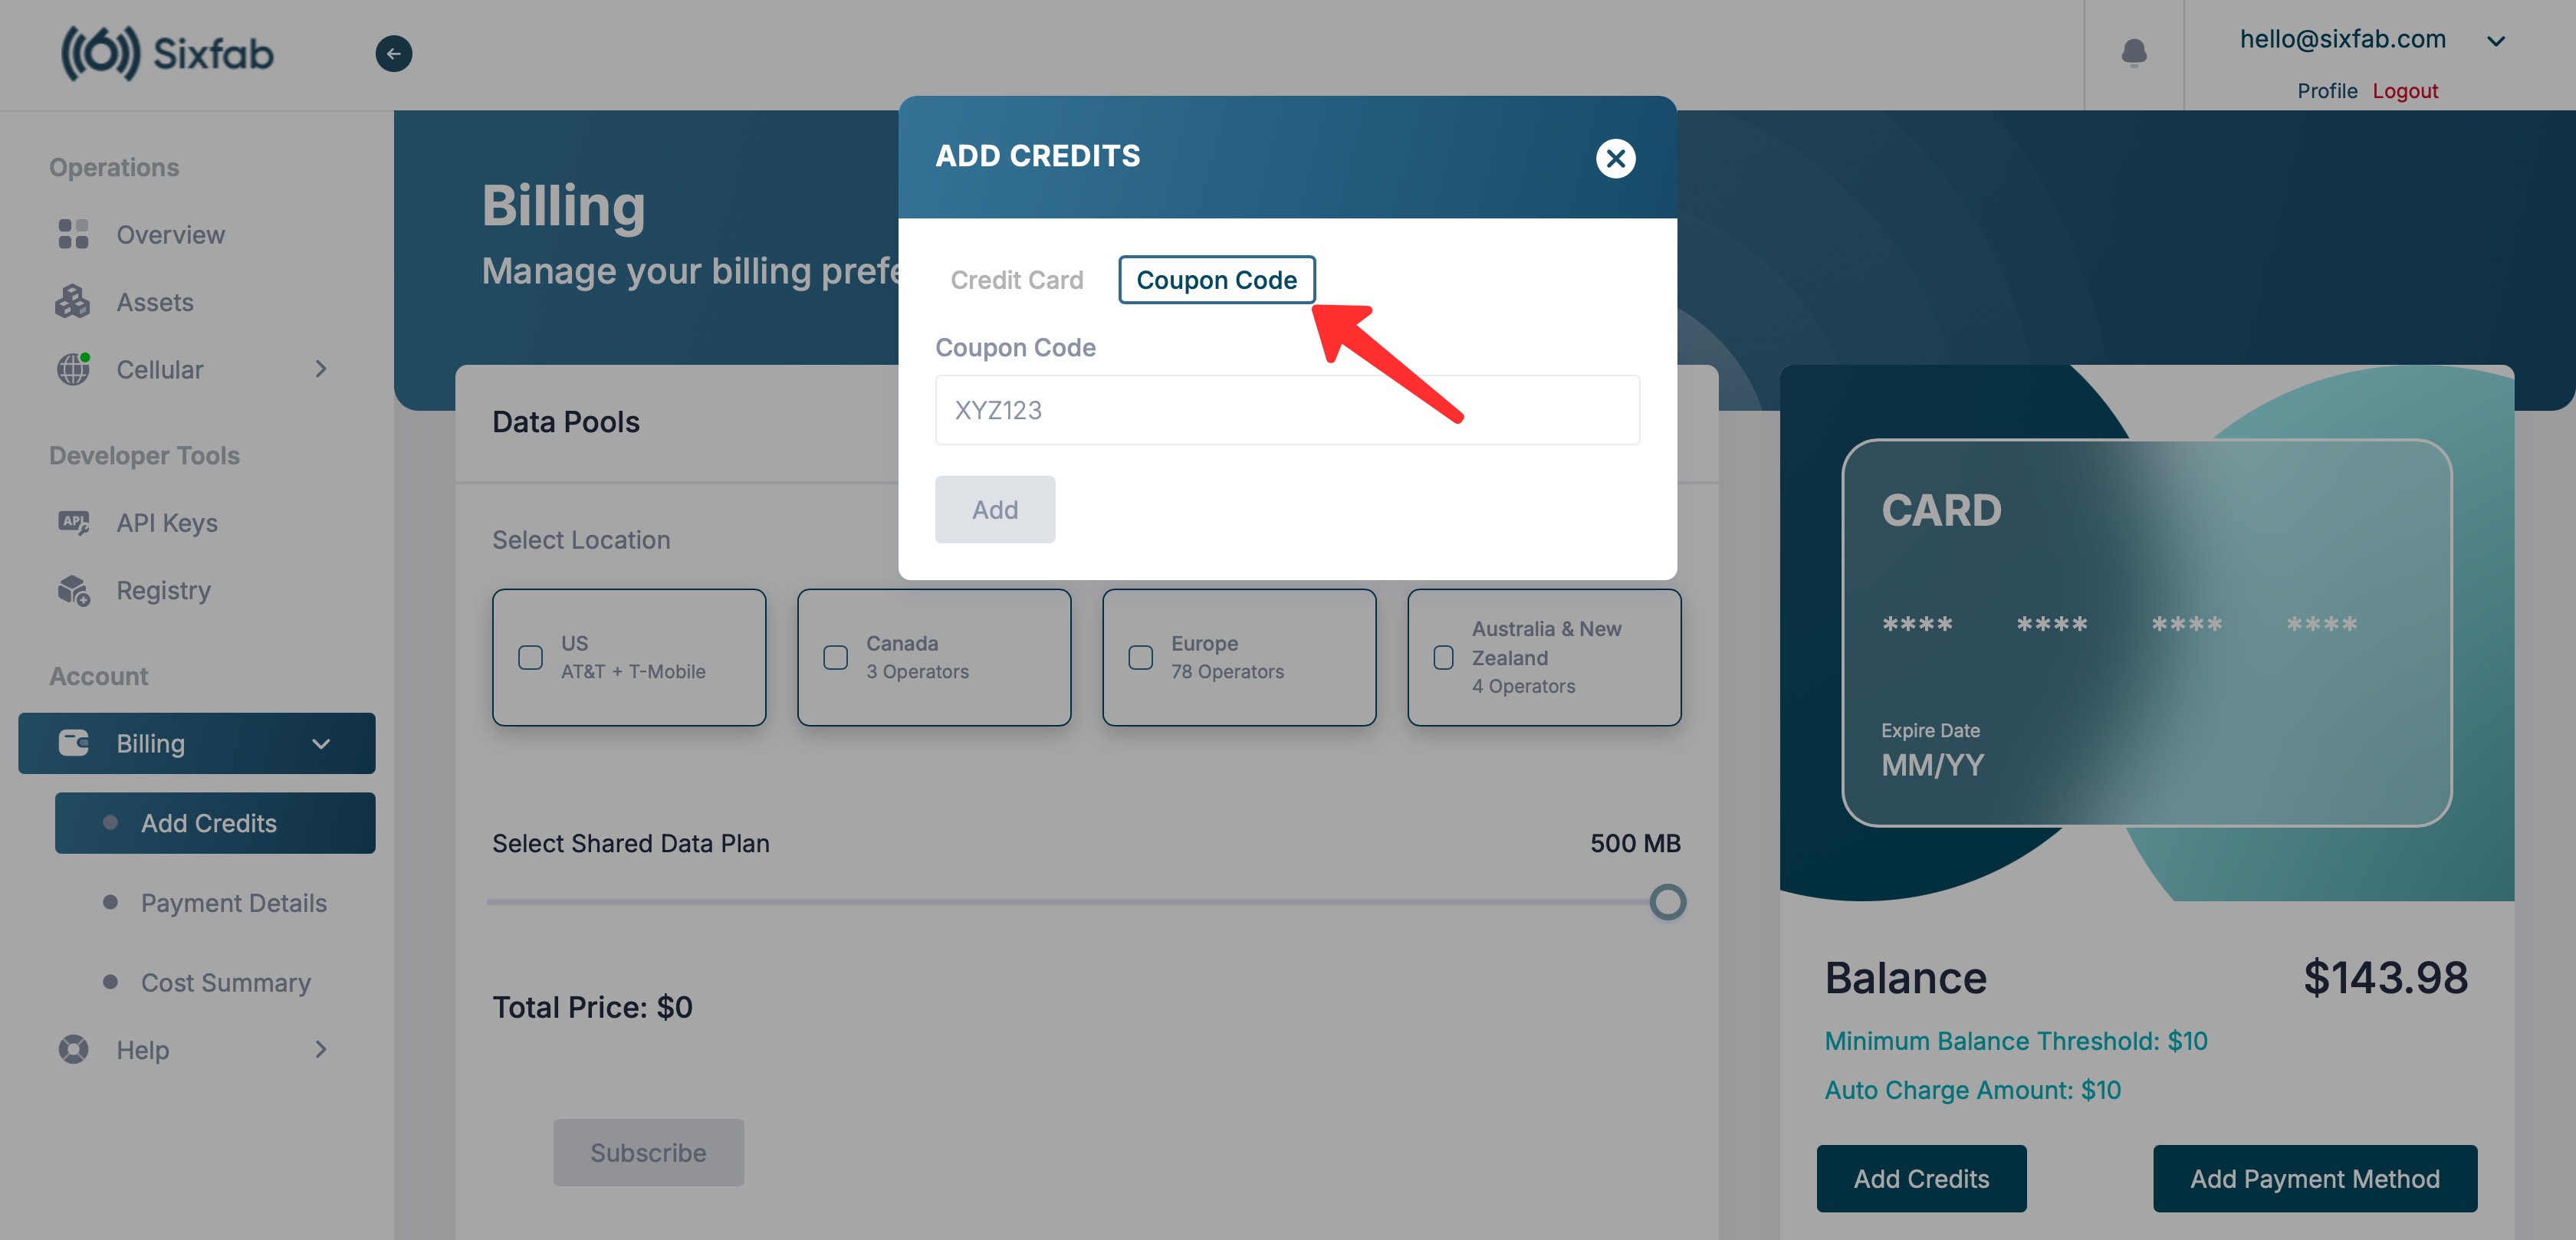
2. Add Coupon Code (optional)
If you have a credit voucher, go to Billing -> Add Credit -> Coupon Code from the dashboard to redeem it and enter your code.
3. Register Asset
To initialize the Sixfab CORE device, an active Sixfab SIM asset is required.
If you don’t have one, please register and activate a Asset from the "Assets -> + Register Asset" section.
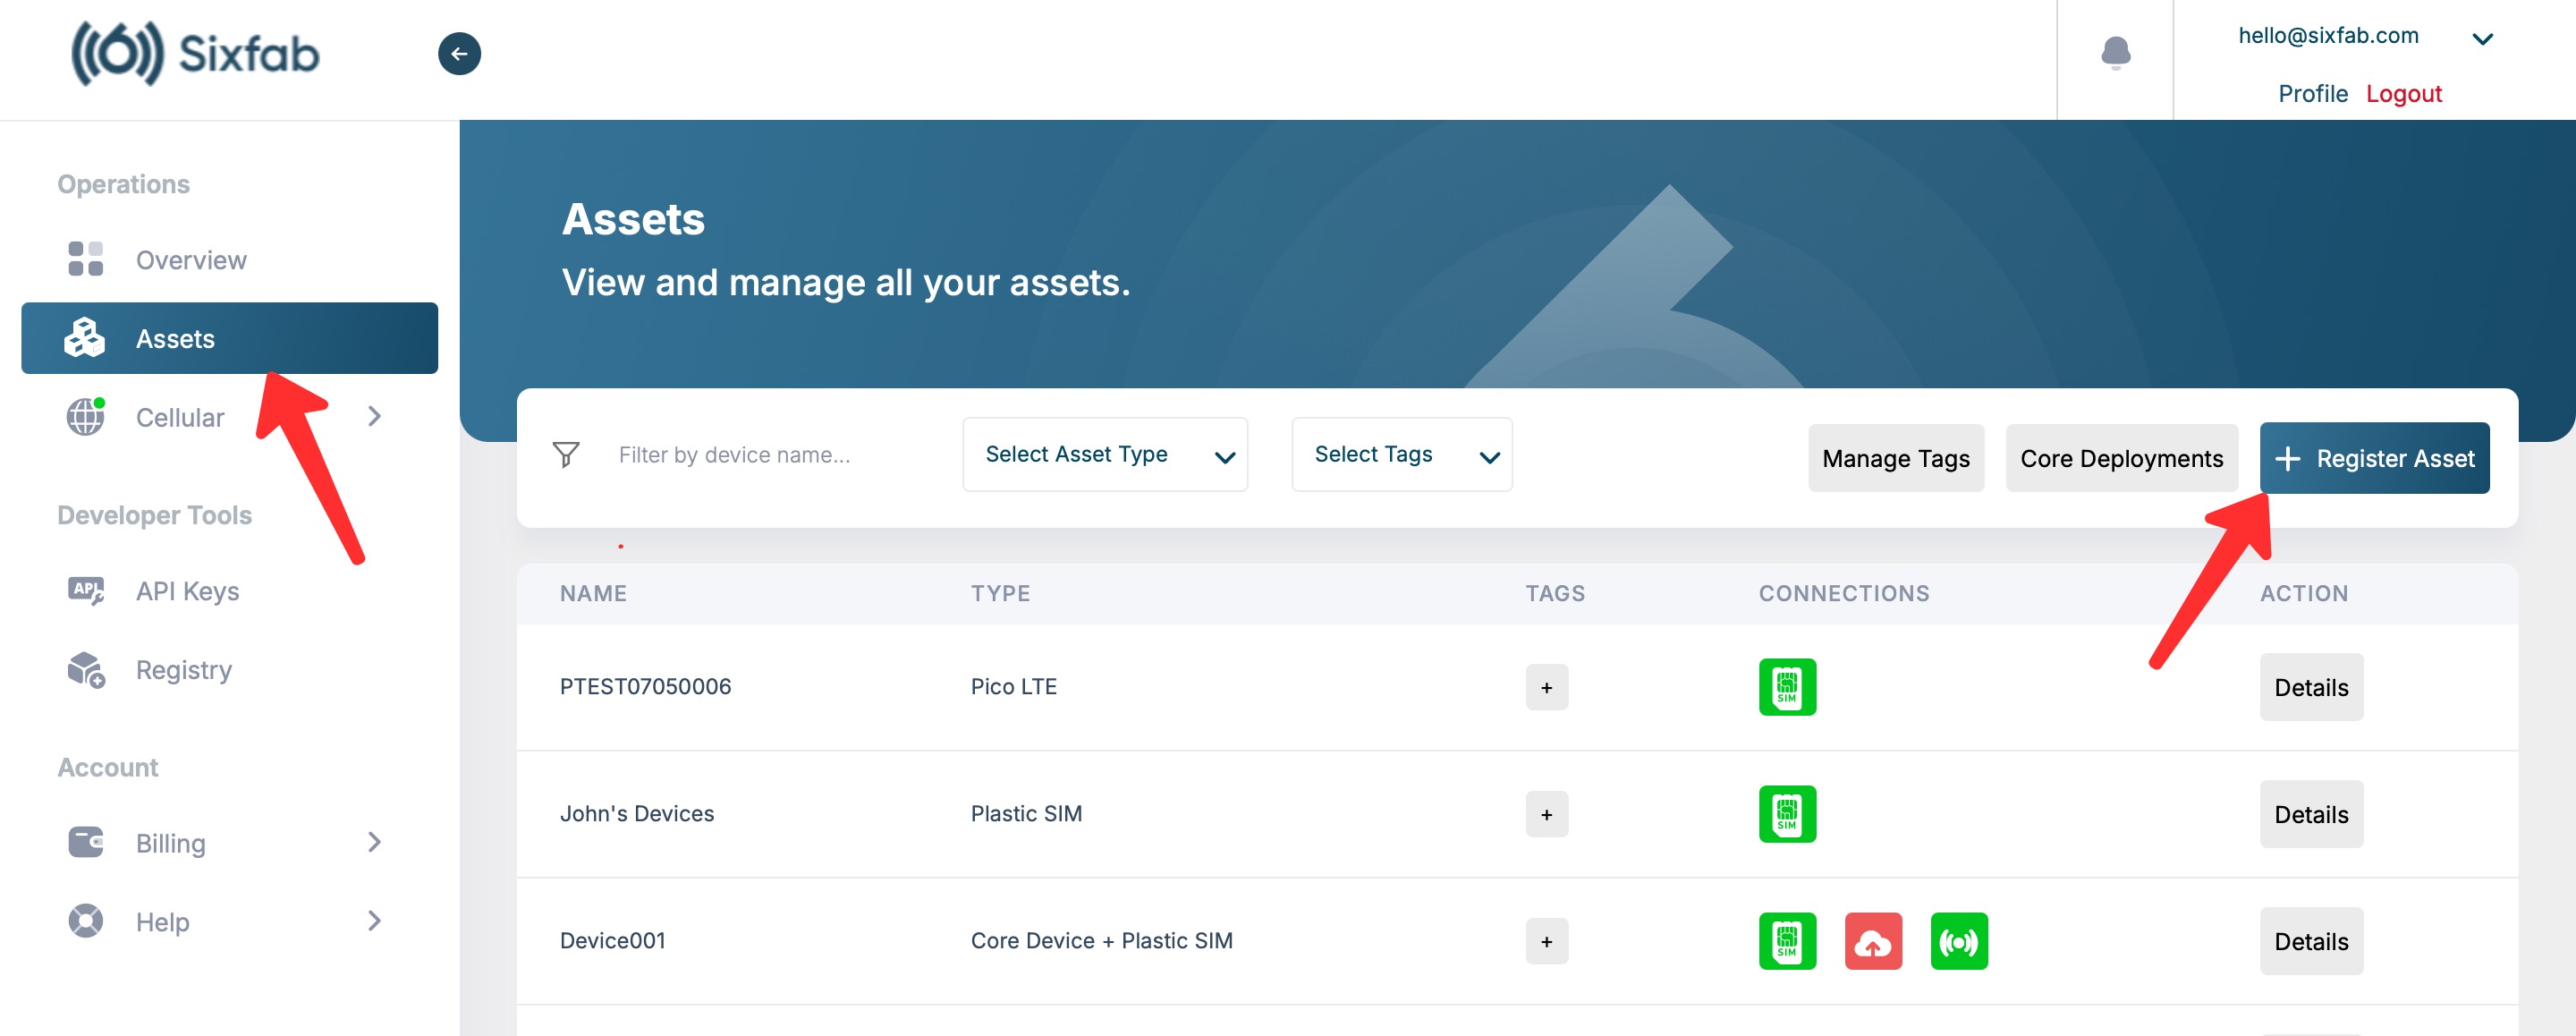
Enter ICCID (SIM Card ID) and Asset name (optional), then click the "Register" button.

Skip this step if you already have an active registered asset.
4. Create CORE Device
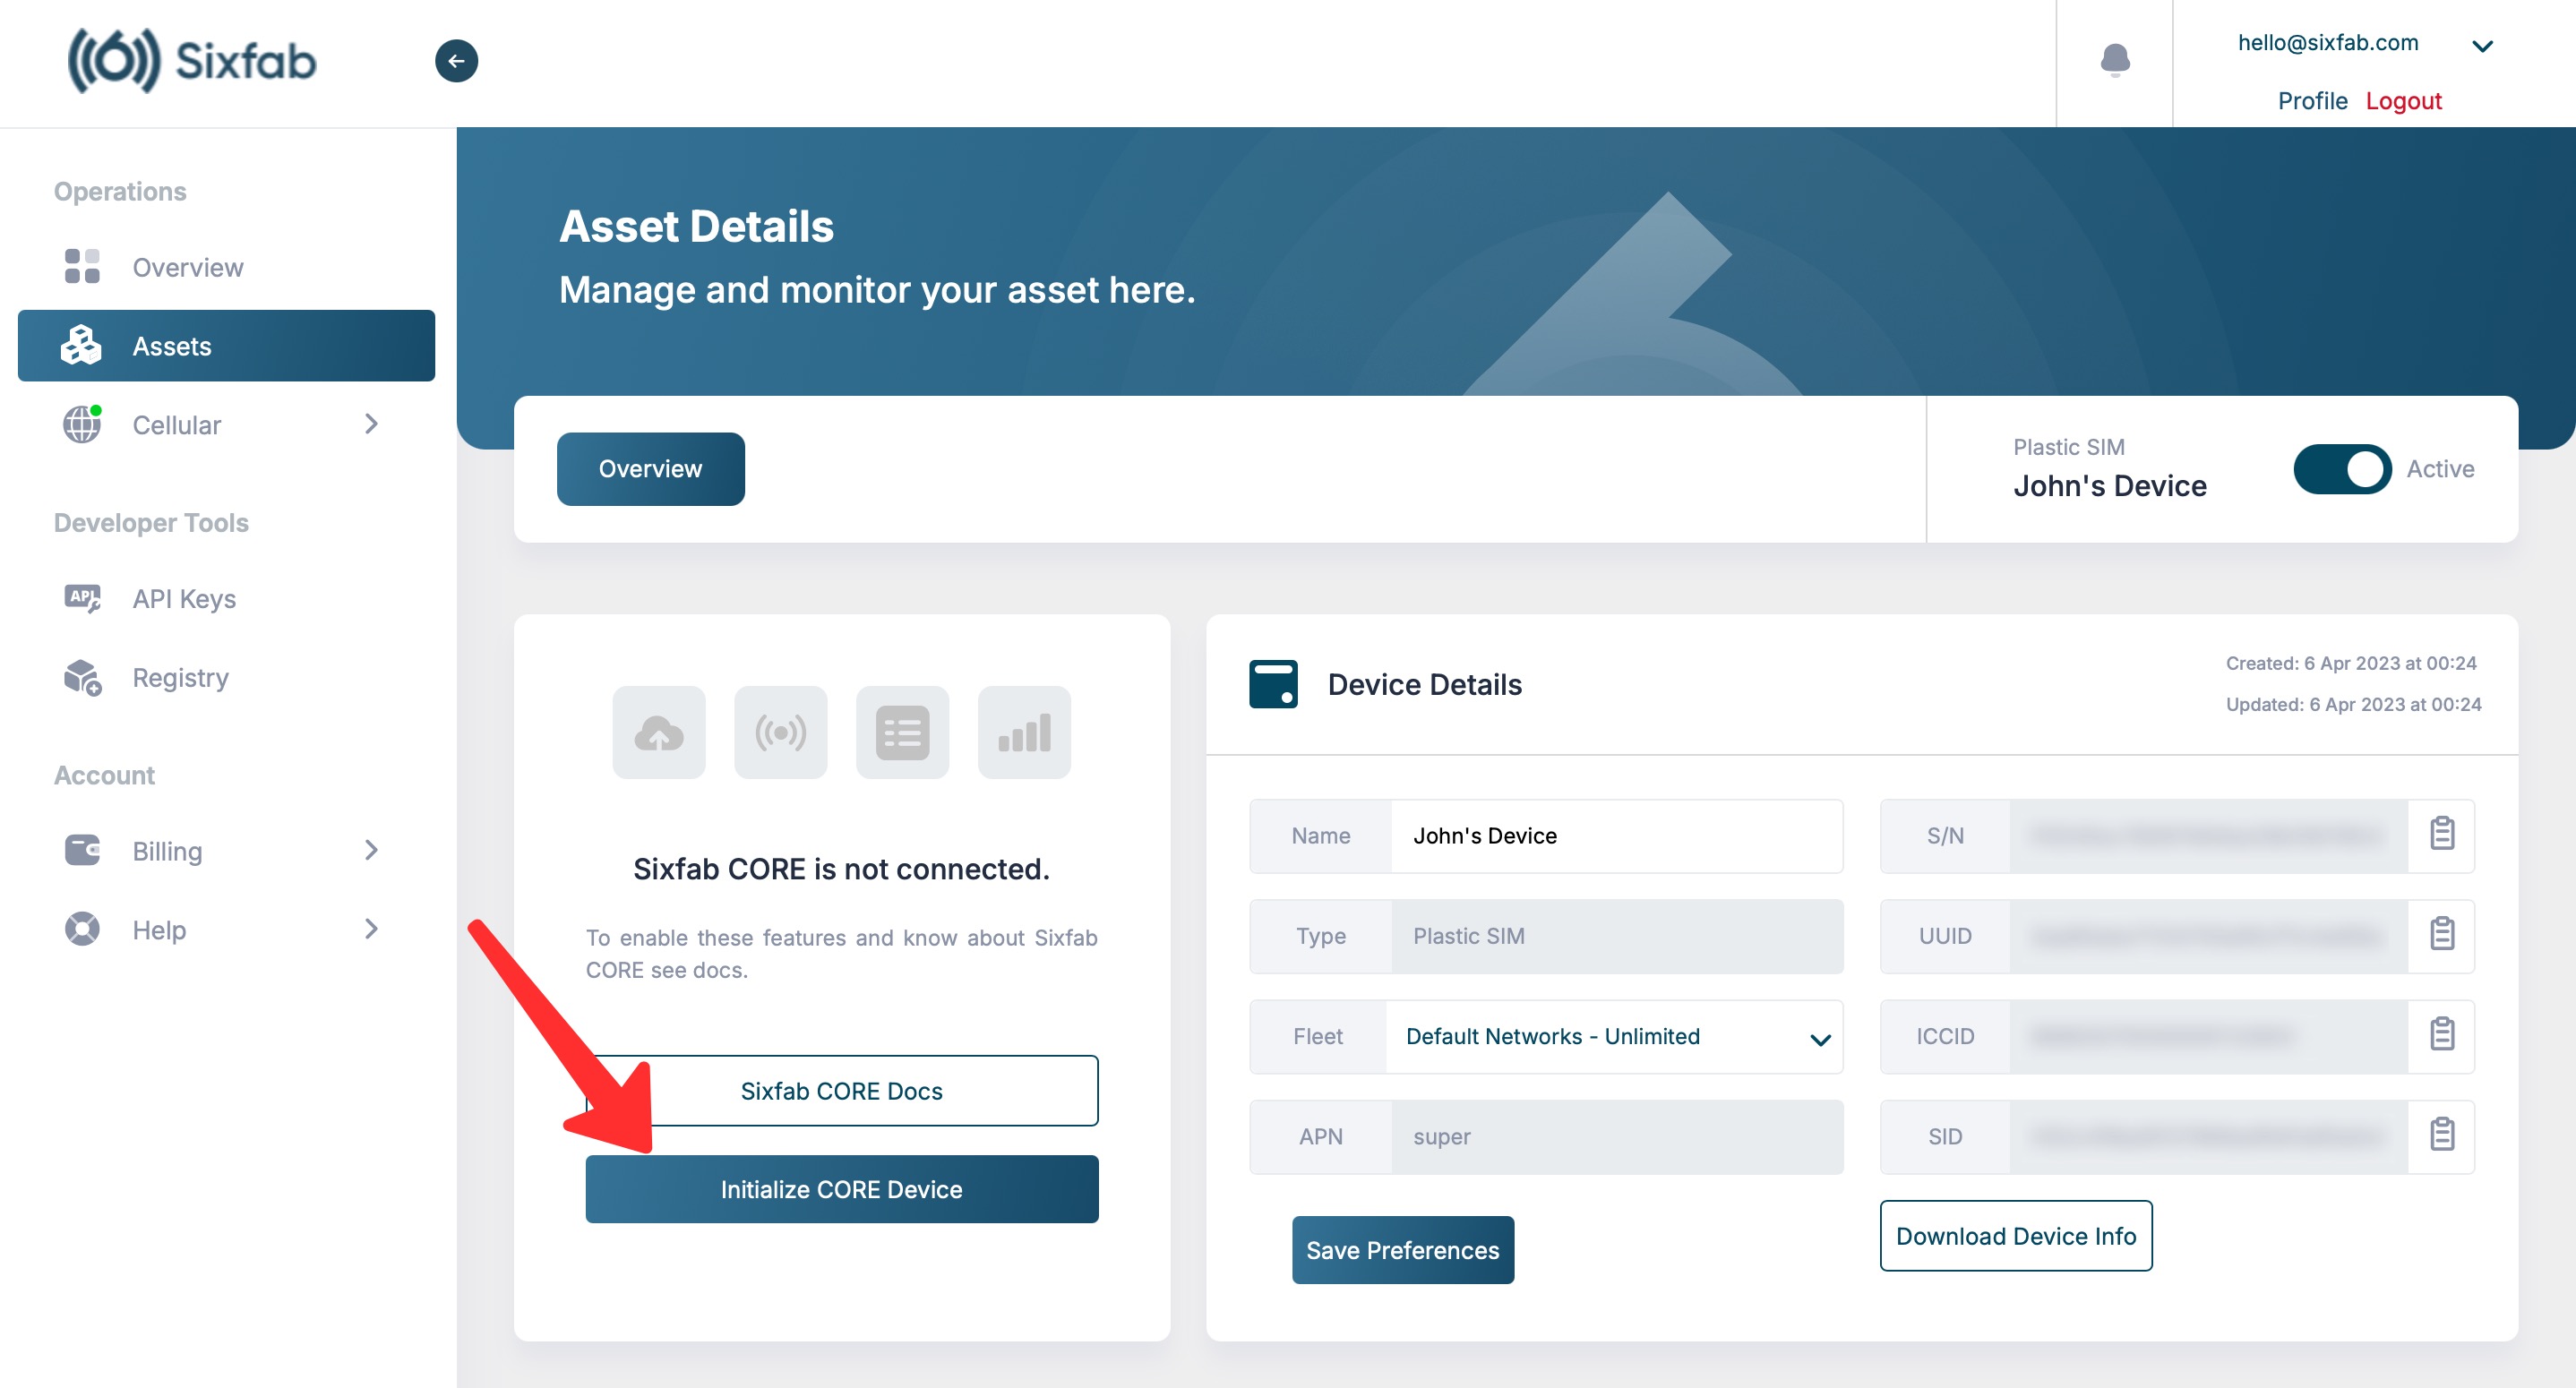
Navigate to the details of the asset you want to install the CORE device for on the Assets page.
Click on the 'Initialize CORE Device' button located in the Sixfab CORE section within the asset details.
5. Select Board
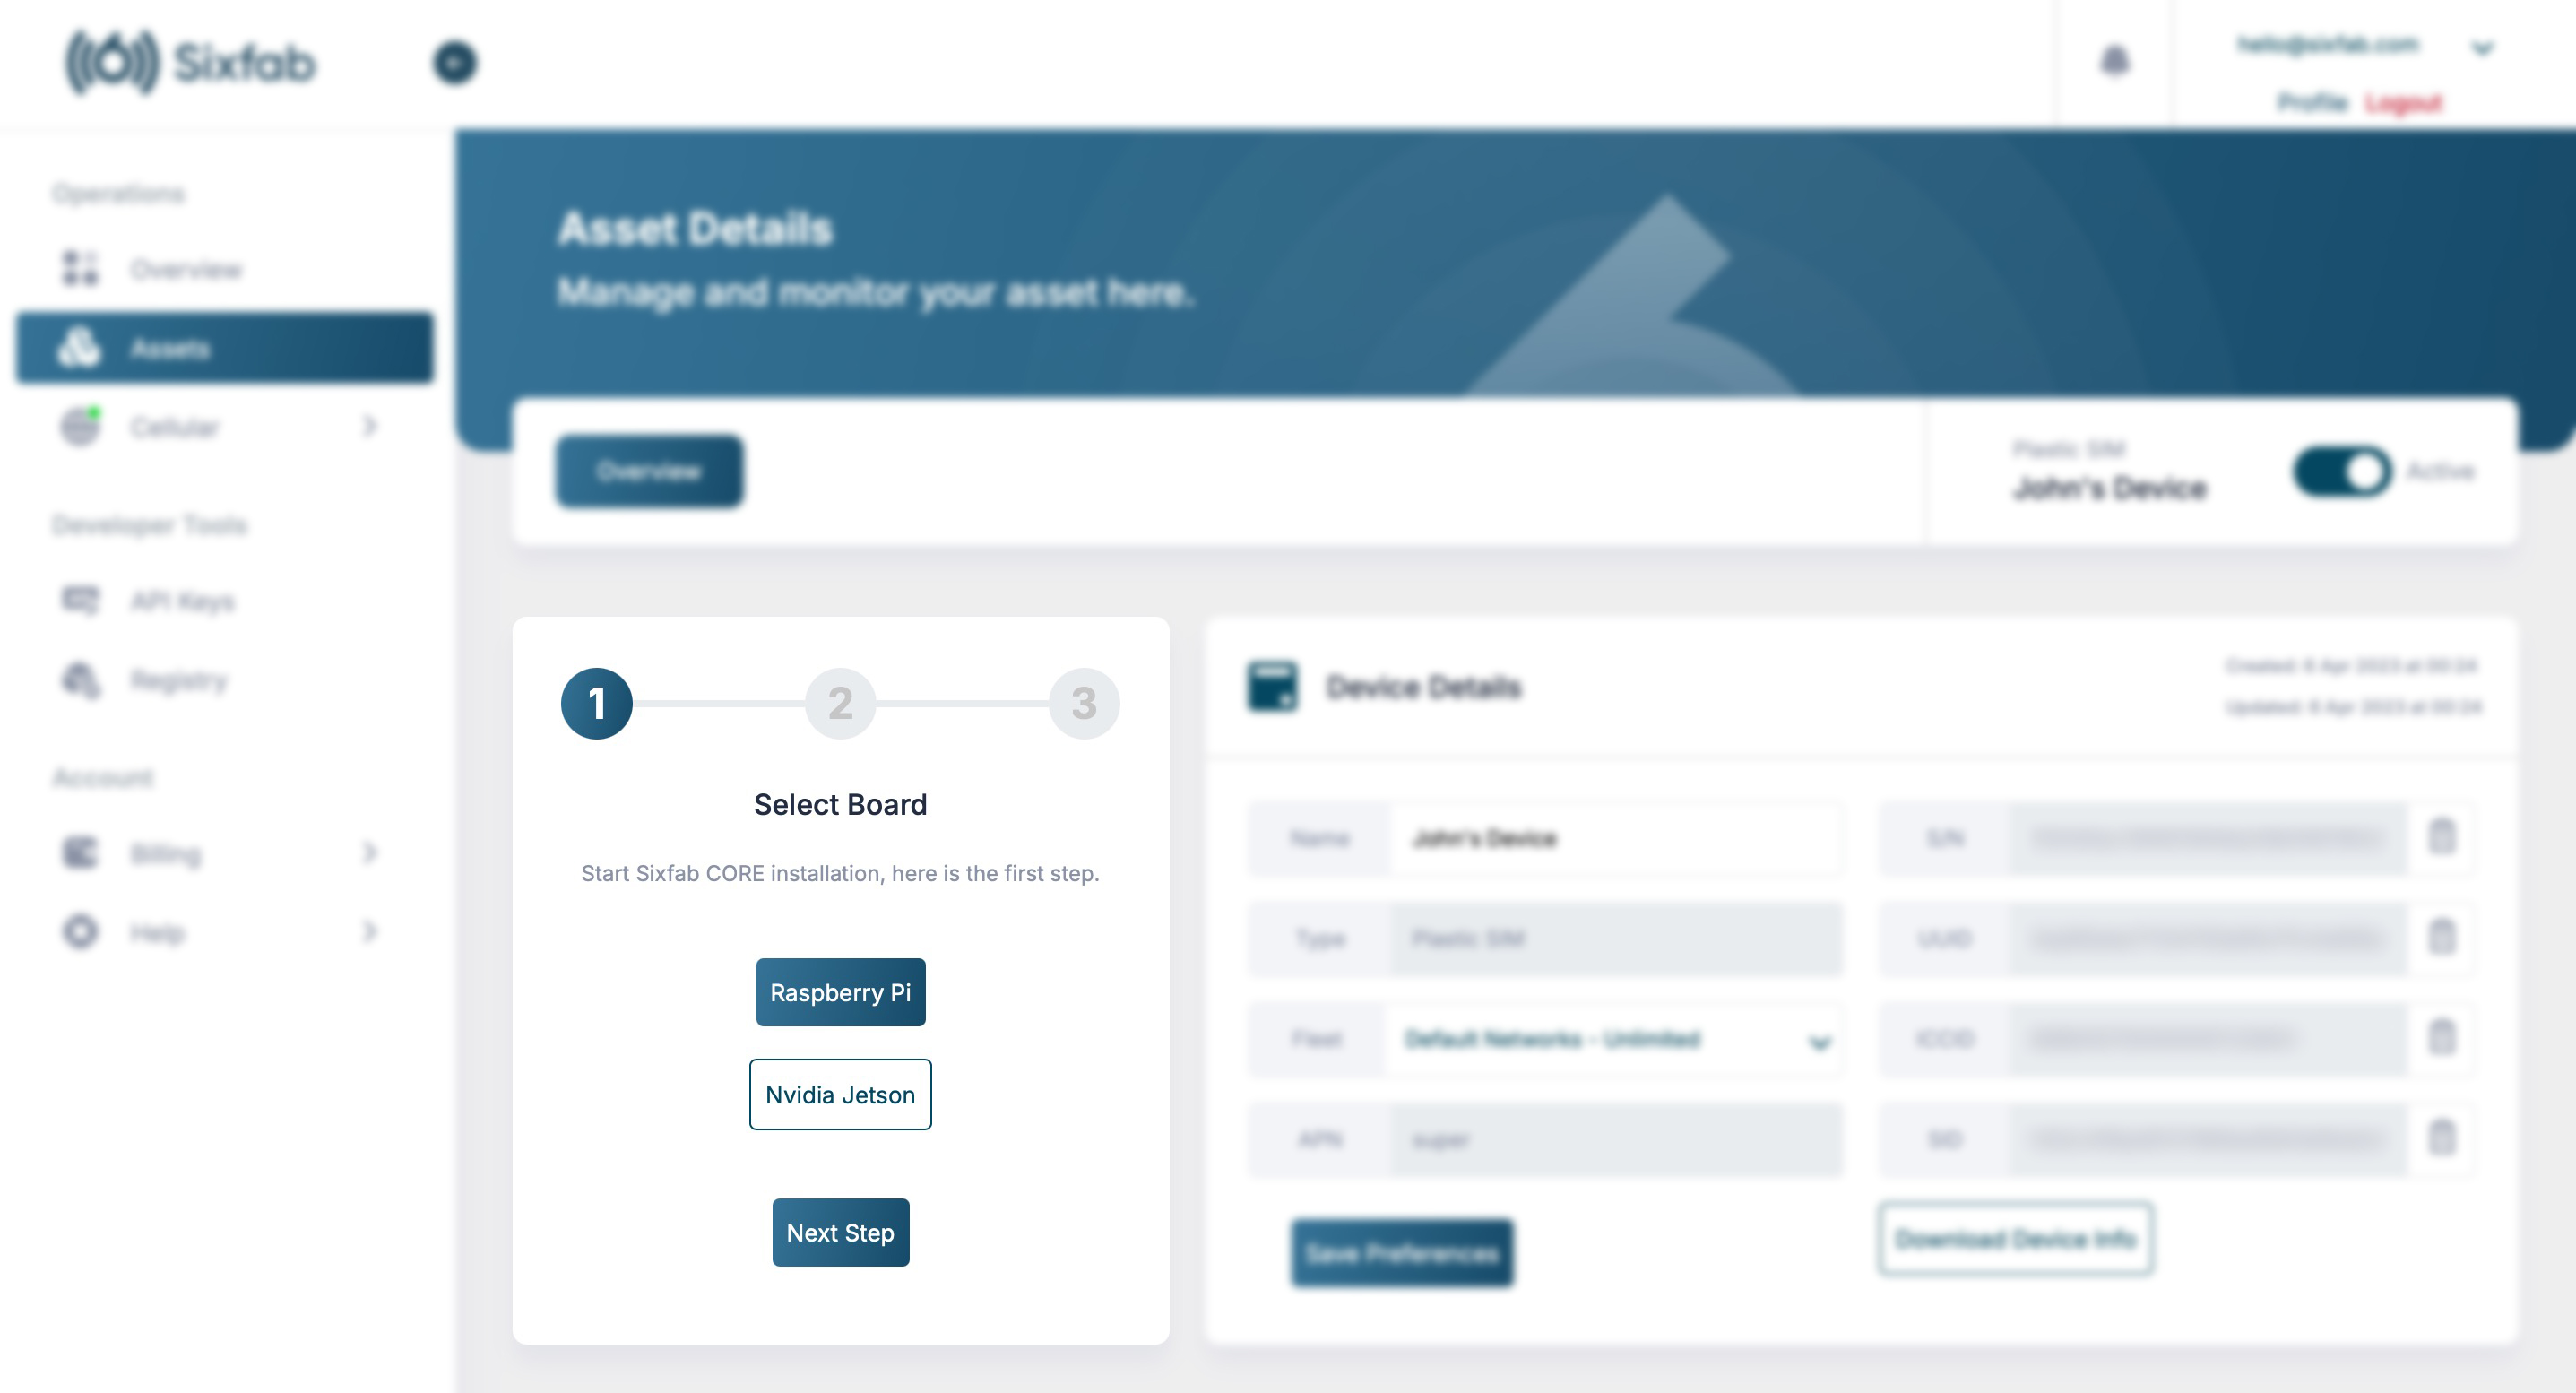
Select the NVIDIA Jetson board you want to install Sixfab CORE on and proceed.
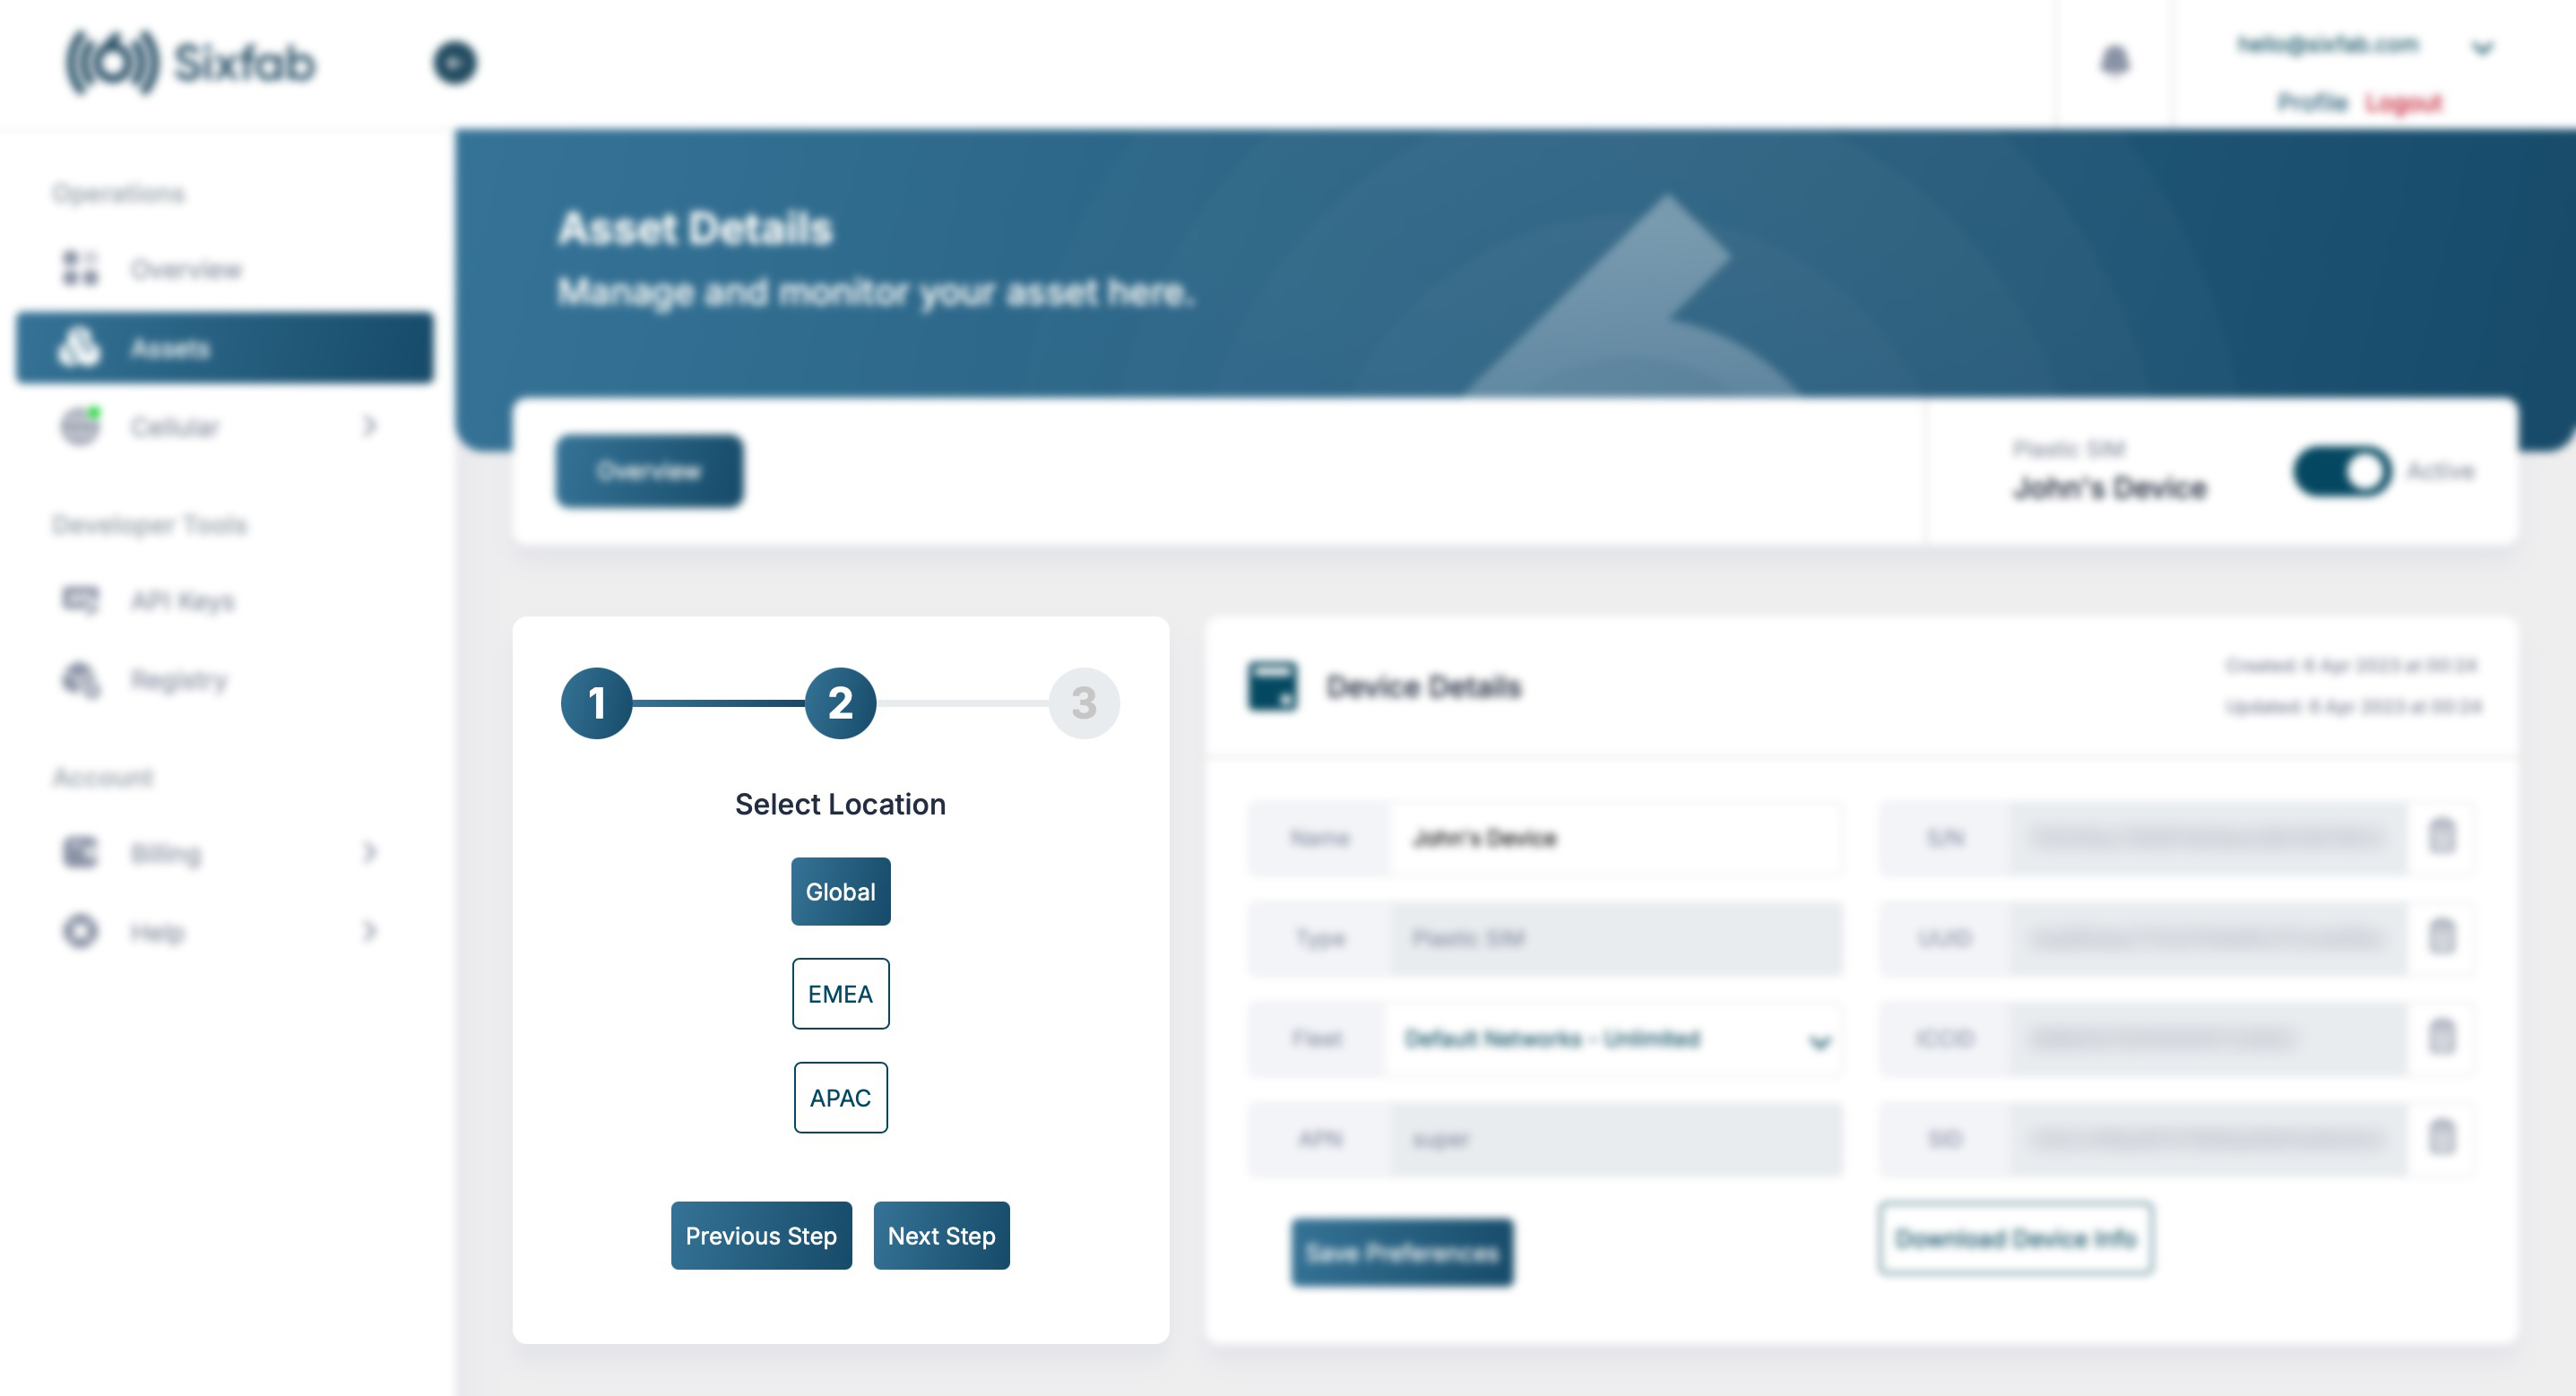
6. Select Location
Here, choose according to your region.
| Region | Description |
|---|---|
| Global | For devices to be deployed Worldwide |
| EMEA | For devices to be deployed in Europe, the Middle East and Africa |
| APAC | For devices to be deployed in Asia-Pacific only |
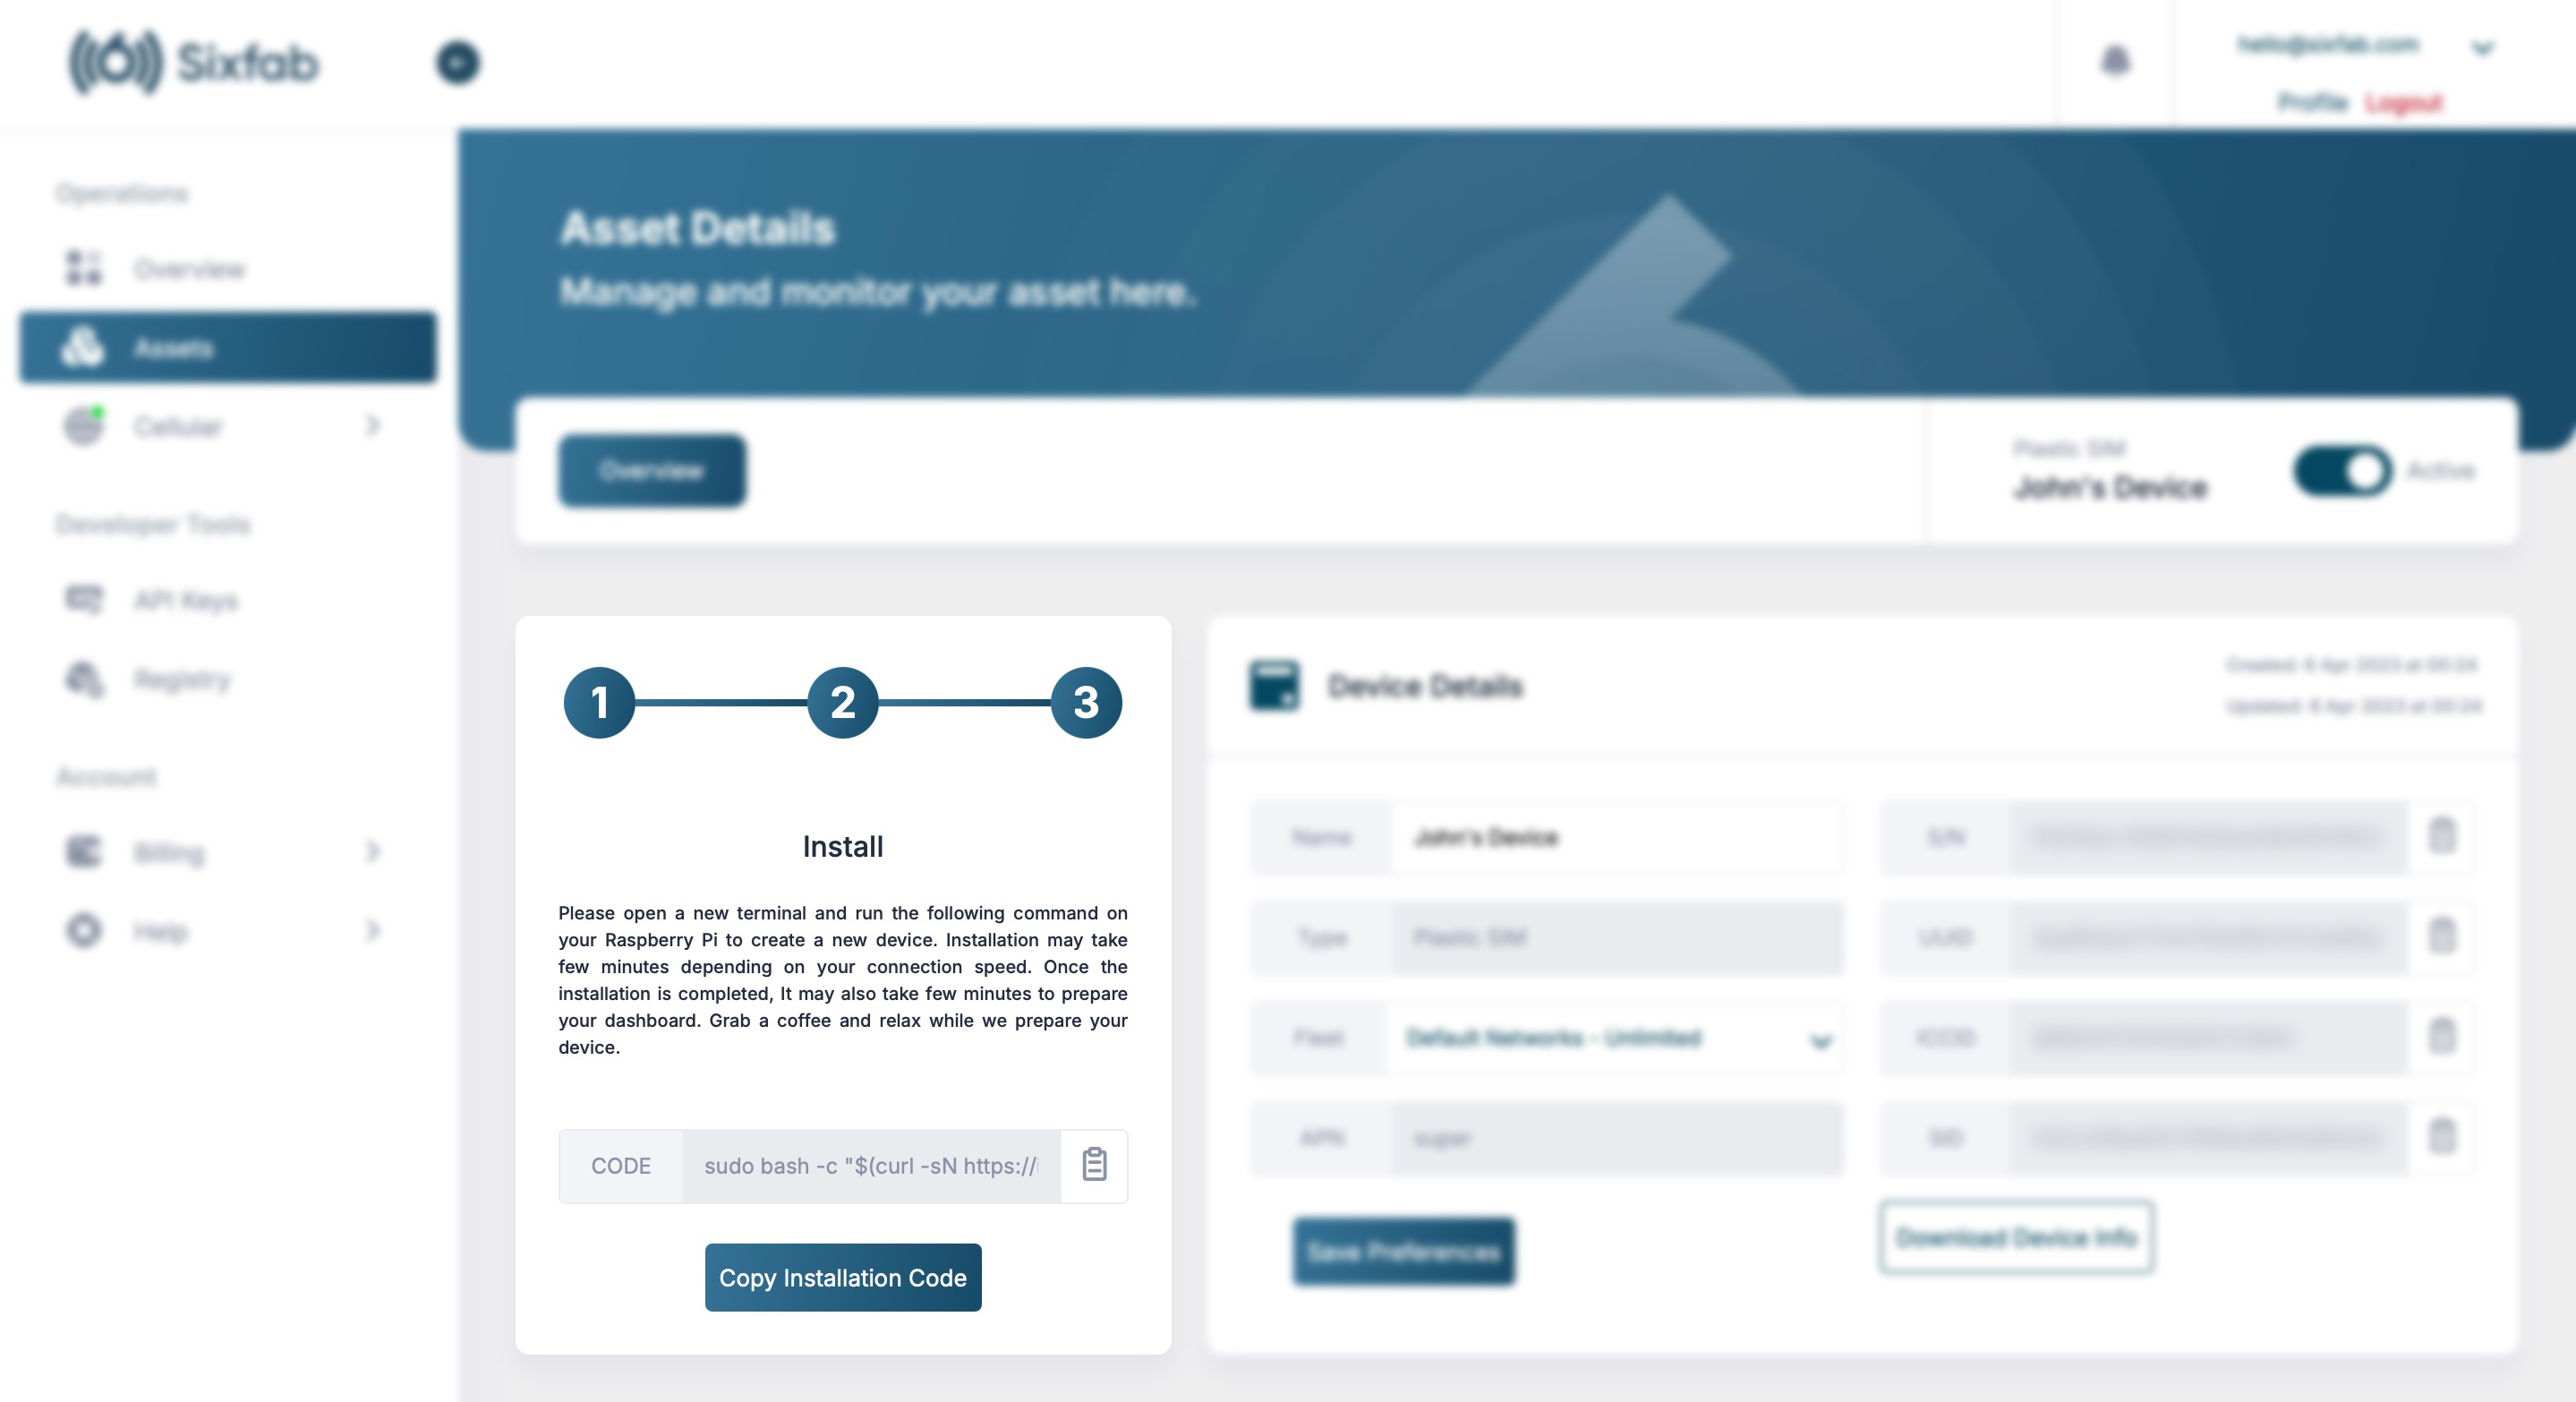
6. Copy Installation Code
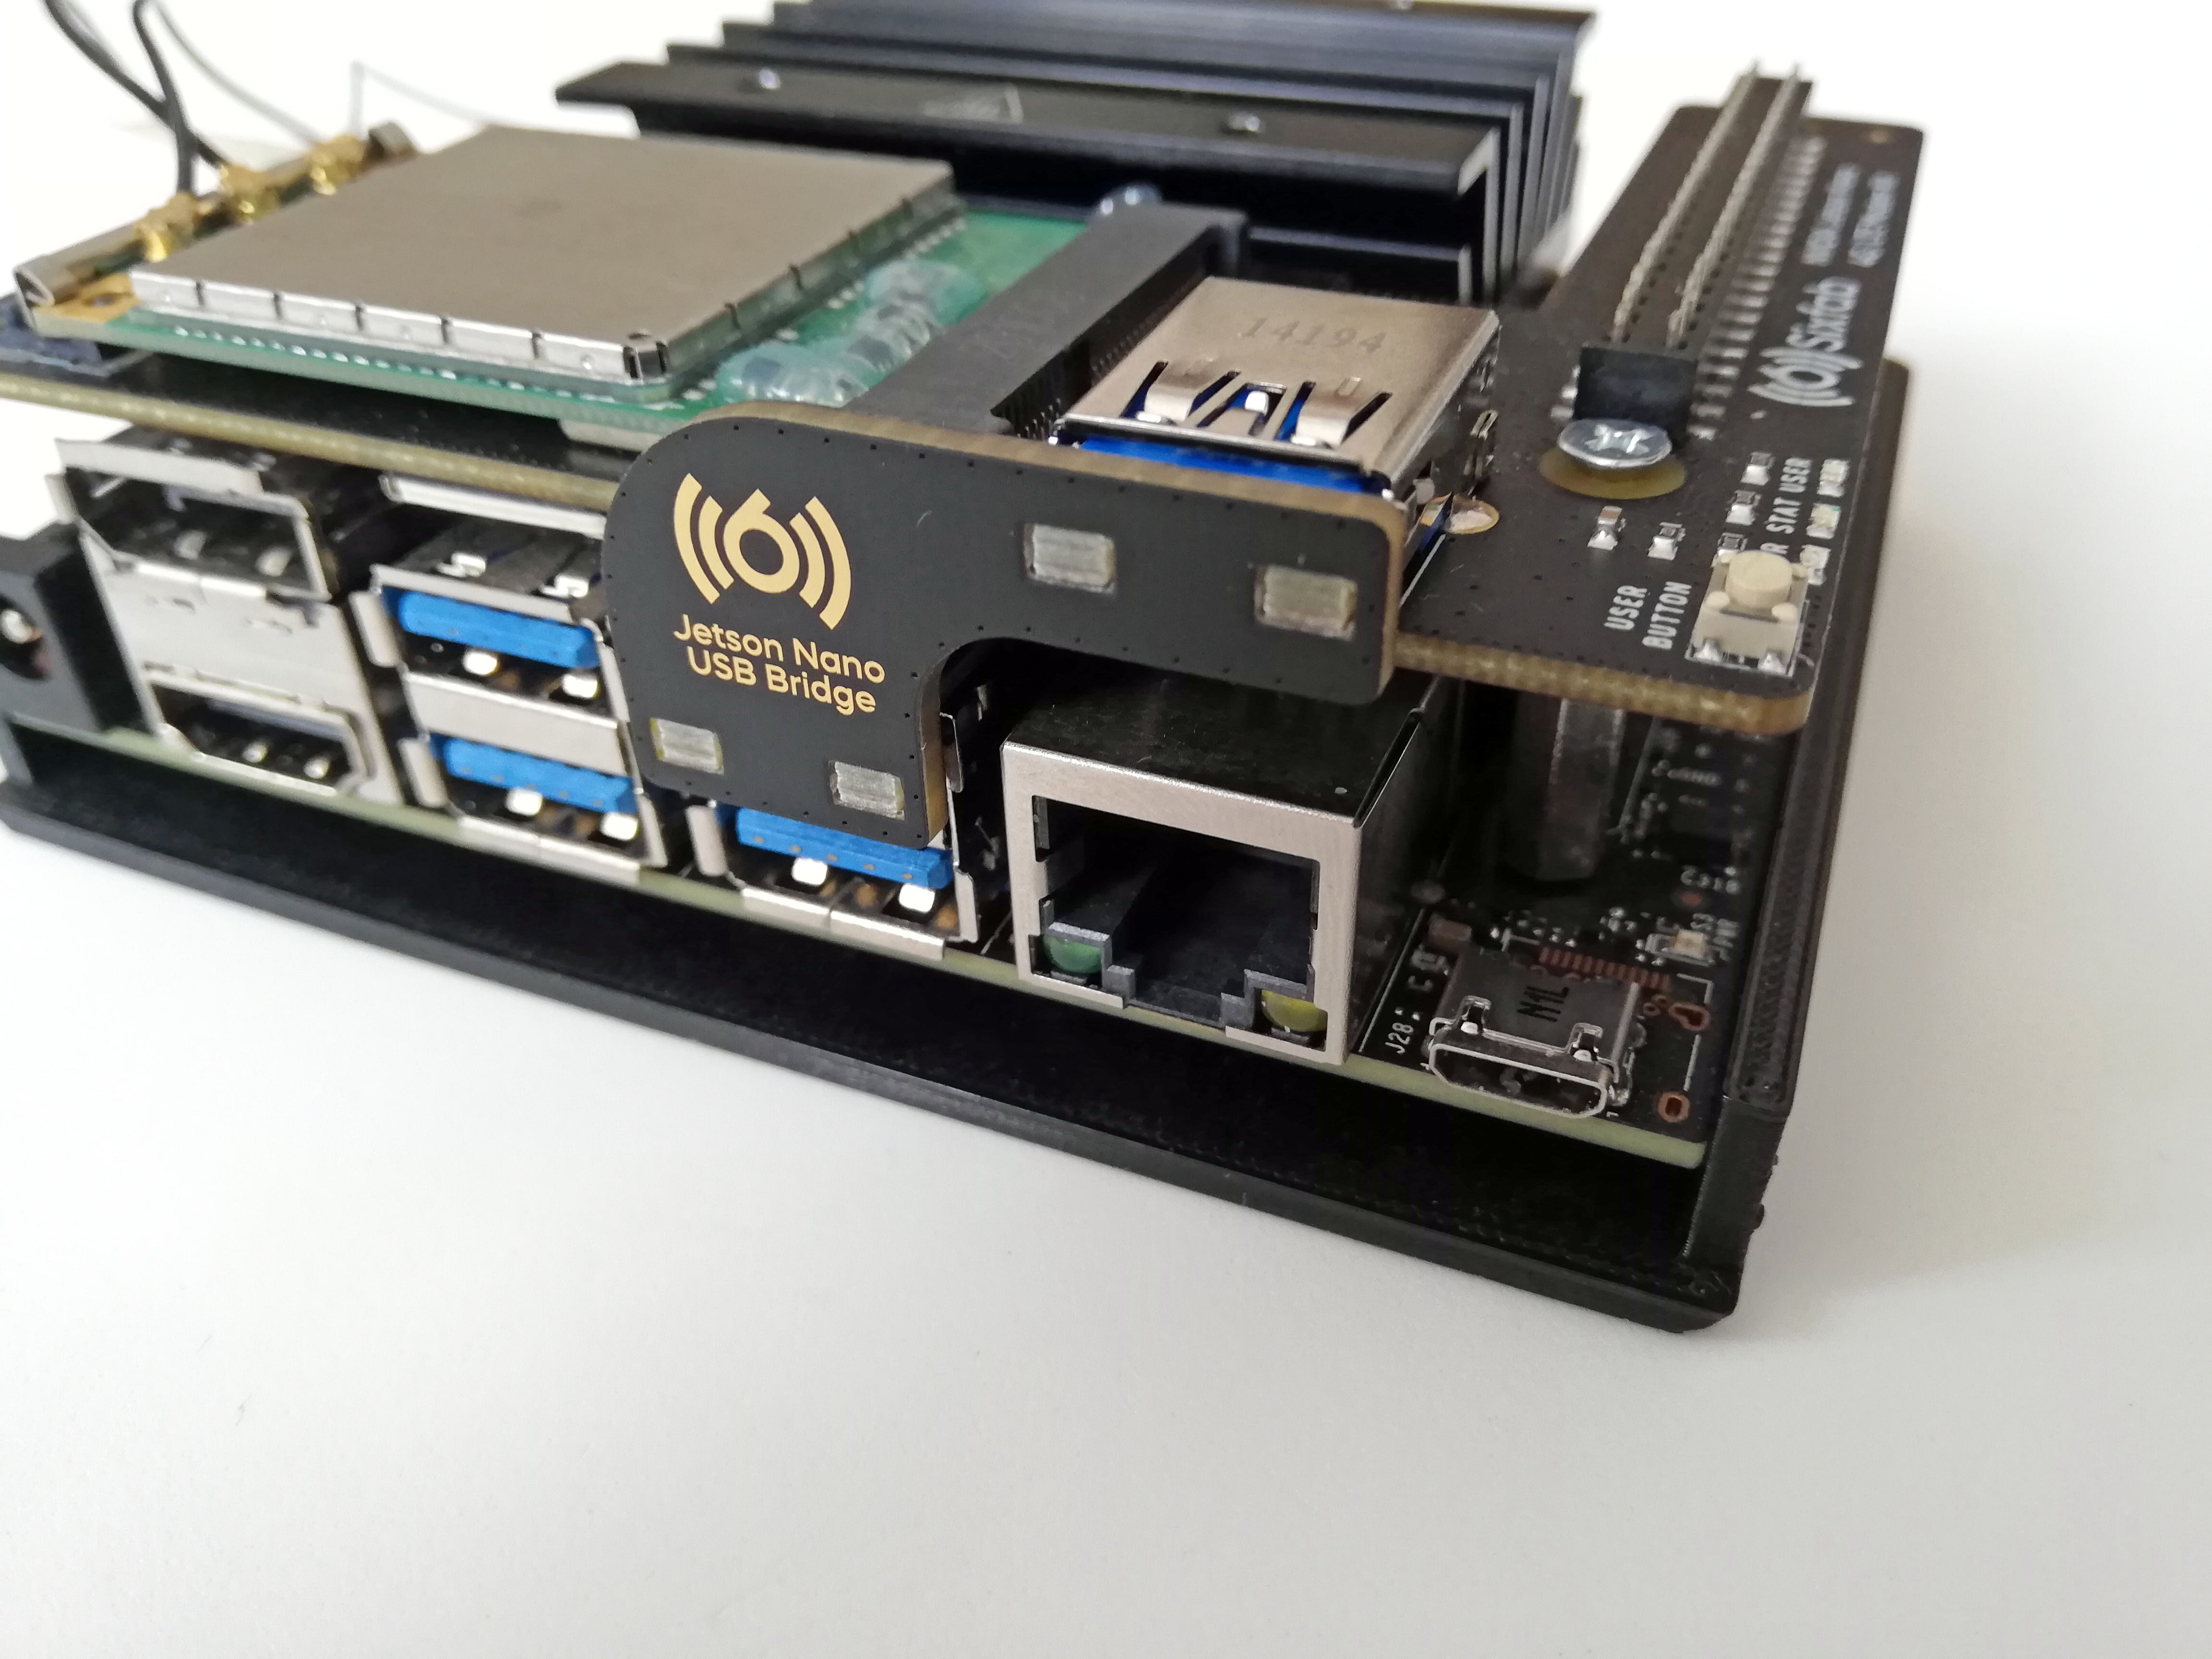
7. Unplug the USB bridge from the HAT
If the USB bridge is plugged in, unplug it.
8. Run Installation Code
Open a terminal on the Jetson Nano and run the code you have just copied.
9. Plug the USB bridge
Once the installation is completed successfully, Hit Enter to reboot the Jetson Nano and connect the USB bridge to the HAT.
10. Installation Complete
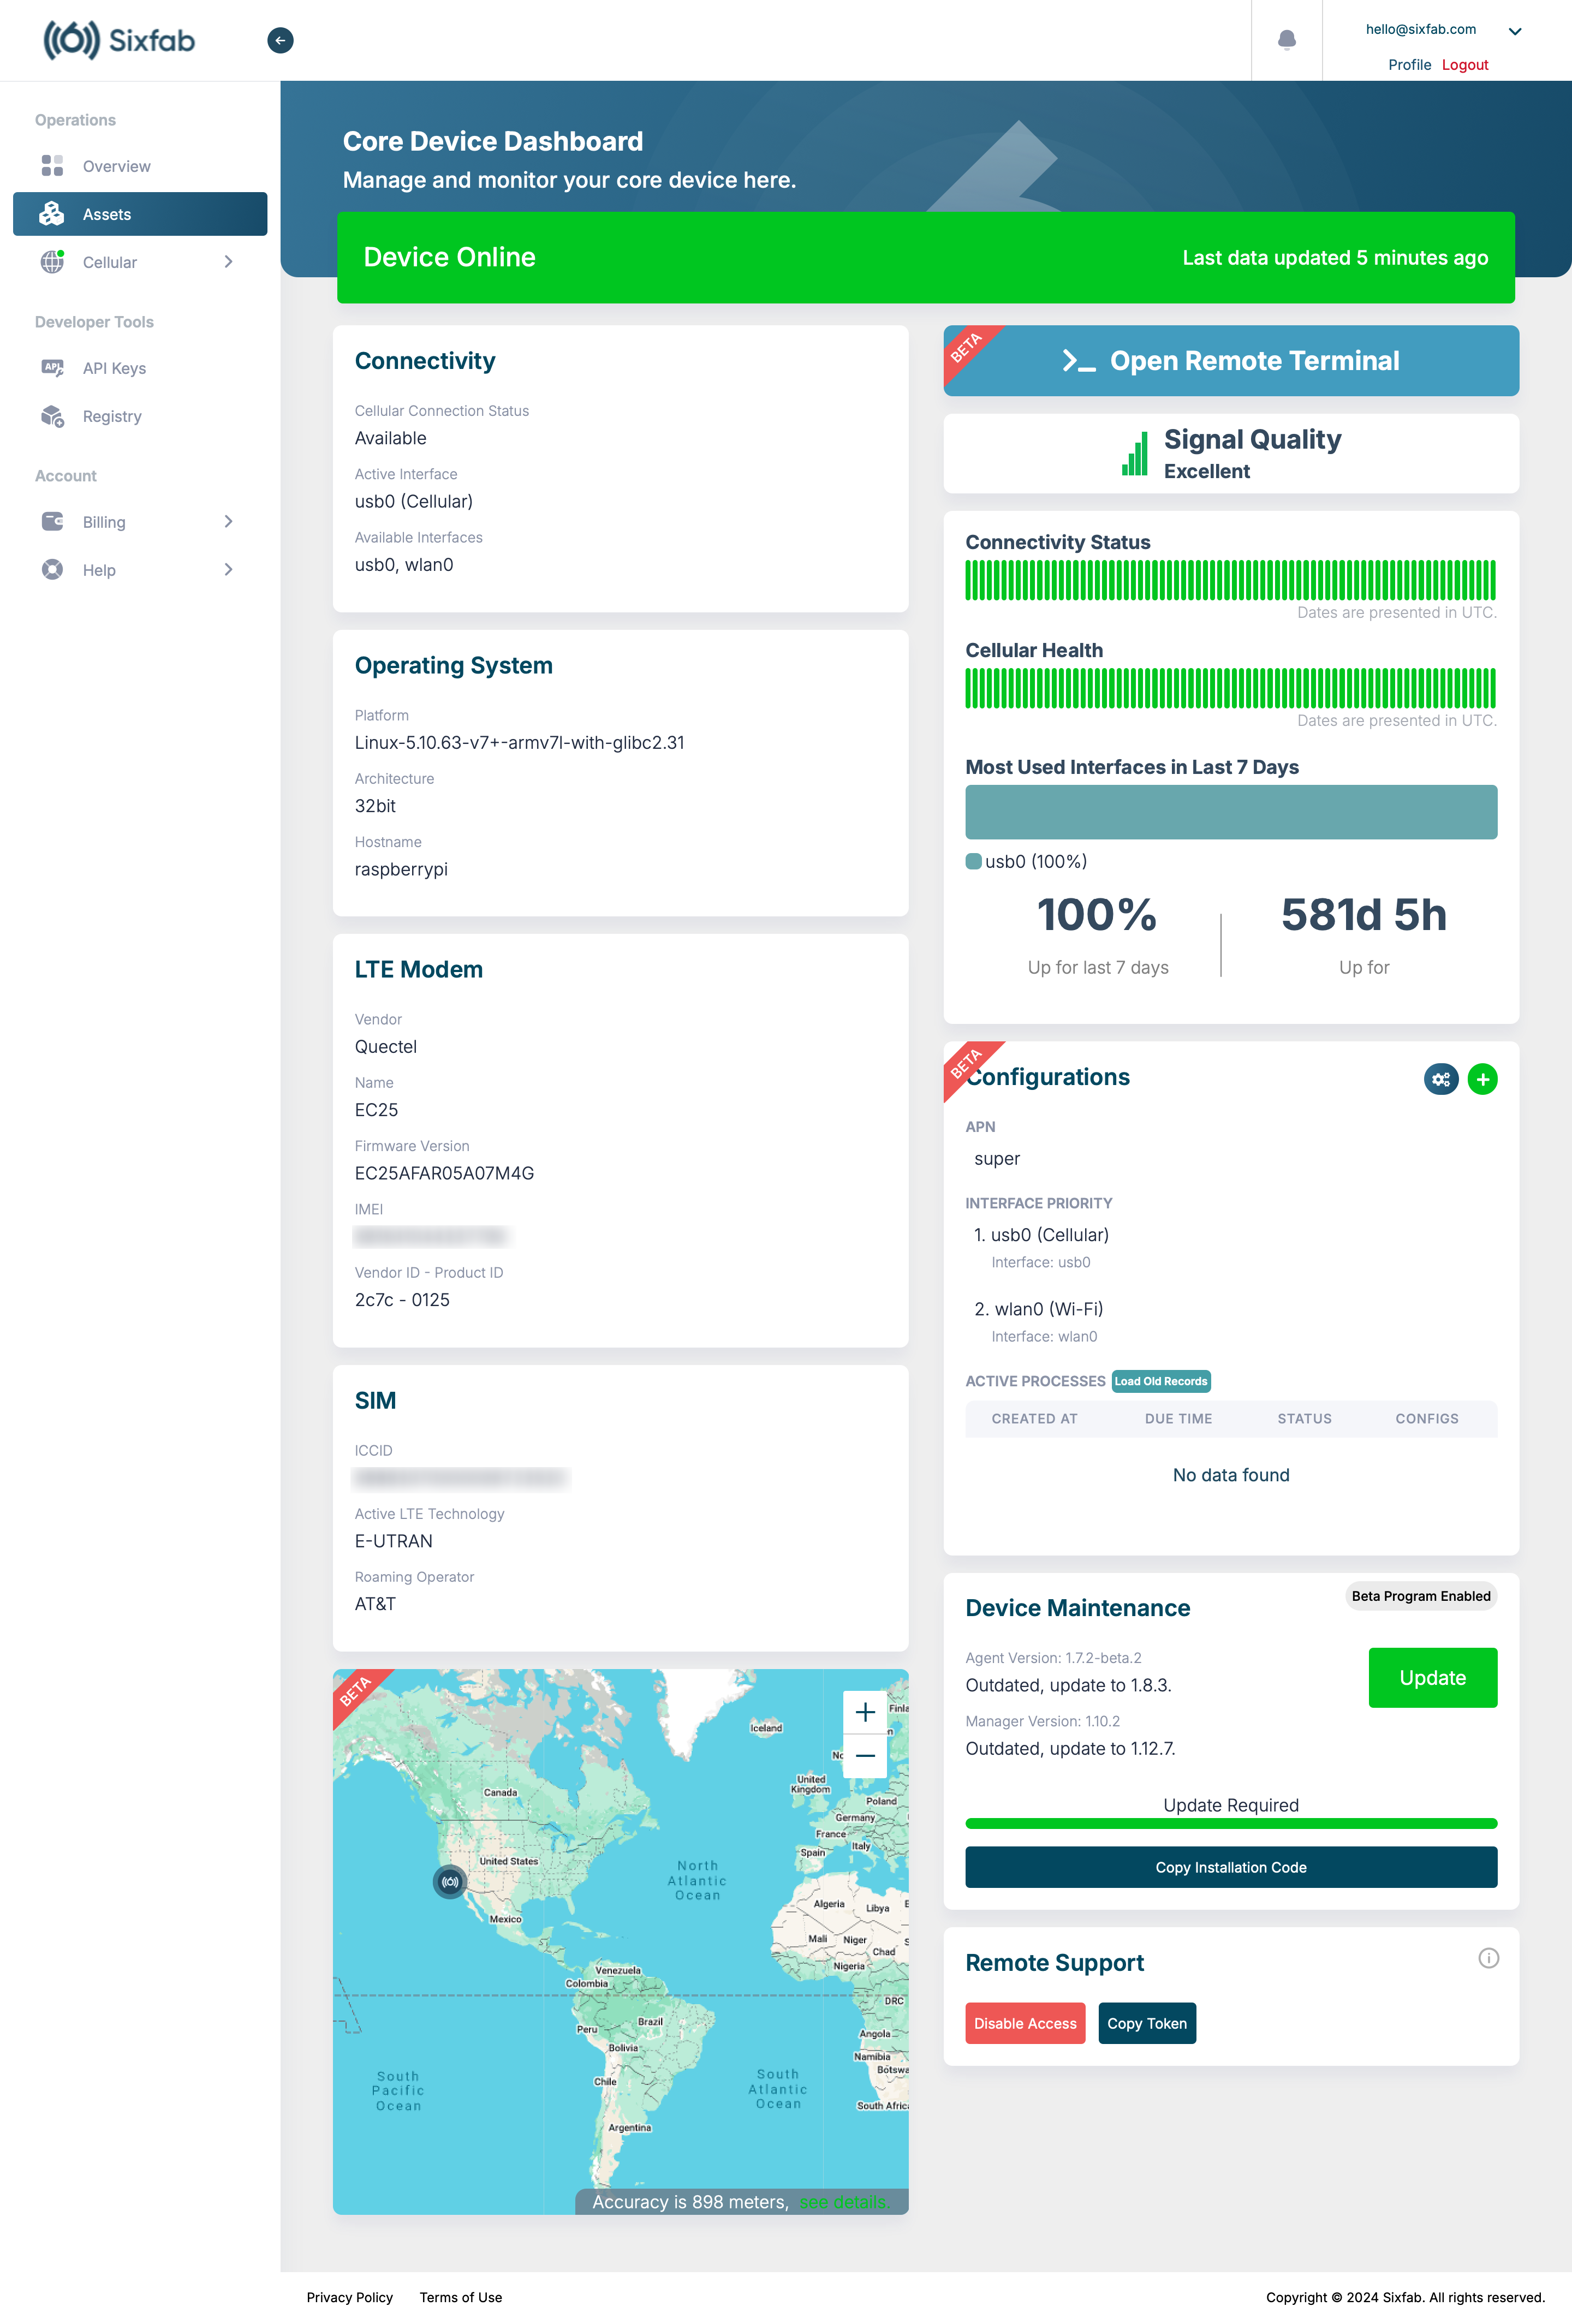
After the installation is complete, it may take up to 5 minutes for the services to configure your modem, set up your cellular internet connection settings, etc. If everything goes smoothly, you will see the data on your CORE Dashboard page, as shown below. After a successful connection, please wait for the information to appear on the dashboard. This may take a few minutes.
Updated about 2 months ago
