
Getting Started with Cellular HAT + Twilio Super SIM
Before we jump into the tutorial, let us check all the items required for this is available with us and prepare our hardware.
Hardware Prerequisites
Most of these are the parts you will receive when you order the Sixfab Cellular IoT HAT. The goes as follows:
- Raspberry Pi (Model 3B+ and 4 are recommended)
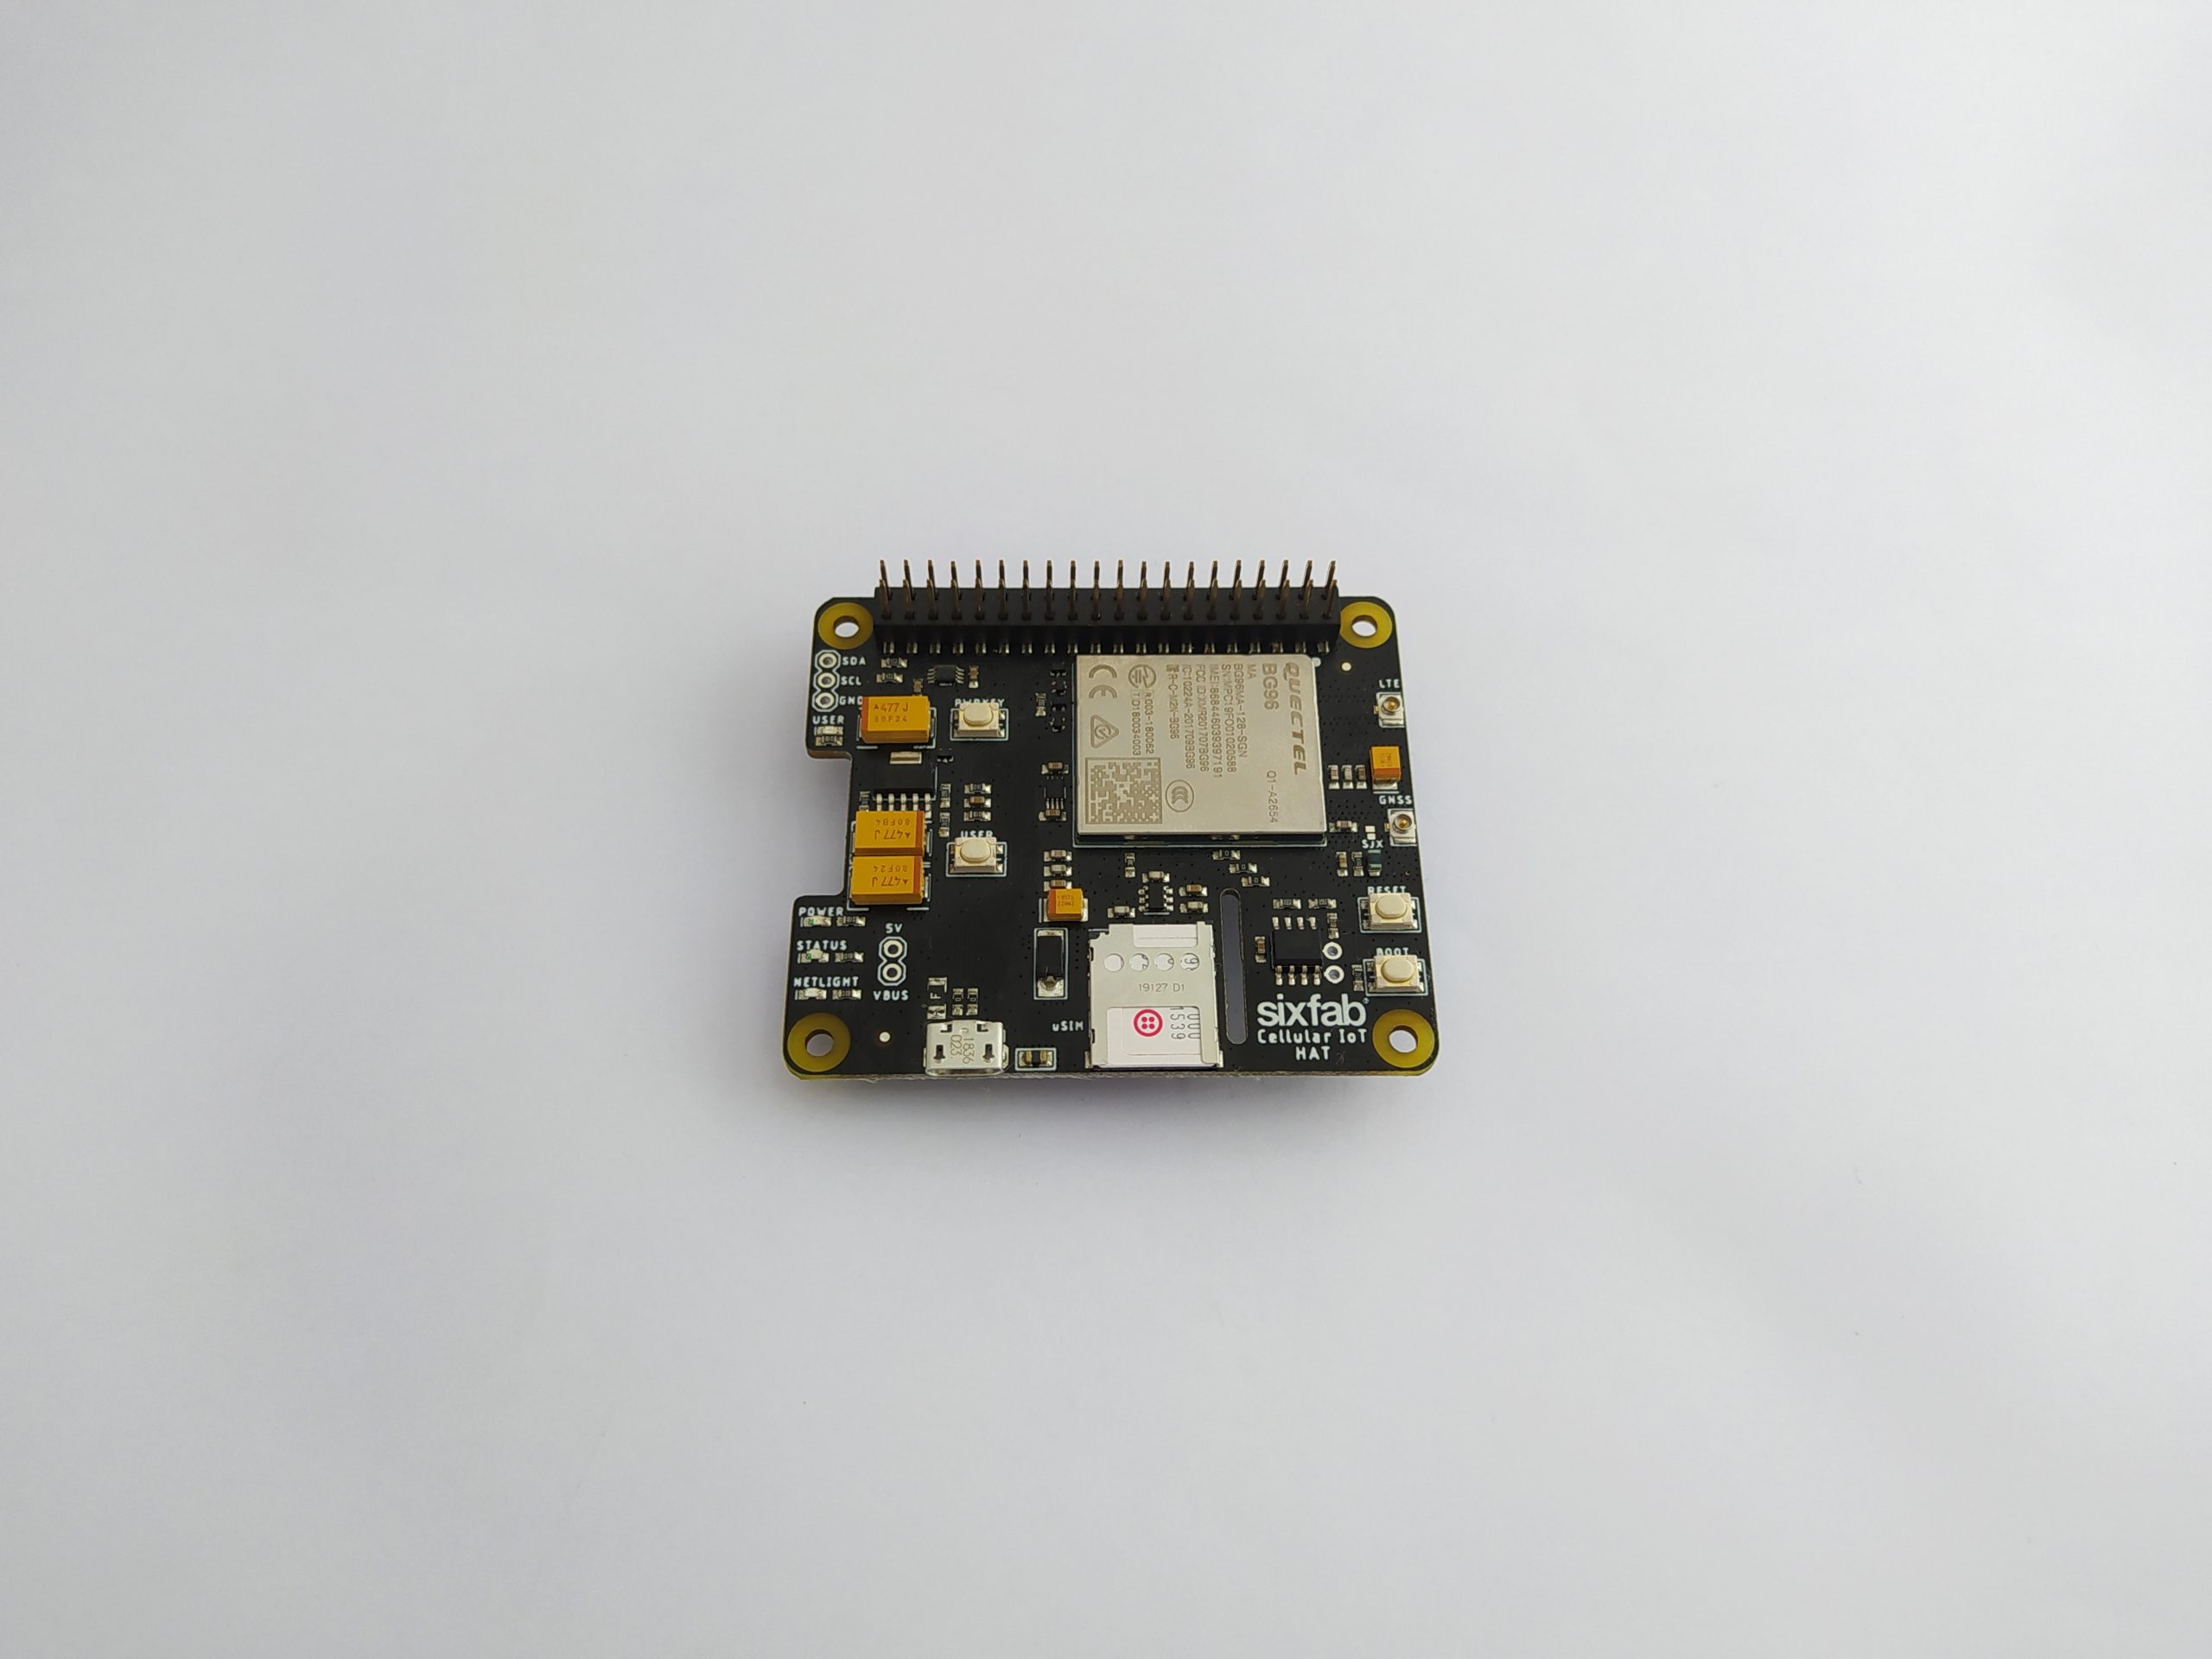
- Sixfab Cellular IoT HAT
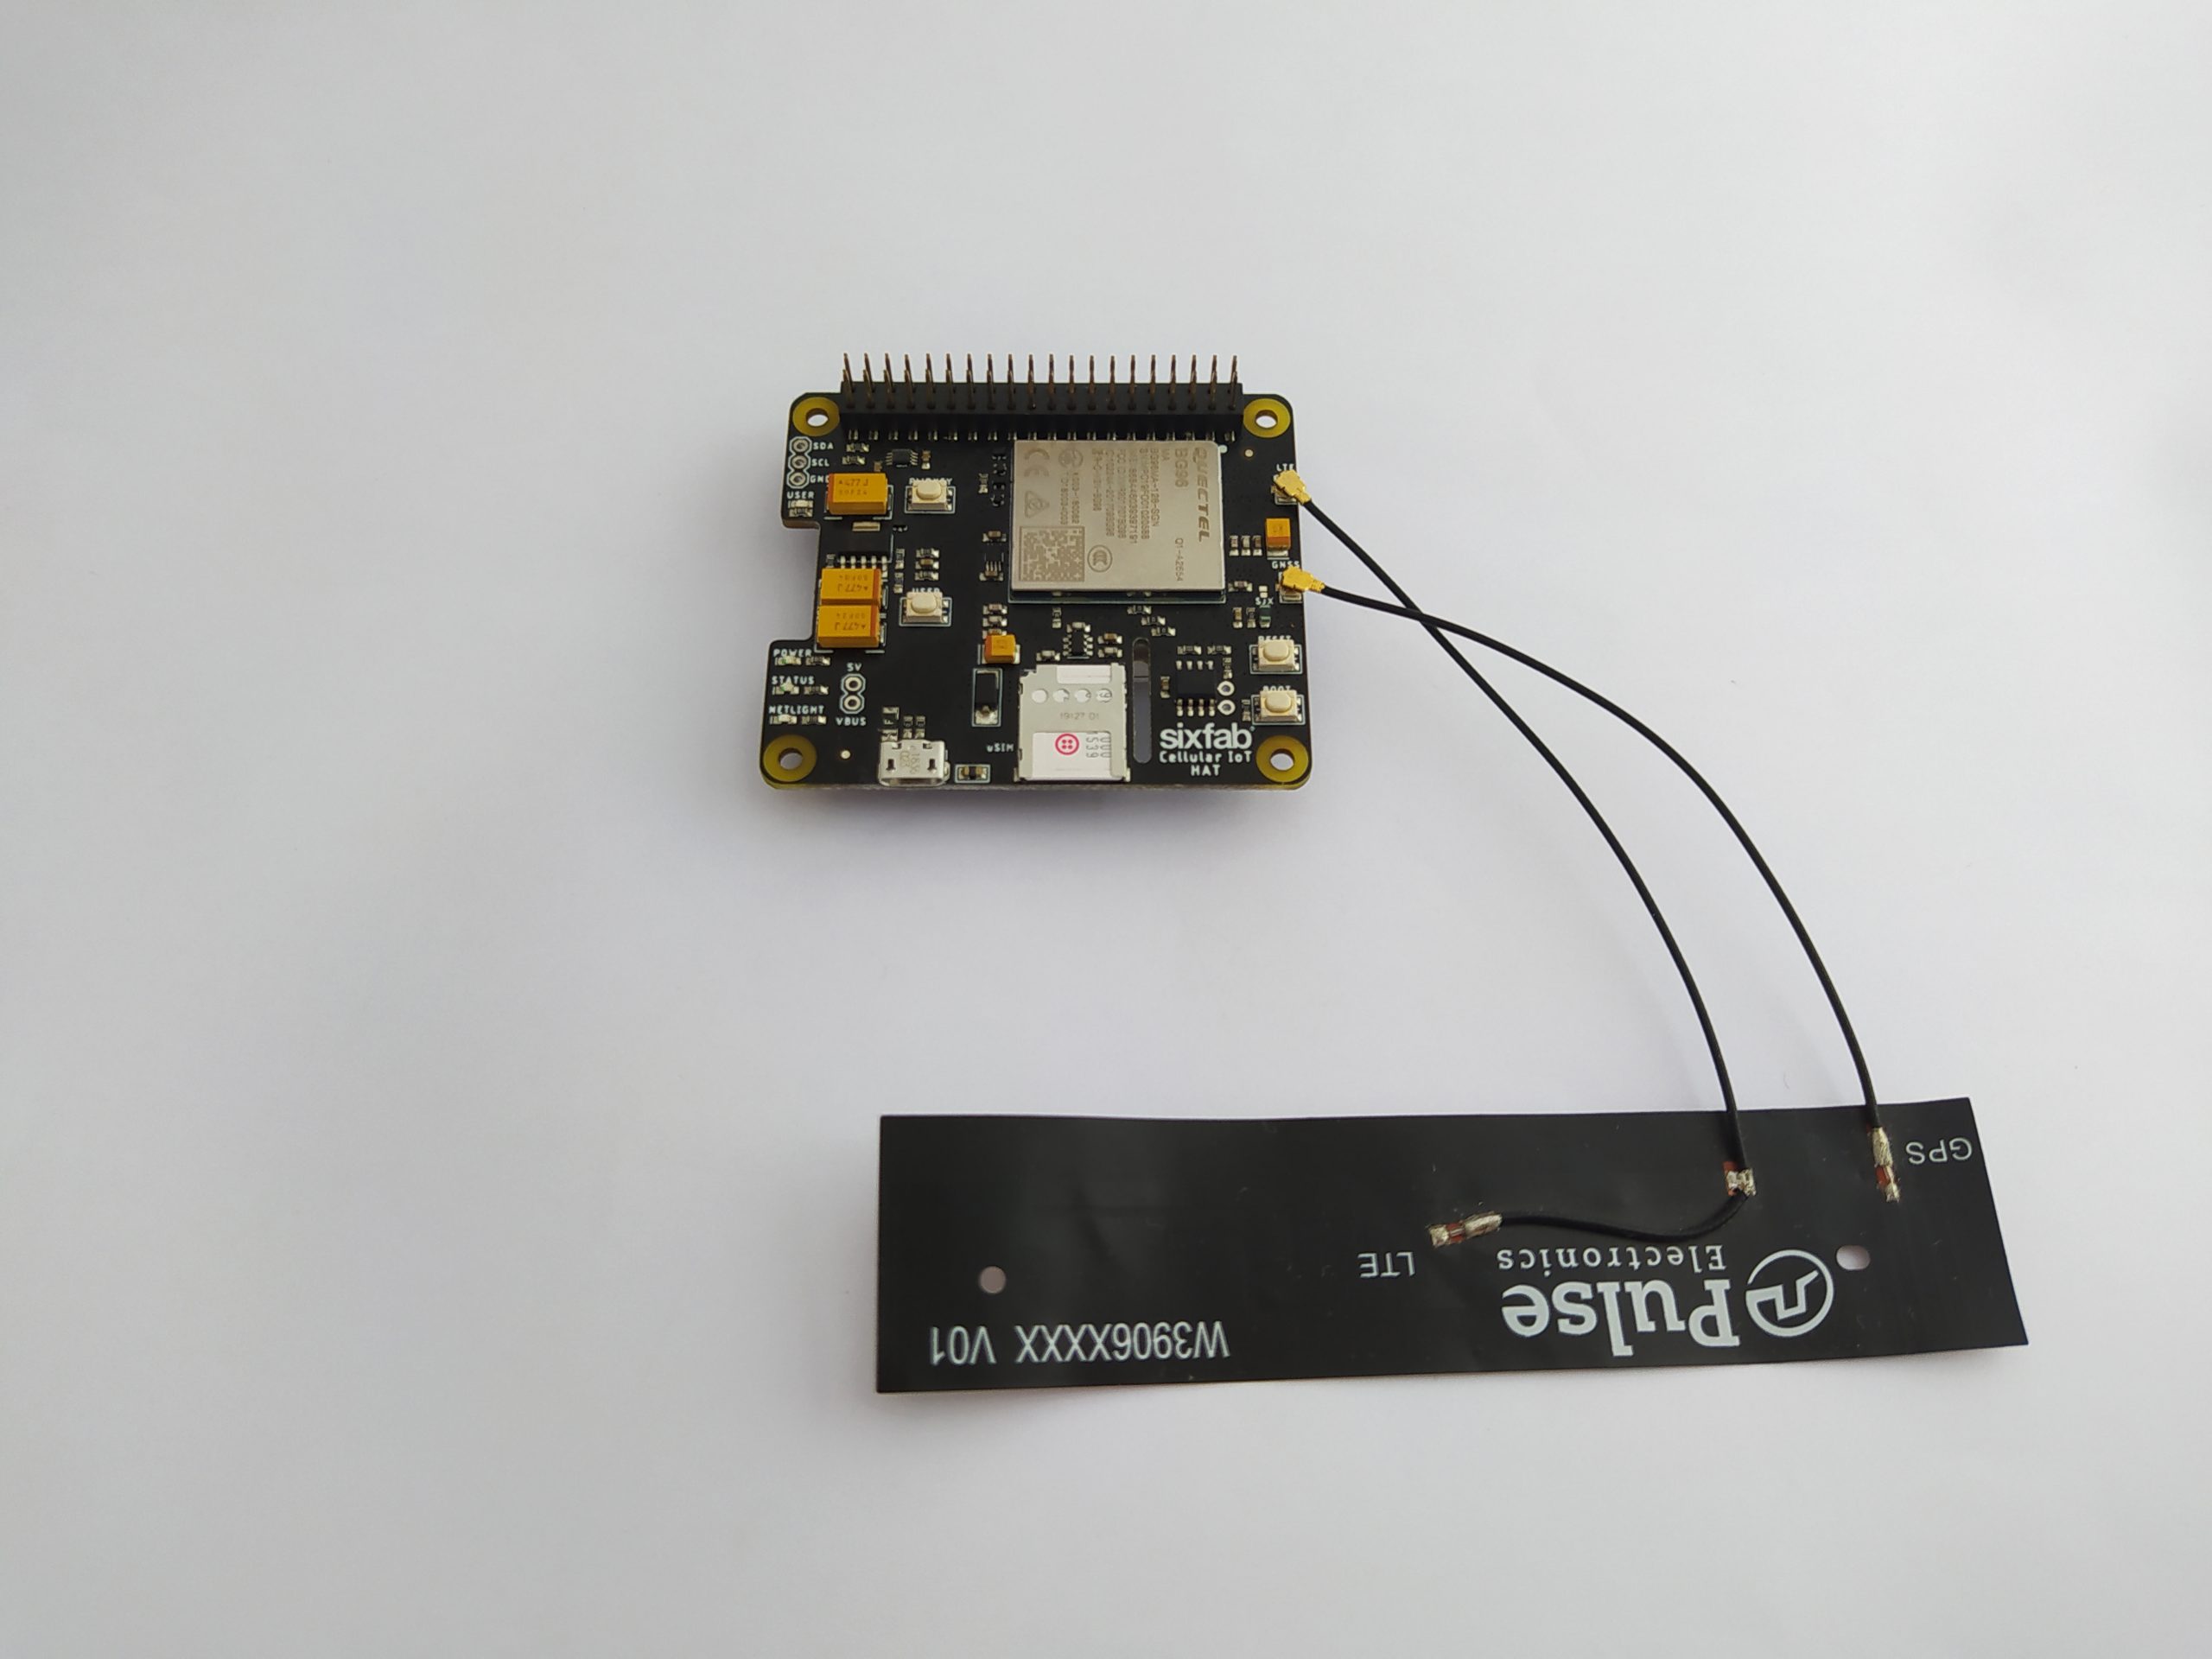
- LTE – GNSS Dual u.FL Antenna
- 40 pin header
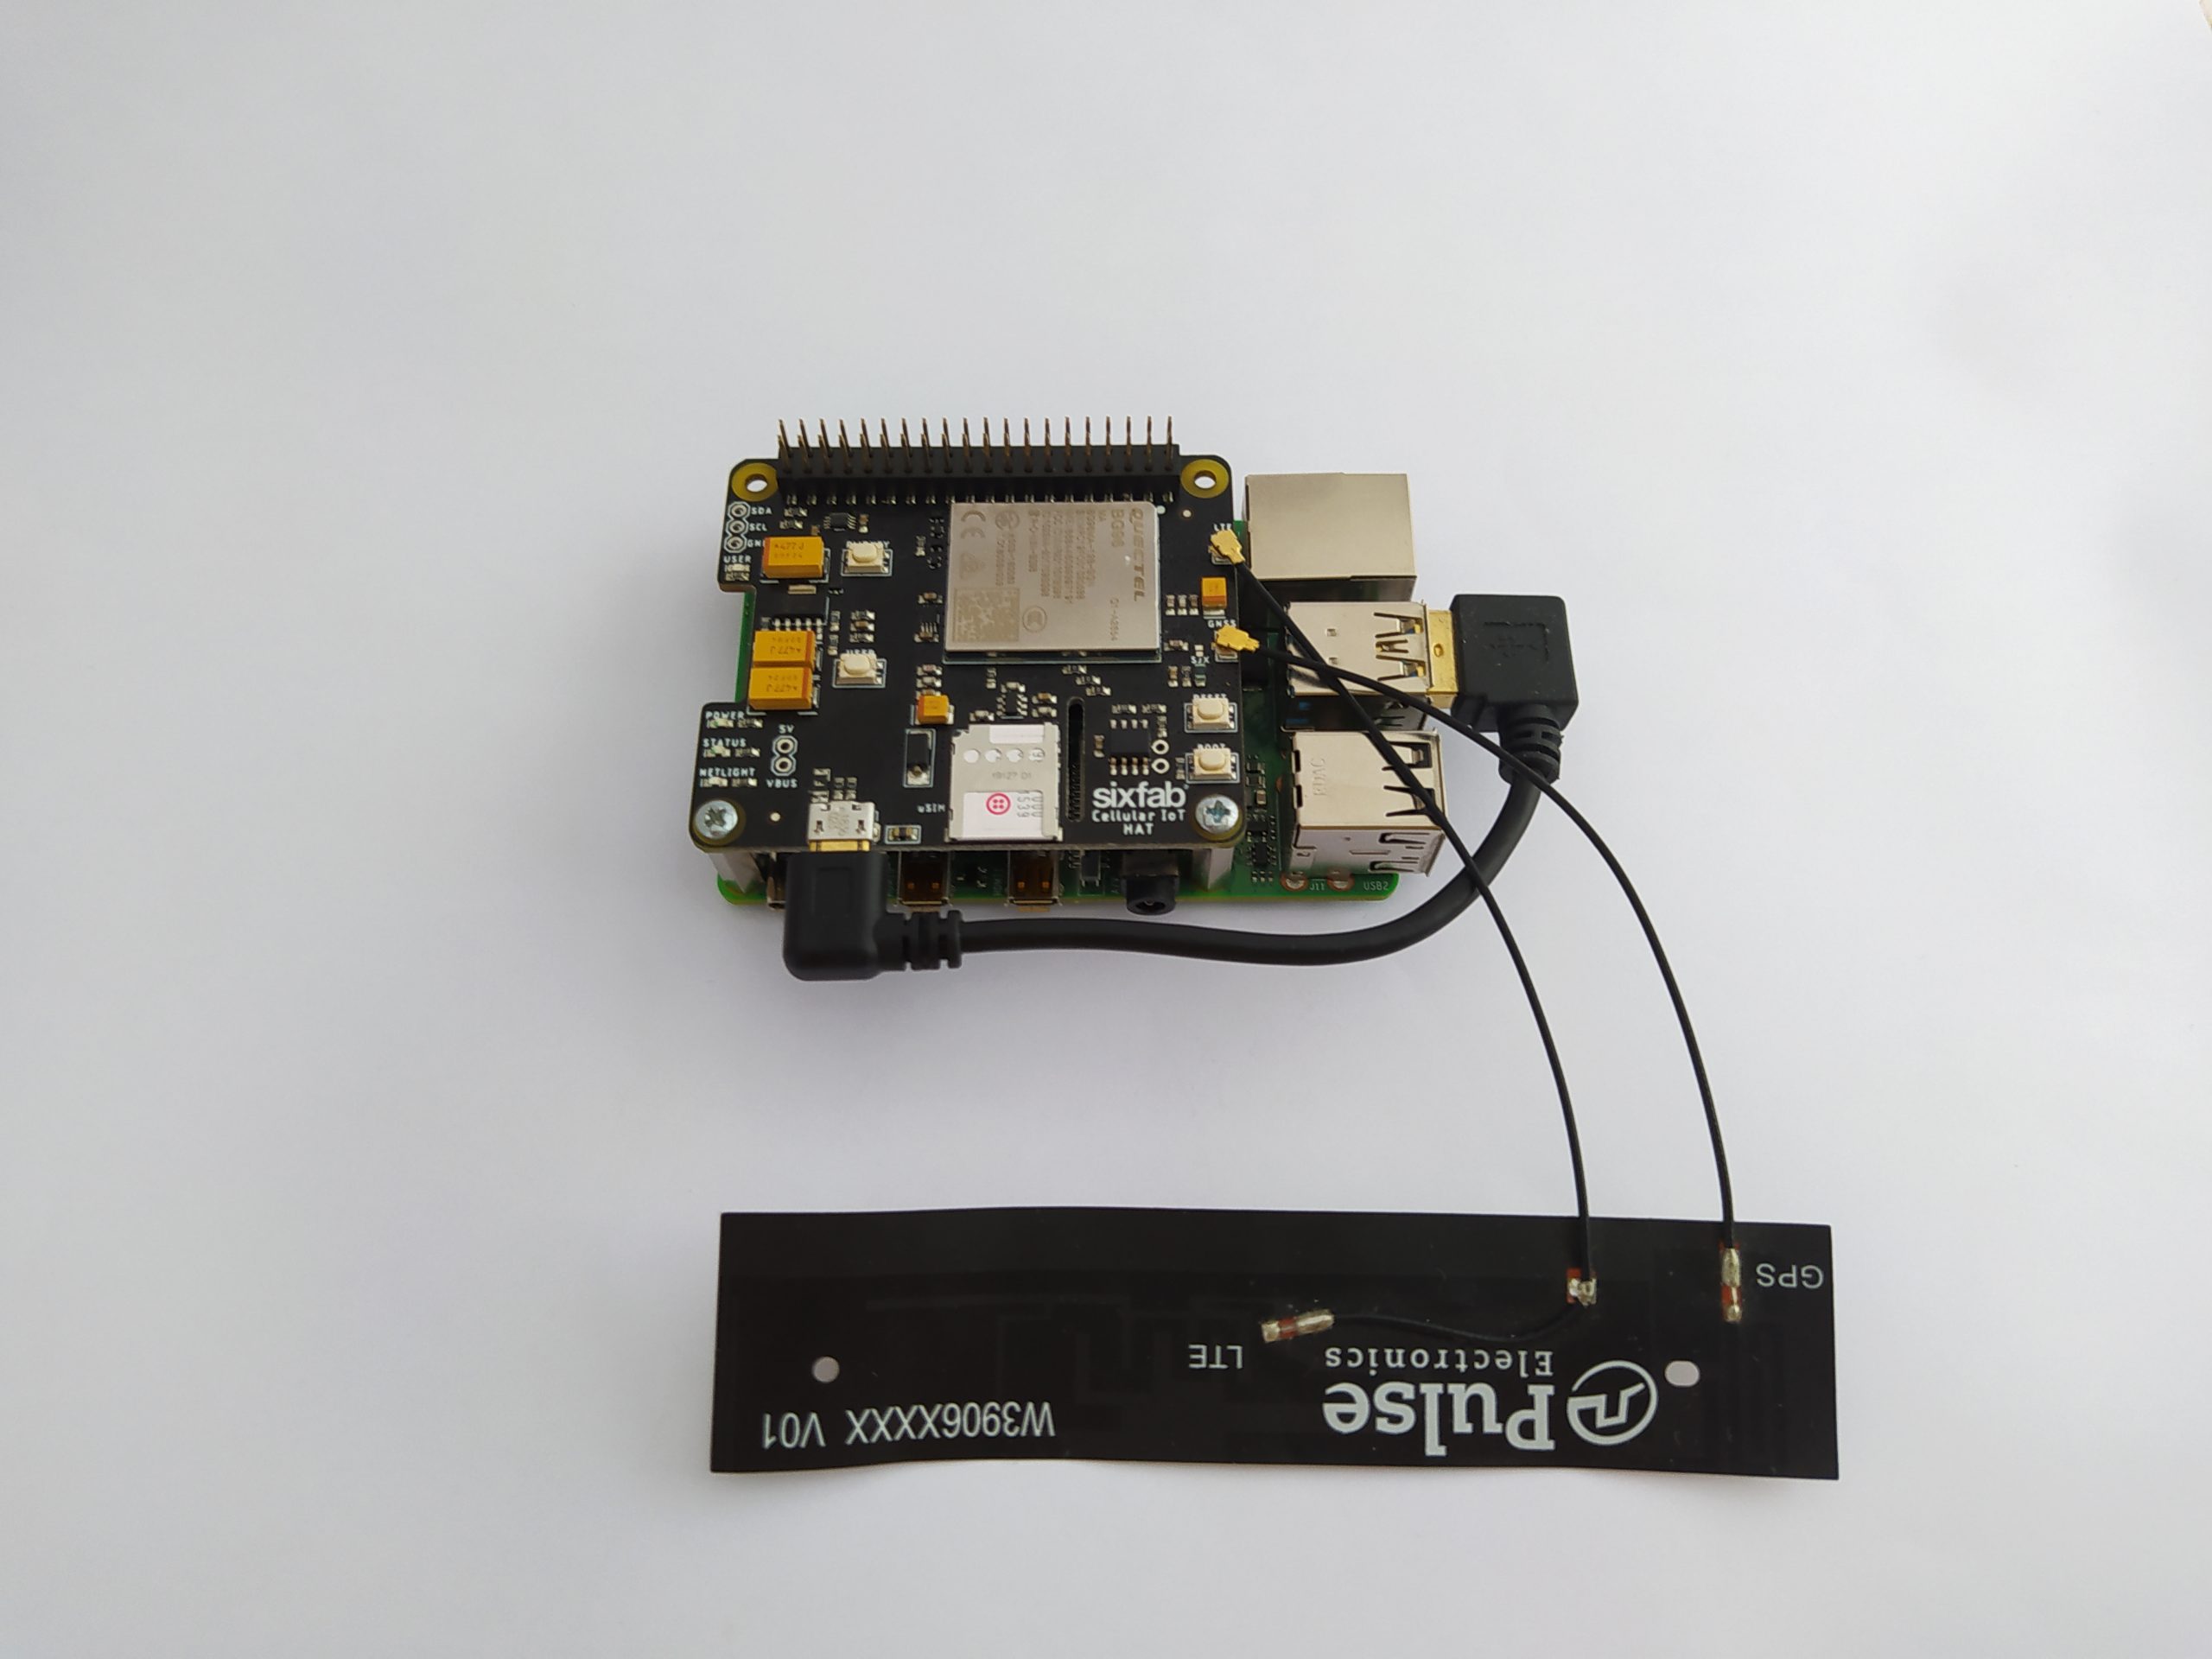
- Right Angle Micro USB Cable
- Twilio Super SIM
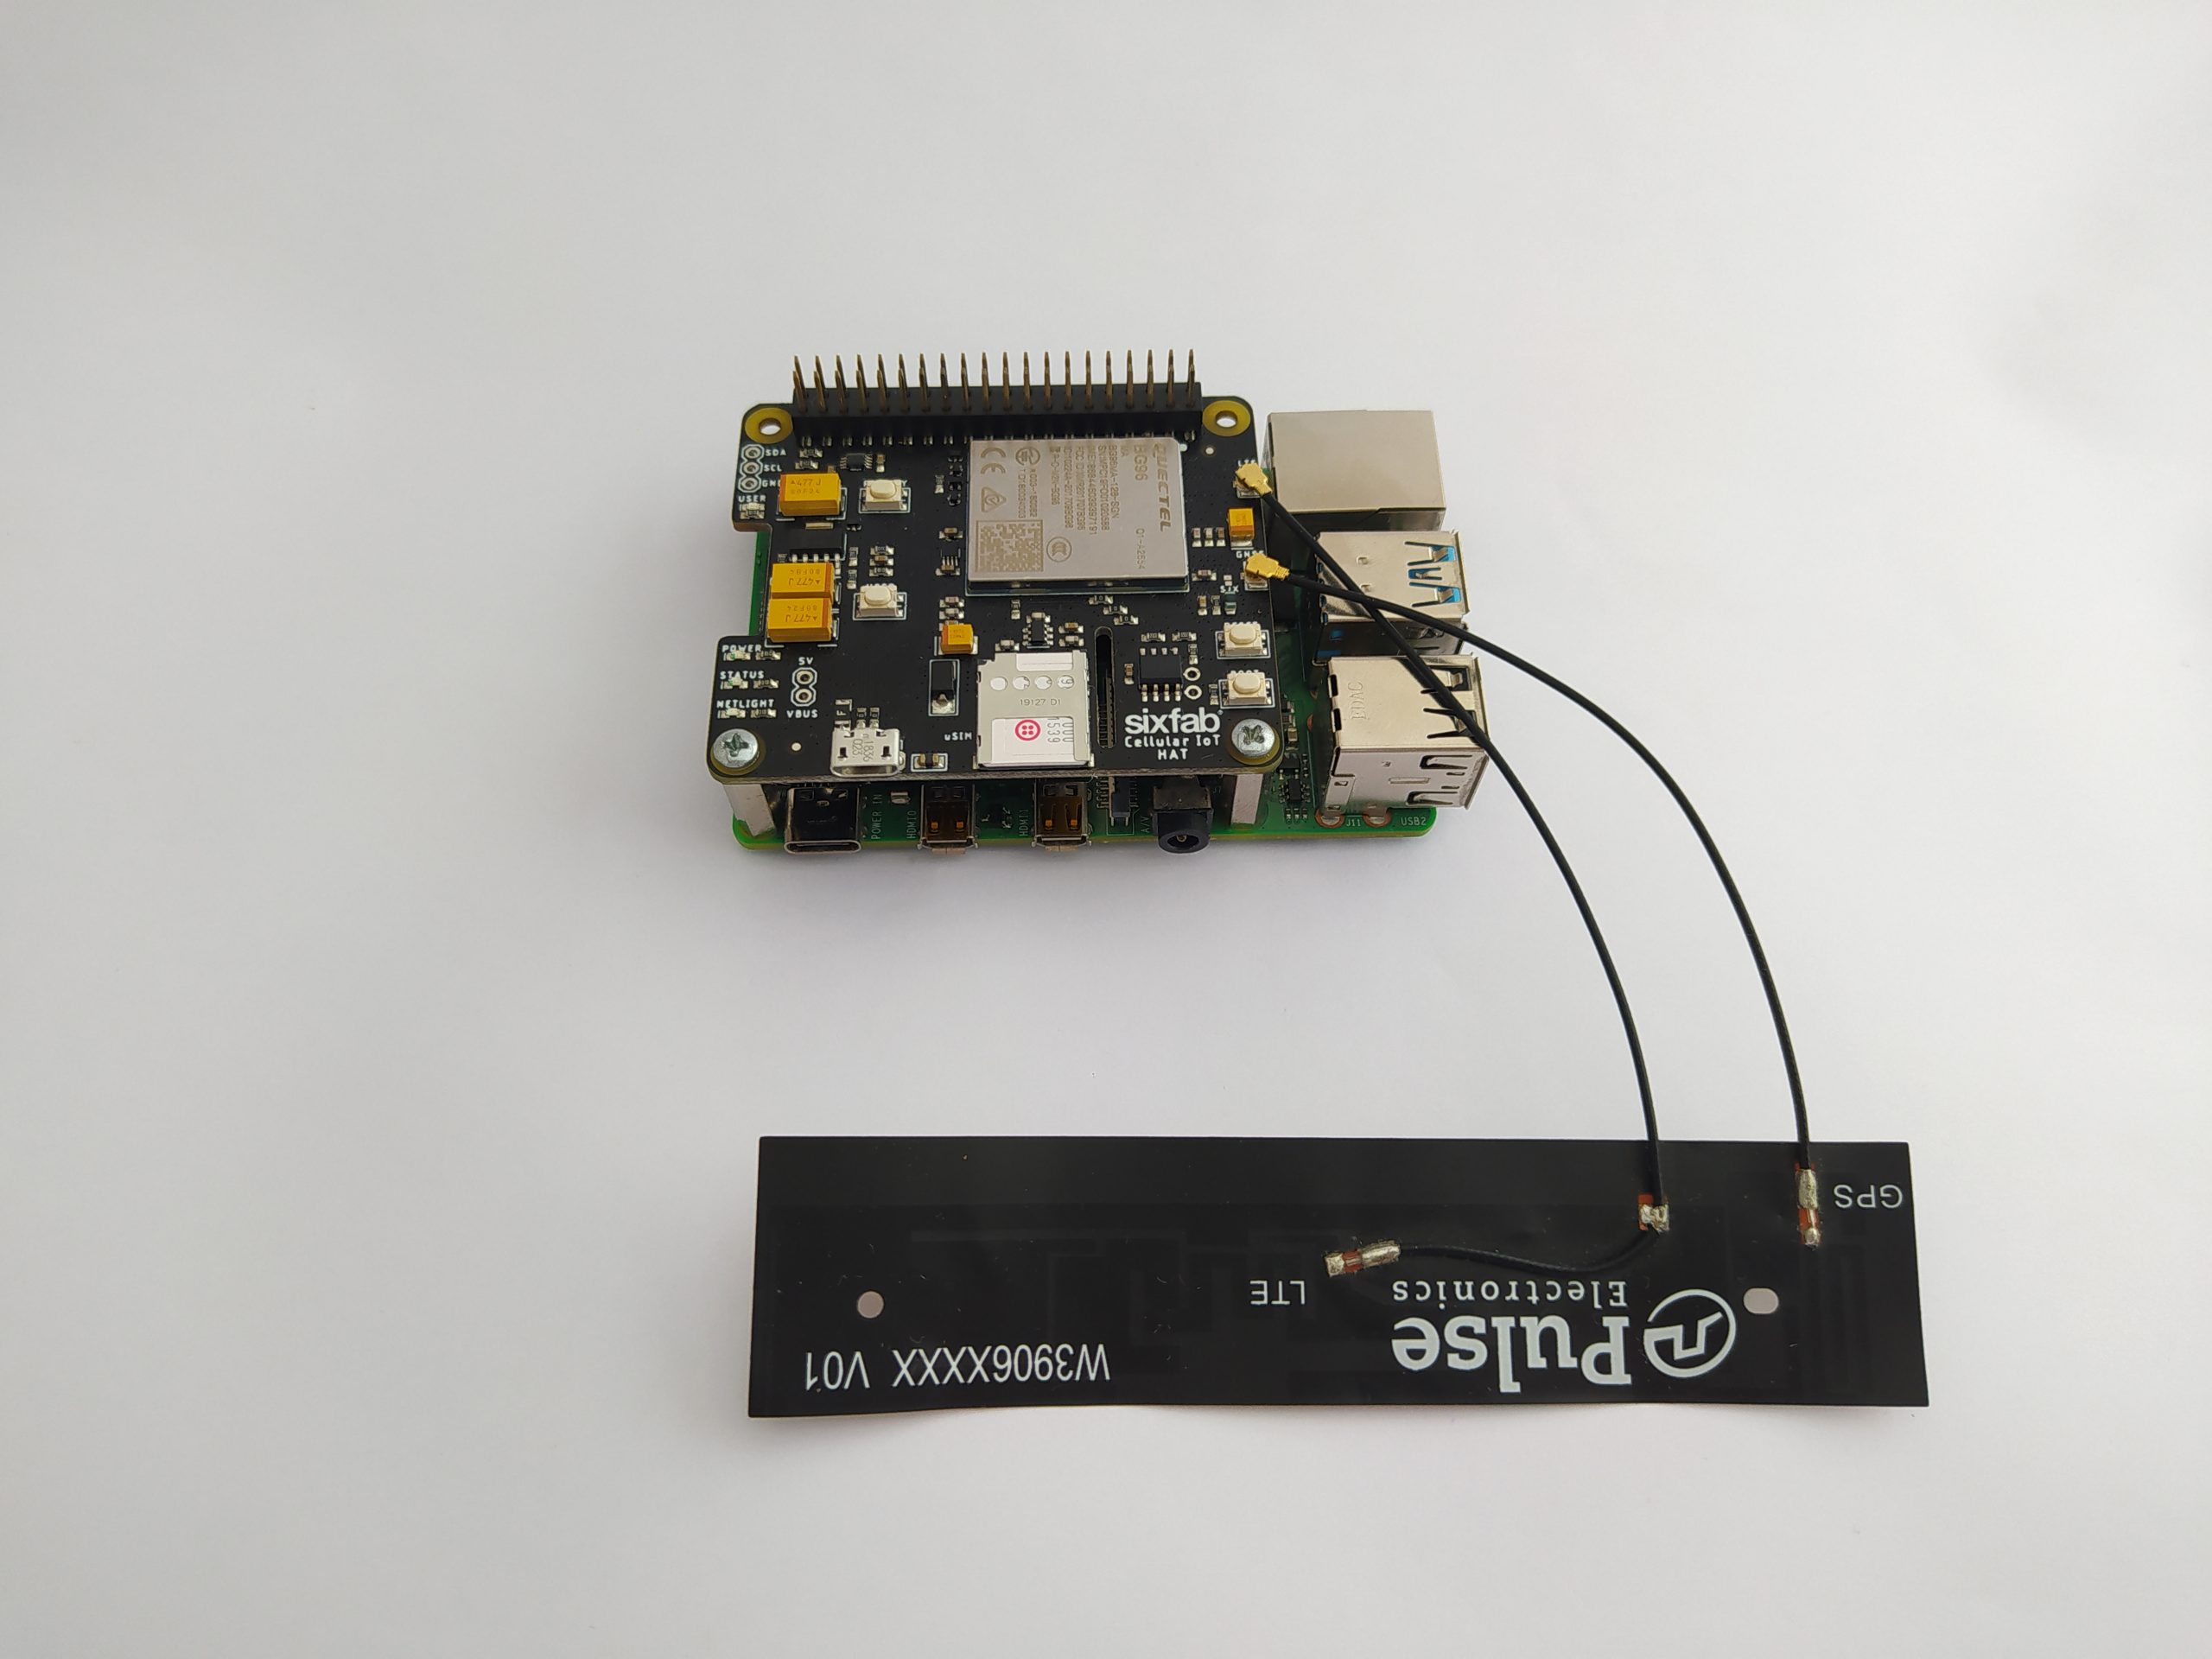
Hardware Setup
Software Setup
Enabling serial console
By default, the primary UART is assigned to the Linux console. If you wish to use the primary UART for other purposes, you must reconfigure Raspberry Pi OS. This can be done by using raspi-config:
- Start raspi-config: sudo raspi-config.
- Select option 3 - Interface Options.
- Select option P6 - Serial Port.
- At the prompt Would you like a login shell to be accessible over serial? answer 'No'.
- At the prompt Would you like the serial port hardware to be enabled? answer 'Yes'.
- Exit
raspi-configand reboot the Pi for changes to take effect.
Checking Driver
In order to check the drivers, first press the PWRKEY button of the HAT which will power up the module.
Then open up a terminal and run the commands below. Expected outputs are as follows:
Library Installation
- Download the Cellular IoT HAT repository.
git clone https://github.com/sixfab/Sixfab_RPi_CellularIoT_Library.git- Goto directory Sixfab_RPi_CellularIoT_Library.
cd Sixfab_RPi_CellularIoT_Library- Complete the installation.
sudo python3 setup.py installConfigure the HAT for CAT-M1
Now change directory to the sample.
cd ./sample/Here run the configureCATM1.py.
python3 configureCATM1.pyIf the location of your device doesn't cover the CATM1 network, then you should try with GPRS. For this, run the configureGPRS.py.
python3 configureGPRS.py🌐 Internet connection
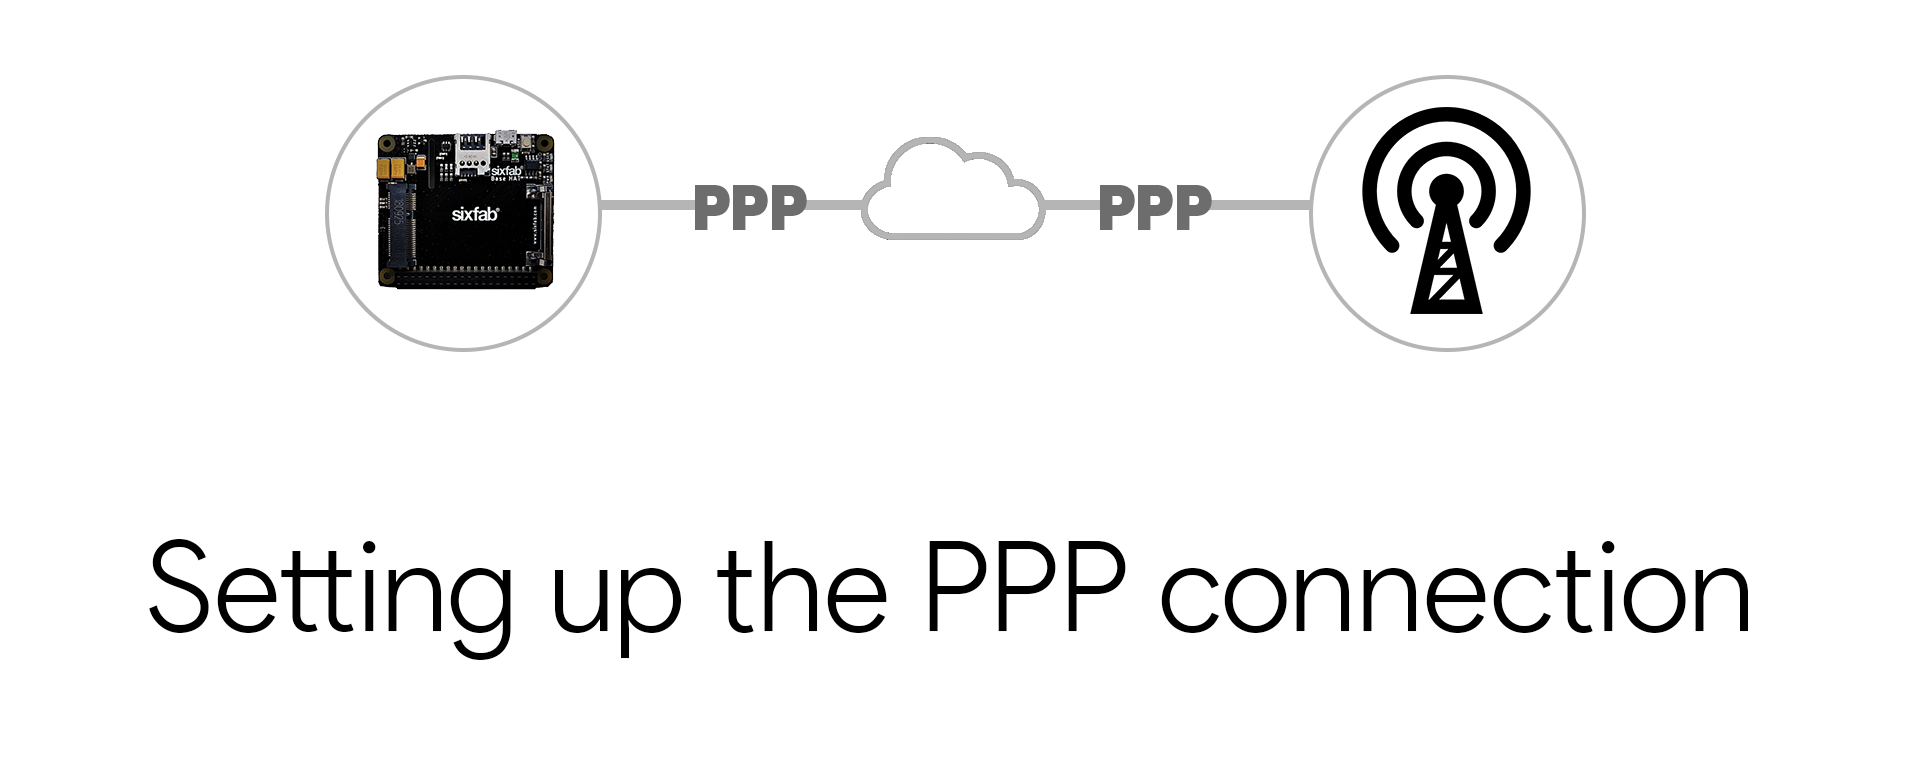
PPP
PPP(Point-to-Point Protocol) is a data layer communication protocol that is established through the serial port of the modem. These Serial port communication could be either the UART(/dev/ttyS0) or the serial exposed to USB(/dev/ttyUSB3). This serial is also used for both modem commands (AT commands) and responses. This connection is established by dial-up (ATD*99#)
PPP is easy to establish, widely used protocol, and flexible with the devices. PPP may show a drop of the connection while using the AT command set for other functionality of modem.
The LTE radio protocol has native support of TCP/IP and IPv6, so there is no need to actually wrap TCP/IP into PPP over the radio interface. The PPP protocol is just used between the computer and the modem to make the connection look like a legacy dial-up modem-based network connection.
If you need to establish an internet connection for a short period of time and the date to be transferred is not high, you may stick to PPP.
Now we can proceed to establish an active internet connection.
Updated 4 months ago