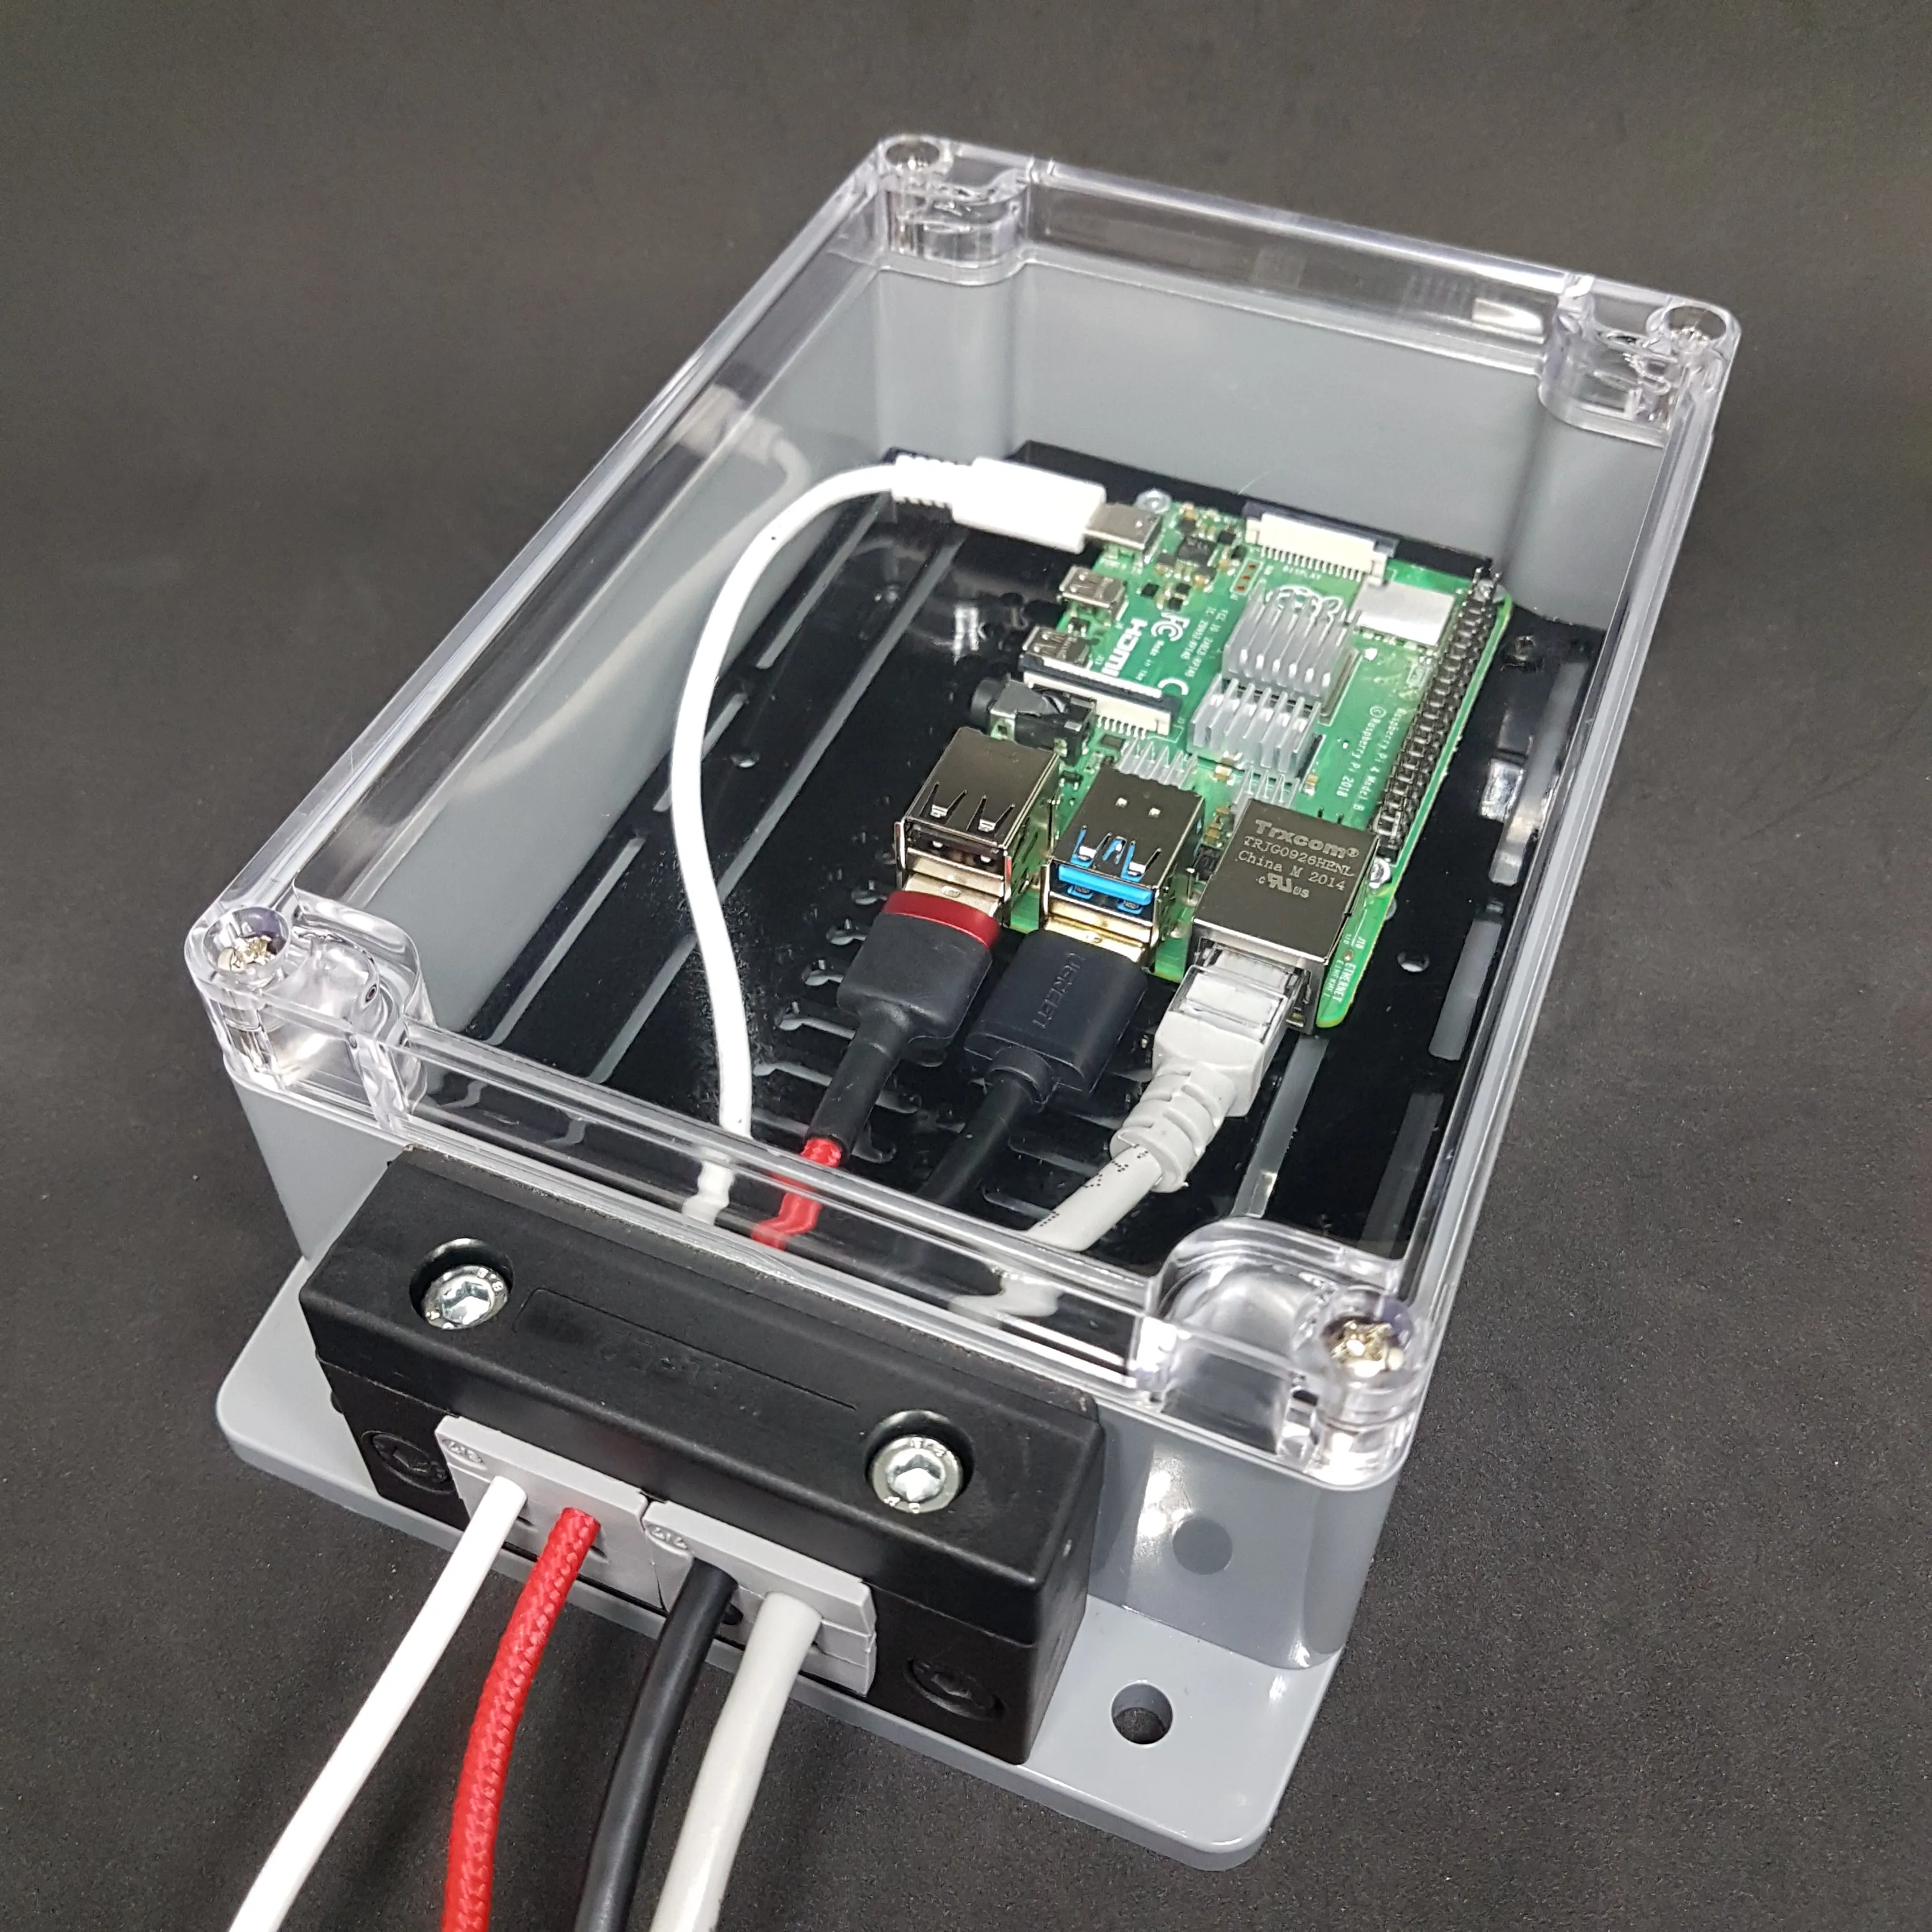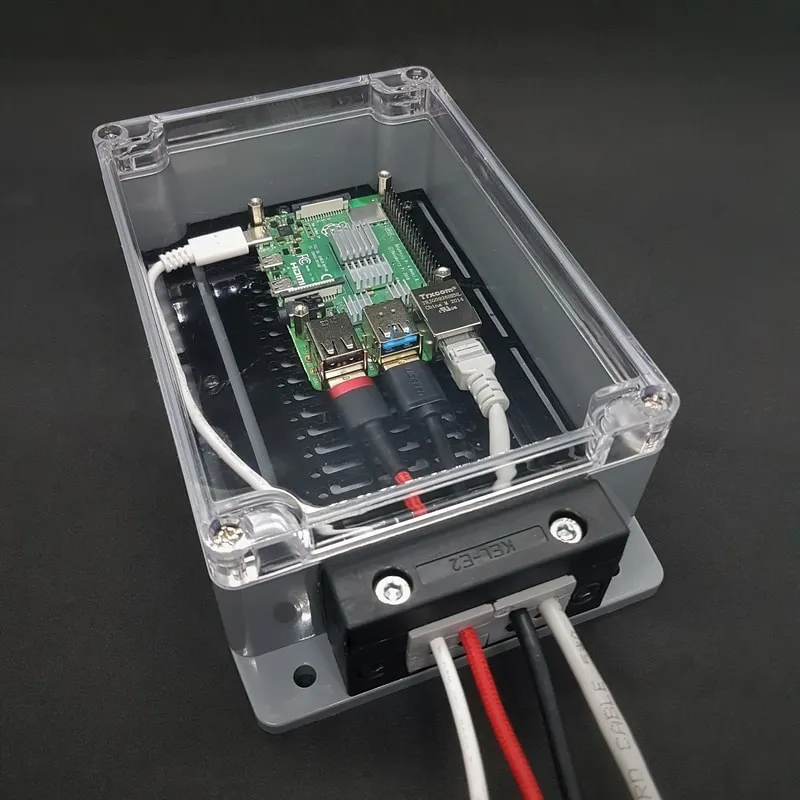
Please read these instructions carefully before starting the installation and keep this manual handy for future reference.
It is difficult to make IP65 level protective boxes. Especially if this box is going to be a generic box and many people use it in many different ways. But we worked on this and did our best to come up with smart solutions.
Raspberry Pi has many different sockets and the enclosure is not big, you should follow the instructions below for assembly. The assembly instructions provided here are for a single application and are intended to give you an idea of how to use the product. Depending on your project and application, you can use a variety of combinations. In case of any query or issue with the product please reach out to us at [email protected].
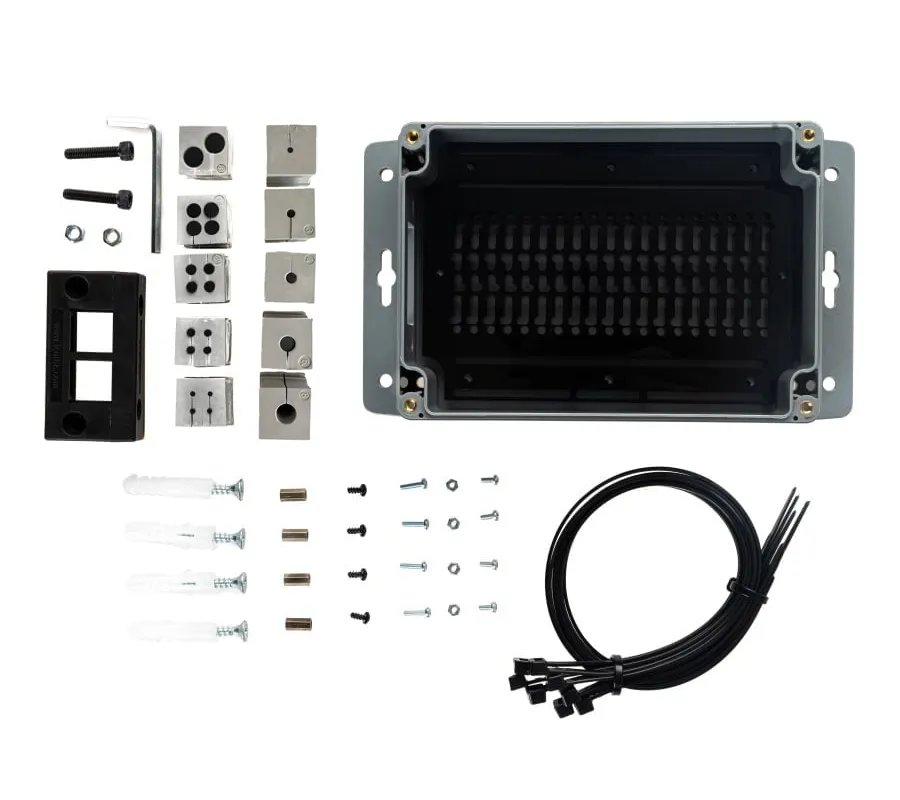
Package Includes
- 1 x IP565 Enclosure Case Bottom
- 1 x Clear Polycarbonate Top Cover
- 1 x Acrylic PCB Base Plate
- 5 x IP54 certified cable insert plugs
- 5 x IP65 certified cable insert plugs
- 1 x Grommet Frame
- 1 x Allen Key
- 1 x Phillips Screwdriver
- 8 x 400mm Heavy Duty Zip Tie
- 2 x M2.5x11mm Brass Standoff for board stacking
- 8 x M2.5 Stainless Steel Flat Washer
- 8 x M2.5 Stainless Steel Nut
- 4 x M5x30mm Plastic Expansion Wall Plug with Screw
- 4 x M4x22mm Screw for top cover
- 6 x M3x9mm Screw for fixing the base plate to the case bottom
- 2 x M5x25mm Screw with nuts
- 4 x M2.5x10mm Screw for fixing Raspberry Pi to the base plate
- 4 x M2.5x8mm Screw for board stacking
Assembly
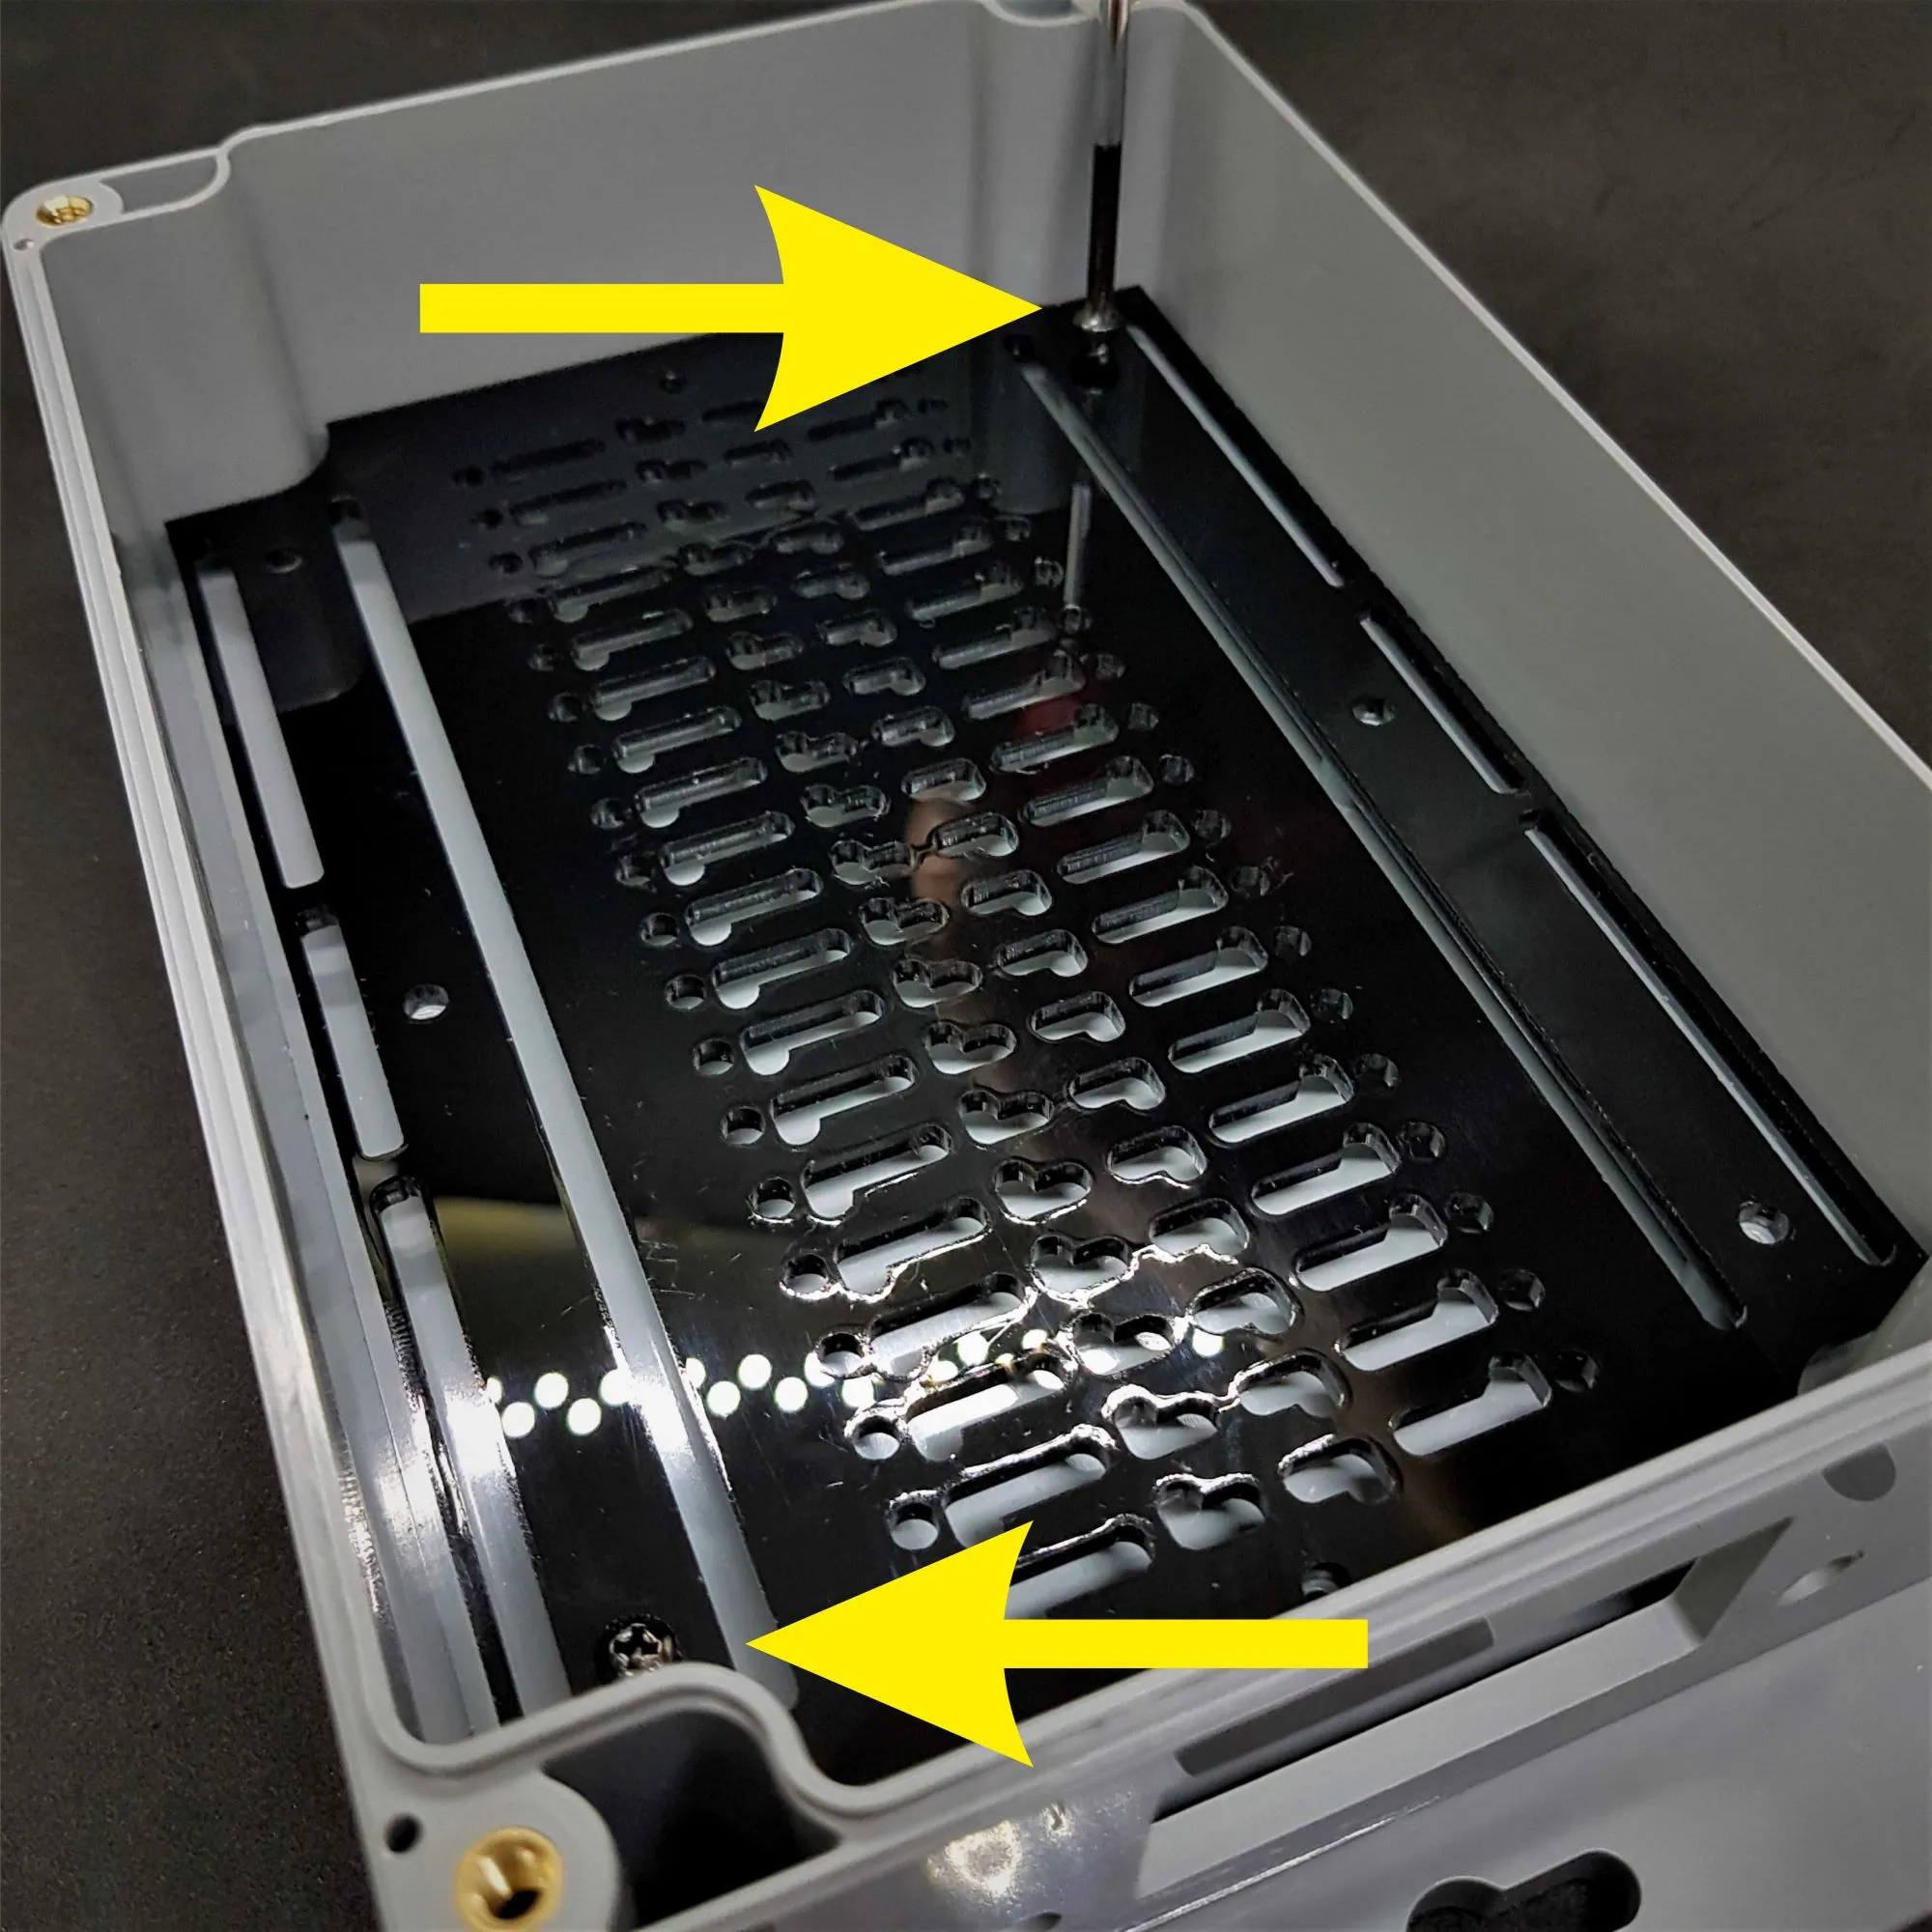
Mount the base plate. There is no need to tighten the screws M3x9mm screws for now. After inserting the Raspberry Pi, tighten it.
The location of the Raspberry Pi will differ according to the cables and sockets you will use.
The base plate in the box is designed to provide almost all placement positions of the Raspberry Pi.
If there are cables that need to rotate in the placement in the box, choose them from the flexible ones or choose from the cables with 90 degree socket.
Pass the cables you want to use through the cable entry point and connect to Raspberry Pi.
Determine a position in the box where the cables are most comfortable. You can mark this place with a marker, or it's easy to remember.
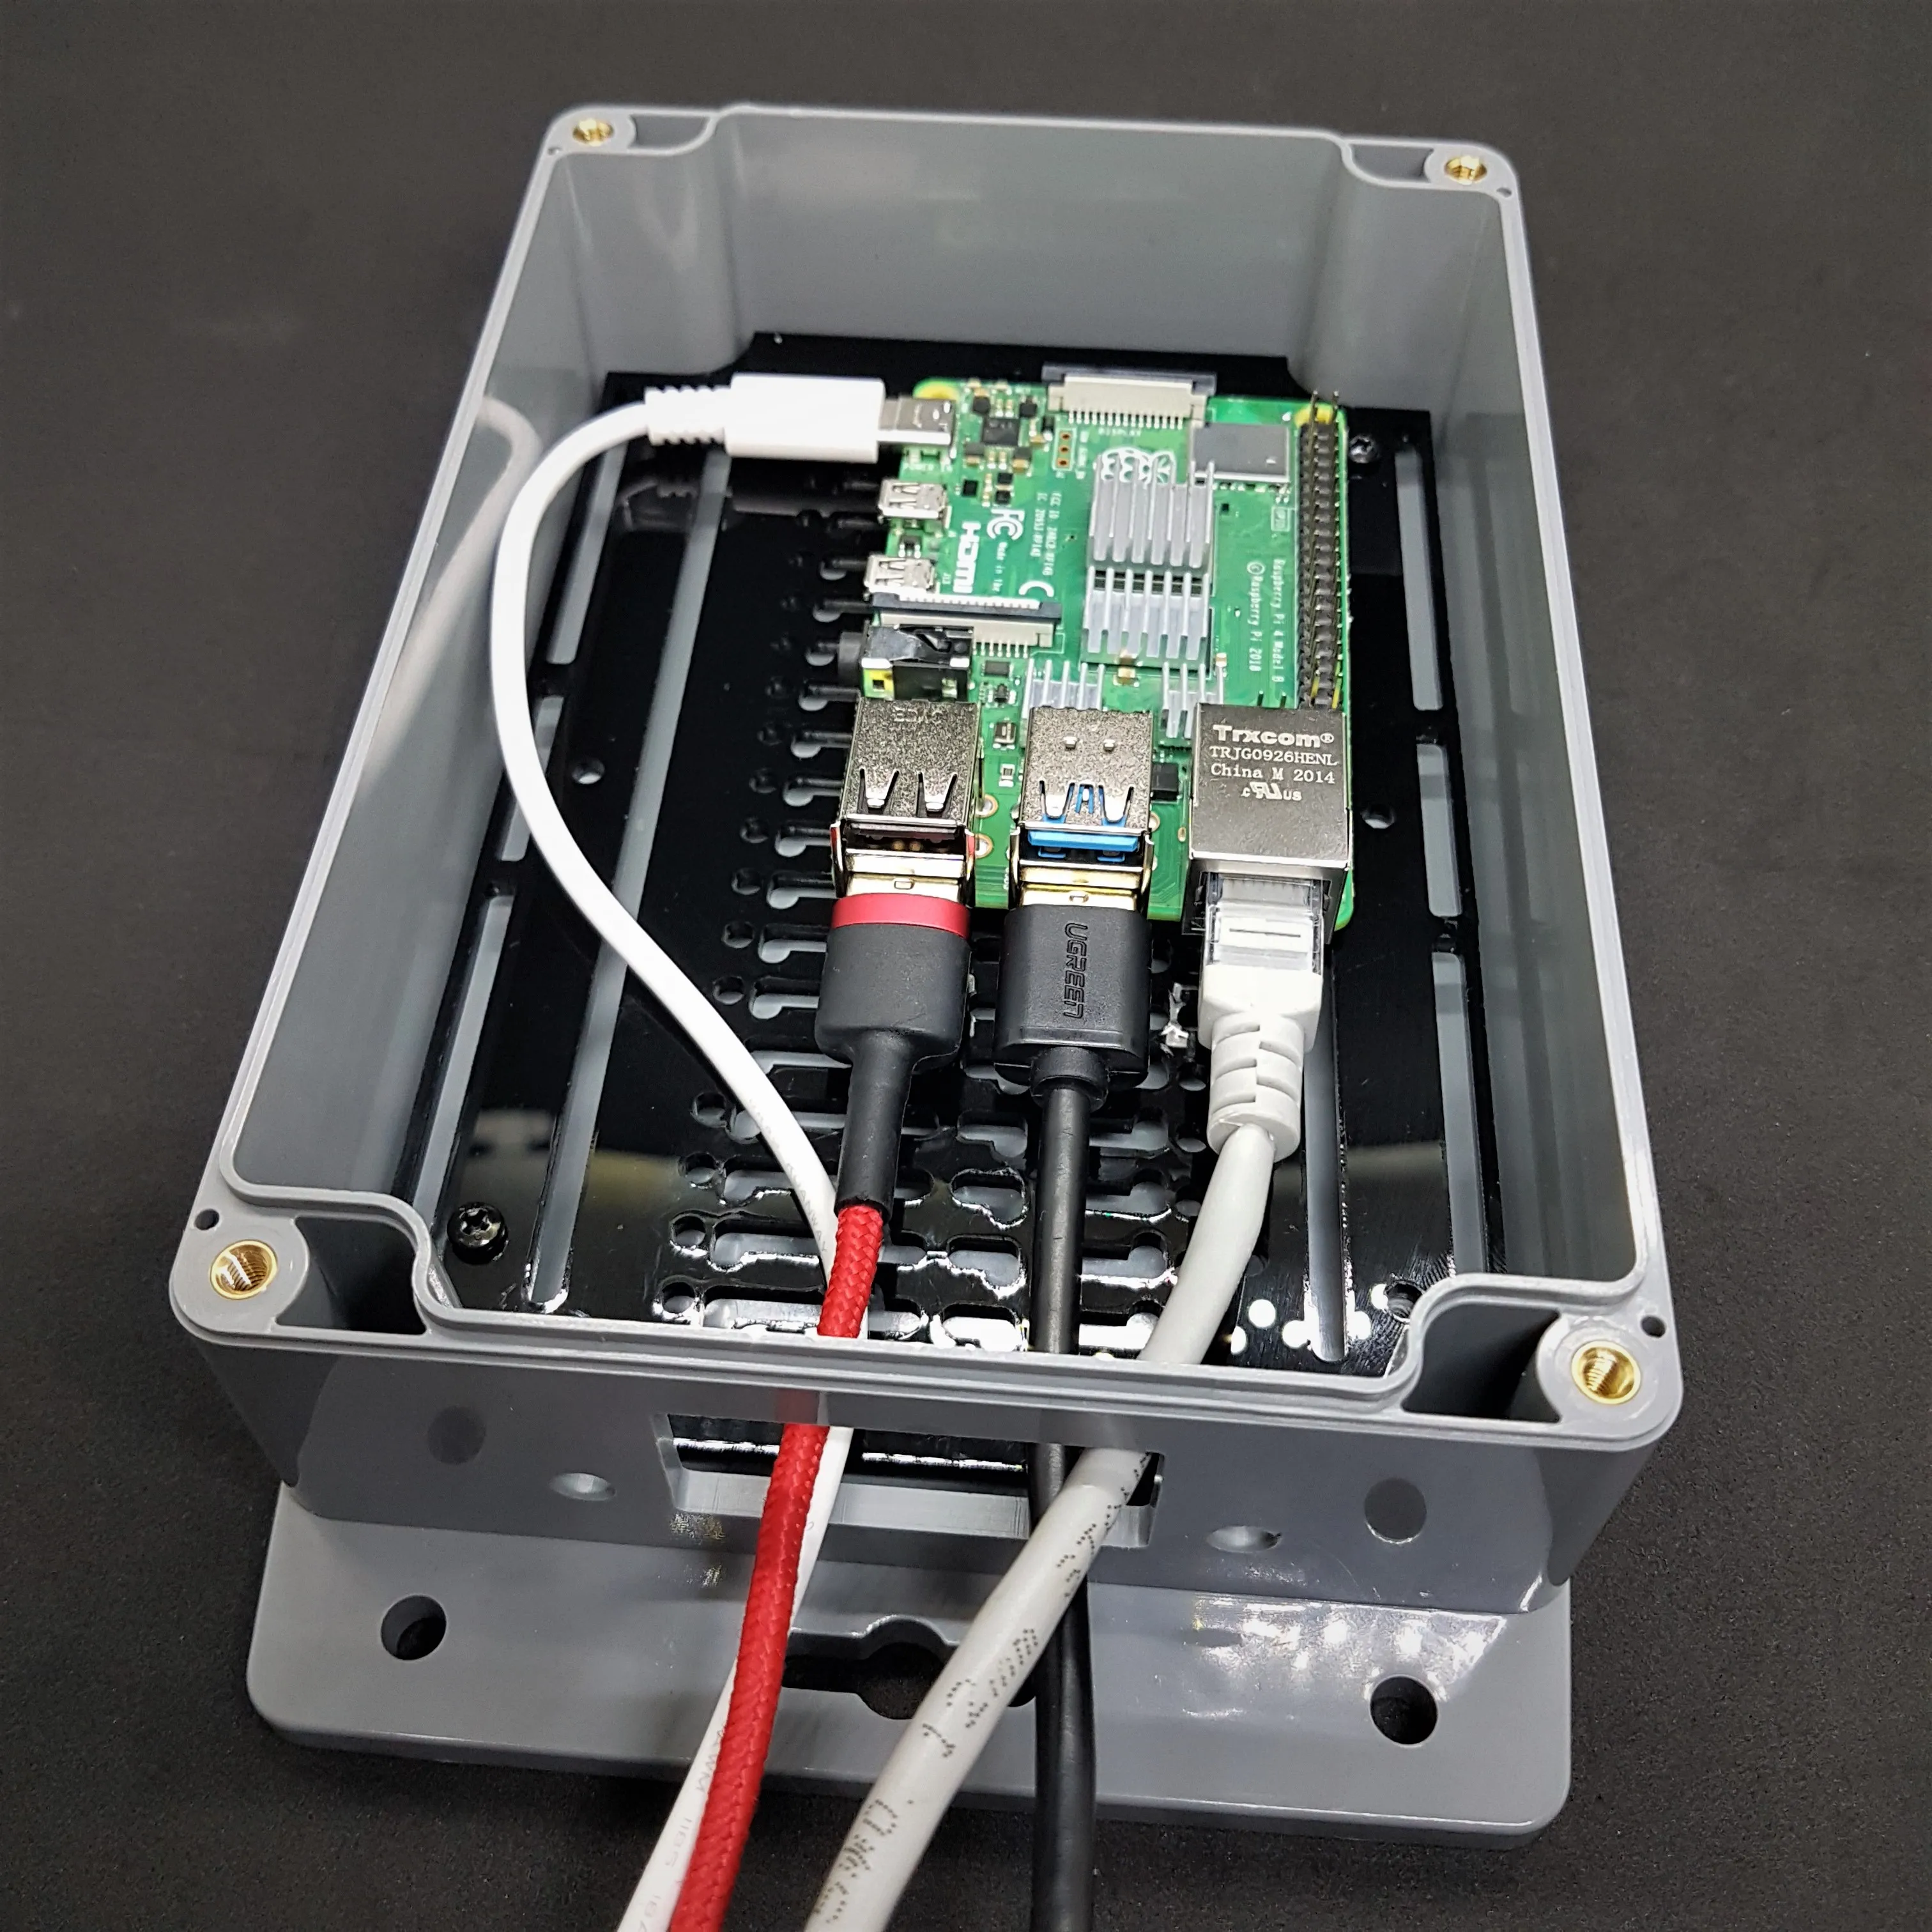
Disconnect the cables and remove the base plate.
Mount the Raspberry Pi to the indicated position using the M2.5x10mm screws in sequence.
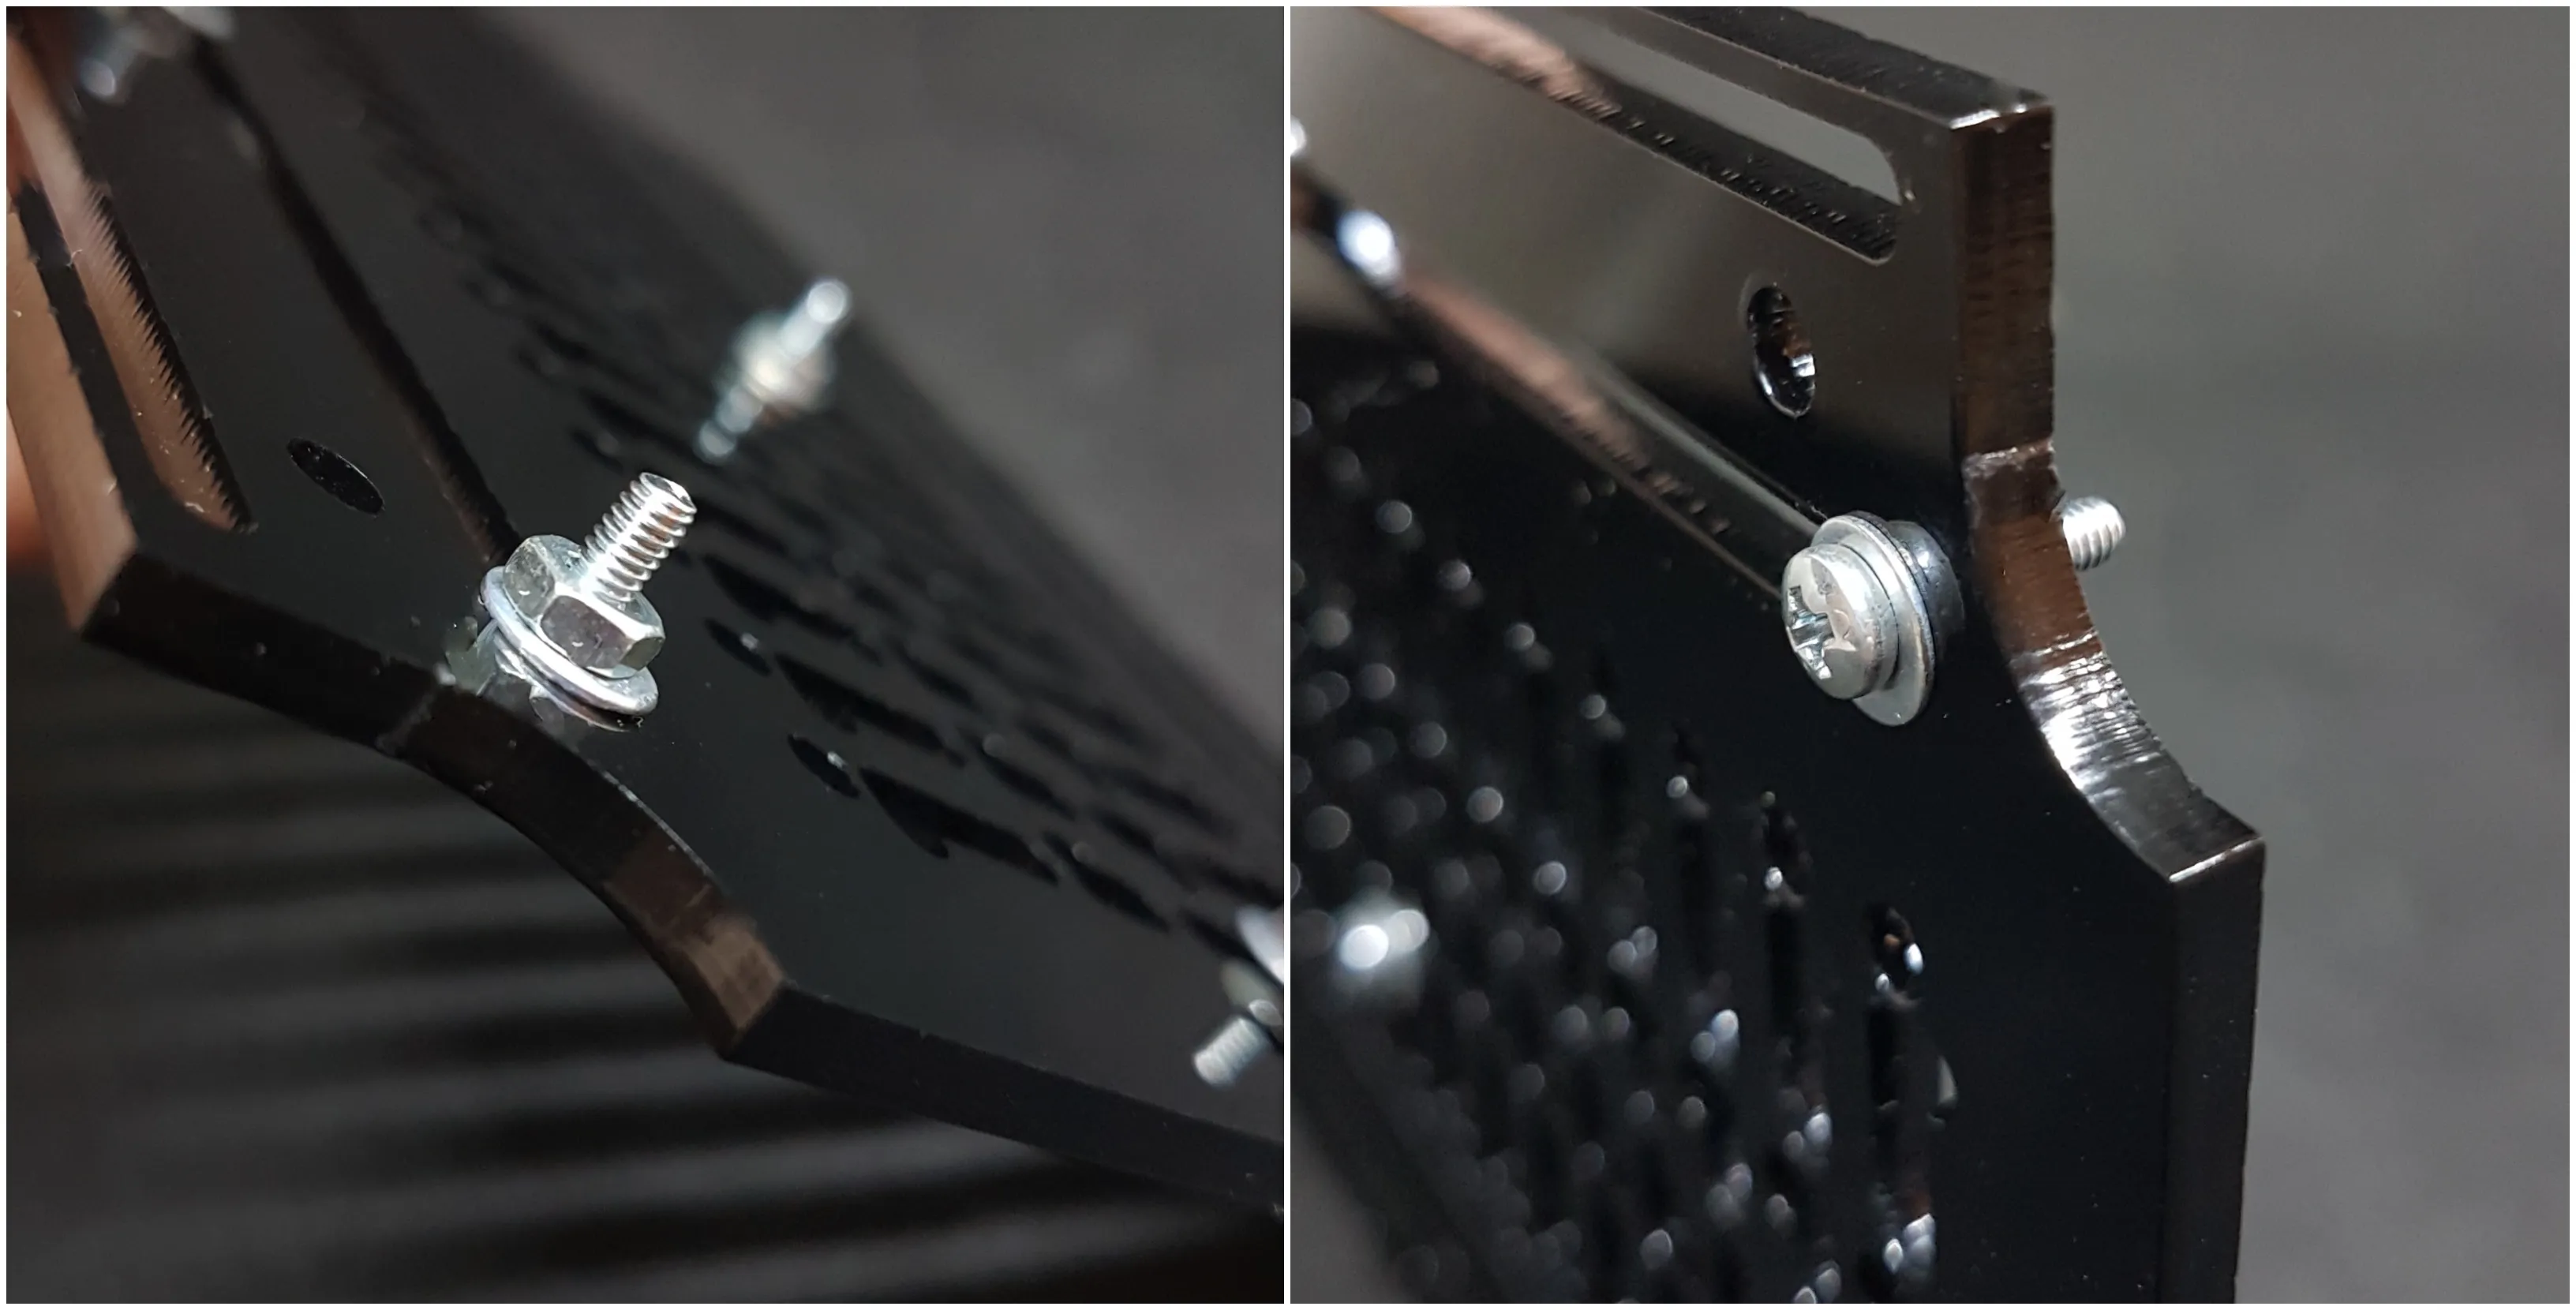
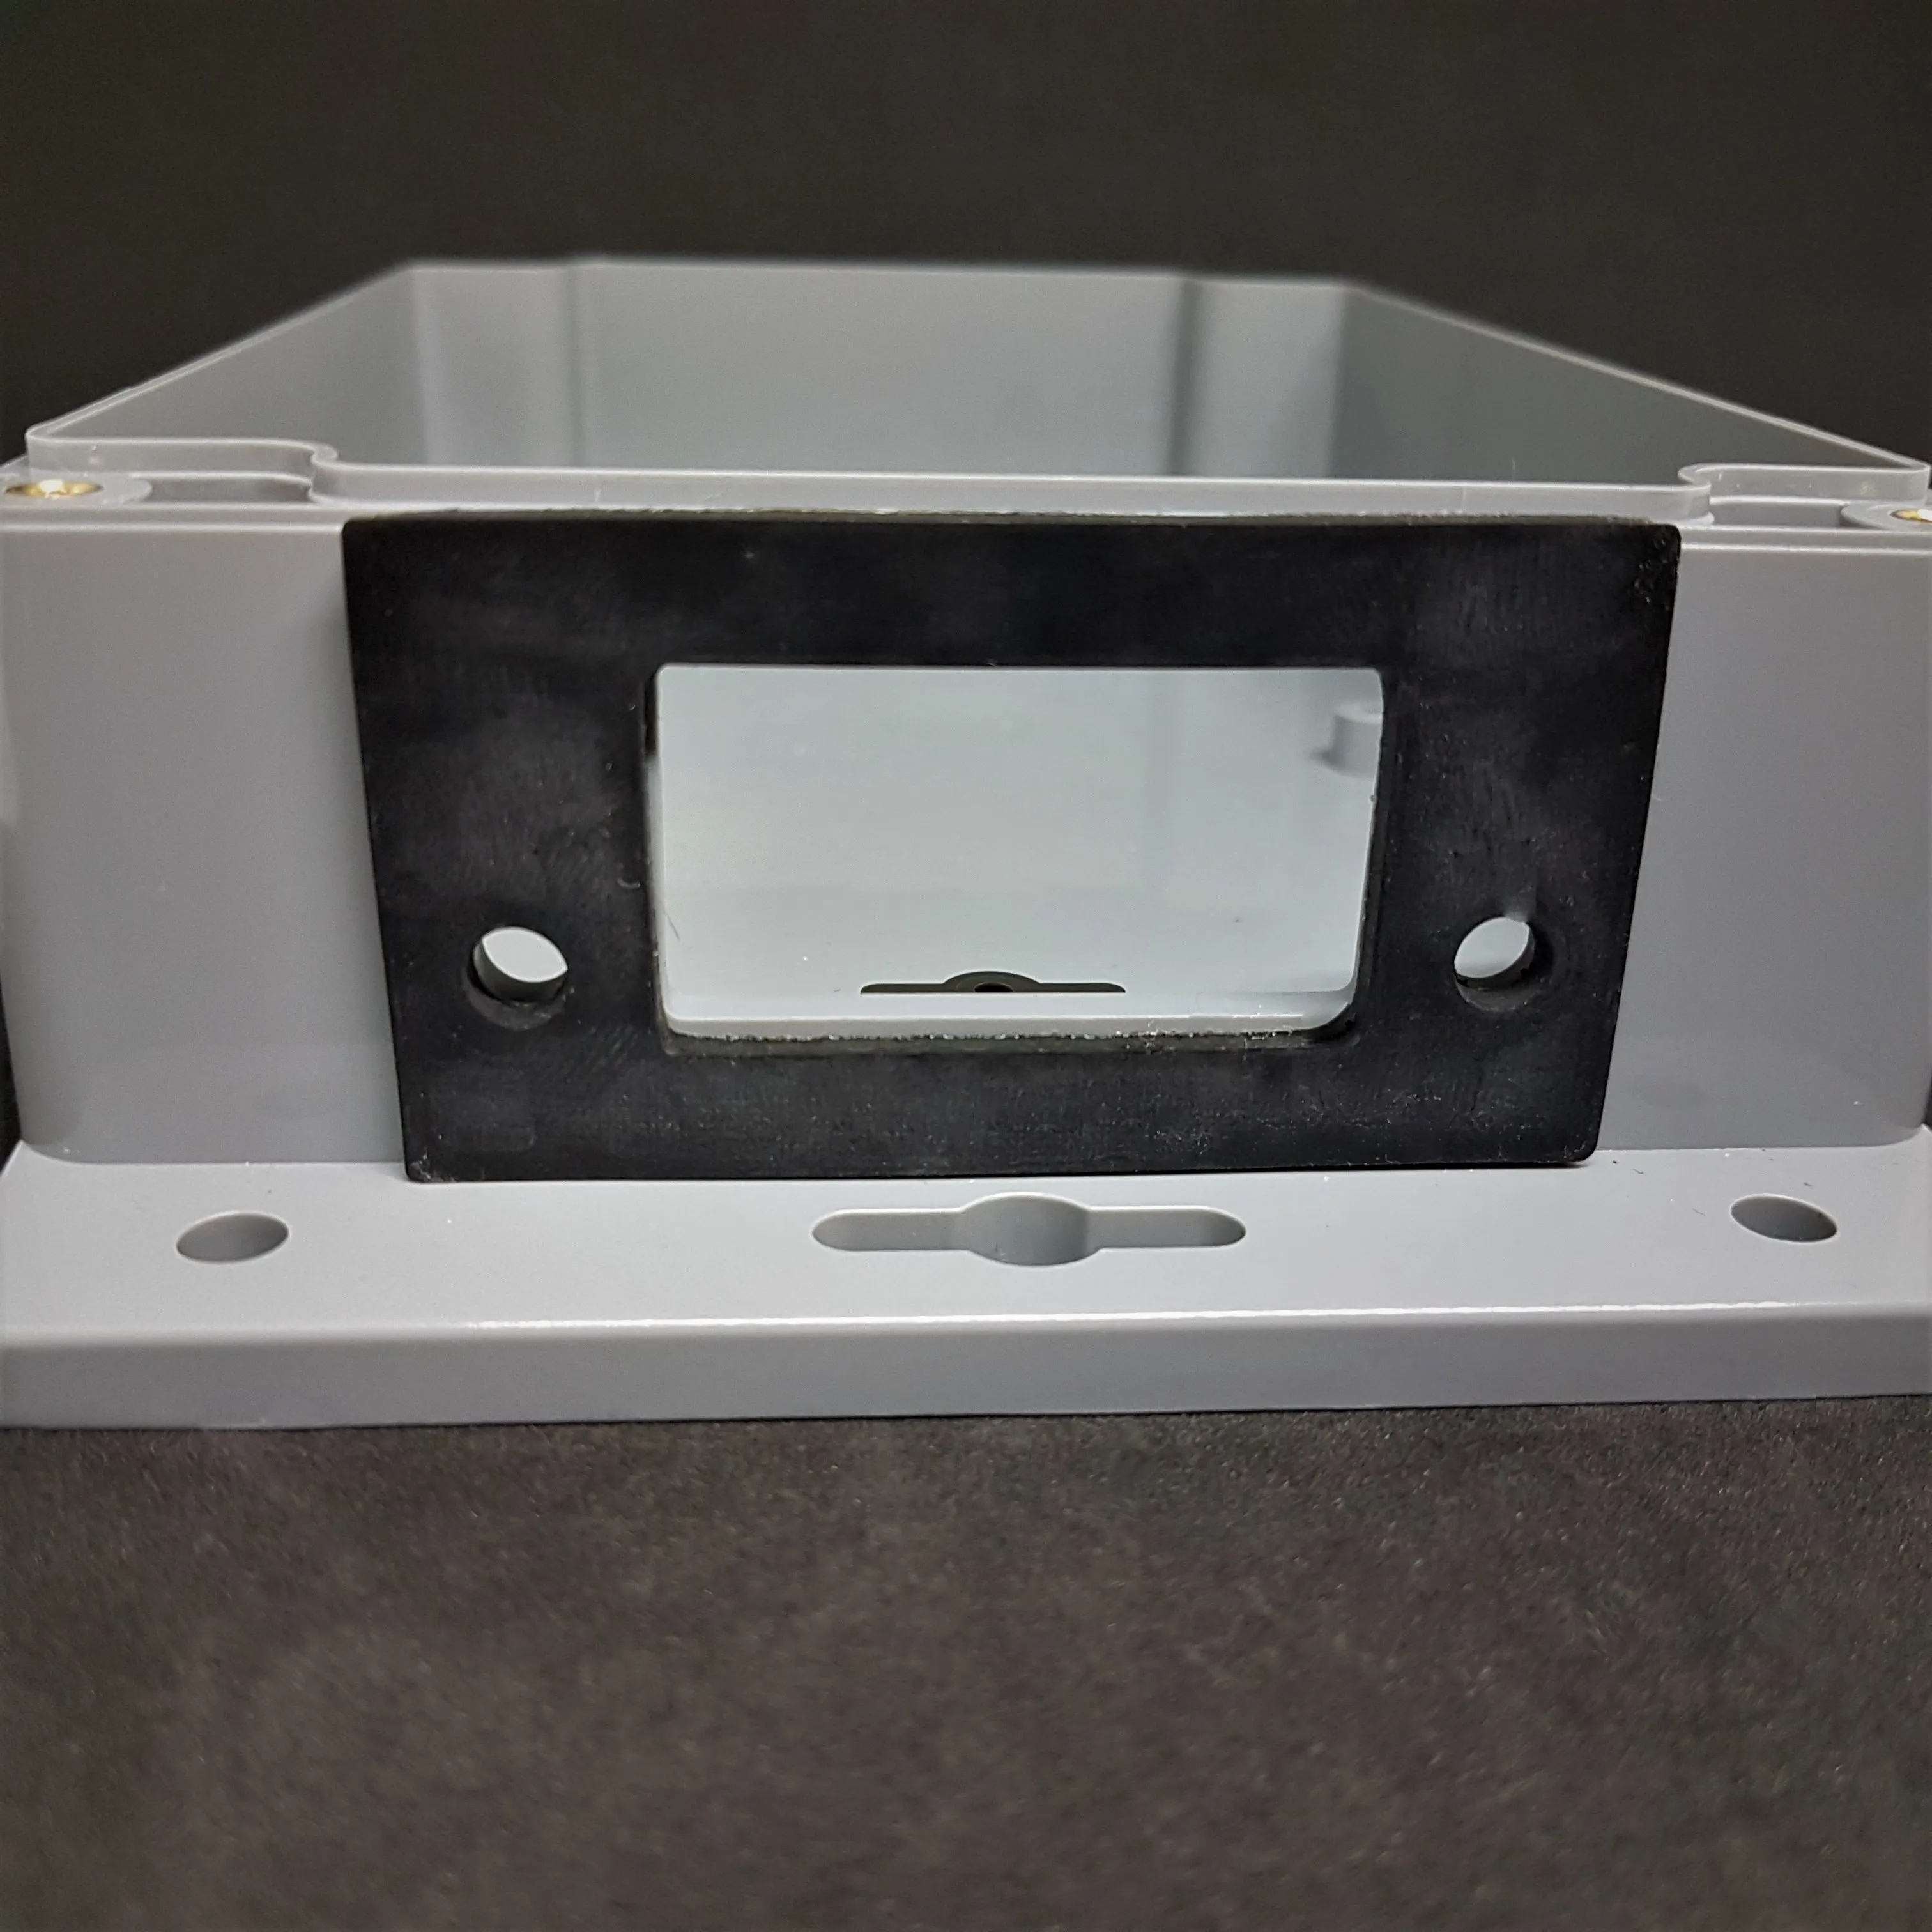
To attach the gasket of the cable frame, first remove the protective paper of the adhesive side. Stick it on the box, paying attention to the screw holes.
Re-pass the cables through the frame opening and insert the Raspberry Pi into their places. Put the Raspberry Pi back.
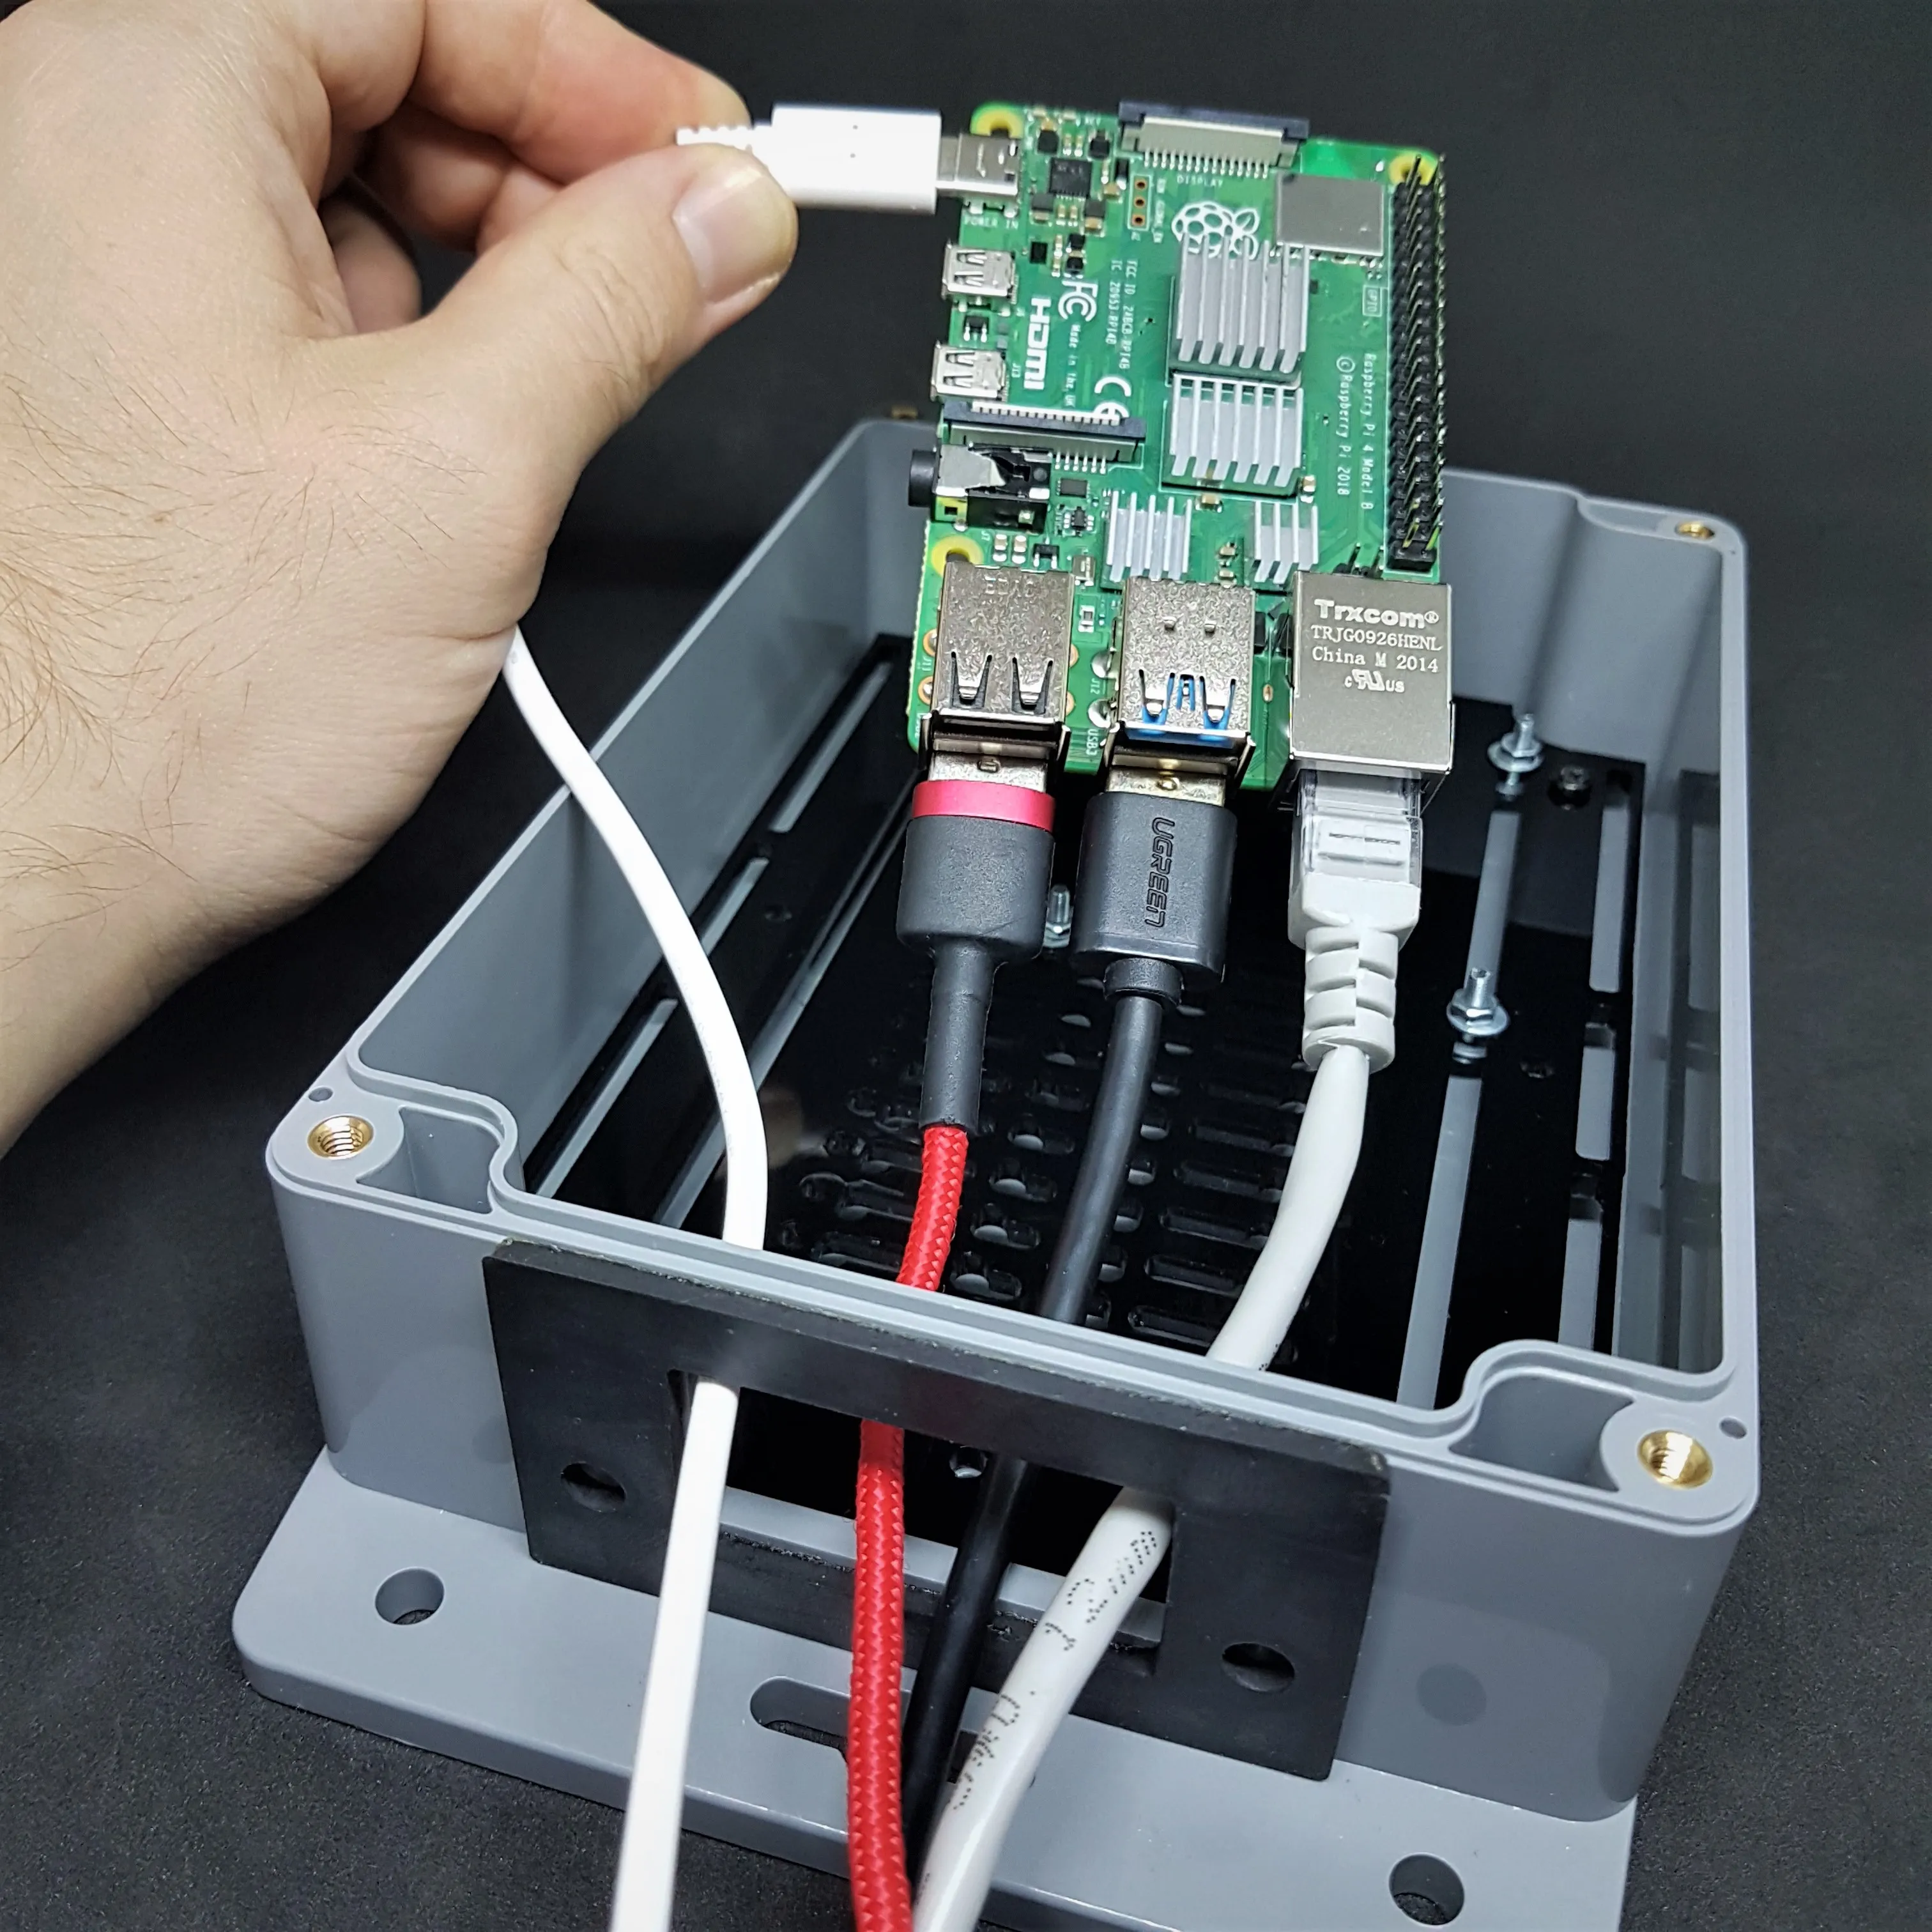
Identify the suitable IP-certified inserts for your cables. Attach the cables to the inserts and bring the inserts to the closest point to the box.
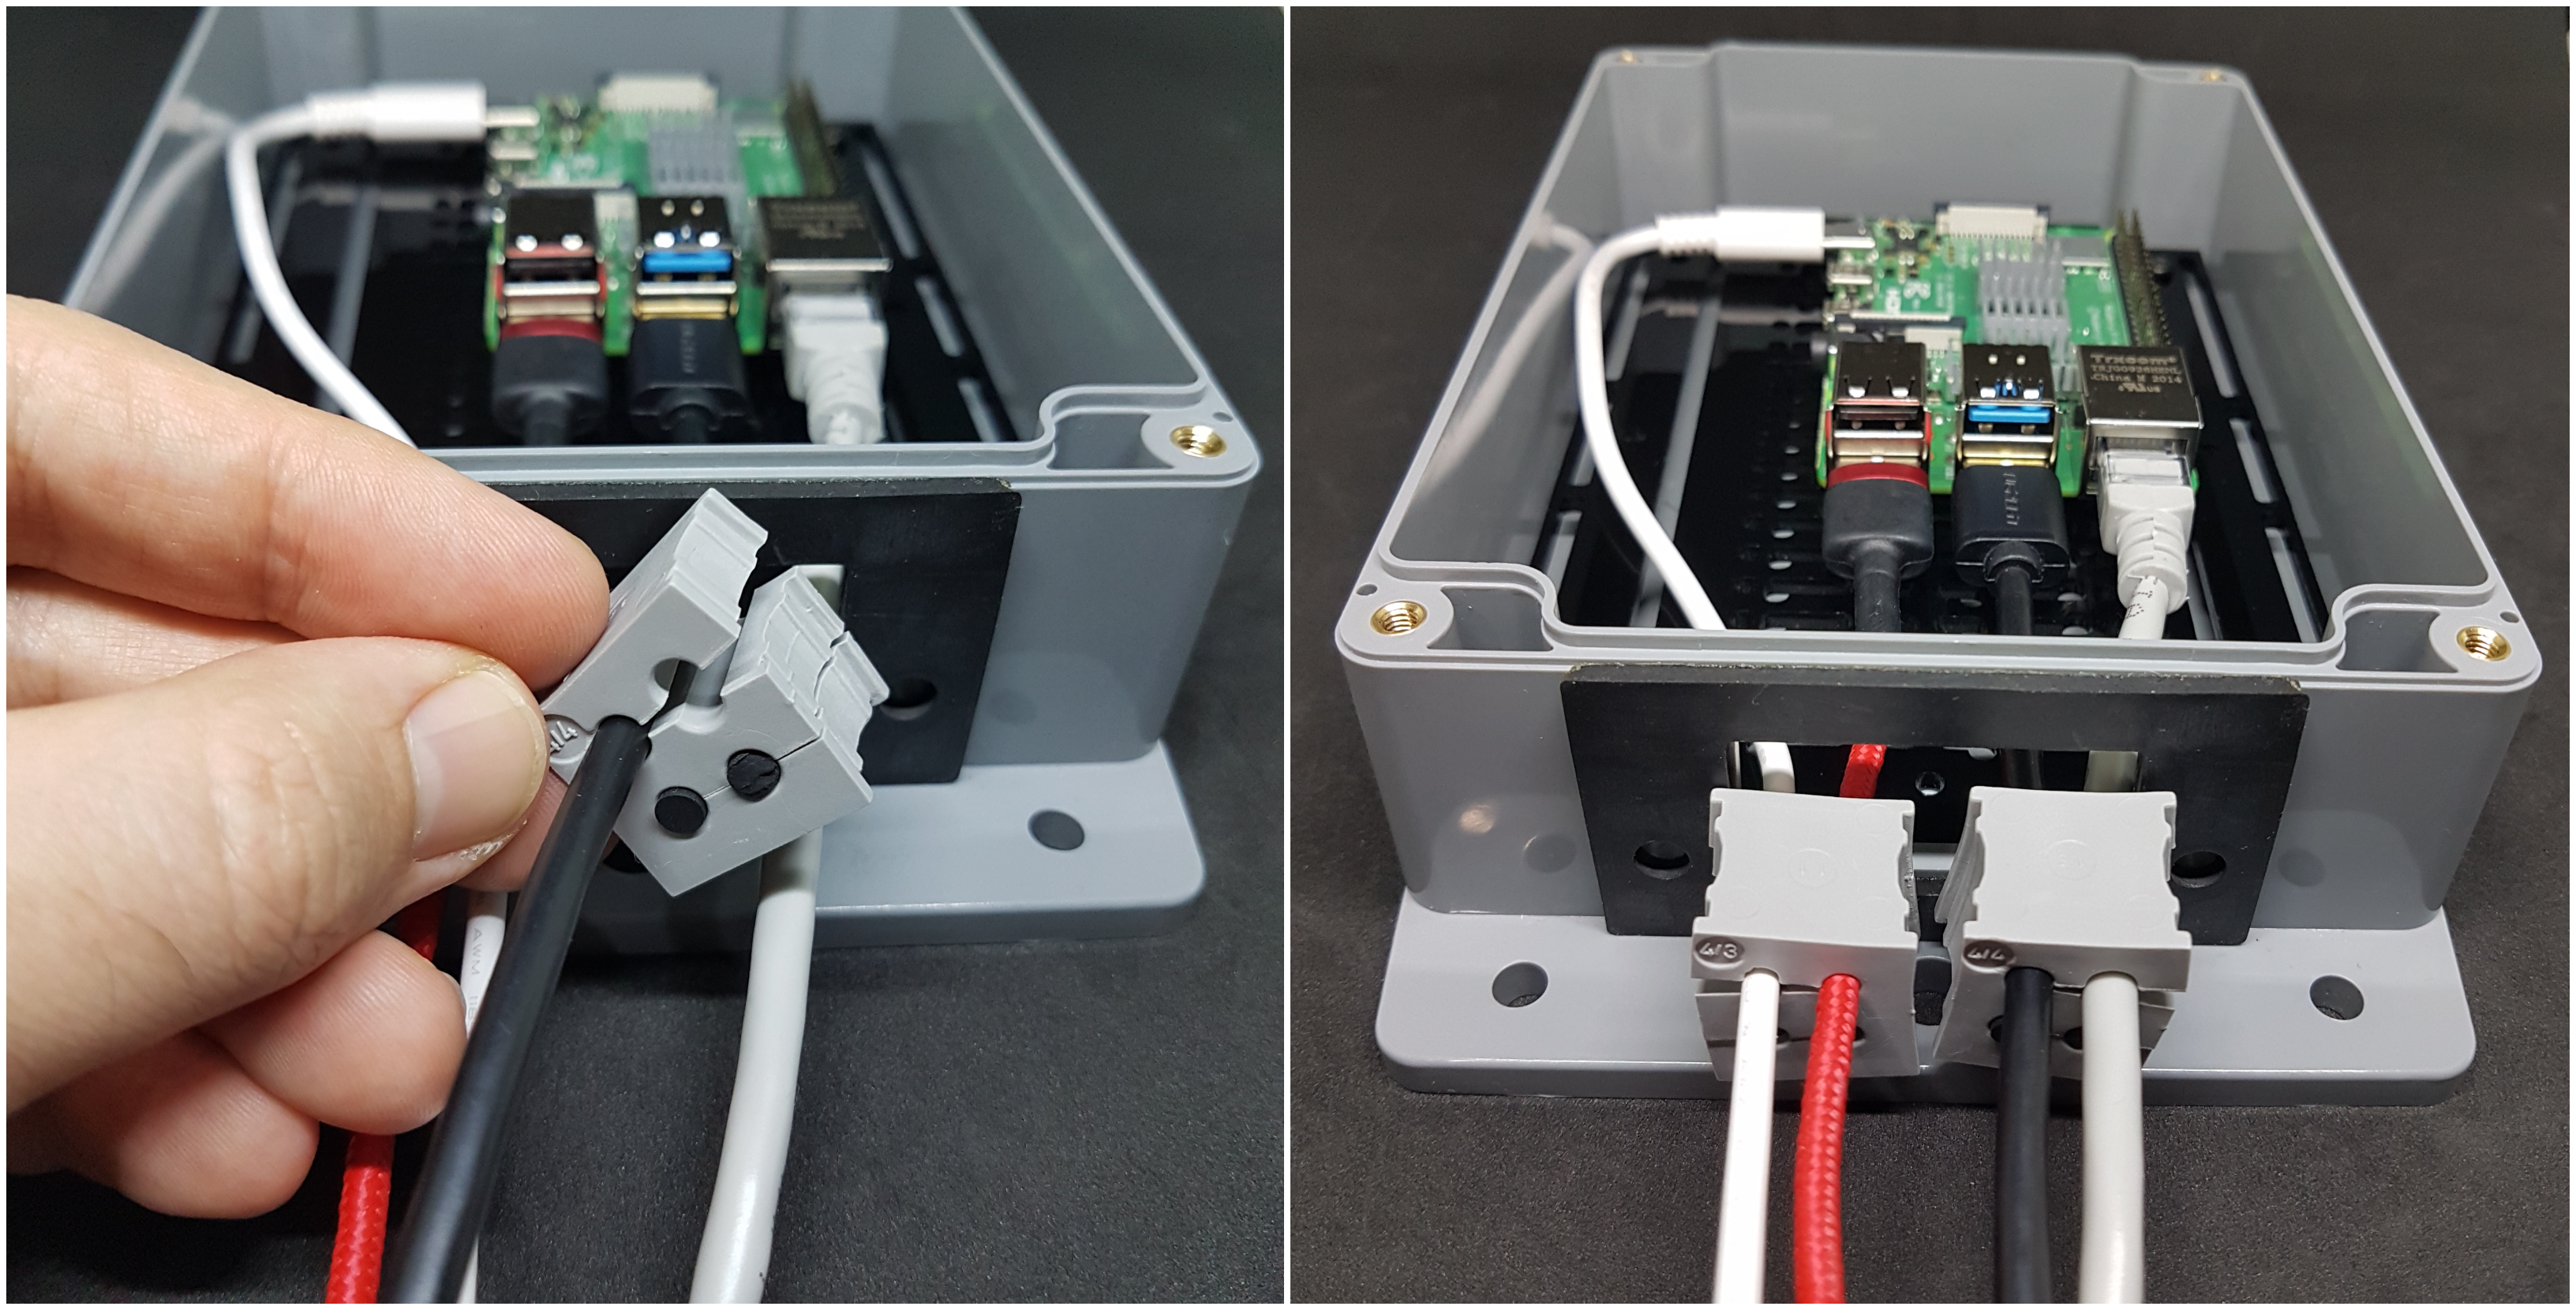
Remove the Raspberry Pi and pull it out with the cables. Be careful not to move the inserts.
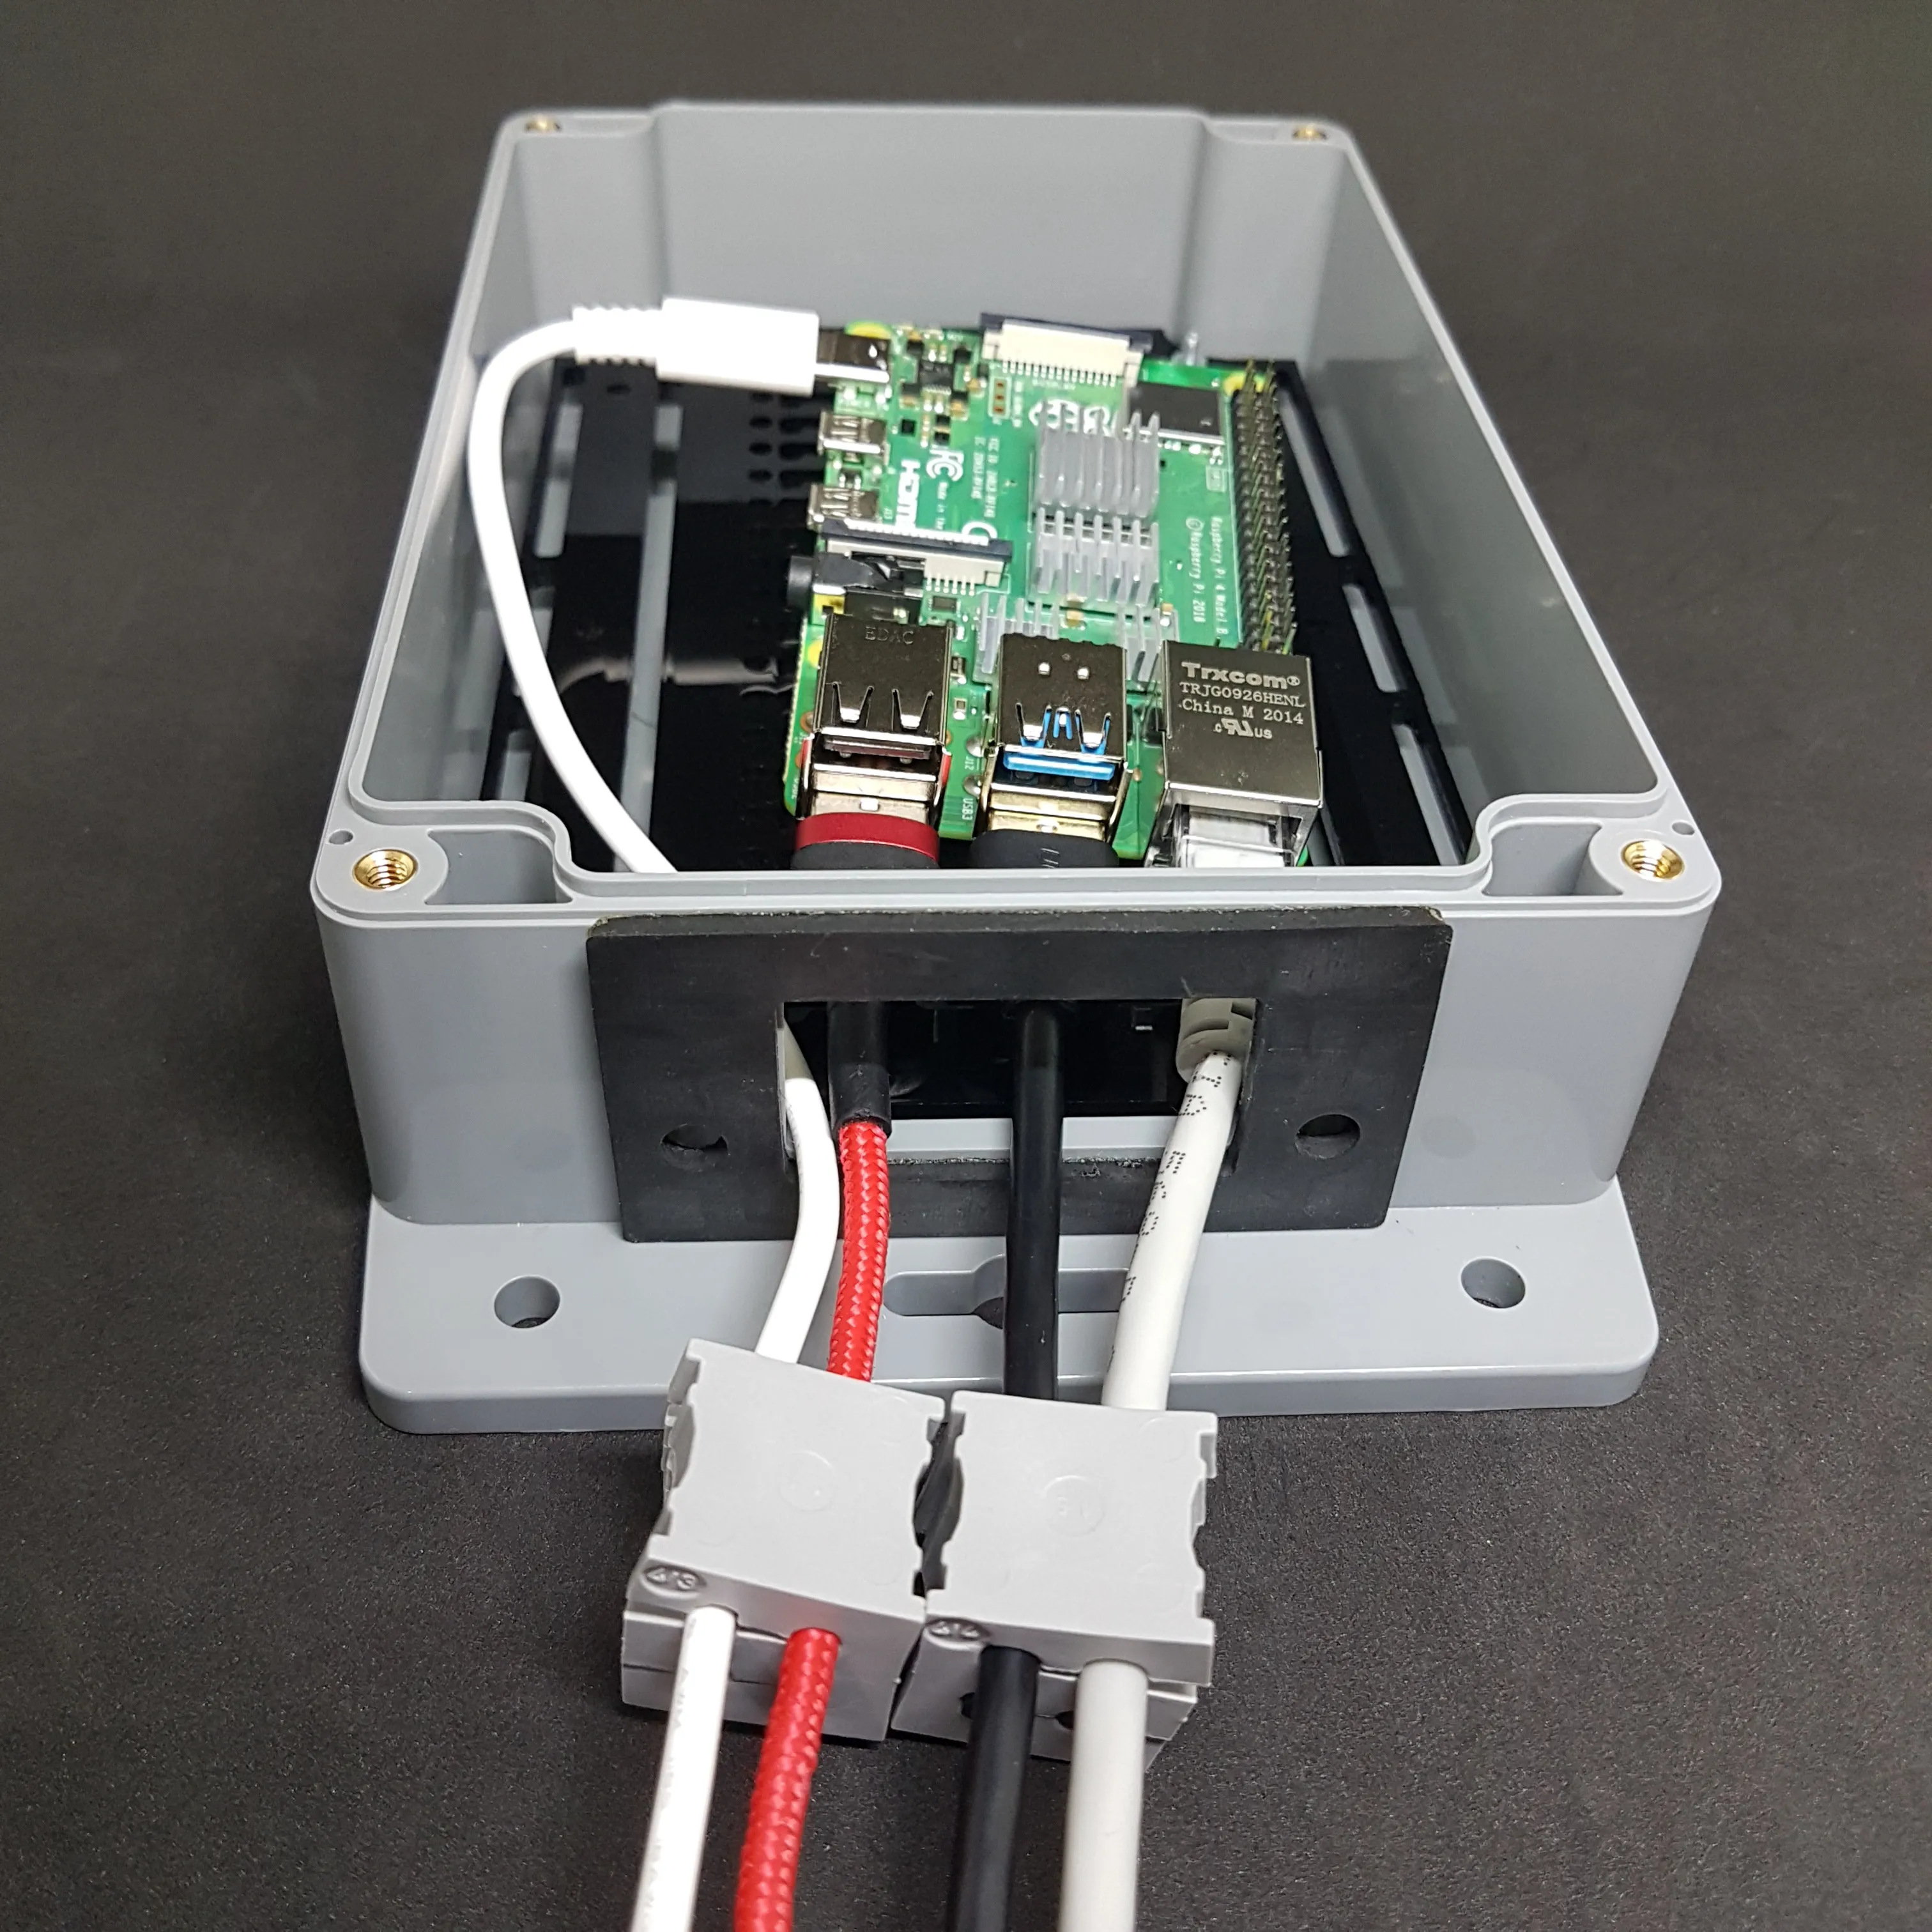
Place the inserts in the frame.
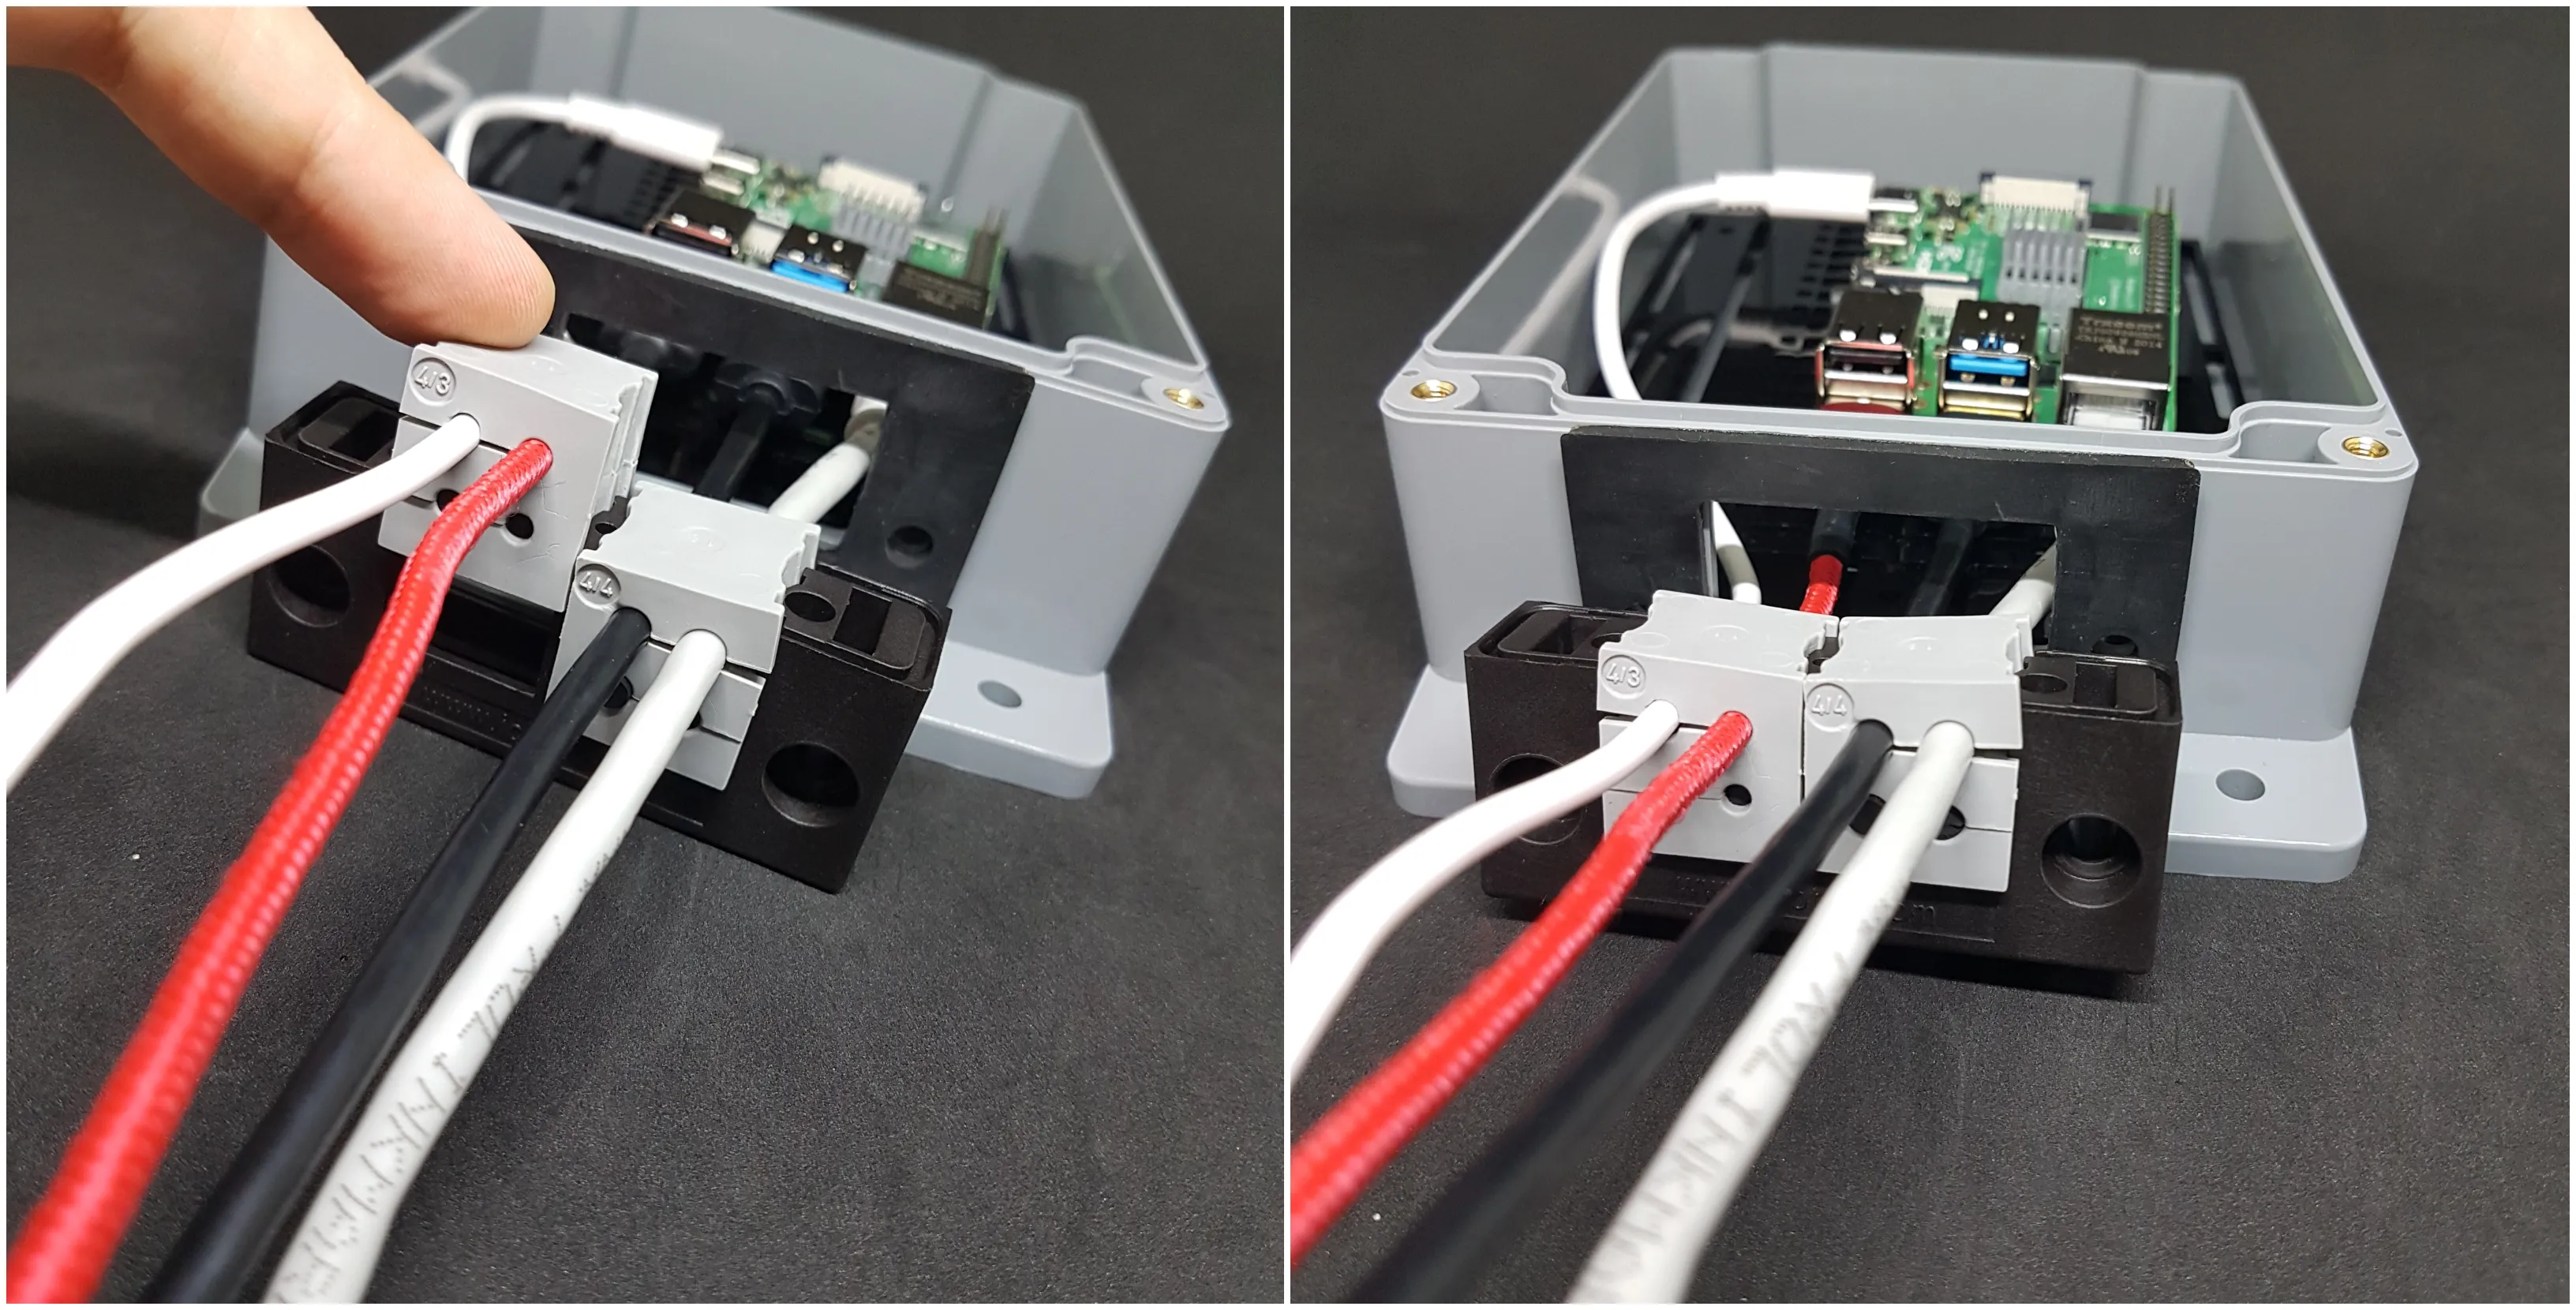
Pull the Raspberry Pi into place with the frame, and once you fit the Raspberry Pi into the screws, the frame should return to its position outside the box.
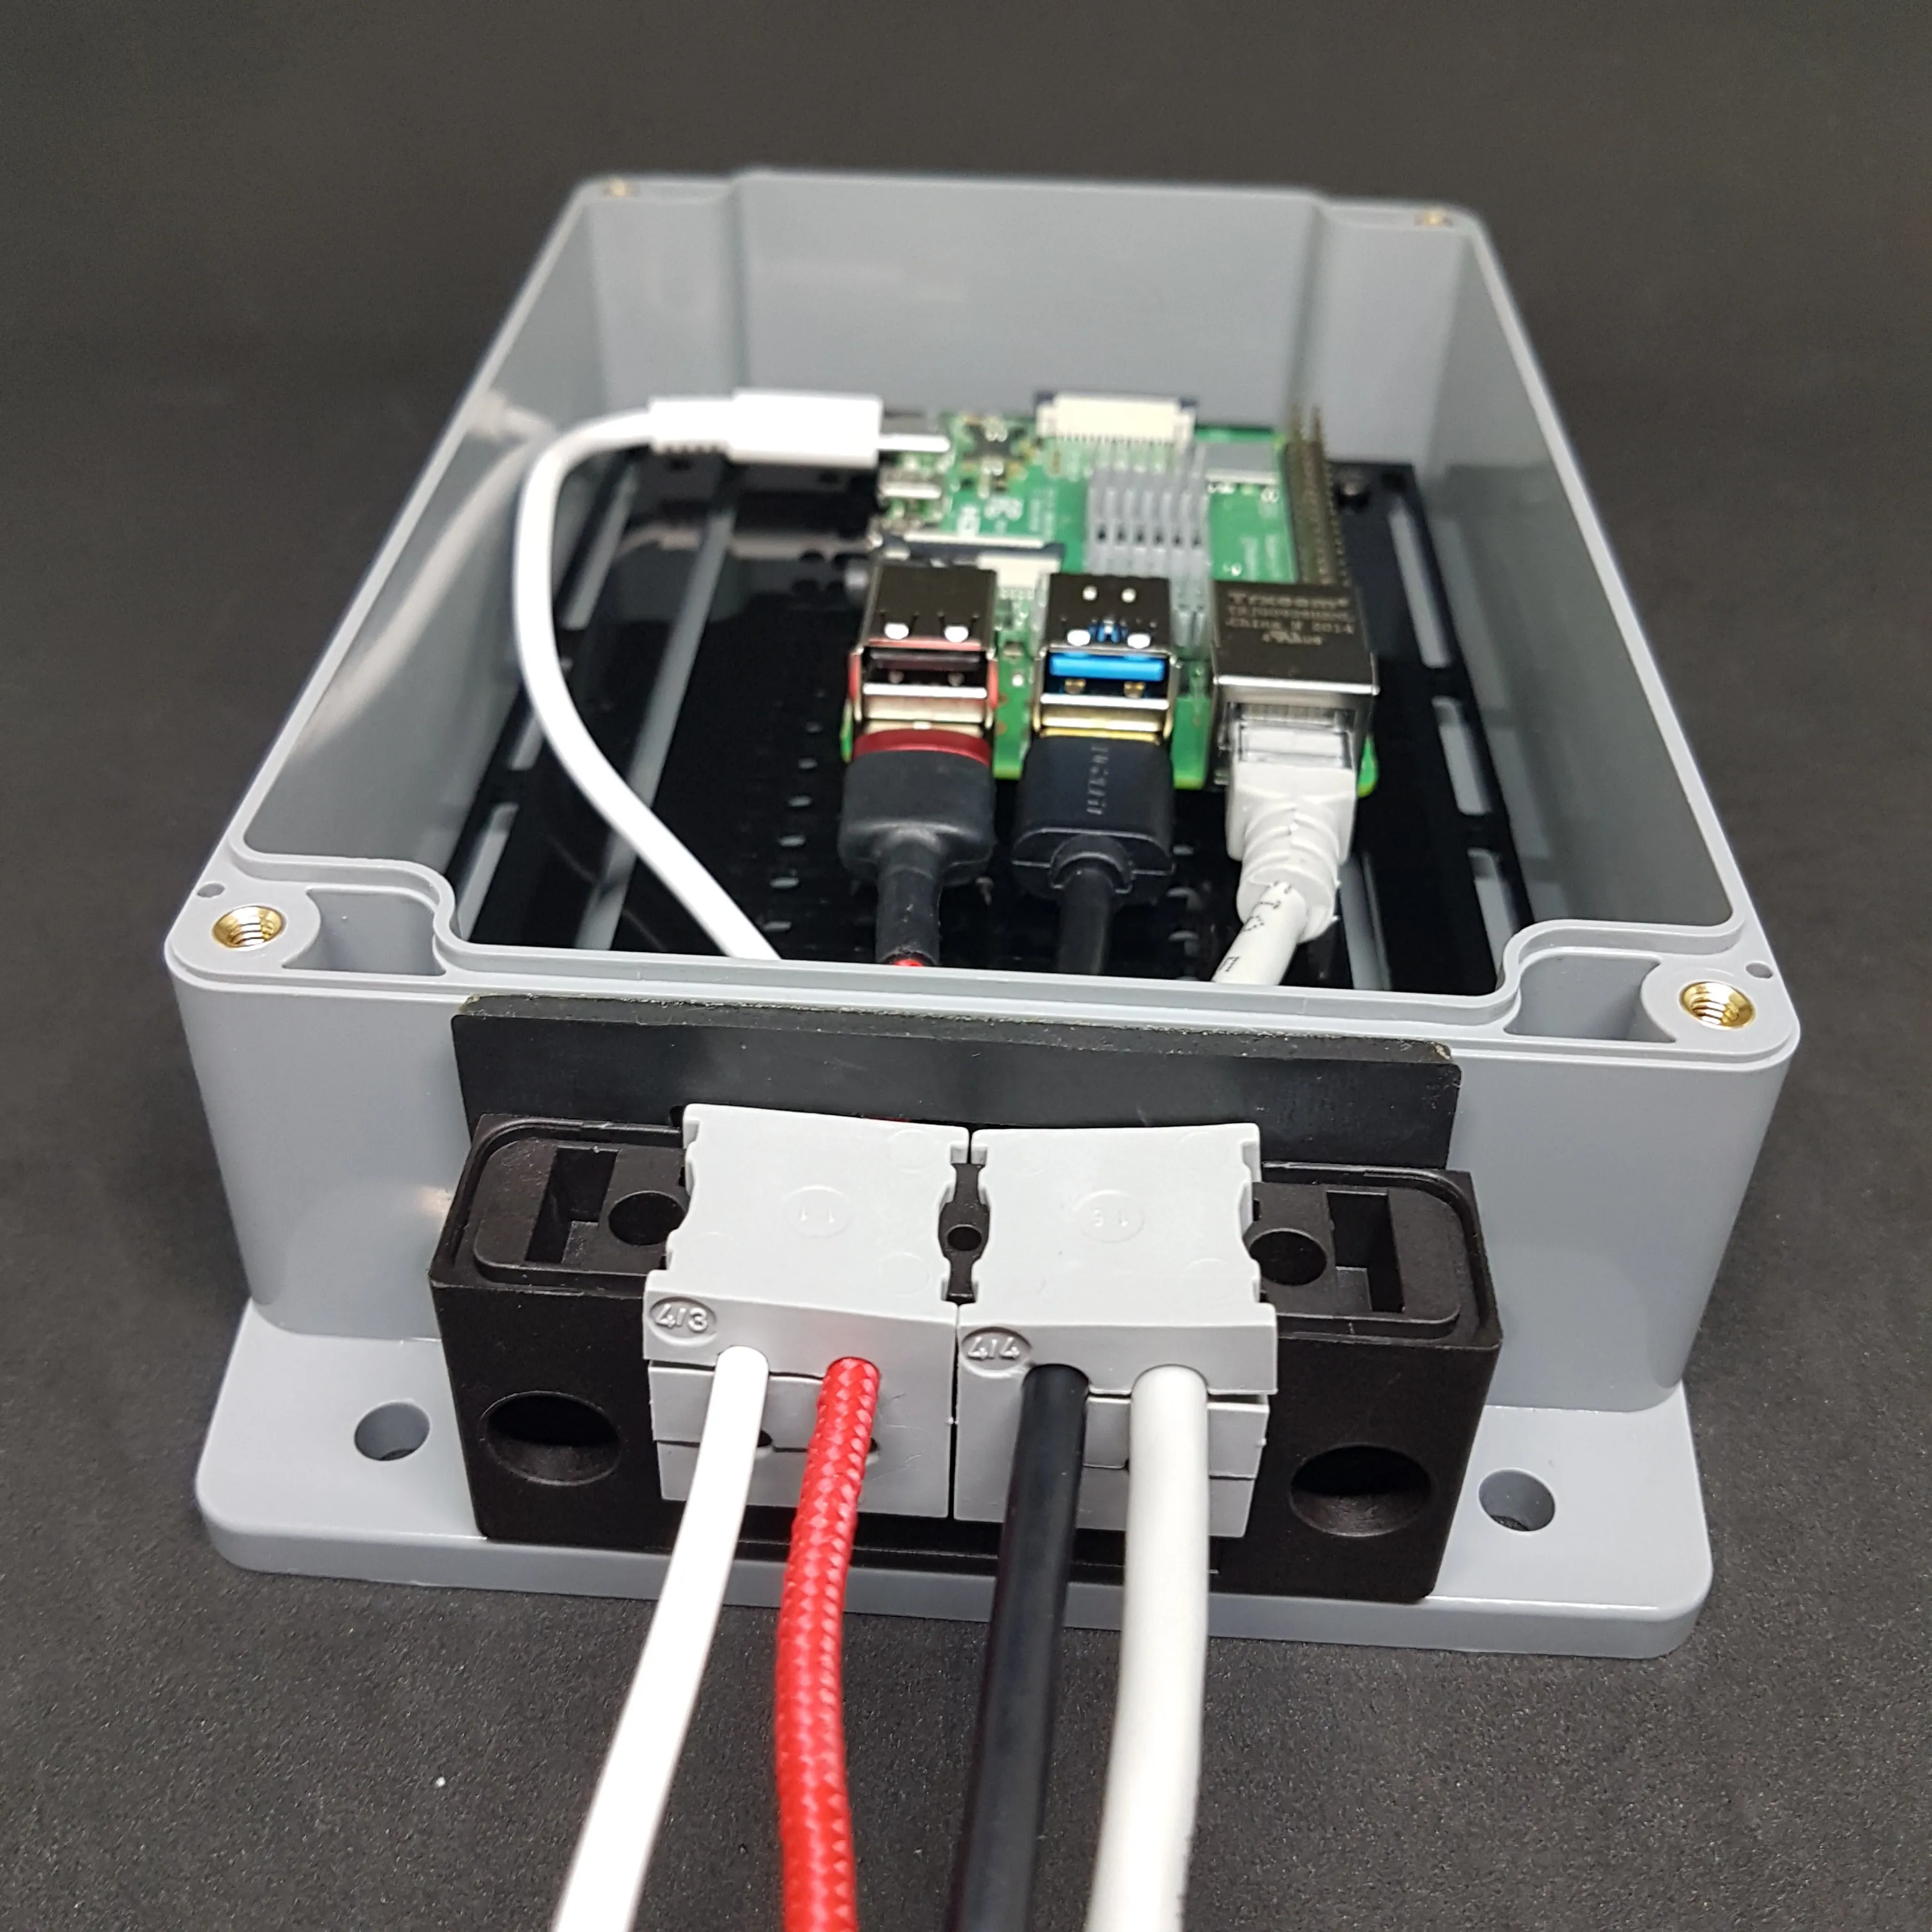
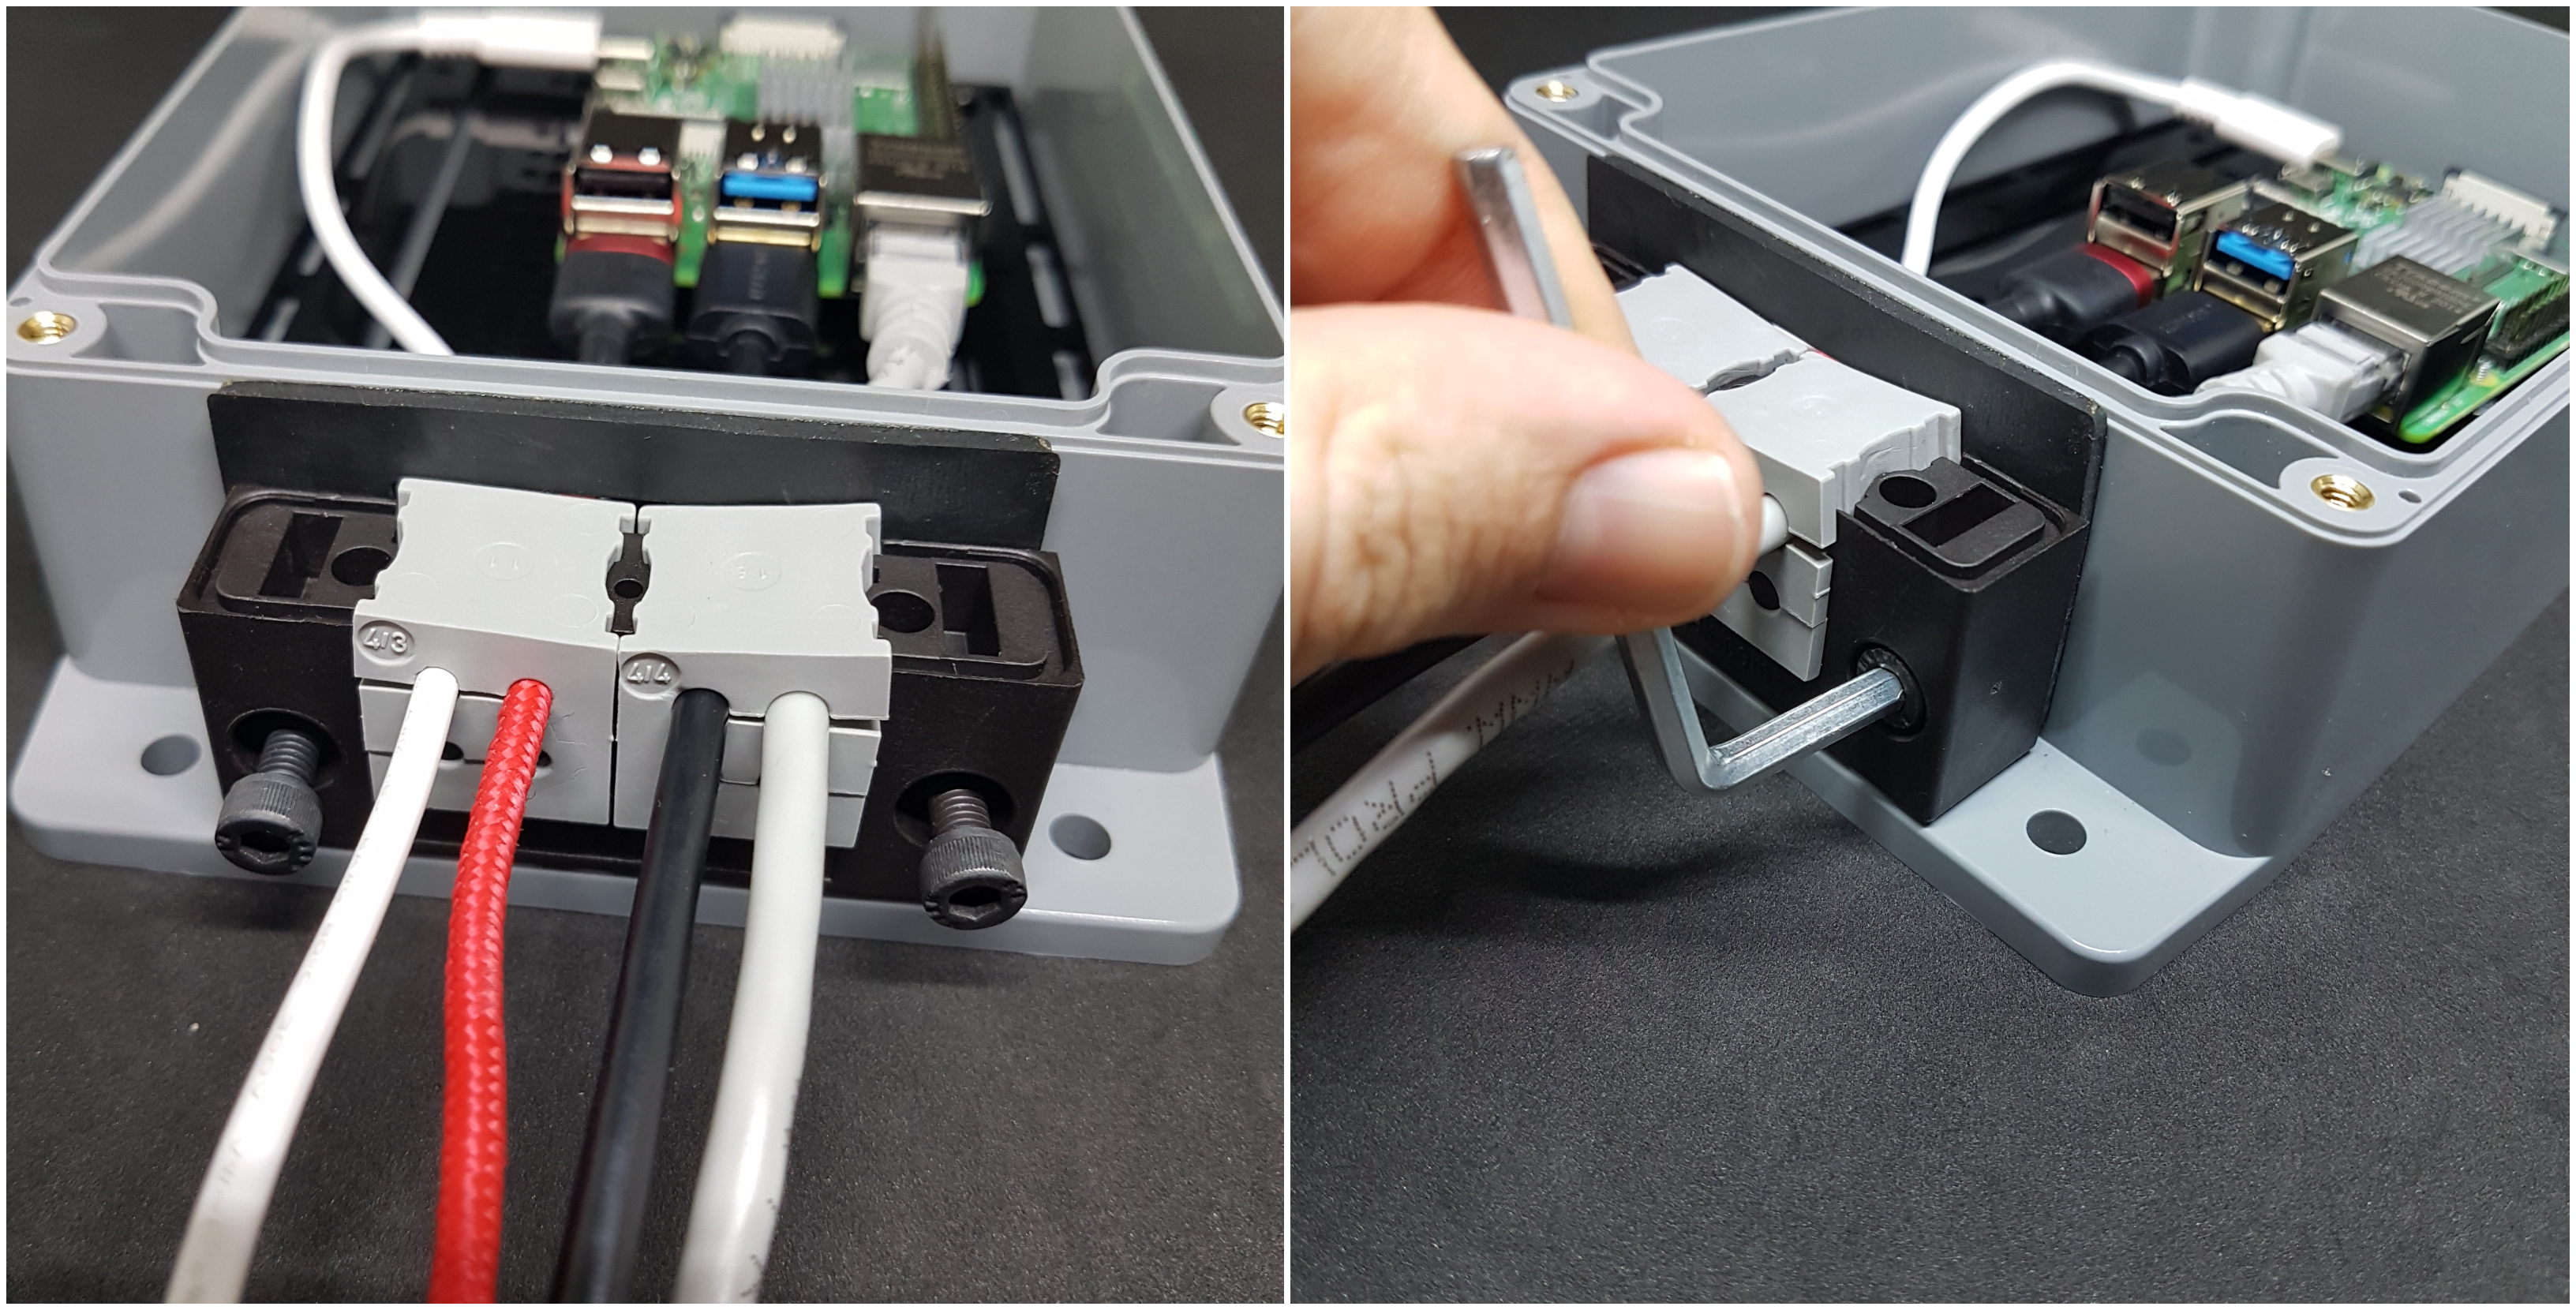
Mount the bottom of the frame to the box with M5X25mm screws and nuts.
You can install the screws with an Allen key. It will be better if you can hold the nuts from the inside with pliers etc. while tightening.
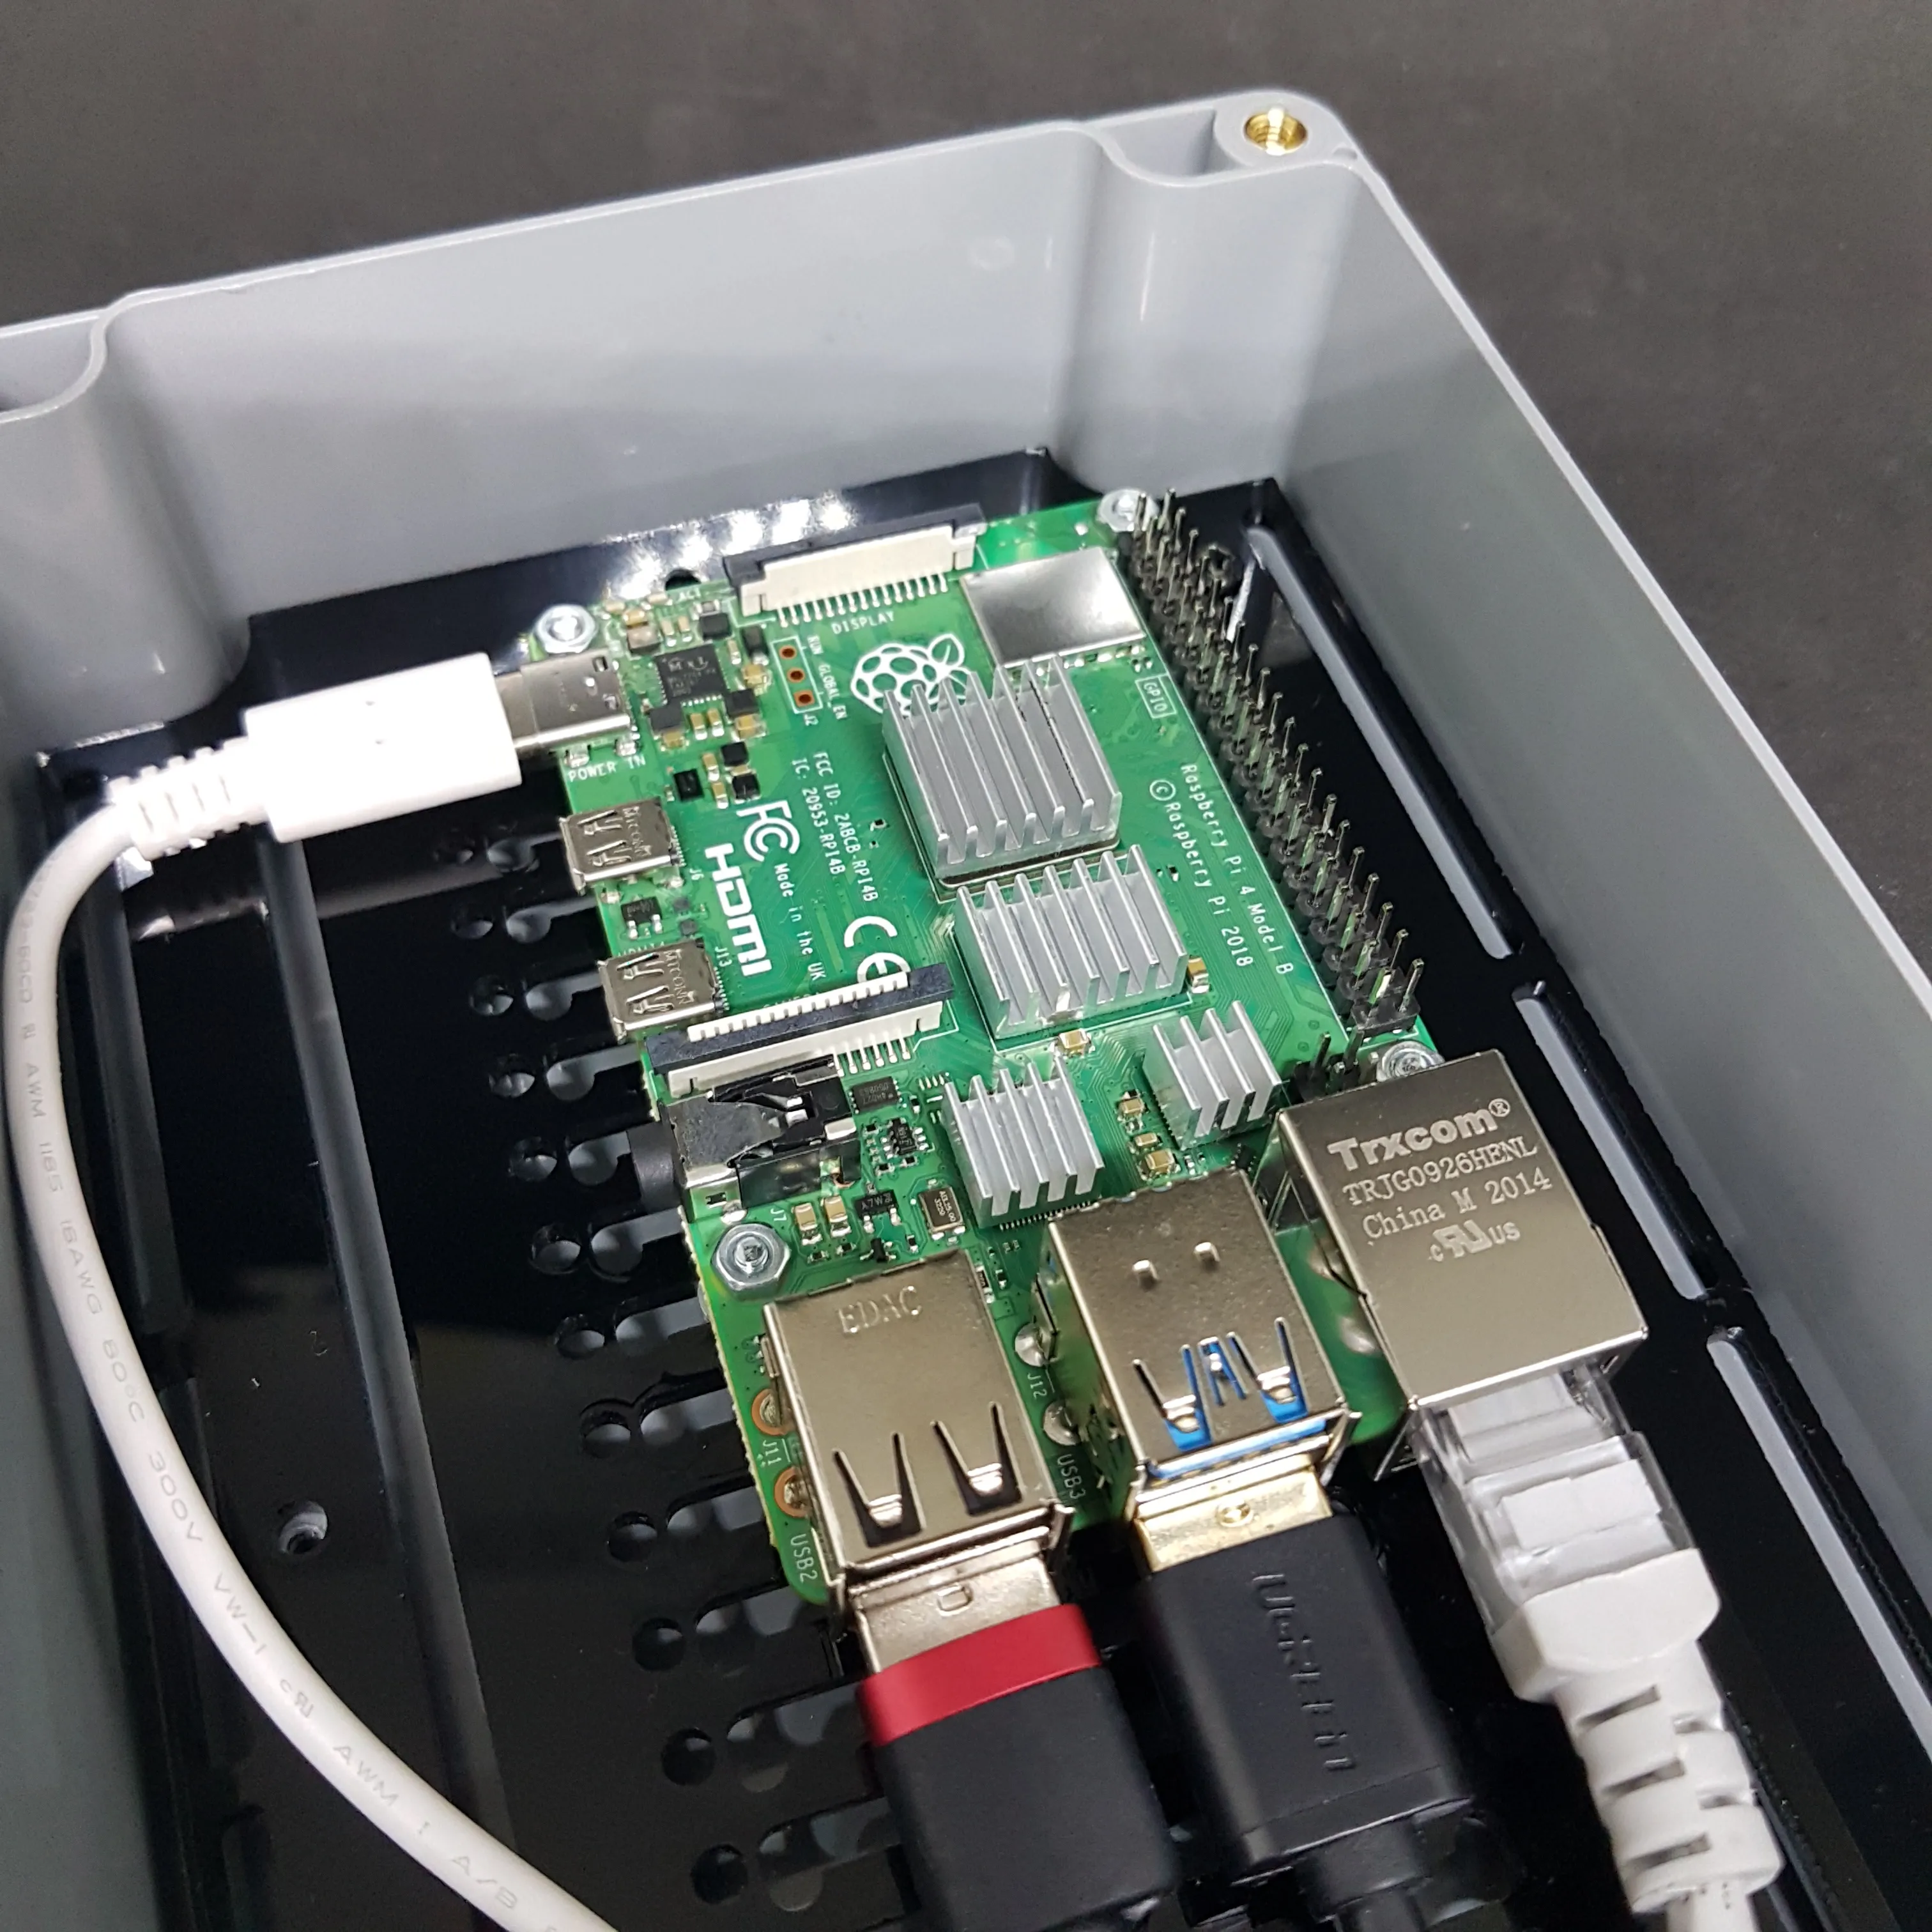
Mount Raspberry Pi in place with nuts.
In this way, only Raspberry Pi is fixed. If you are going to use HAT with Raspberry Pi, you can use standoff. Check the holes of the inserts and if there is a dropping plug, place it.
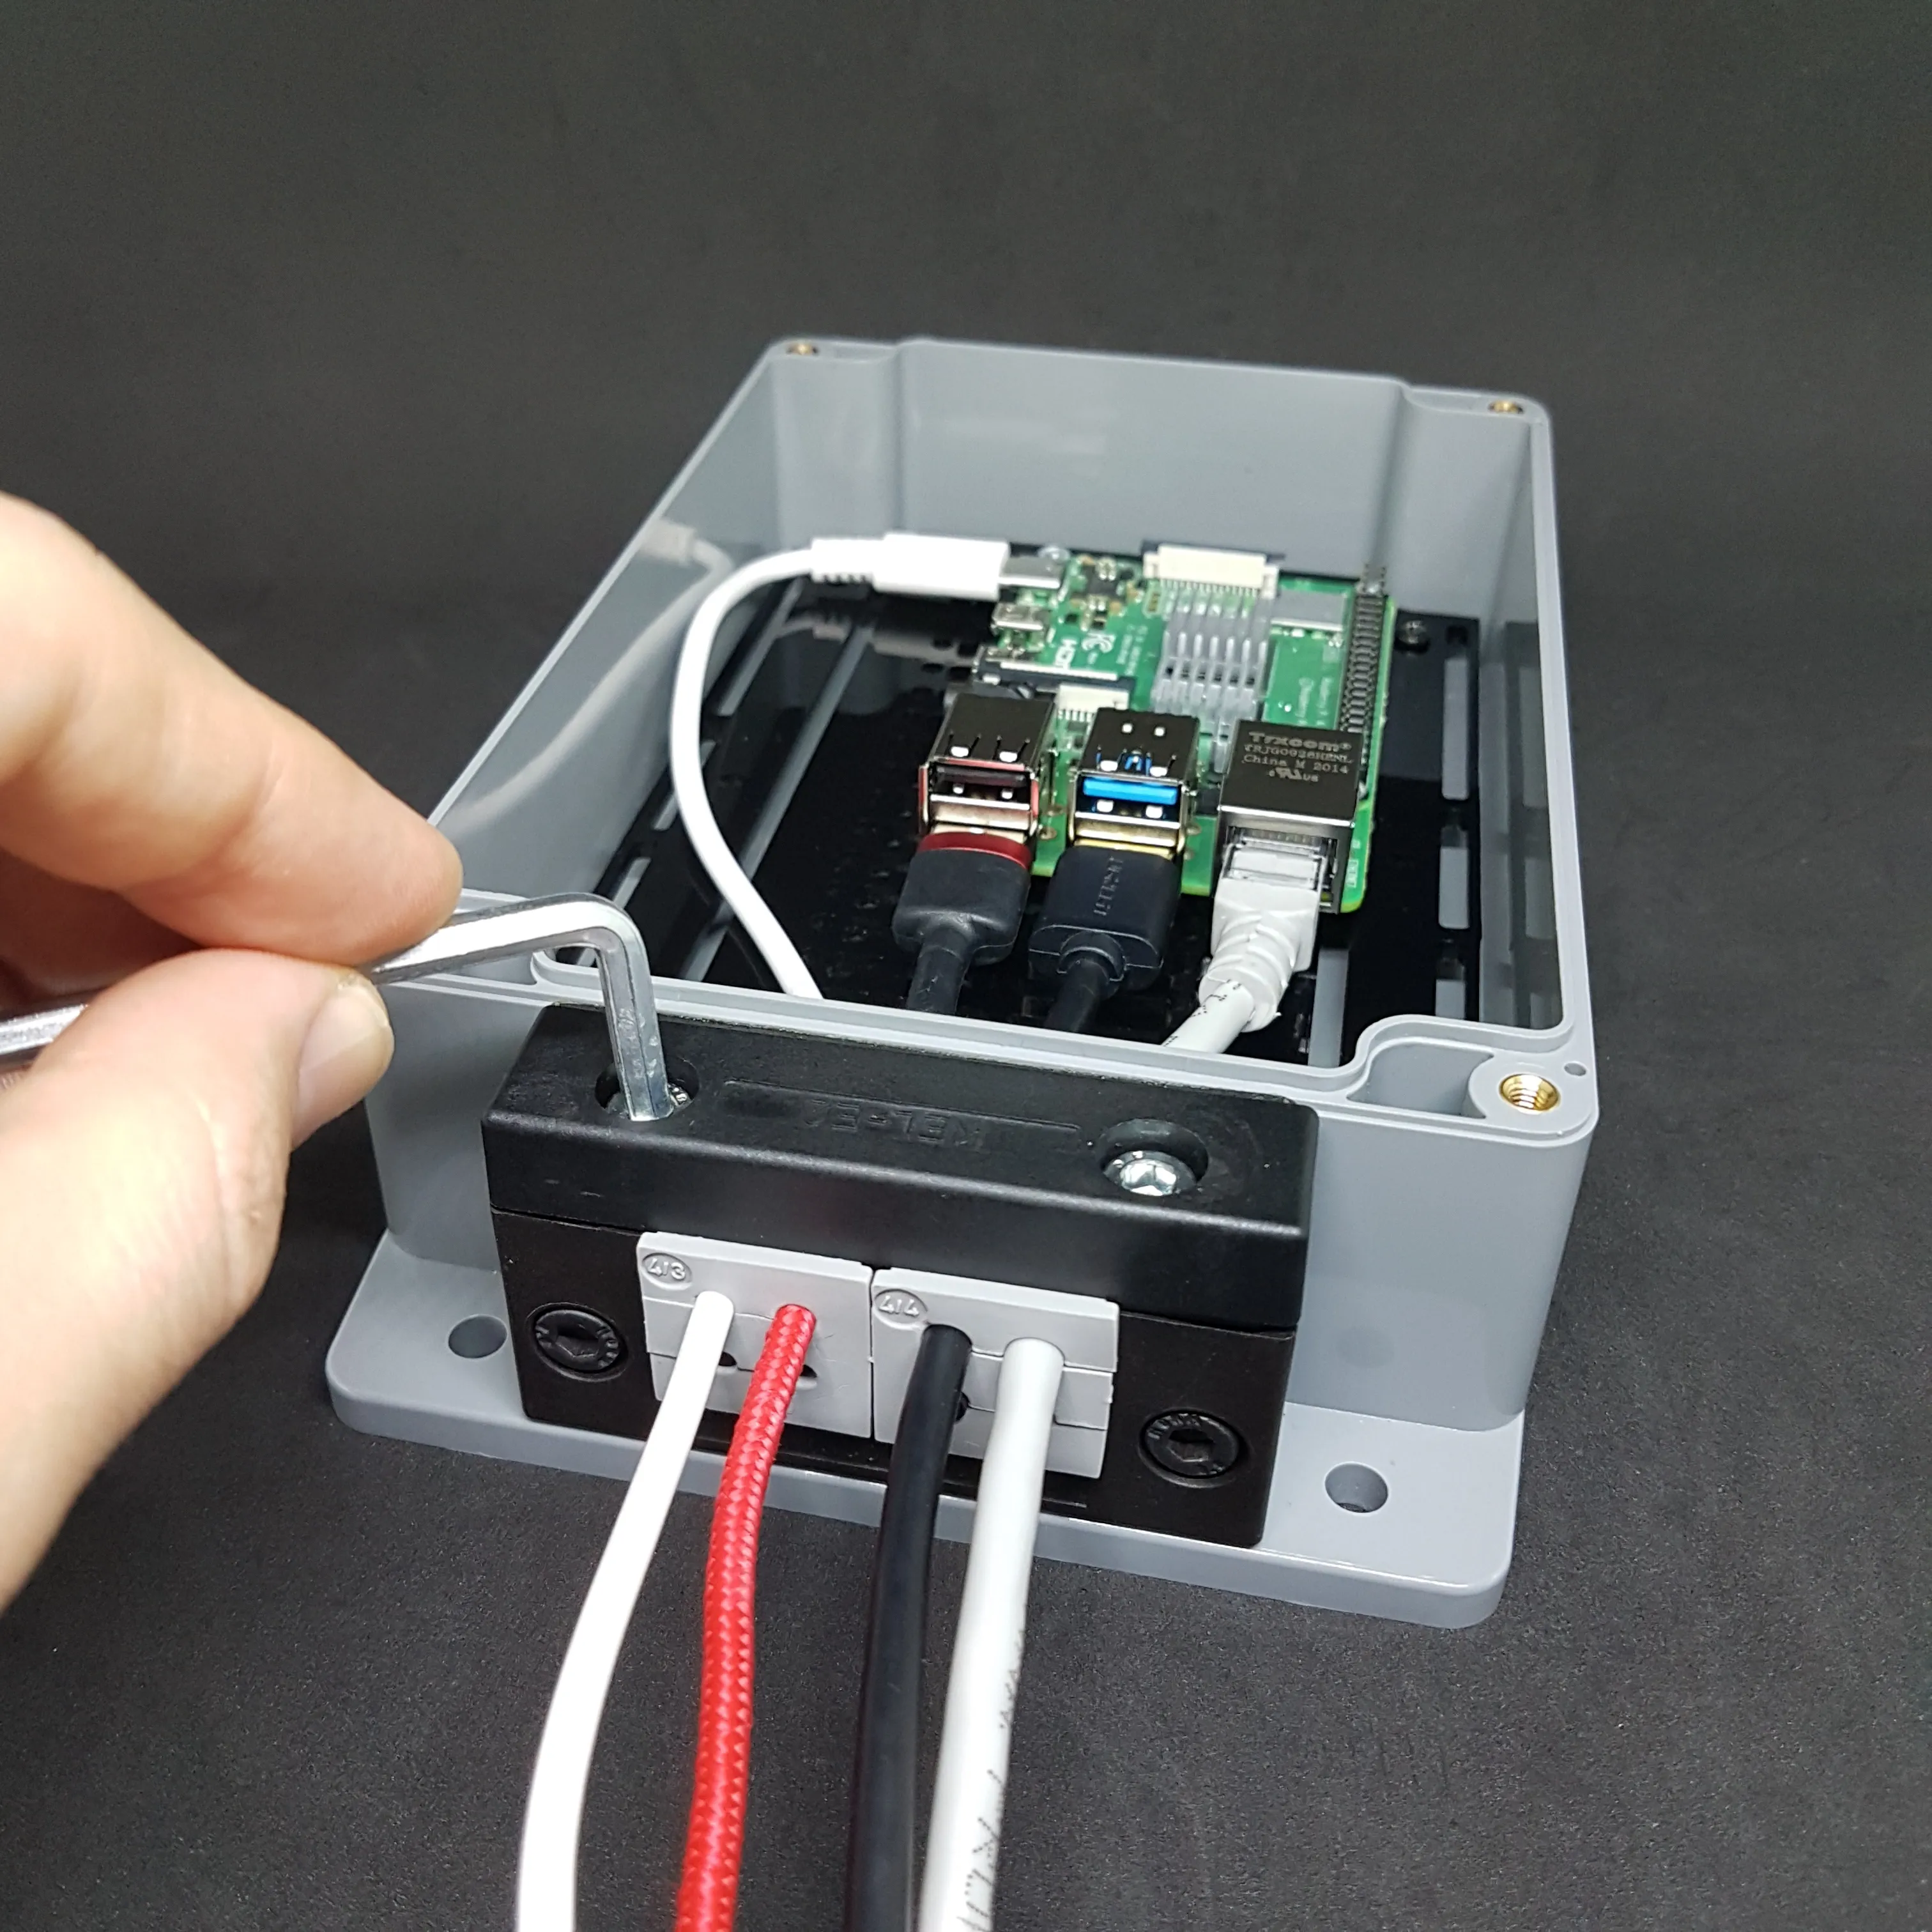
Assemble the upper part of the frame in place with an Allen key.
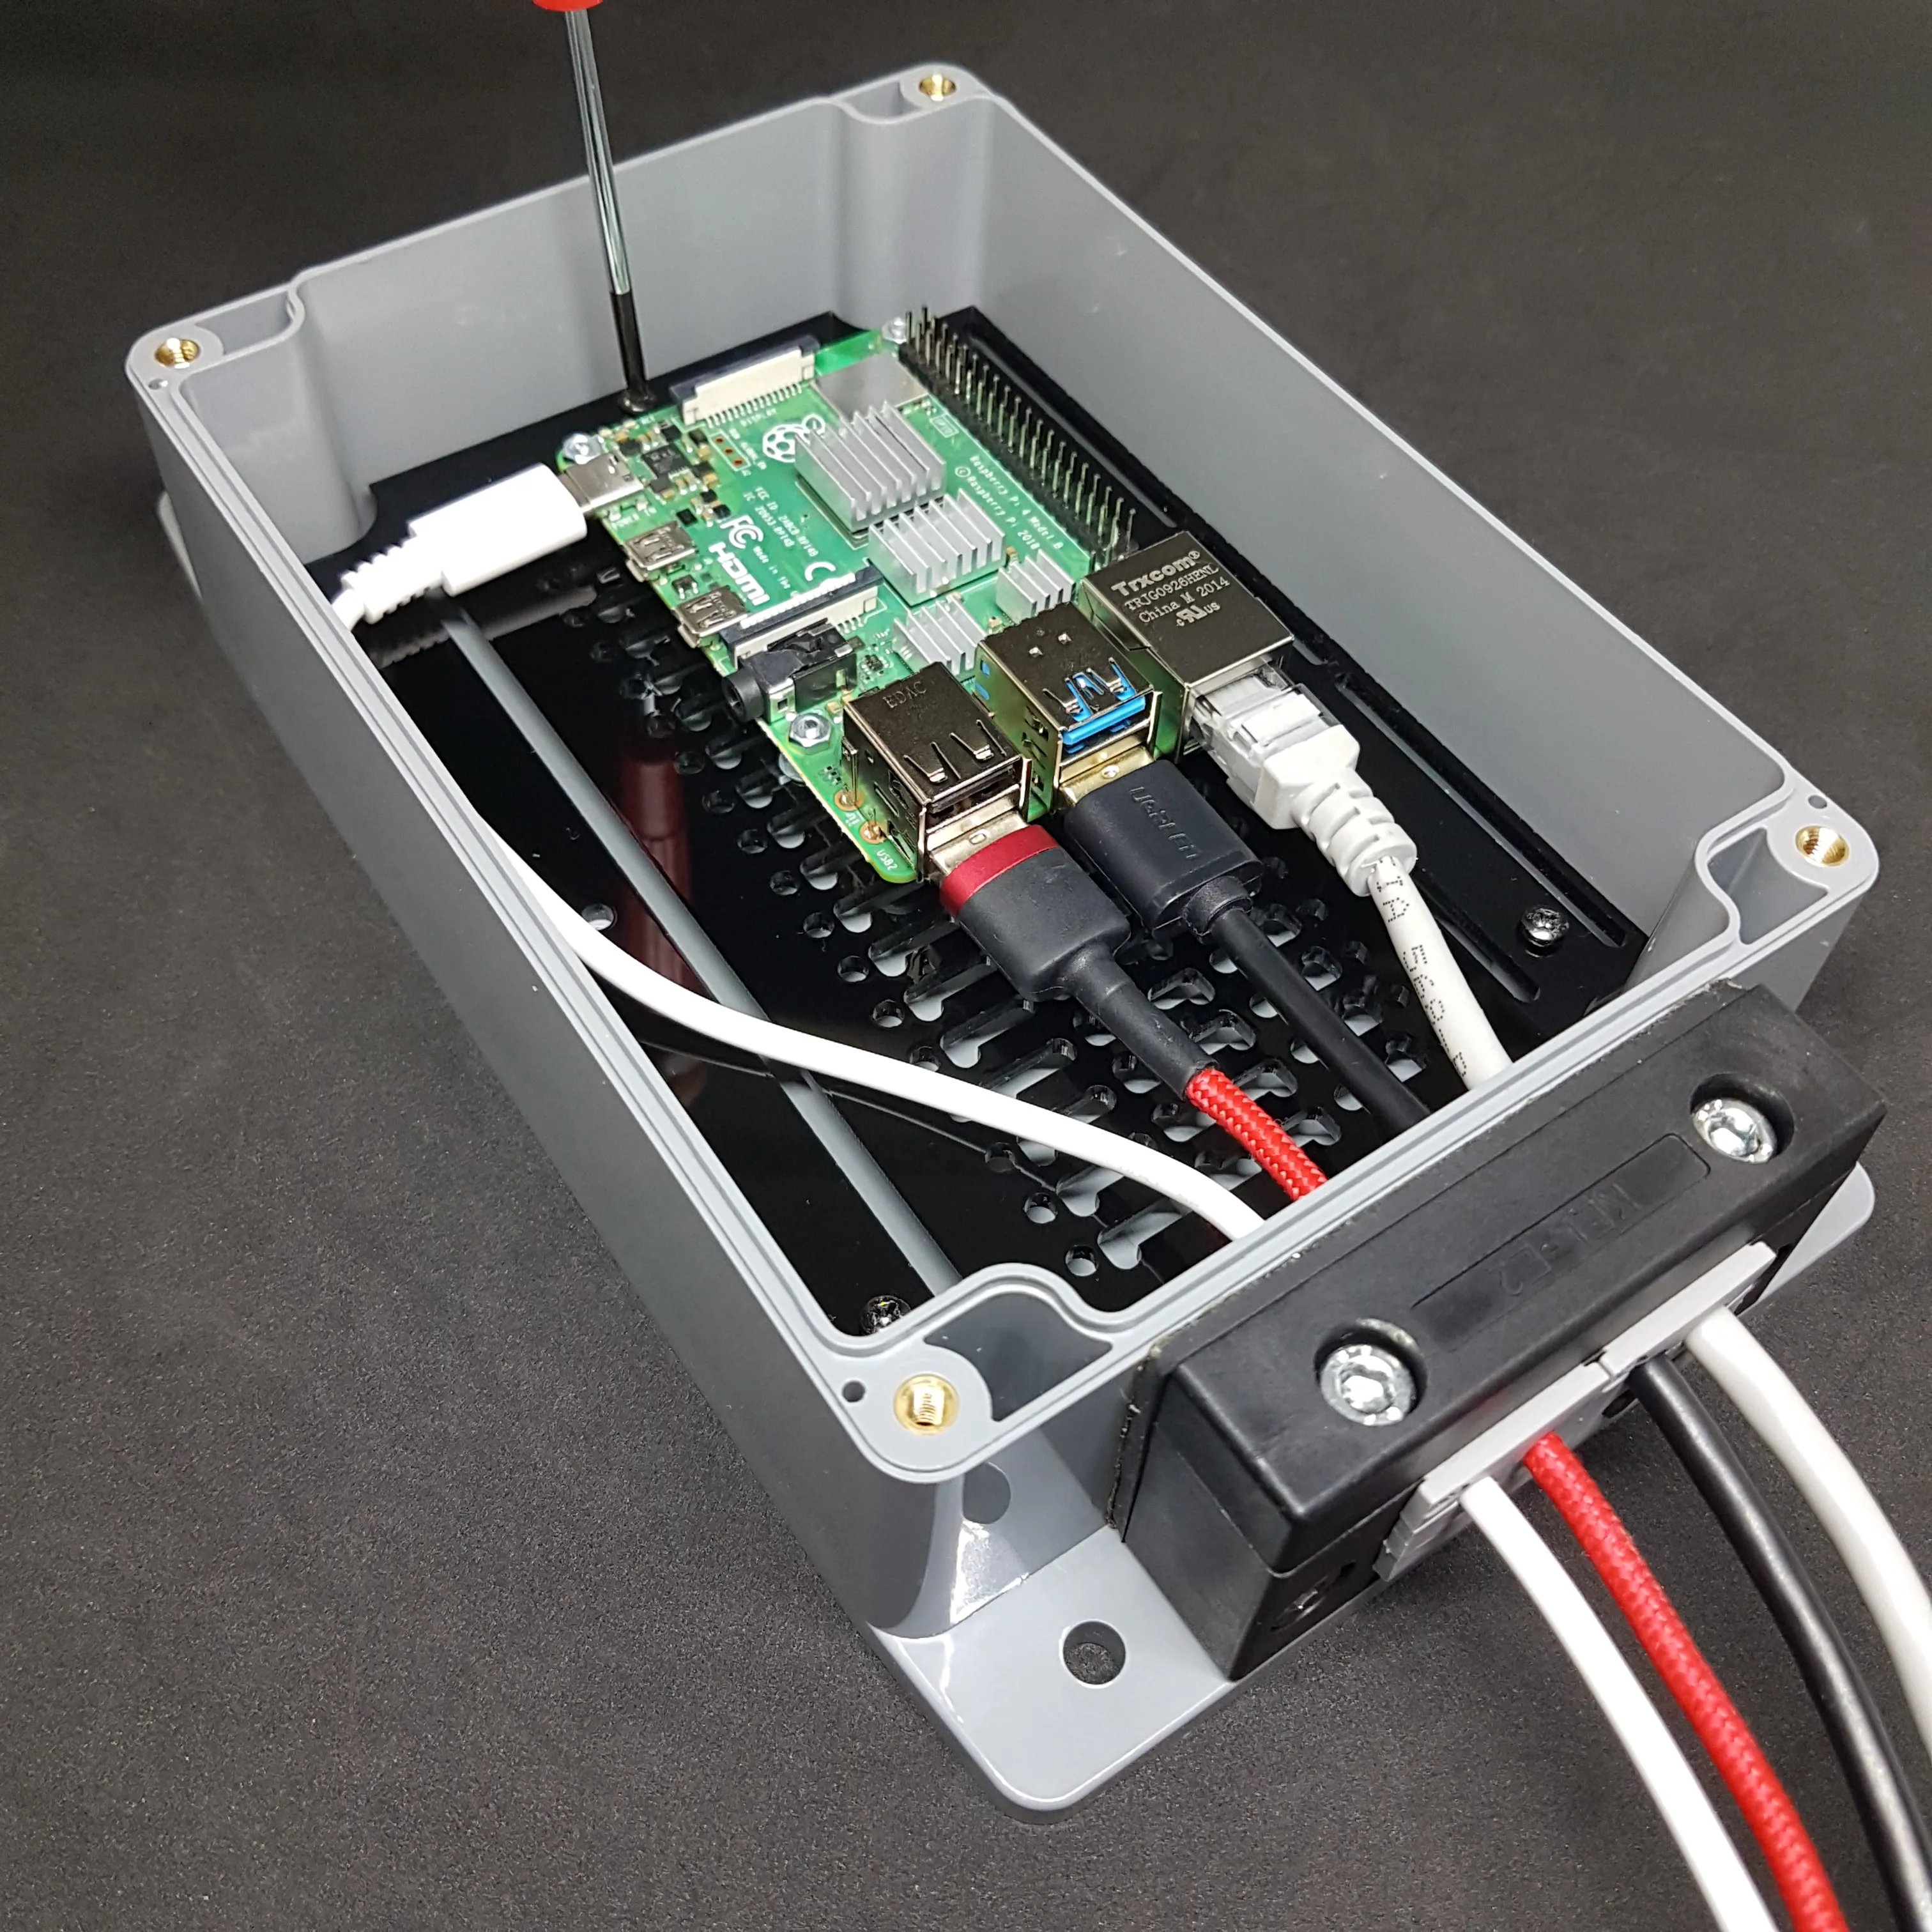
Fix the base plate with its M3x9mm screws.
Install the sealing rubber gasket on the top cover.
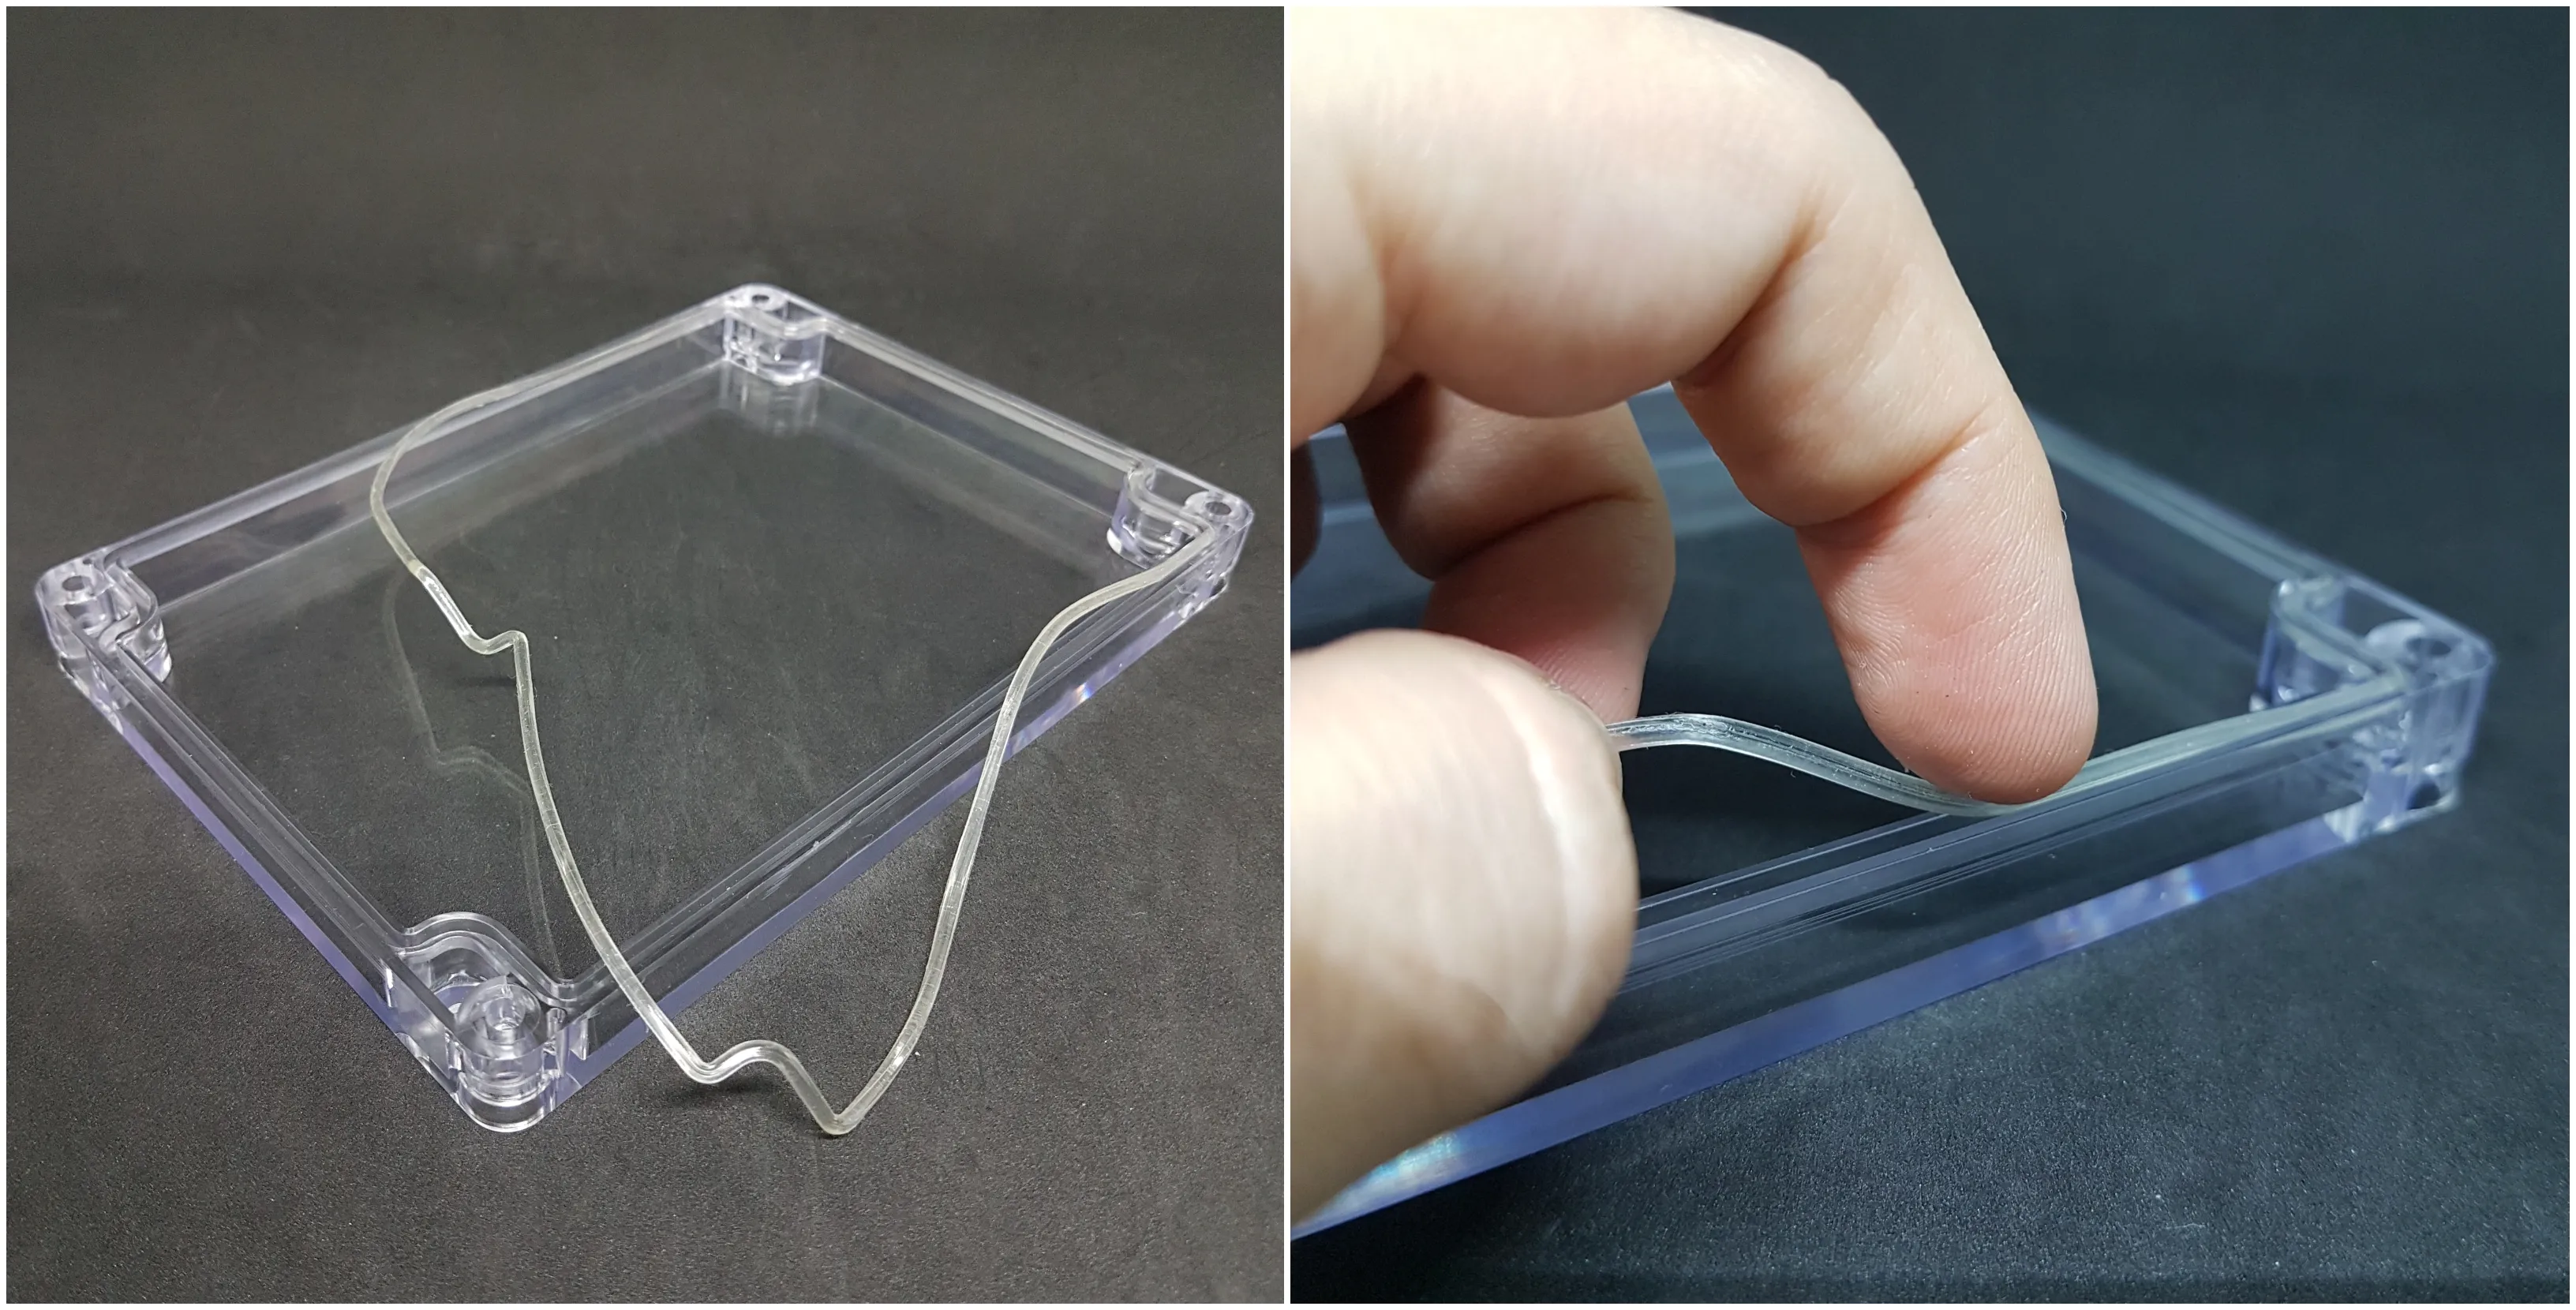
Put on the cover, tighten the M4x22mm screws. It may be necessary to use excessive force when tightening the screw.
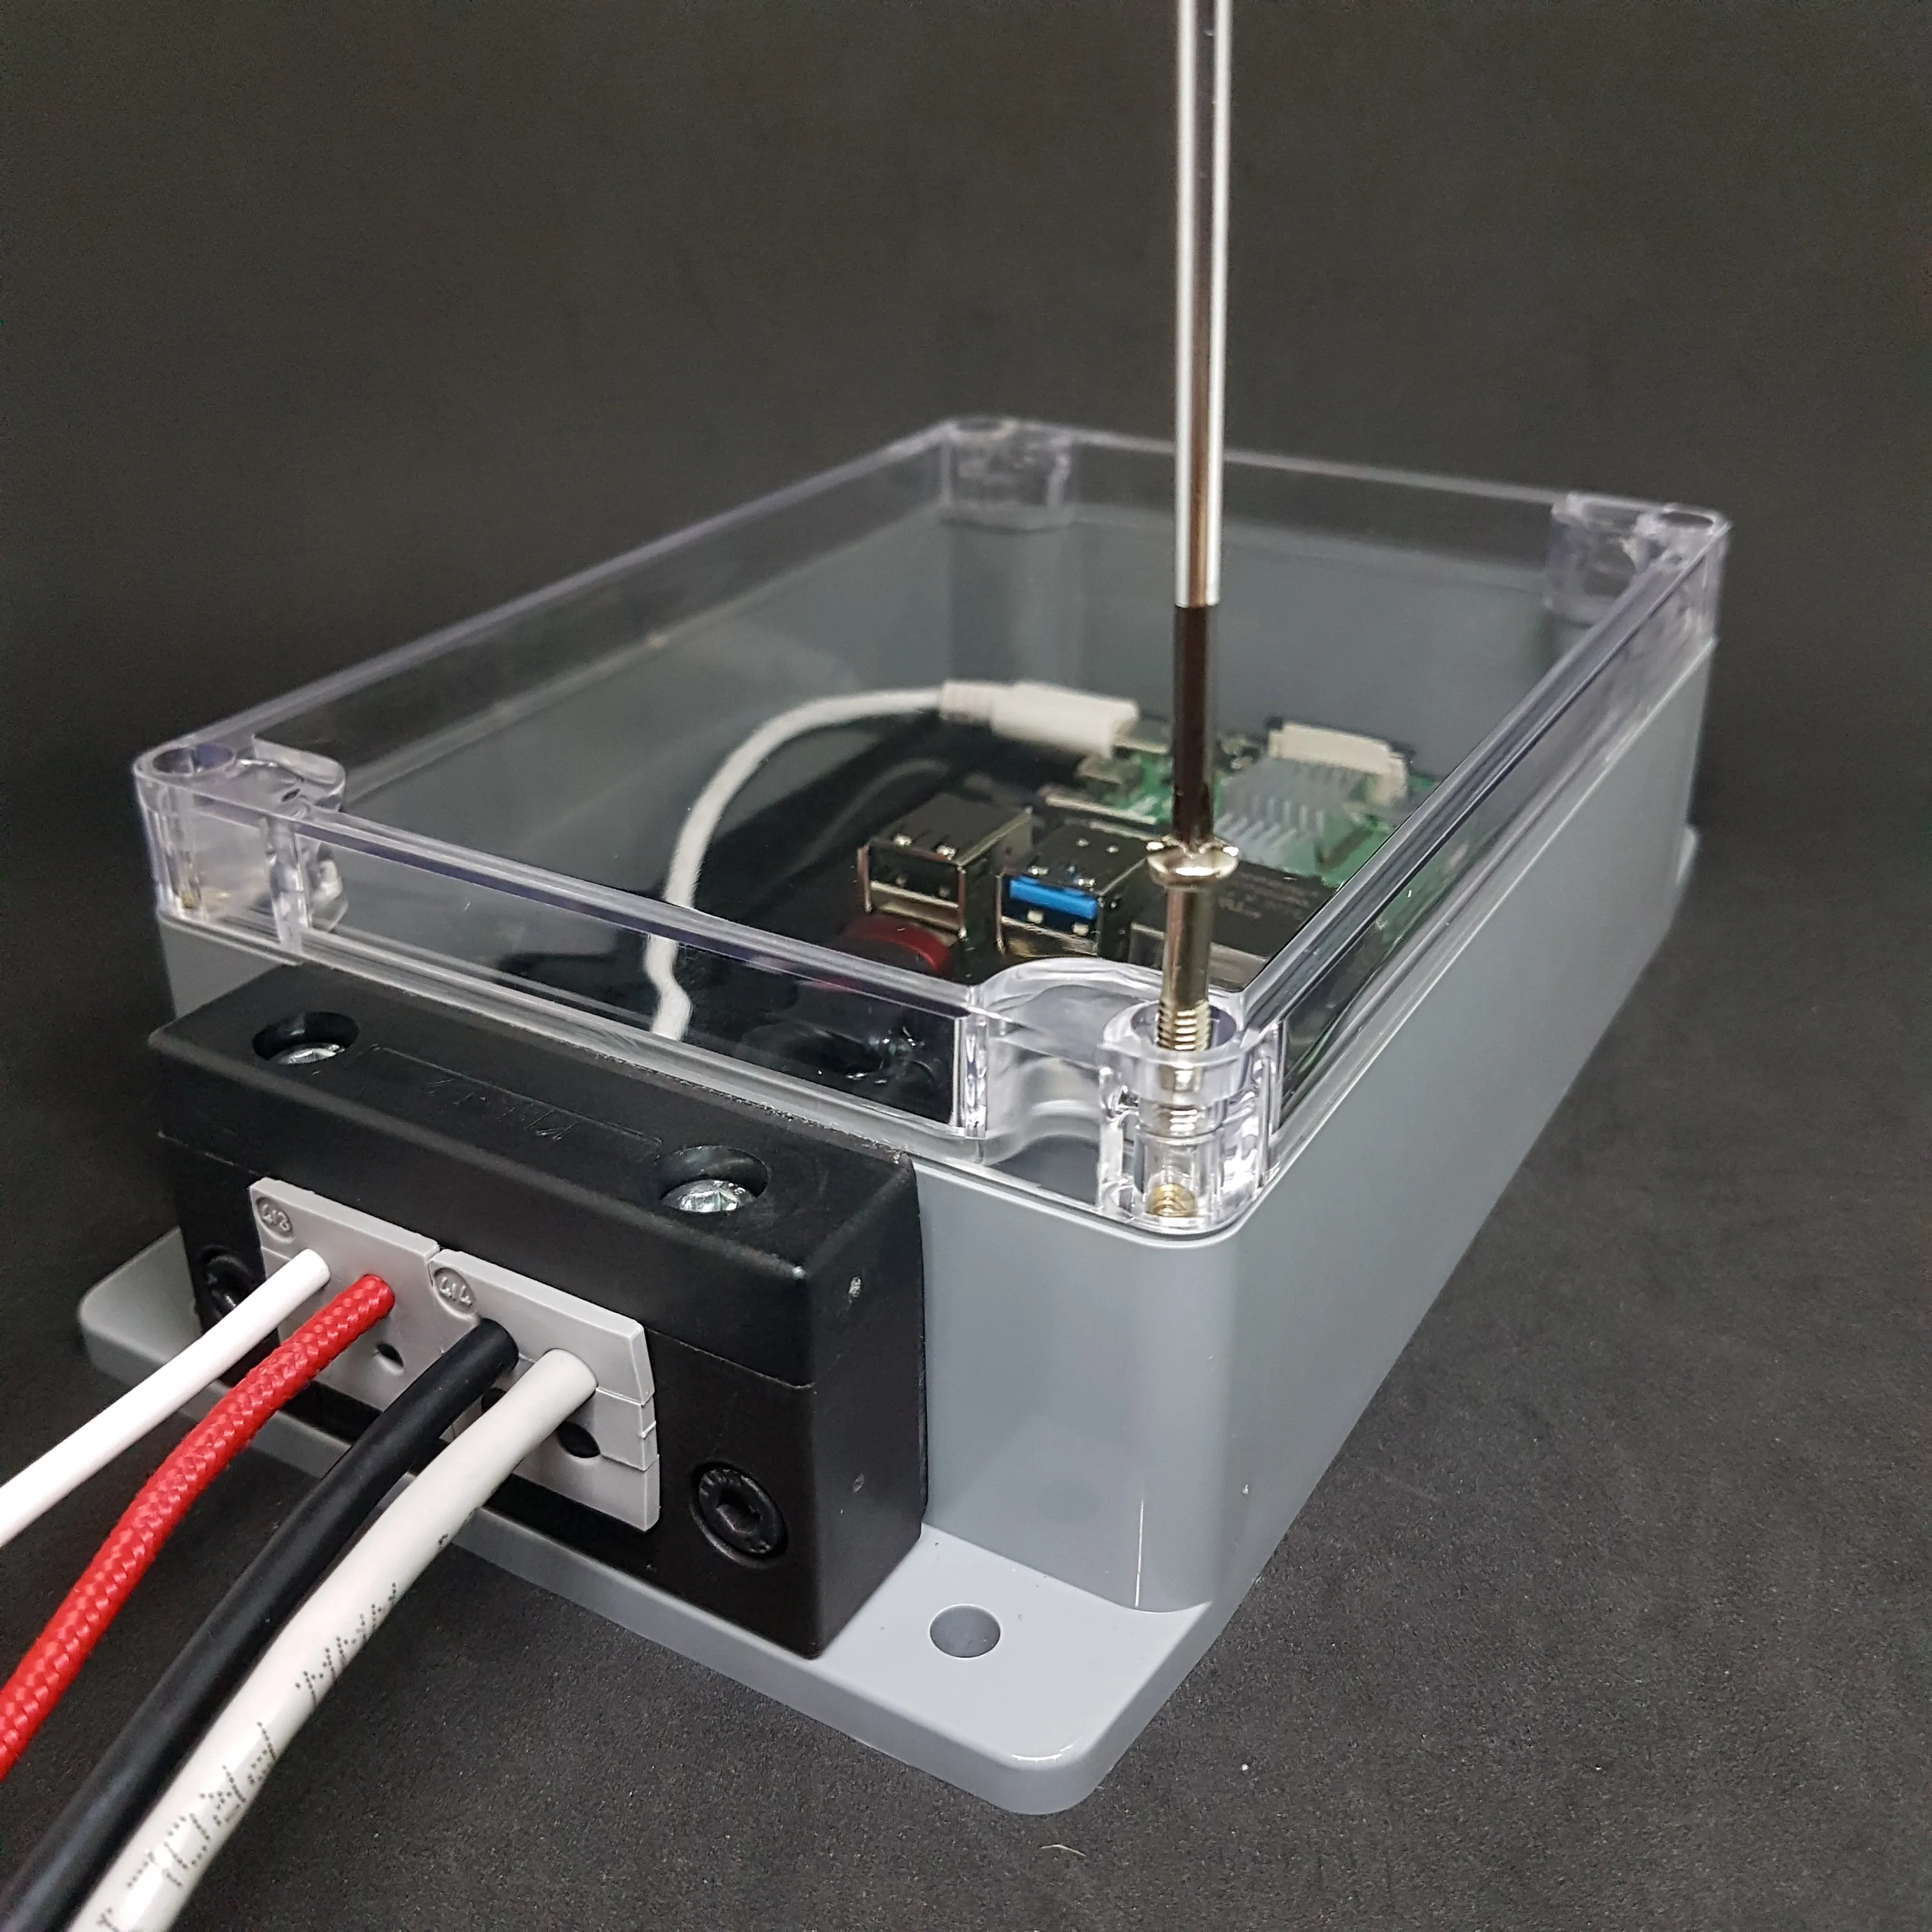
Here is the setup ready! 🚀
