⚙️ Module Configuration
Before running the PPP make sure the module is configured to the right settings.
For Quectel Modules:
AT+QCFG="usbnet" should return 0, otherwise,send AT+QCFG="usbnet",0 then reboot the module after 10 seconds with AT+CFUN=1,1
For Telit Modules:
AT#USBCFG? should return 0, otherwise,send AT#USBCFG=0 then reboot the module after 10 seconds with AT#REBOOT
For sending AT commands, you may check the Sending AT Commands tutorial.
Hardware Setup
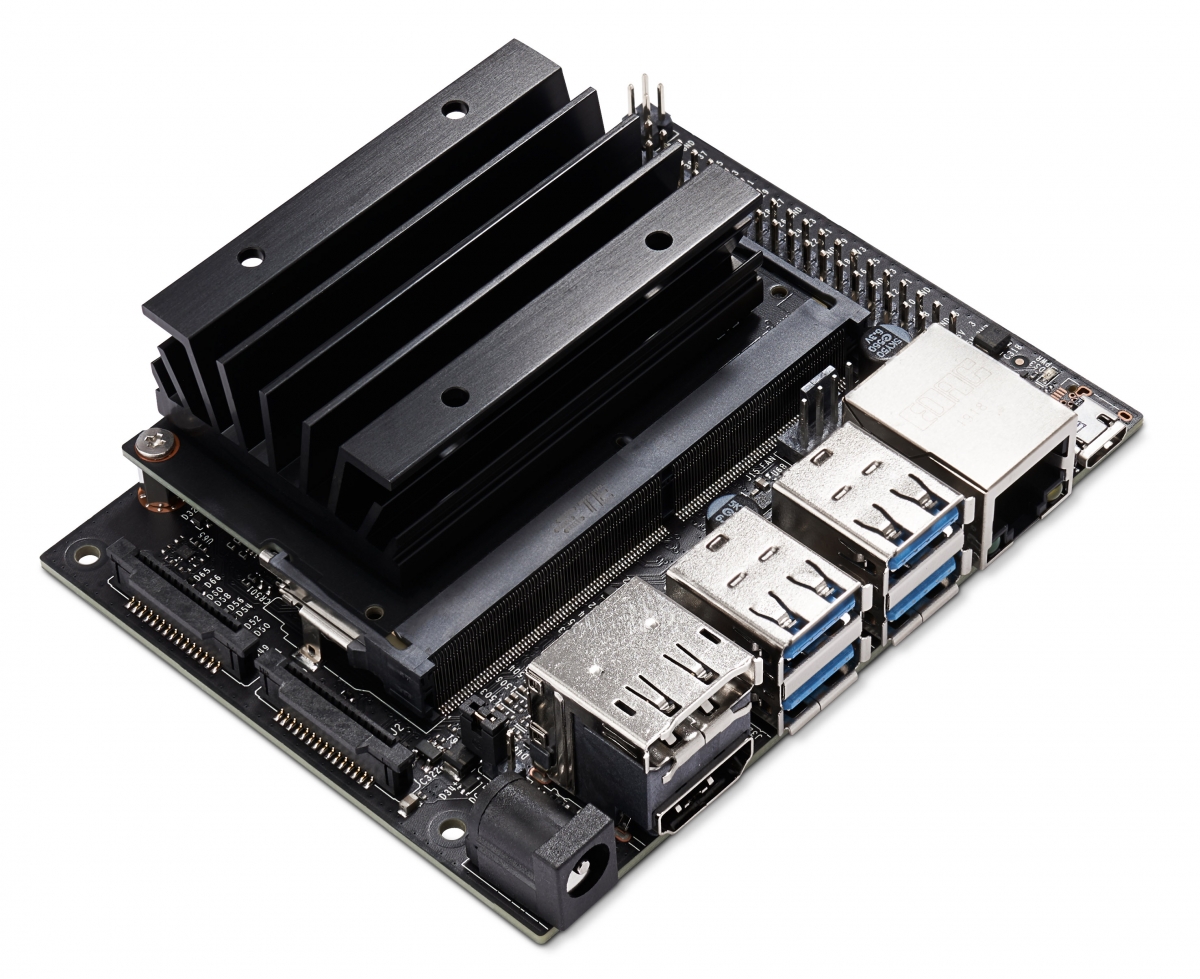
After preparing the HAT, attach it to 40-pin of the NVIDIA Jetson Nano.
Software Setup
- Clone the repository, change it into the directory, and change the permission of the installation script. Then install it.
wget https://raw.githubusercontent.com/sixfab/Sixfab_PPP_Installer/master/ppp_install_jetson.sh
sudo chmod +x ppp_install_jetson.sh
sudo ./ppp_install_jetson.sh- During the installation, it will as several questions, answer them accordingly.
Question | Answers |
|---|---|
Choose your Sixfab Shield/HAT | 6: 3G/4G Base HAT |
What is your carrier APN? | "YOUR_APN" |
Does your carrier need username and password? | n |
What is your device communication PORT? | ttyTHS1 |
Info: /dev/ttyTHS1 is the serial communication.
-
Once the installation is complete, press Enter in order to reboot.
-
After the reboot, turn on the module by pressing the POWER button and wait few seconds until you see the STATUS LED turned on.
-
Run the following command to run the PPP.
sudo ponTo understand PPP further you may check PPP documentation.

